> For the complete documentation index, see [llms.txt](https://docs.bdb.ai/bdb-documentation/llms.txt). Markdown versions of documentation pages are available by appending `.md` to page URLs; this page is available as [Markdown](https://docs.bdb.ai/bdb-documentation/data-center/data-sets/creating-a-data-set-using-an-api-connector.md).
# Creating a Data Set using an API Connector
{% hint style="success" %}
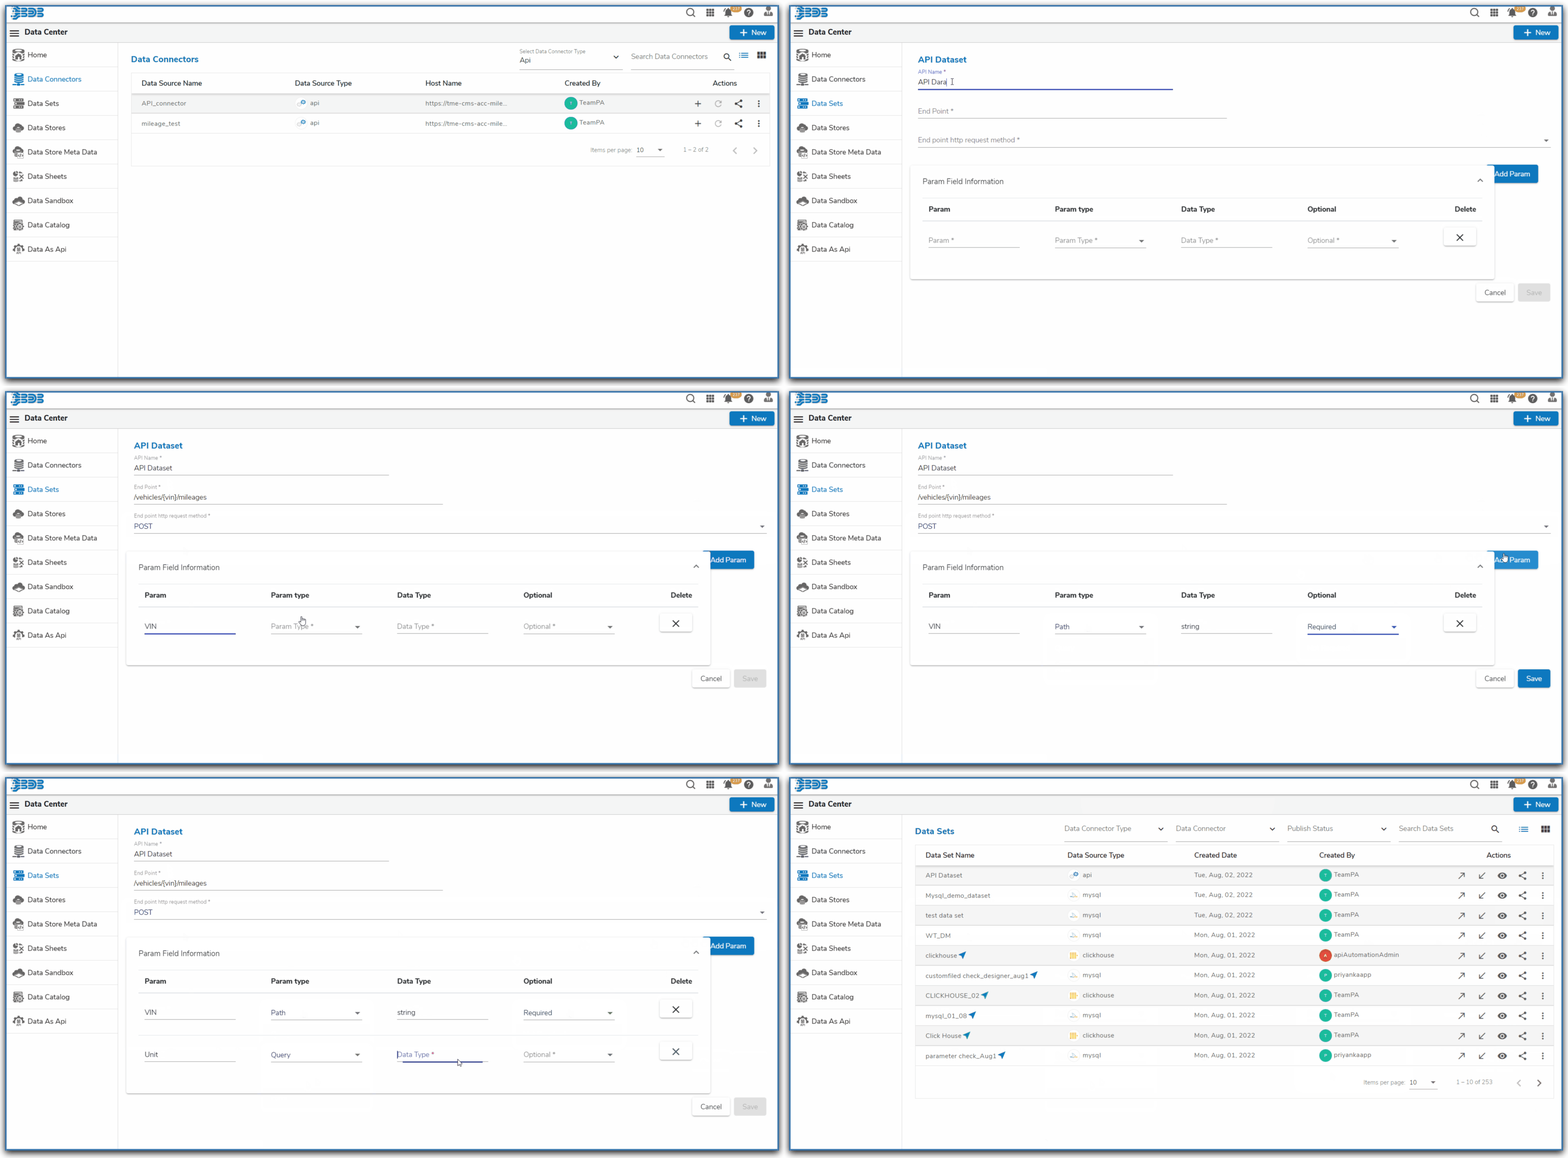
*Check out the given GIF on how to create a Data Set using an API Connector.*
{% endhint %}
* Click the ***New*** menu from the Data Center page.
* Select the ***Data Set*** option from the context menu.

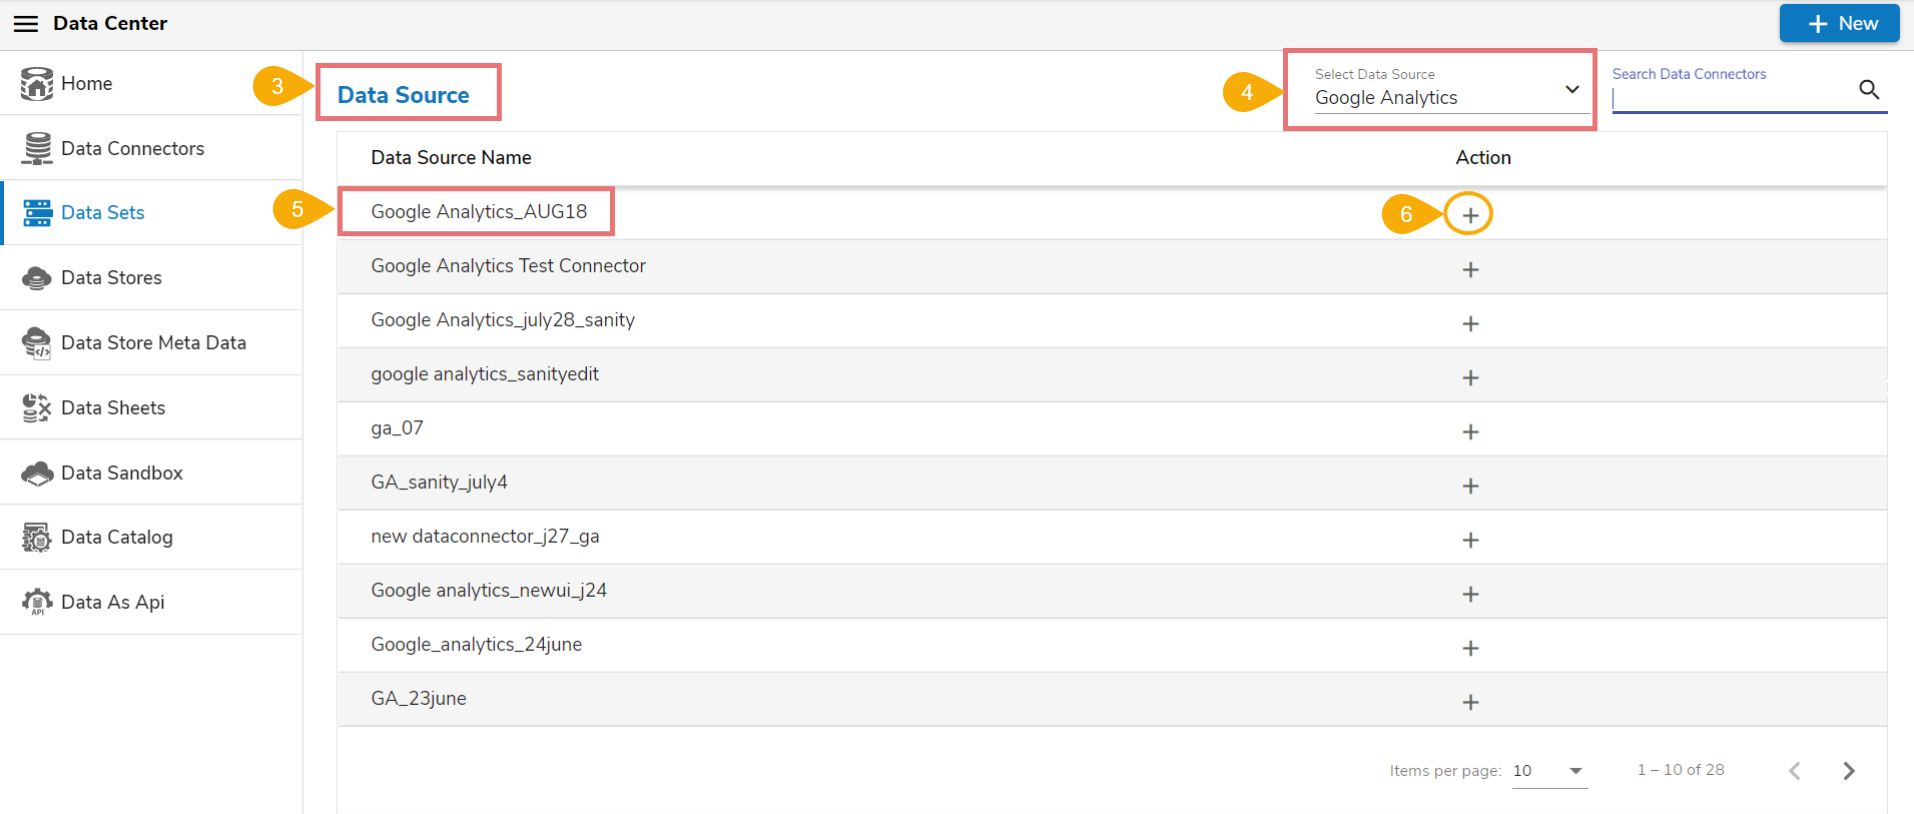
* The ***Data Source*** page containing all the data connectors opens.
* Use the ***Data Source*** filter to search for a specific API Data Connector (E.g., the below image displays **Google Analytics** as the data source filter).
* Select a data connector from the displayed list (E.g., in this case, a google analytics data connector is selected).
* Click the ***Create Data Set*** icon.
* The **Google Analytics Dataset form** opens.
* Fill in the following information:
* **Dataset Name**: Enter any user-defined name for the new dataset.
* **Description**: Provide a brief description of the Data Set (It is an optional field).
* **Data Connector Name**: This option comes pre-defined as per the selected data connector.
* **Account:** This option comes pre-defined based on the selected google account.
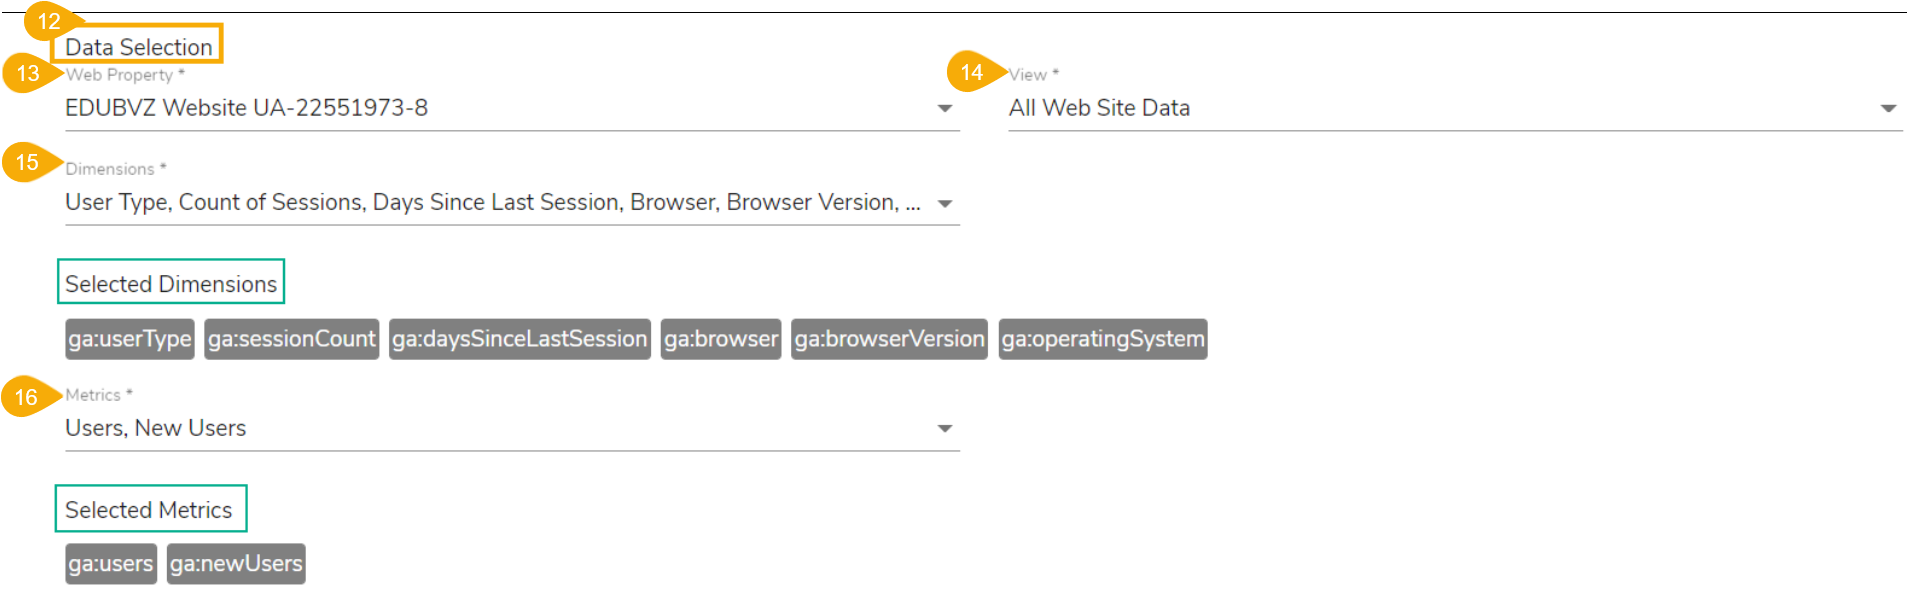
* The user can select specific data using the below given drop-down lists:
* **Select Web Property**: Select the required web property using the drop-down menu.
* **Select View**: Select the required view using the drop-down menu.
* **Dimensions**: Select the required dimensions using the drop-down menu (The selected dimensions get displayed below with the ‘ga’ suffix).
* **Metrics**: Select the required metrics using the drop-down menu (The selected metrics get displayed below with ‘ga’ suffix).
{% hint style="info" %} Please Note: *The **Web Property**, **View**, and **Metrics** are mandatory fields to create a Google Analytics Data Set.*
{% endhint %}
* **Apply Filter**: Enable the filter option. The filter query gets displayed below.
* **Date Type**: Select a Date Type using the given options- **Fixed Type** and **Dynamic Type.**
* **Fixed Type**: Define a time range by specifying dates using the ***From date*** and ***To date*** options.

* **Dynamic Type**: Select an option from the drop-down menu to define the time range.

{% hint style="info" %} Please Note: *The Current Data Set is saved with **Fixed Type** option for the Date Type.*
{% endhint %}
* Click the ***Preview Data*** option.
* The ***Preview*** options below.
* The Save option gets enabled. Click the ***Save*** option.

{% hint style="info" %} Please Note: *After getting the data preview in the tabular format, click the **Save** option.*
{% endhint %}
* A success message appears, and the newly created Google Analytics dataset gets added to the **Data Sets** list.