# Event Panel
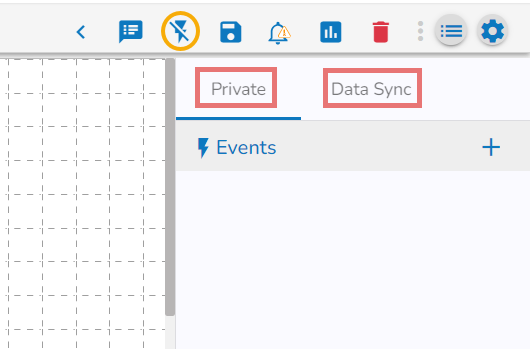
The user can access the ***Event Panel*** to create a new Event. We have two options in the Toggle Event Panel:
1. Private (Event/ Kafka Topic)
2. Data Sync
The Toggle Event Panel
### **Private (Event)**
The user can create an Event (Kafka Topic) that can be used to connect two pipeline components.
* Navigate to the ***Pipeline Editor*** page.
* Click the ***Event Panel*** icon.
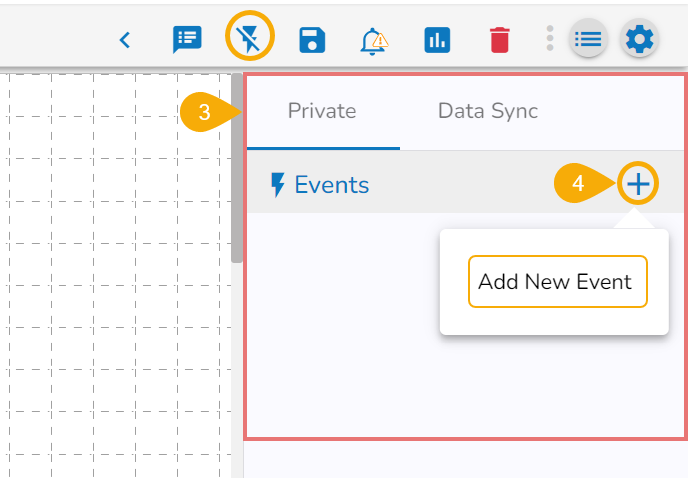
* The ***Event*** panel opens.
* Click the ***Add New Event*** icon.
Accessing the Add New Event icon from the Event panel
* The ***New Event*** dialog box opens.
* Enable the Event Mapping option to map the Event.
* Provide the required information.
* Slide the given button to enable the event mapping.
* Provide a display name for the event (A default name based on the pipeline name appears for the Event).
* Select the Event Duration from the drop-down menu (It can be set from 4 to 168 hours as per the given options).
* Number of partitions (You can choose out of 1 to 50).
* Number of outputs (You can choose out of 1-3) (The maximum number of outputs must not exceed the no. of Partition).
* Enable the ***Is Failover?*** option if you wish to create a failover Event.
* Click the ***Add Event*** option to save the new Event.

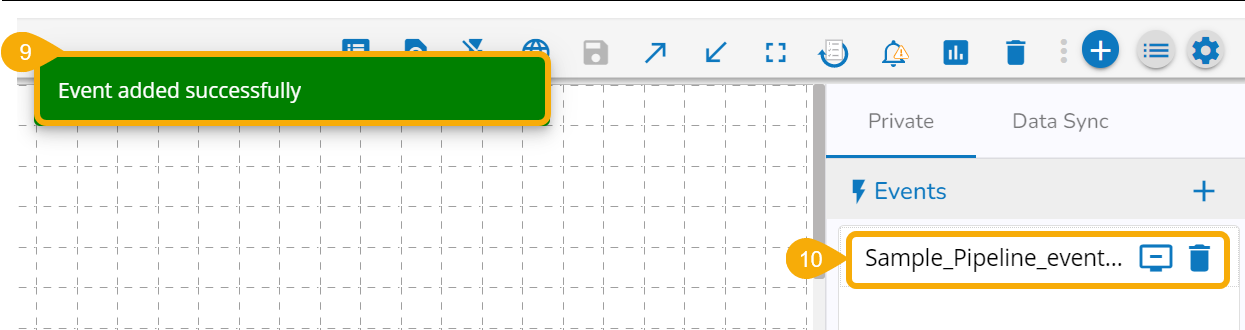
* A confirmation message appears.
* The new Event gets created and added to the ***Event Panel***.
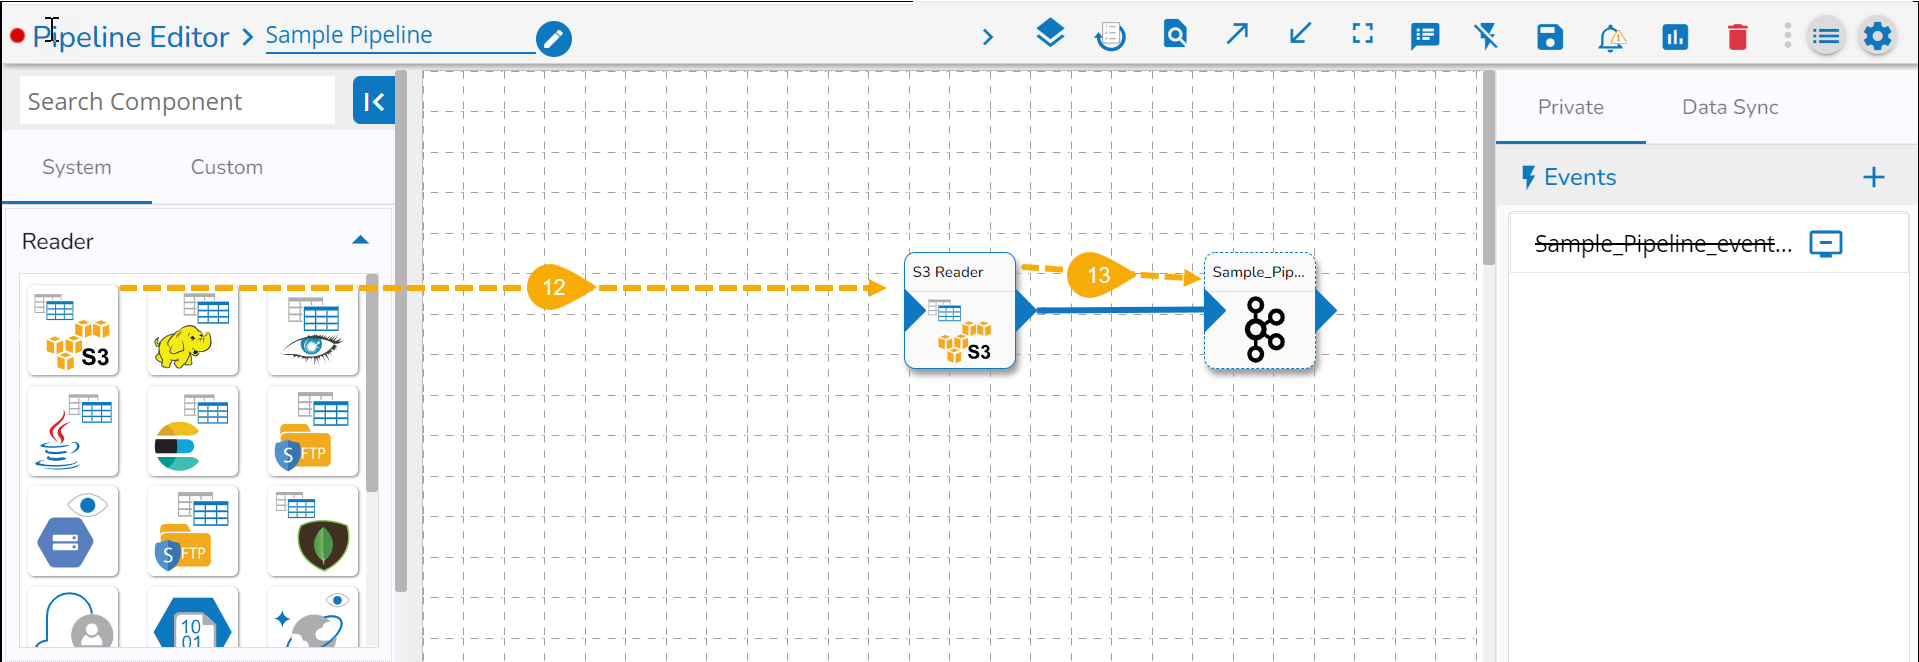
* Drag and drop the ***Event*** from the ***Event Panel*** to the workflow editor.

* You can drag a pipeline component from the [***Component Panel.***](https://docs.bdb.ai/7.6/data-pipeline/getting-started/pipeline-workflow-editor/component-panel)
* Connect the dragged component to the dragged ***Event*** to create a pipeline flow of data.
### **Data Sync**
The user can directly read the data with the reader and write to a Data Sync.
* The user can add a new Data Sync from the toggle event panel to the workflow editor by clicking on ‘+’ icon.
* Specify the display name and connection id and click on save.
* Drag and drop the Data Sync from event panel to workflow editor.
{% hint style="info" %}
*Please Note: Refer the* [***Events \[Kafka and Data Sync\] page***](https://docs.bdb.ai/data-pipeline-2/getting-started/homepage/create/creating-a-new-pipeline/connecting-components/events-kafka-and-data-sync) *for more details on the **DB Sync** topic provided under the Connection Components section of this document.*
{% endhint %}