
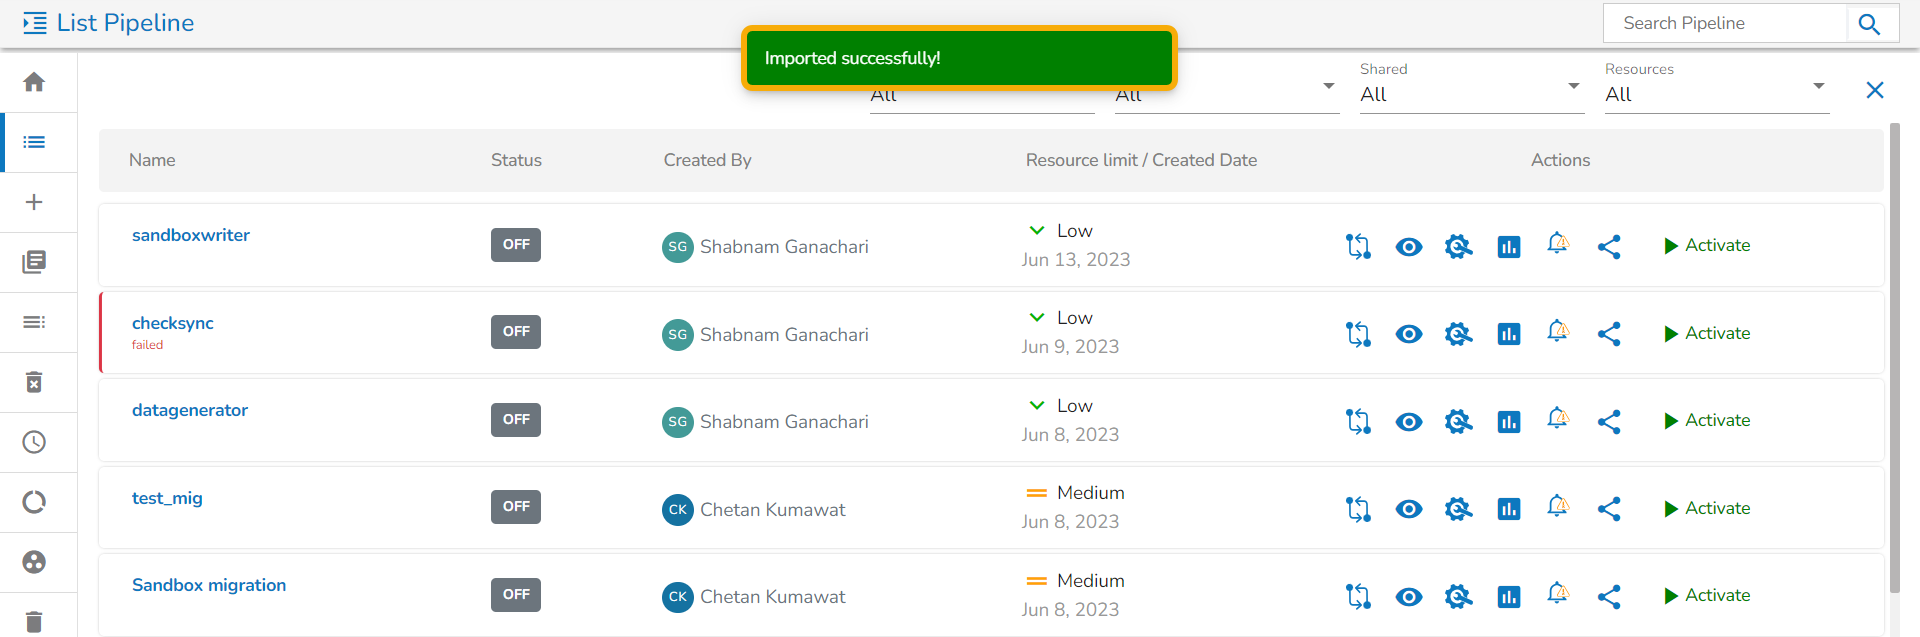
Push/ Pull icon on the Pipeline List page
Push/ Pull icon on the Pipeline List page
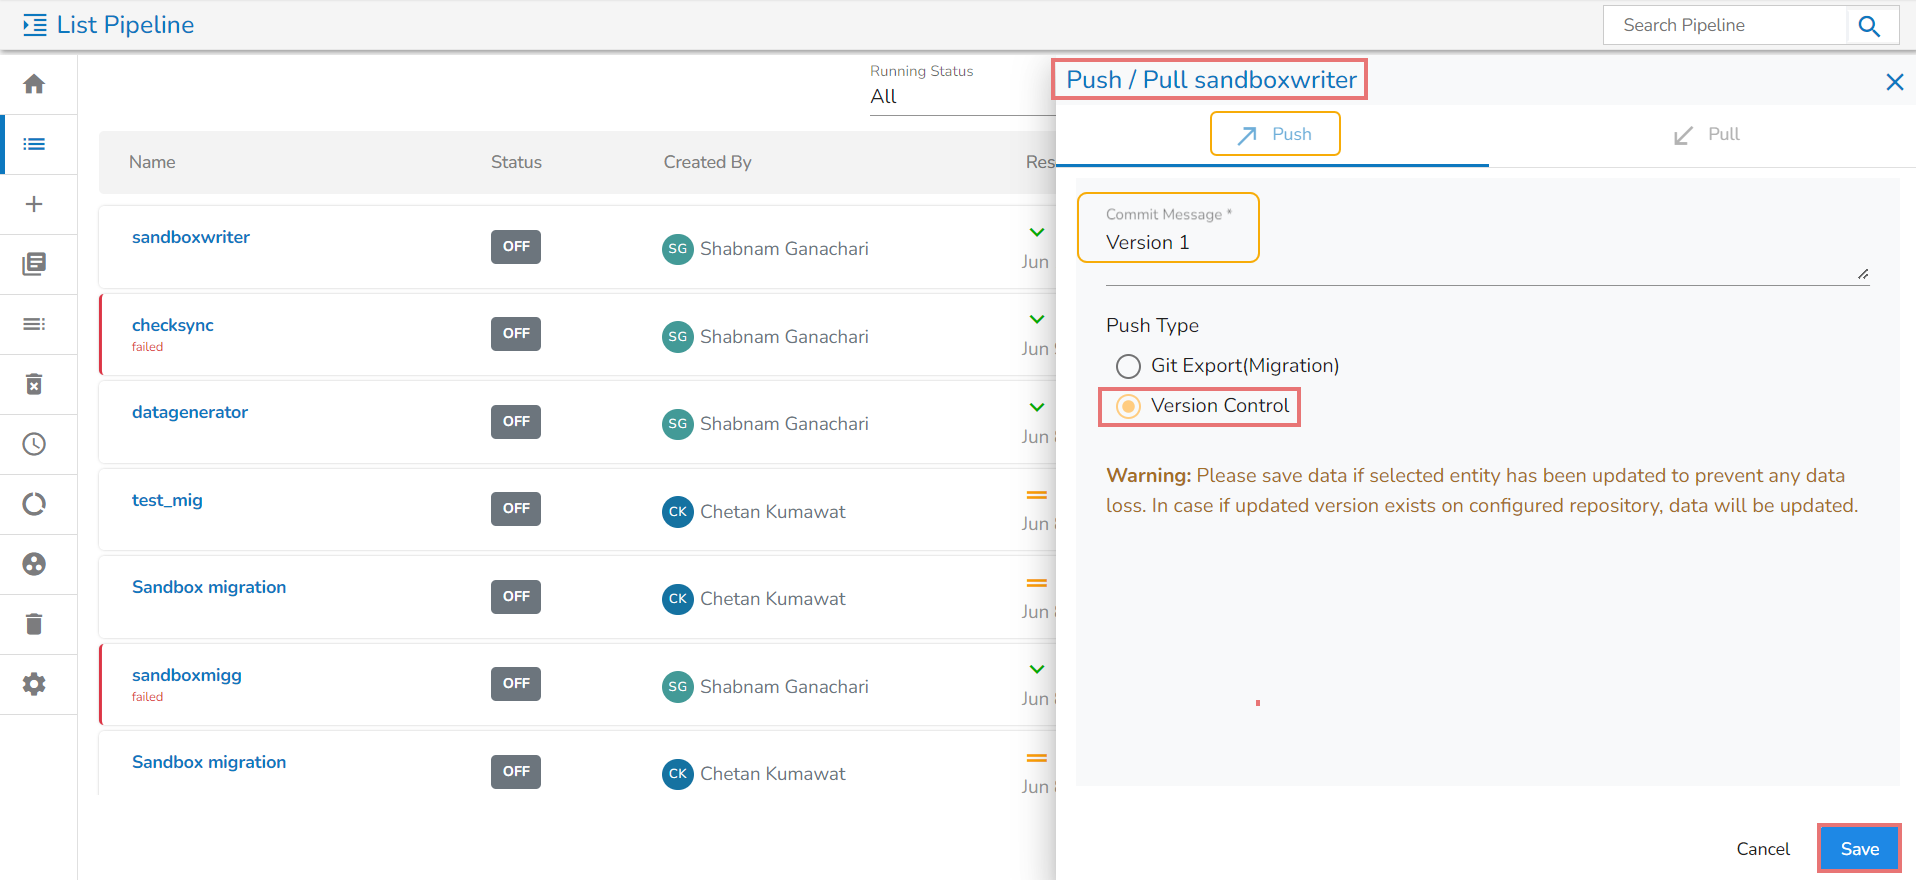
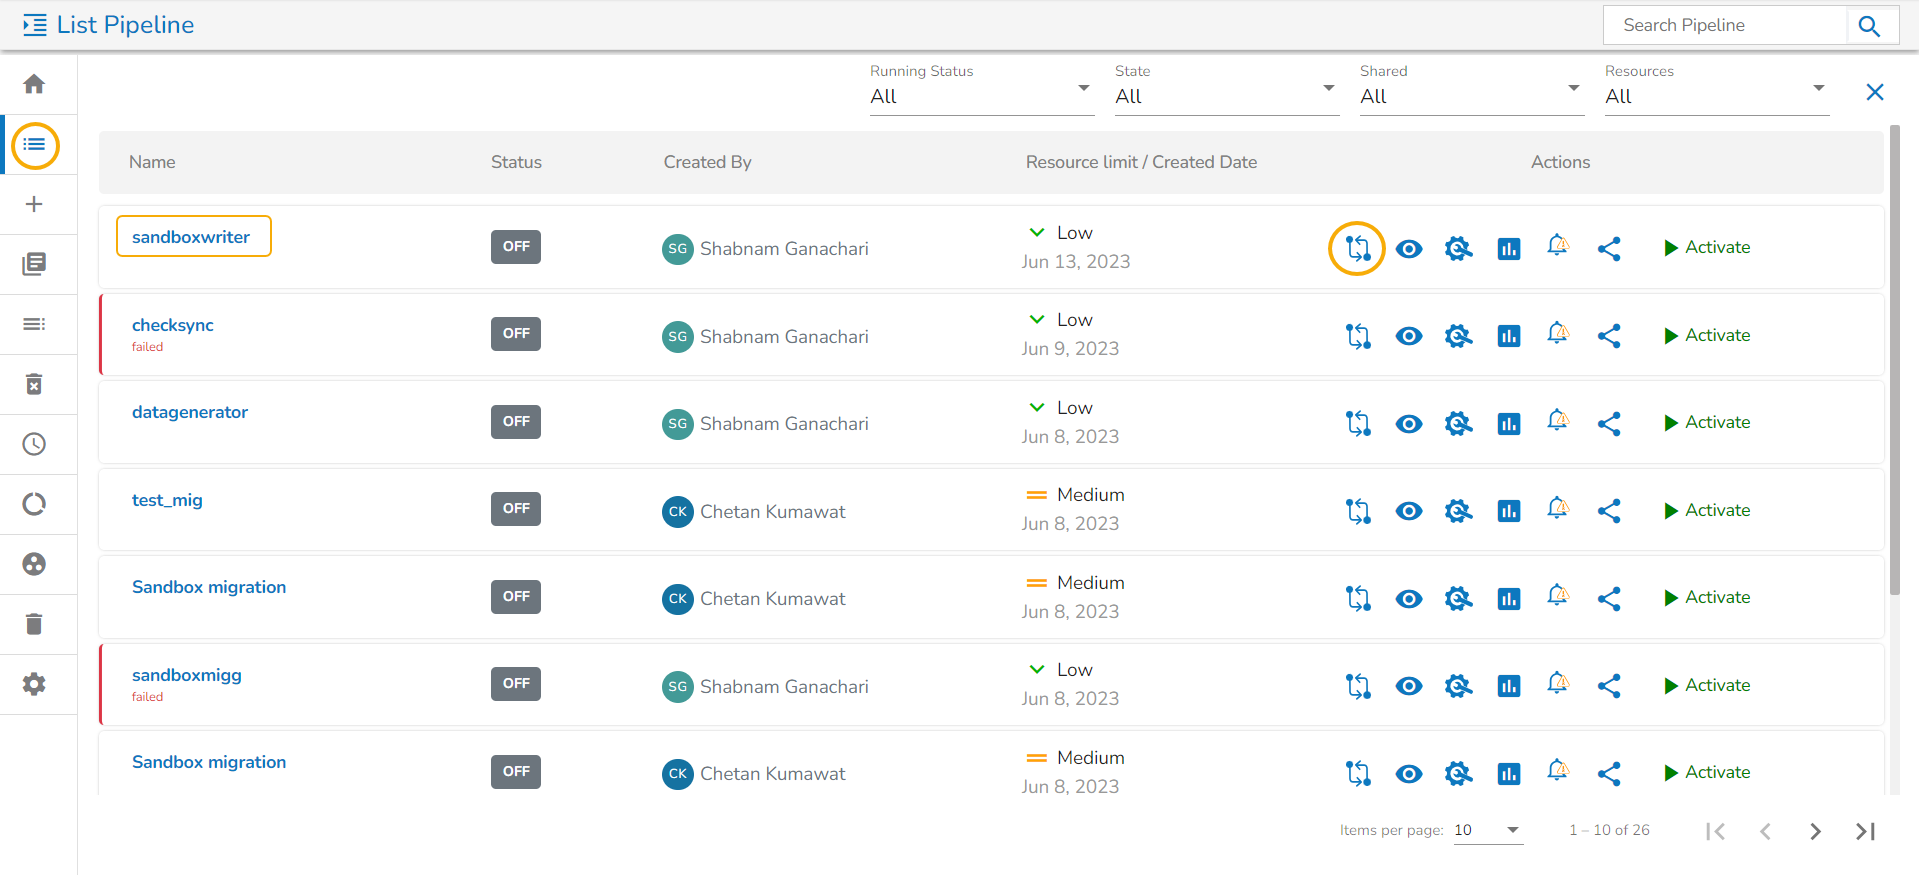
Push/ Pull icon on the Pipeline List page
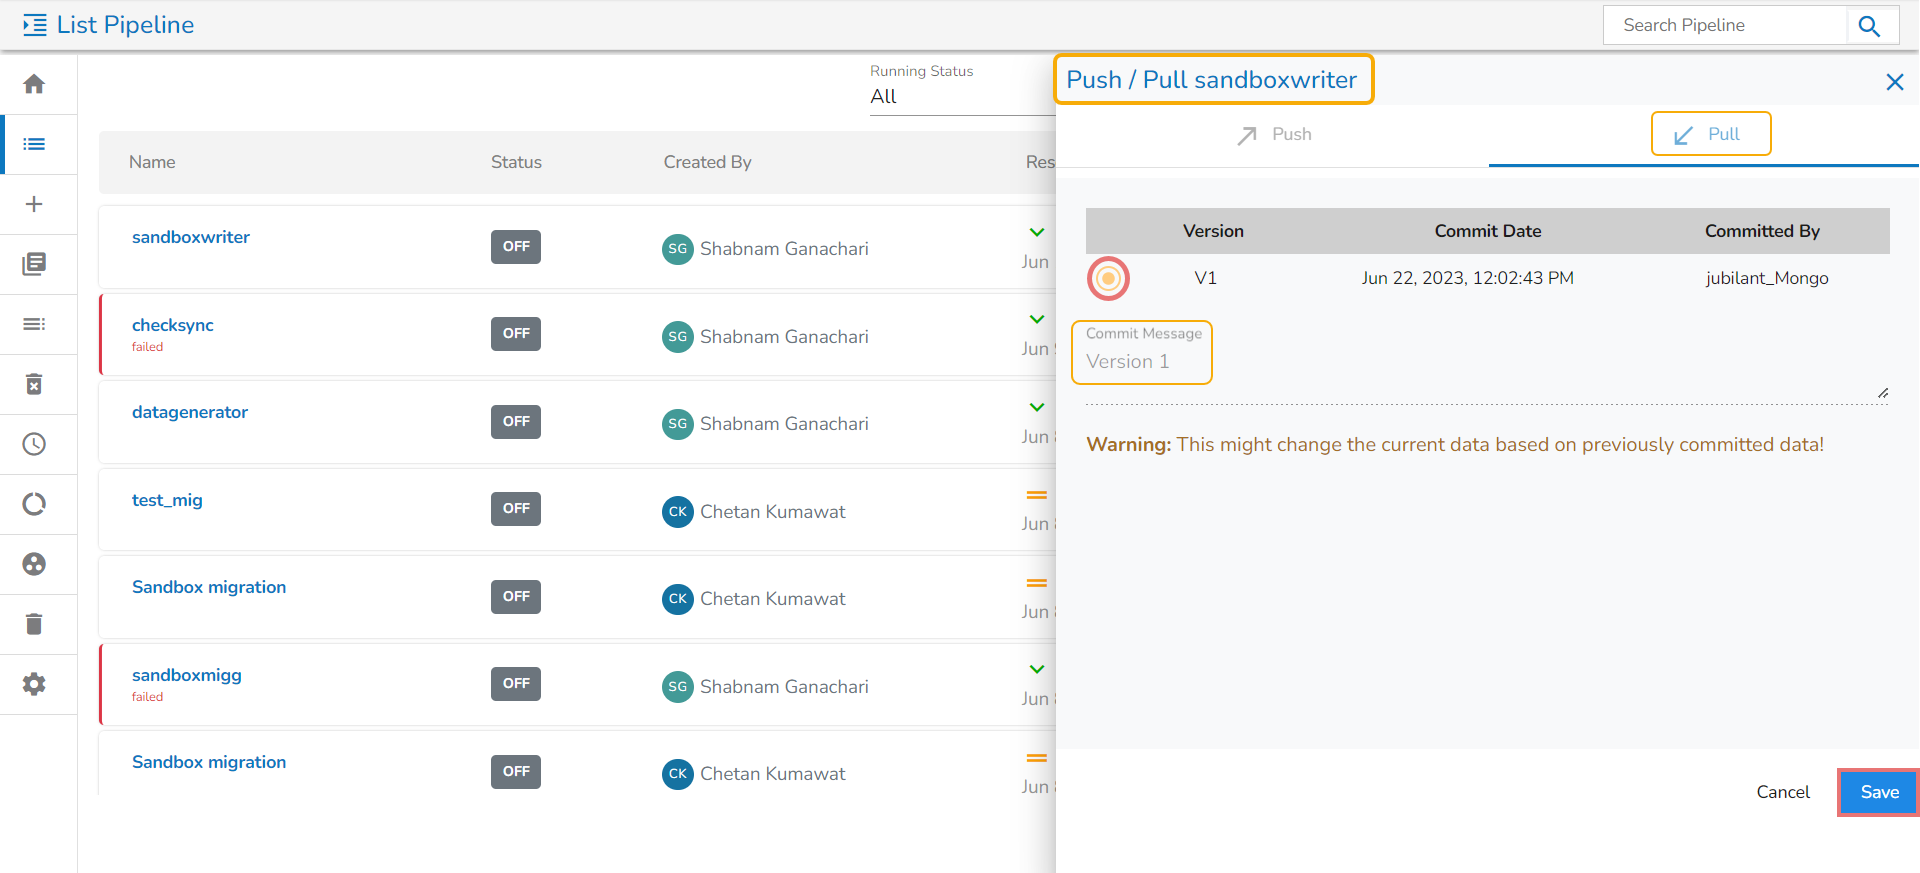
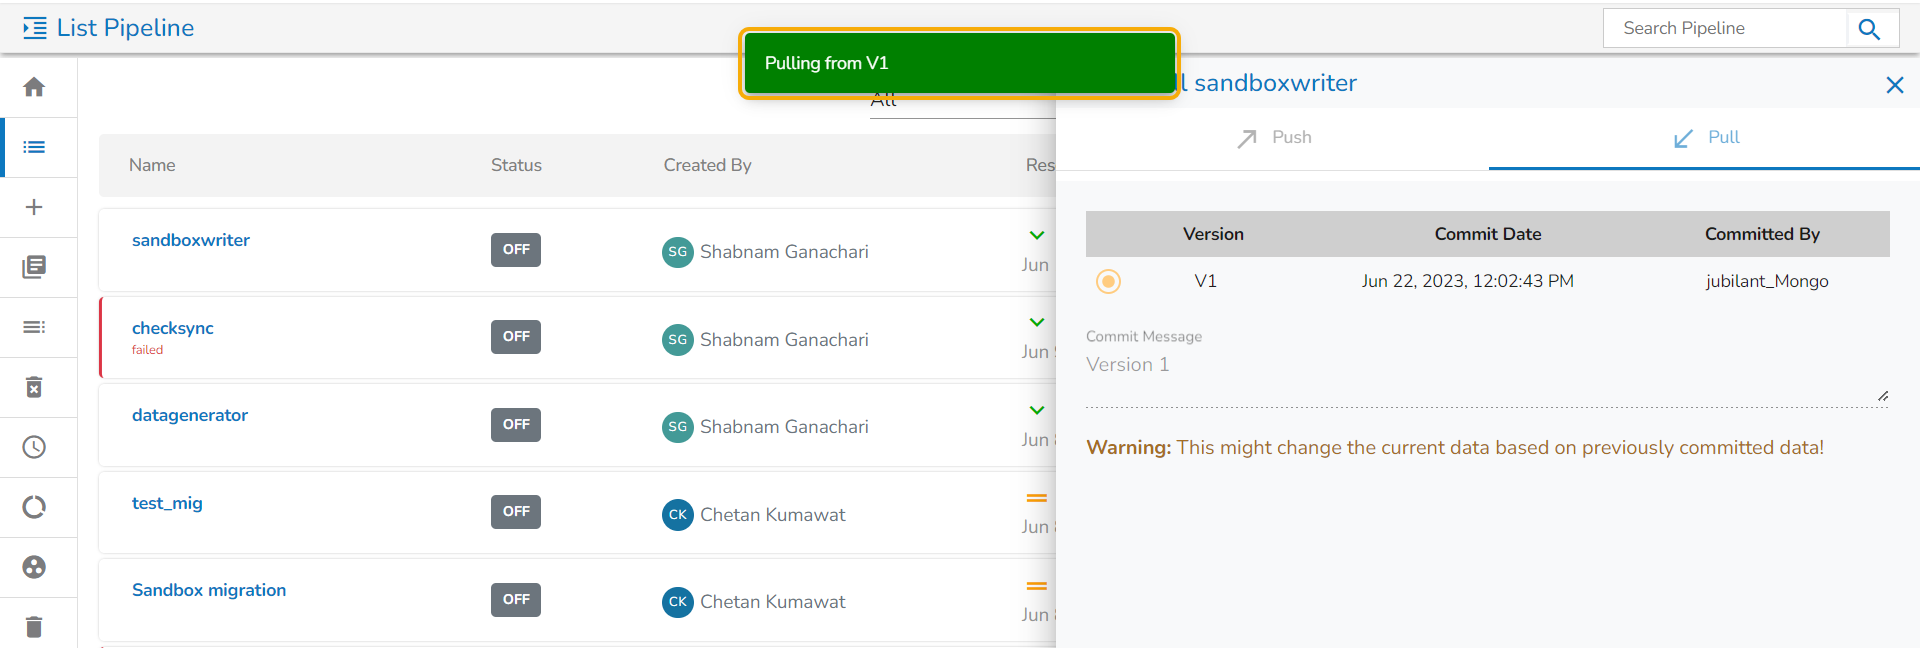
Pull tab for the selected Pipeline workflow
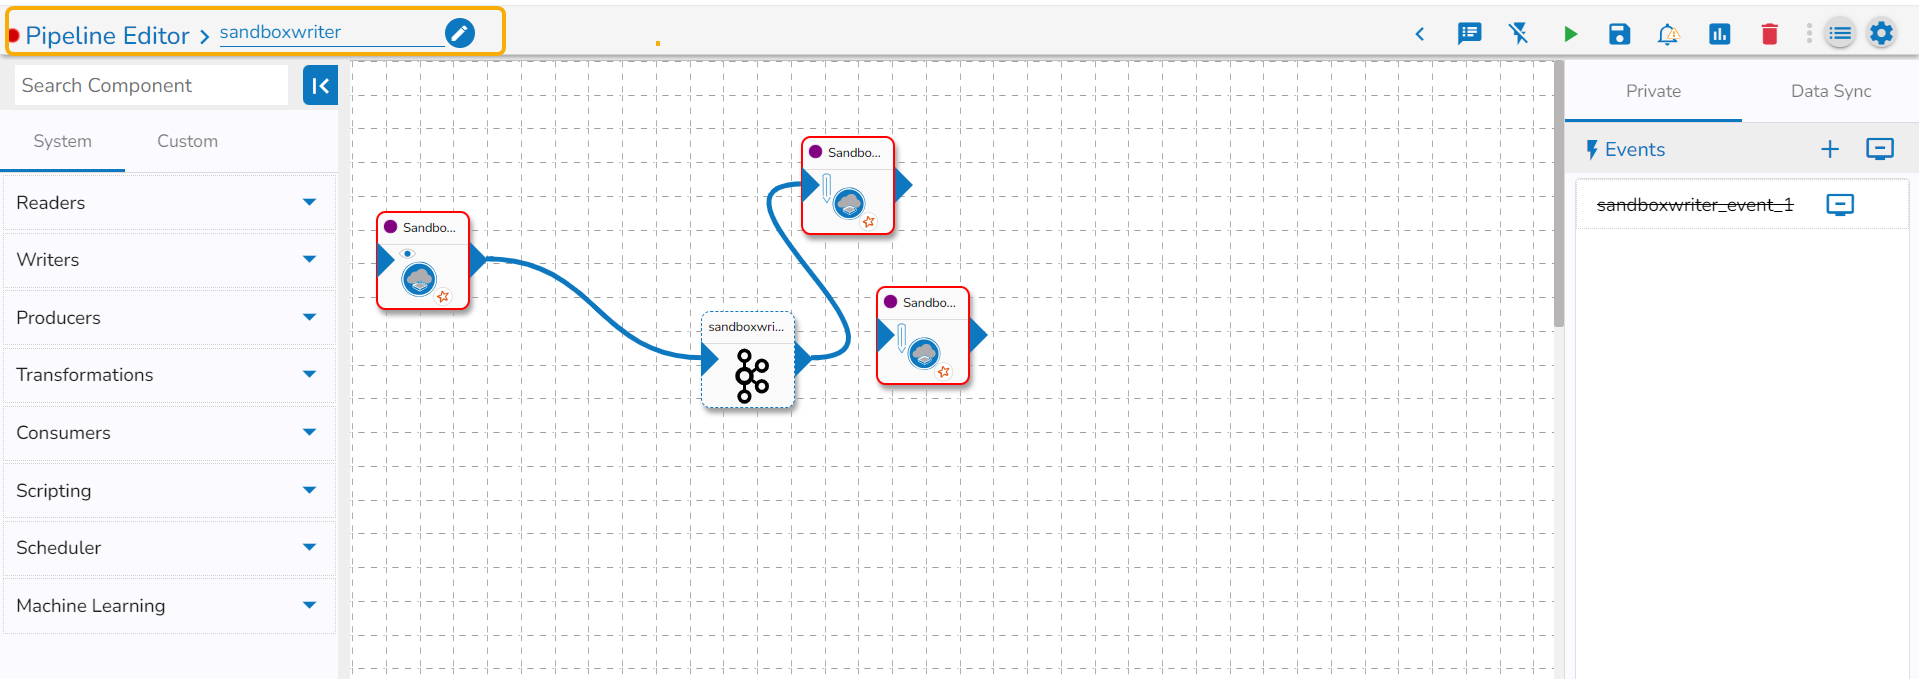
Pipeline Editor page for the selected Pipeline
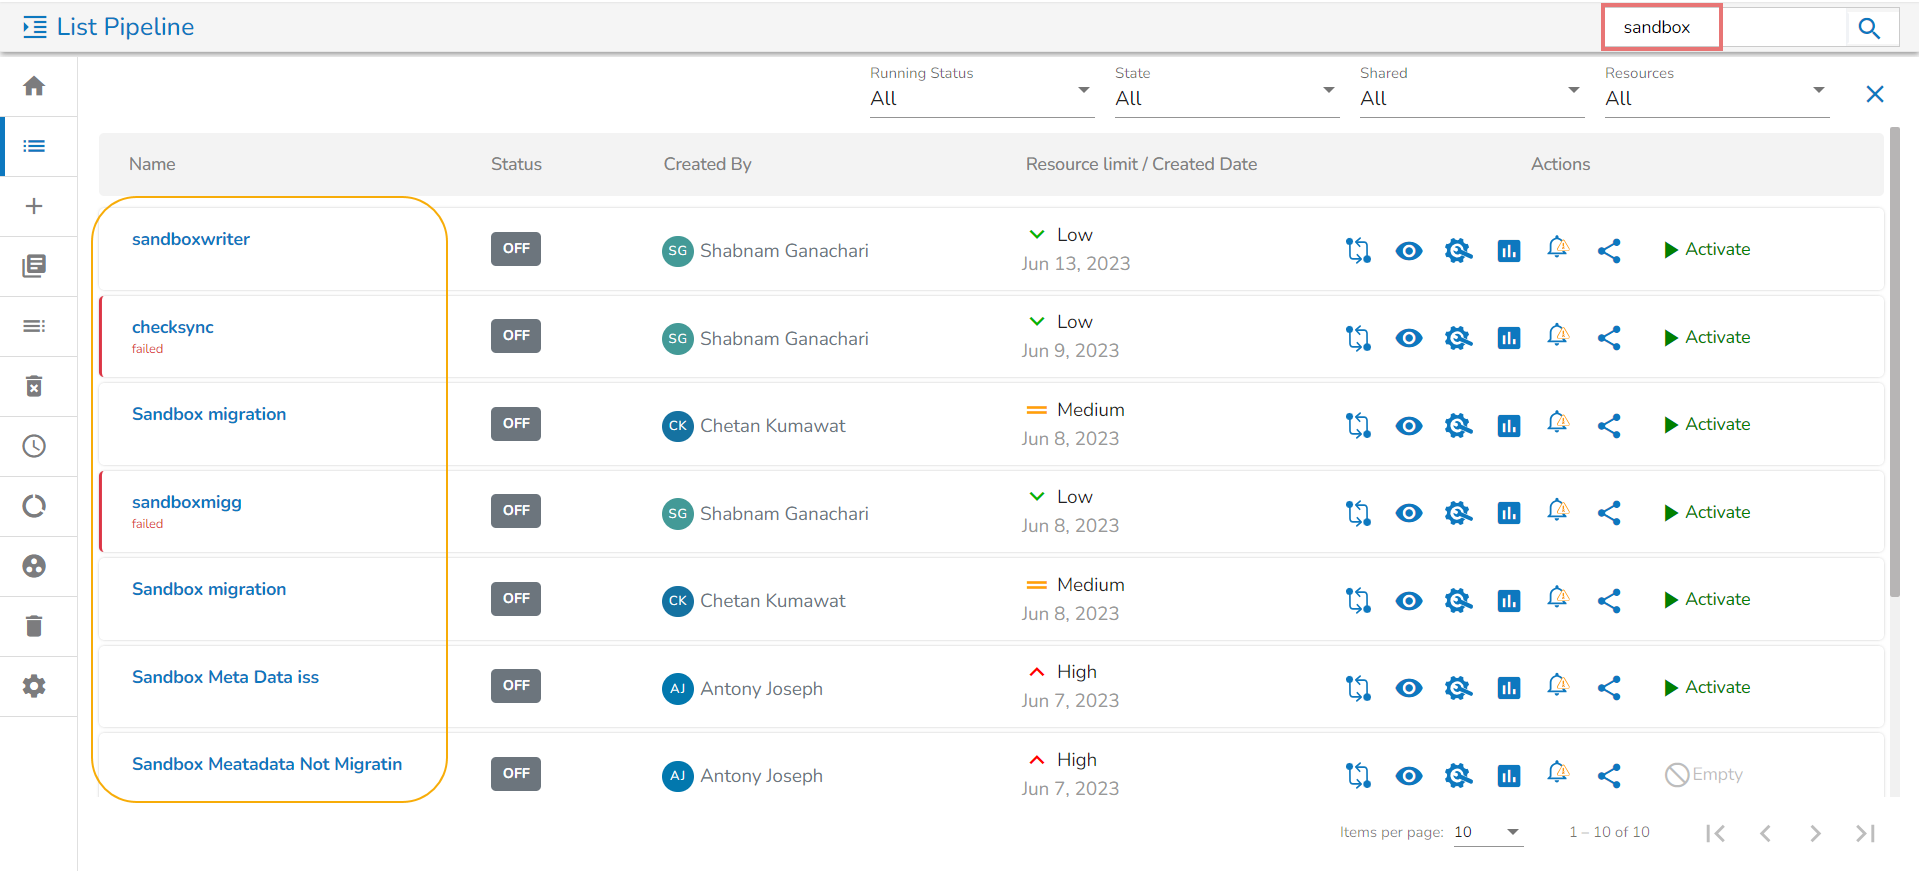
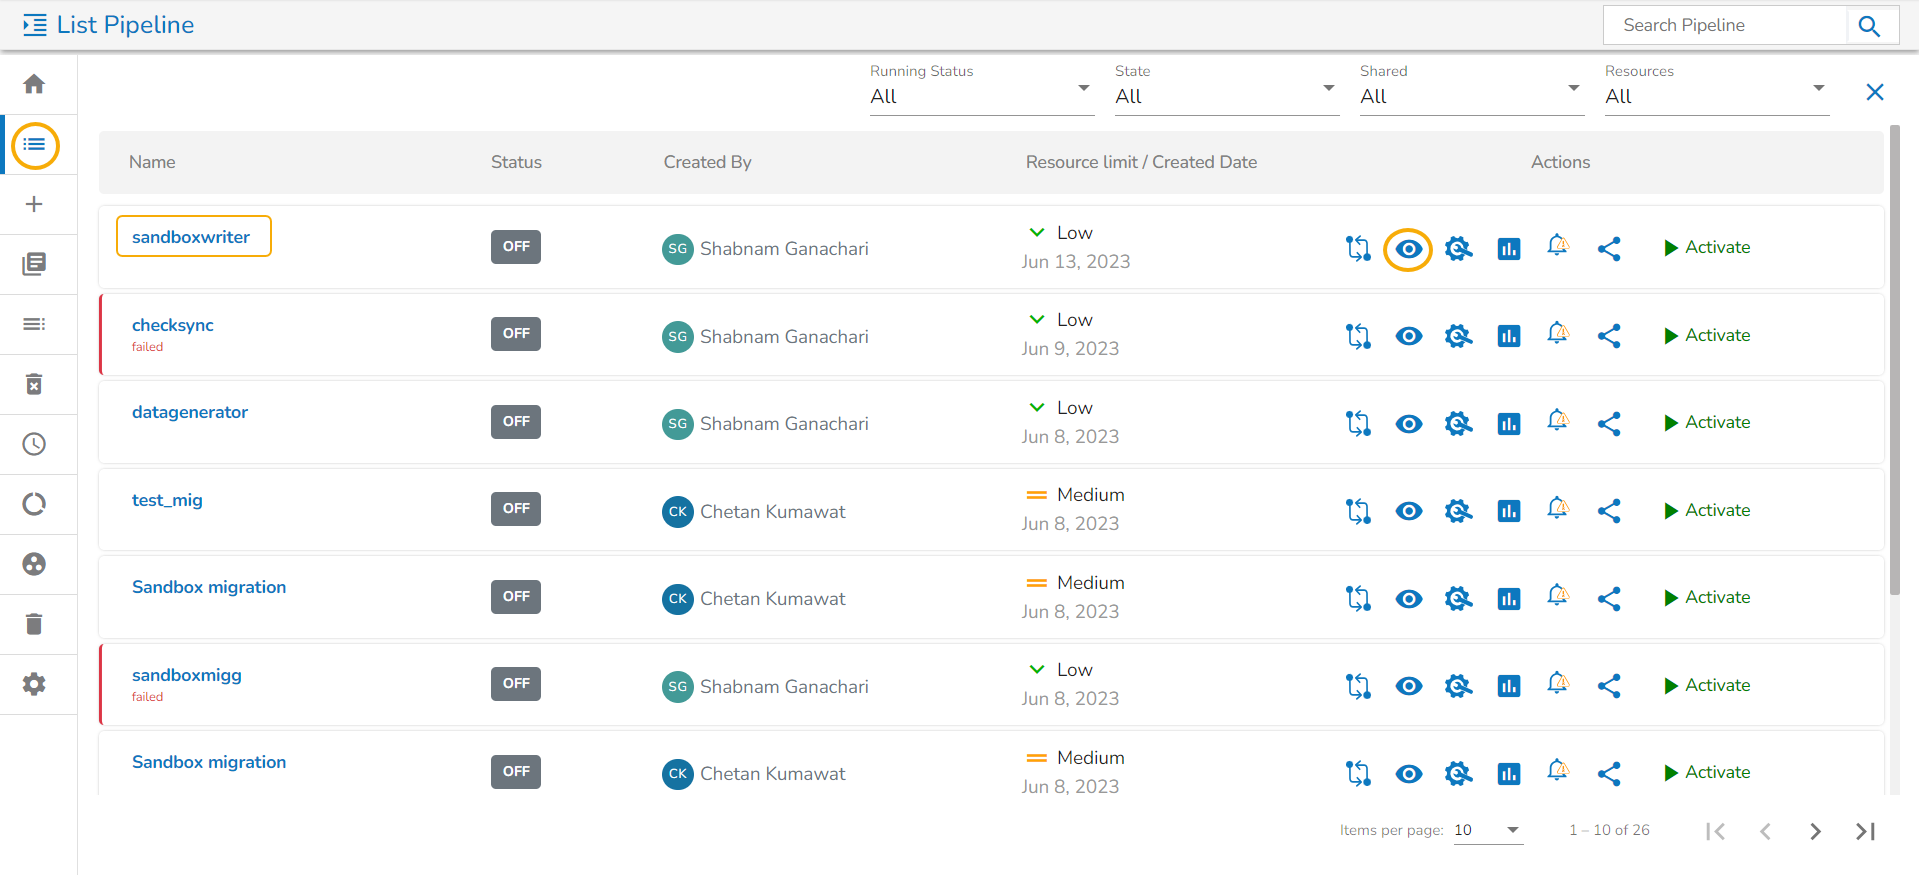
Search option for Pipelines
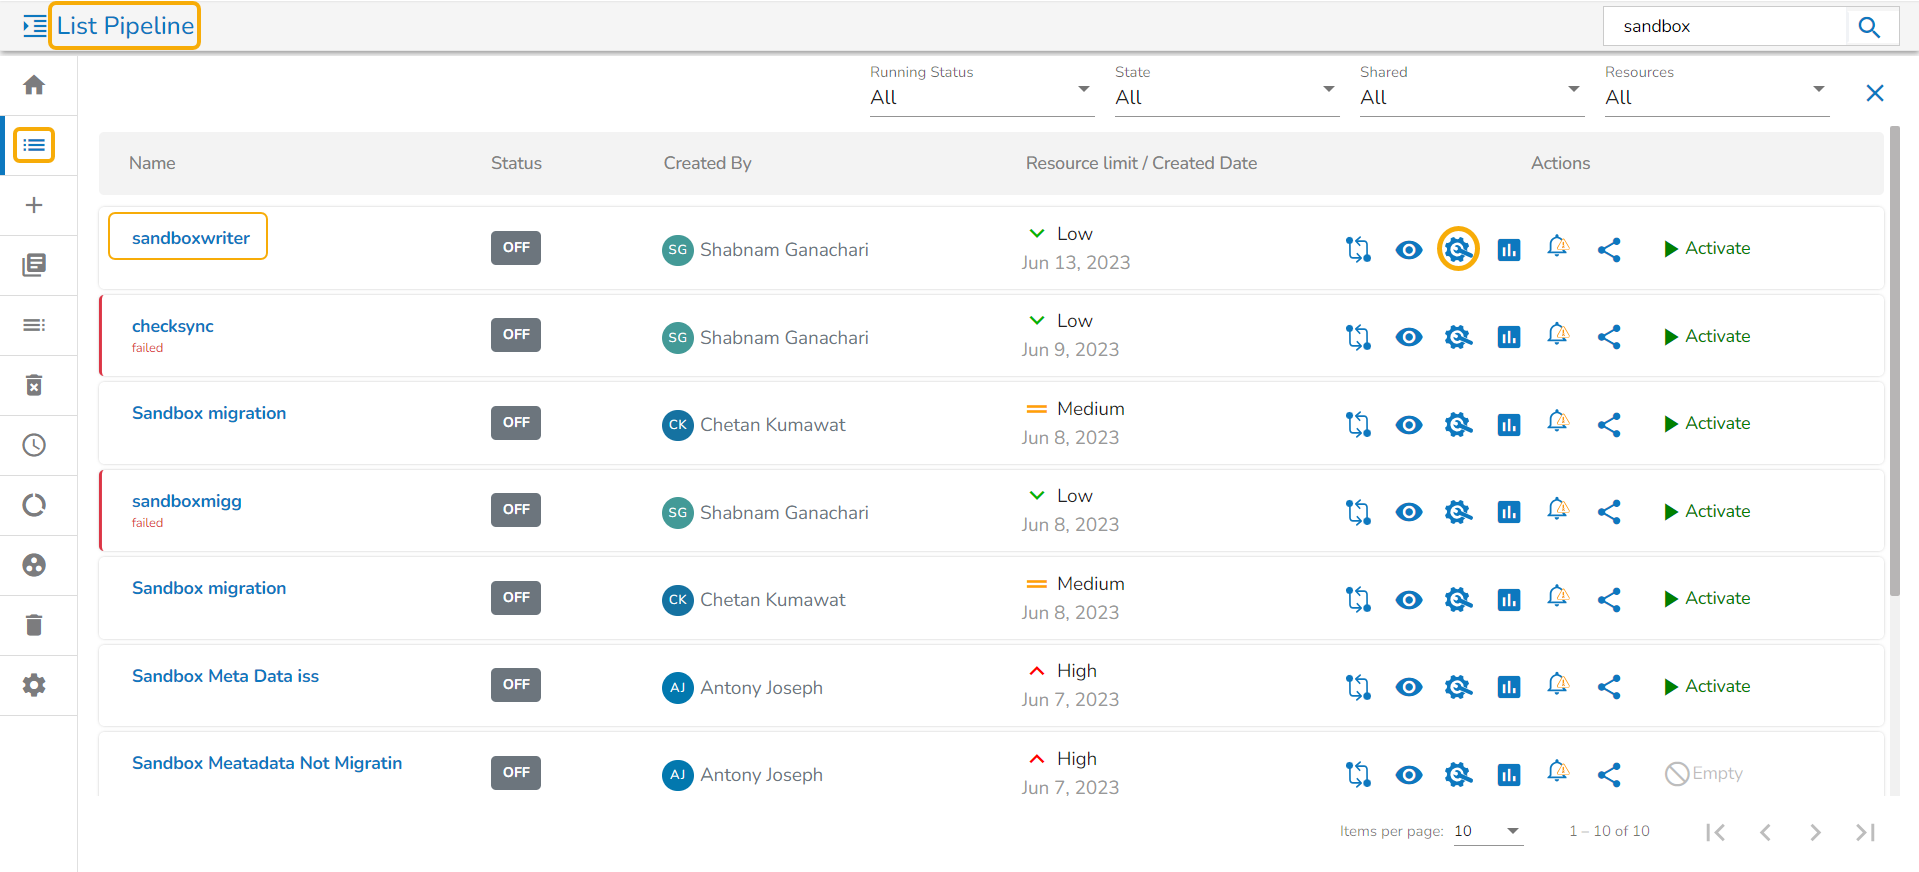
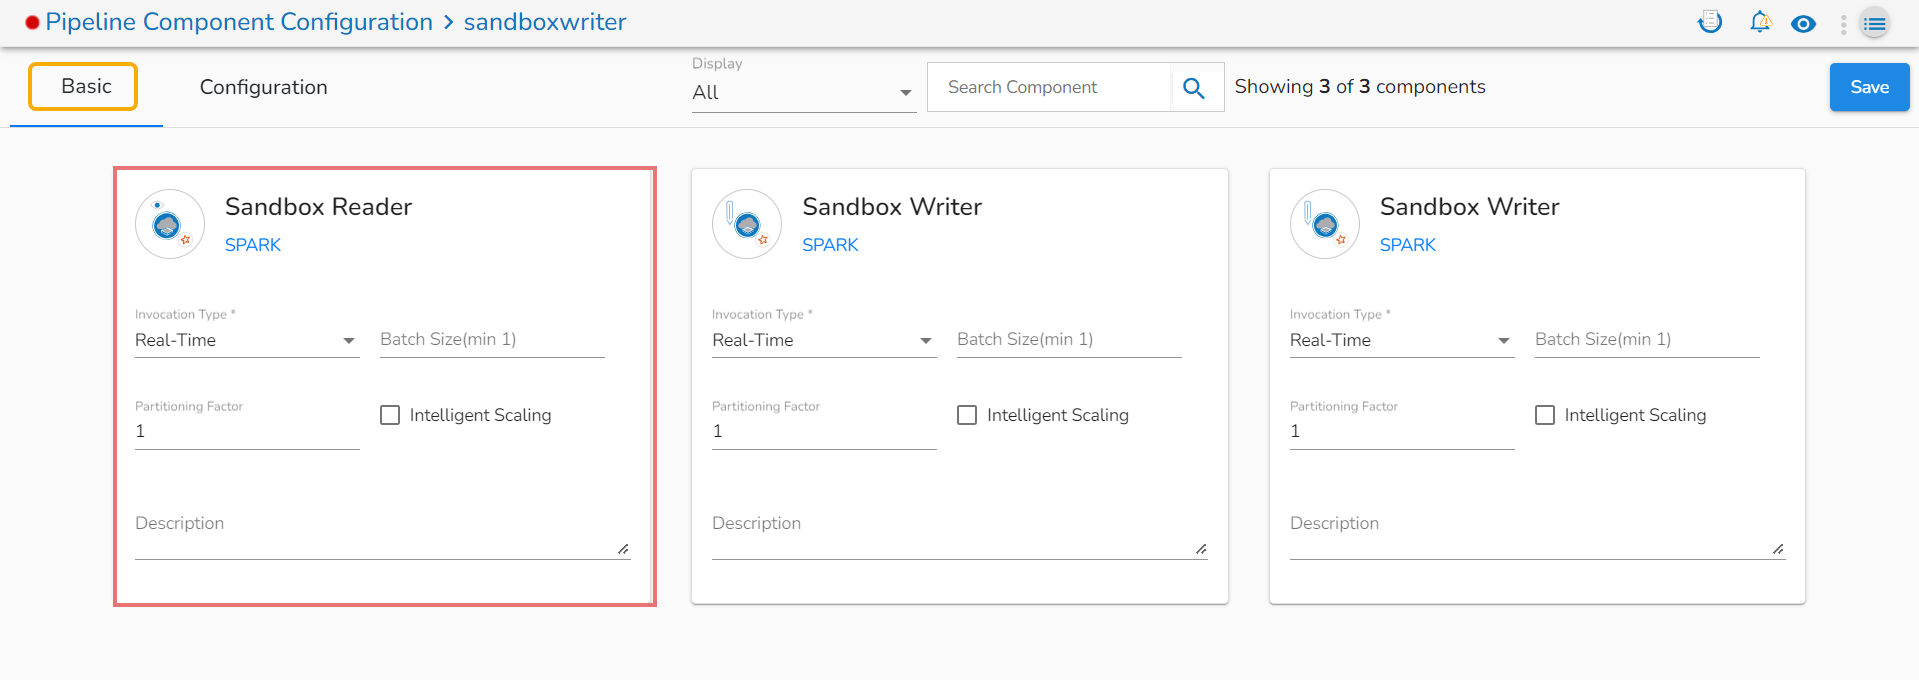
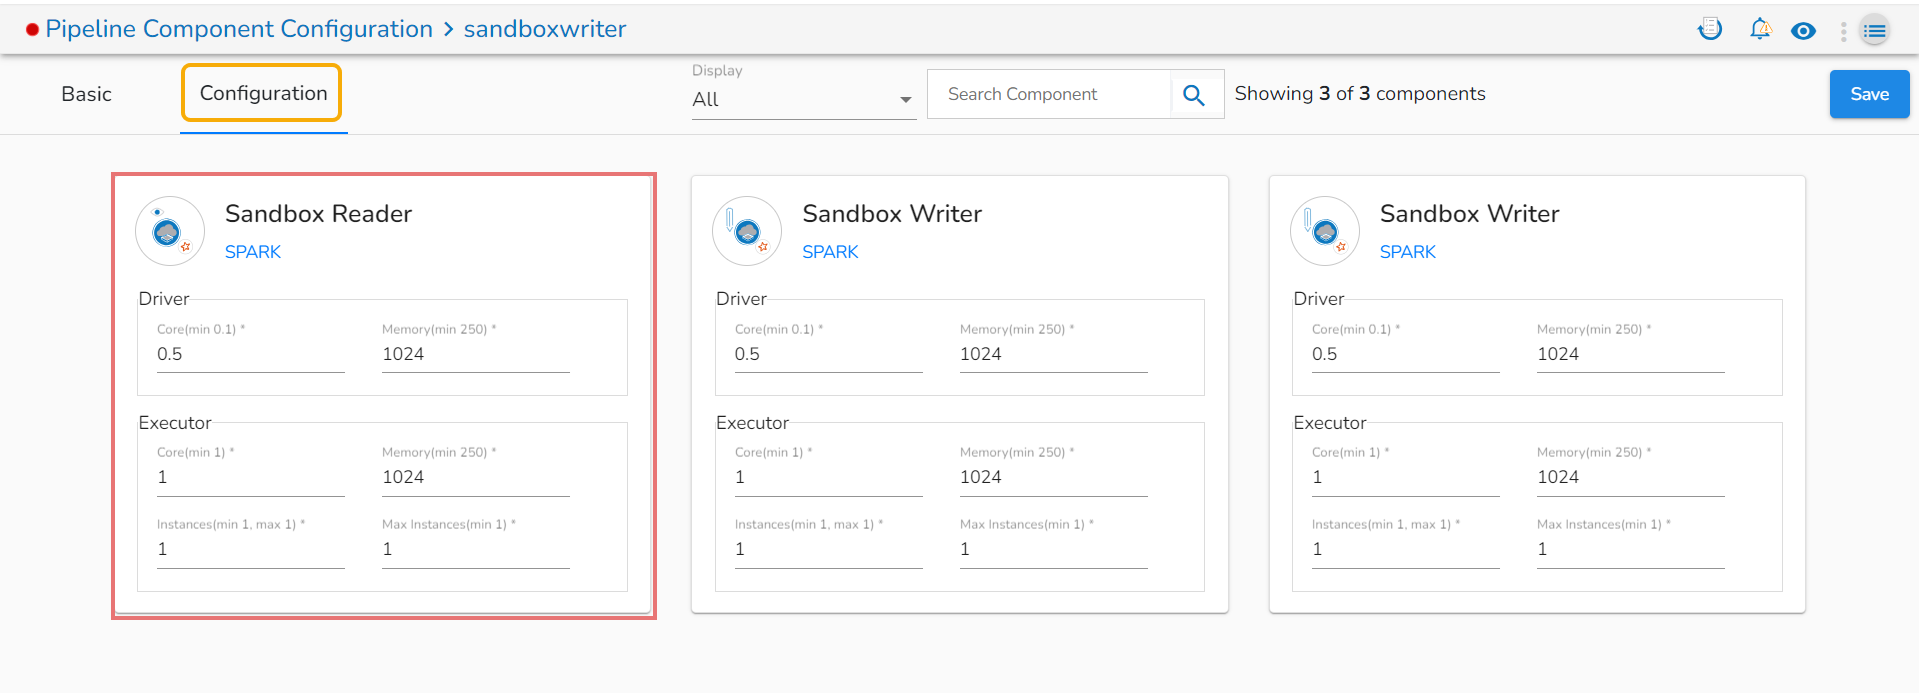
Accessing the Pipeline Component Configuration icon on the Pipeline List
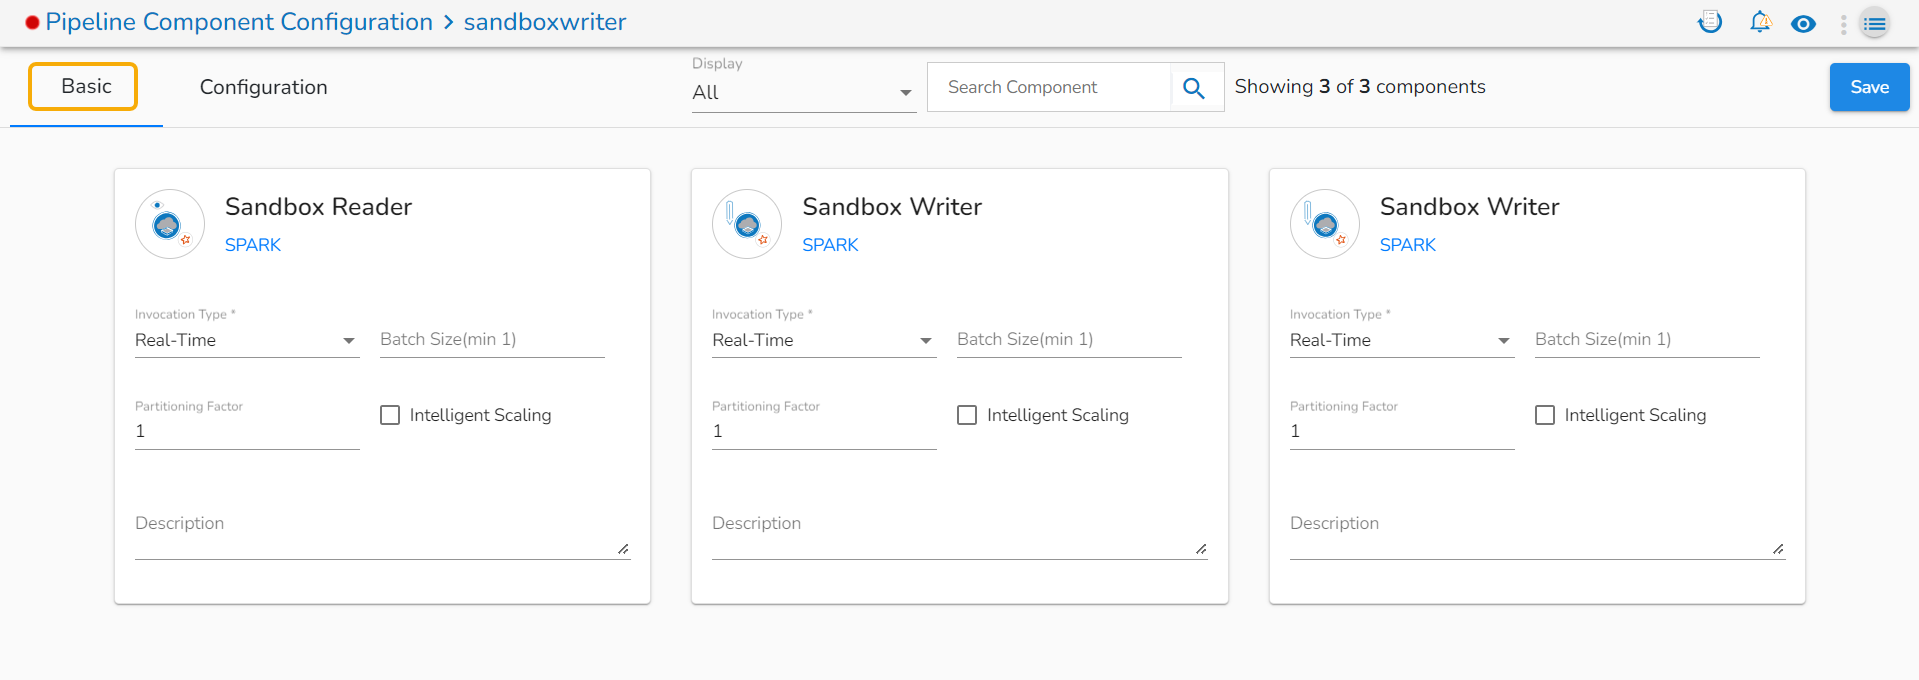
The Pipeline Component Configuration page
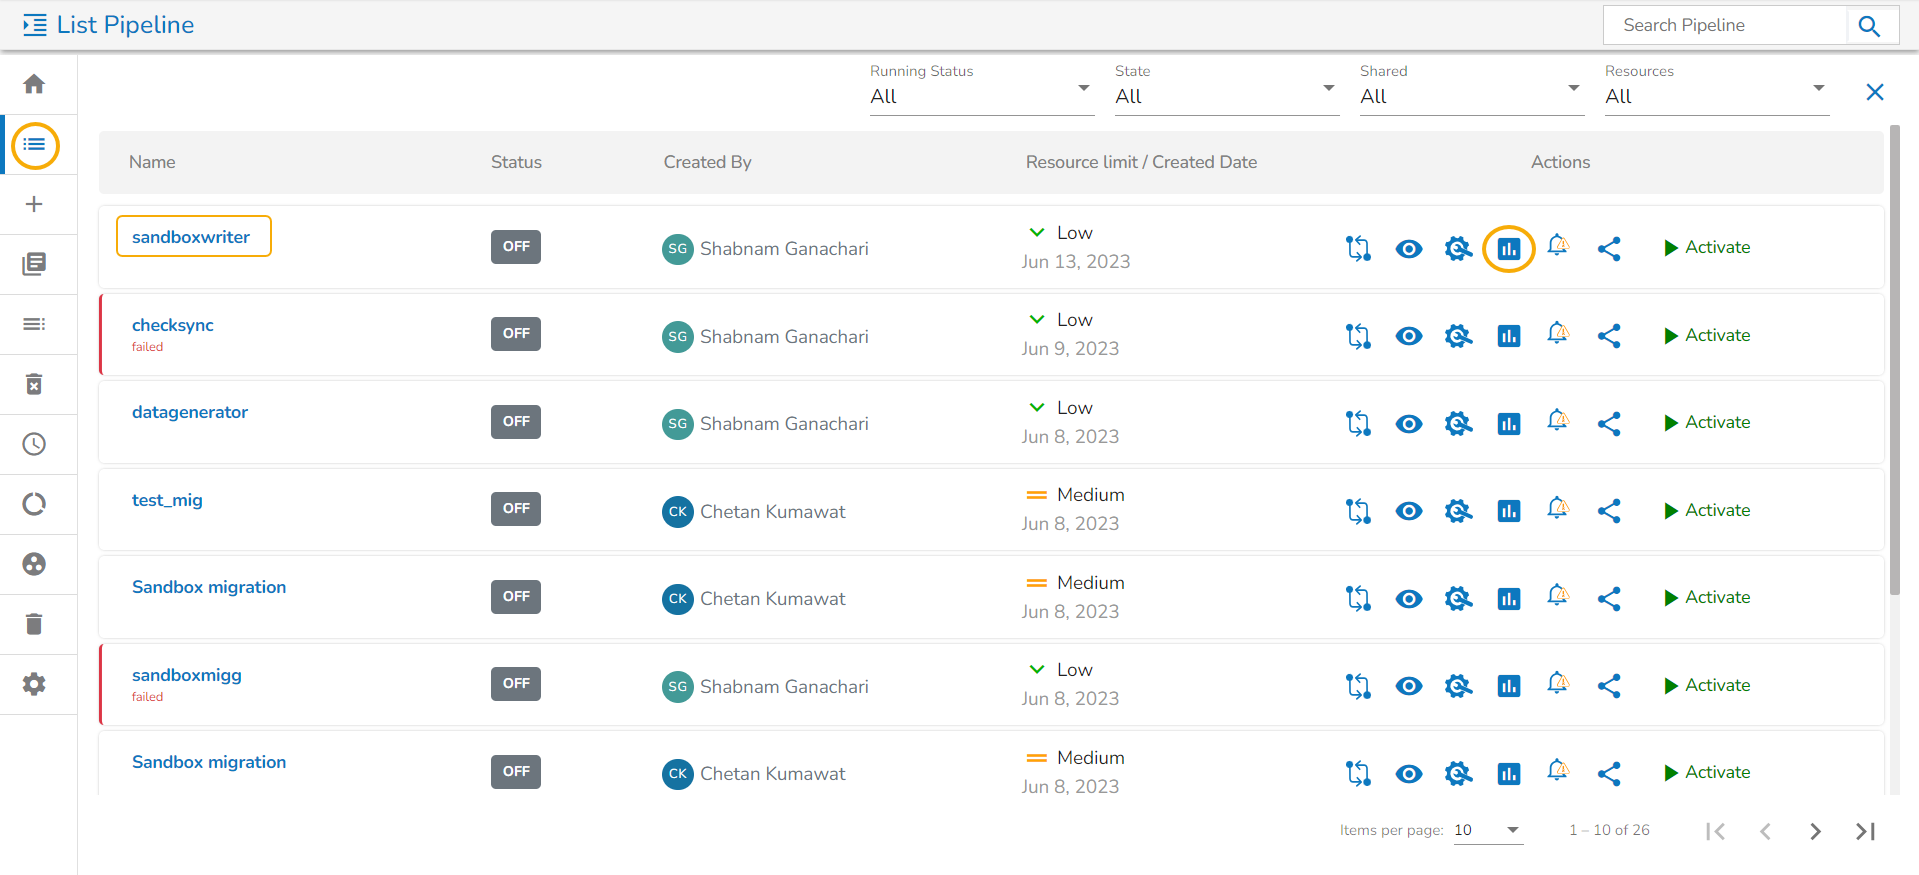
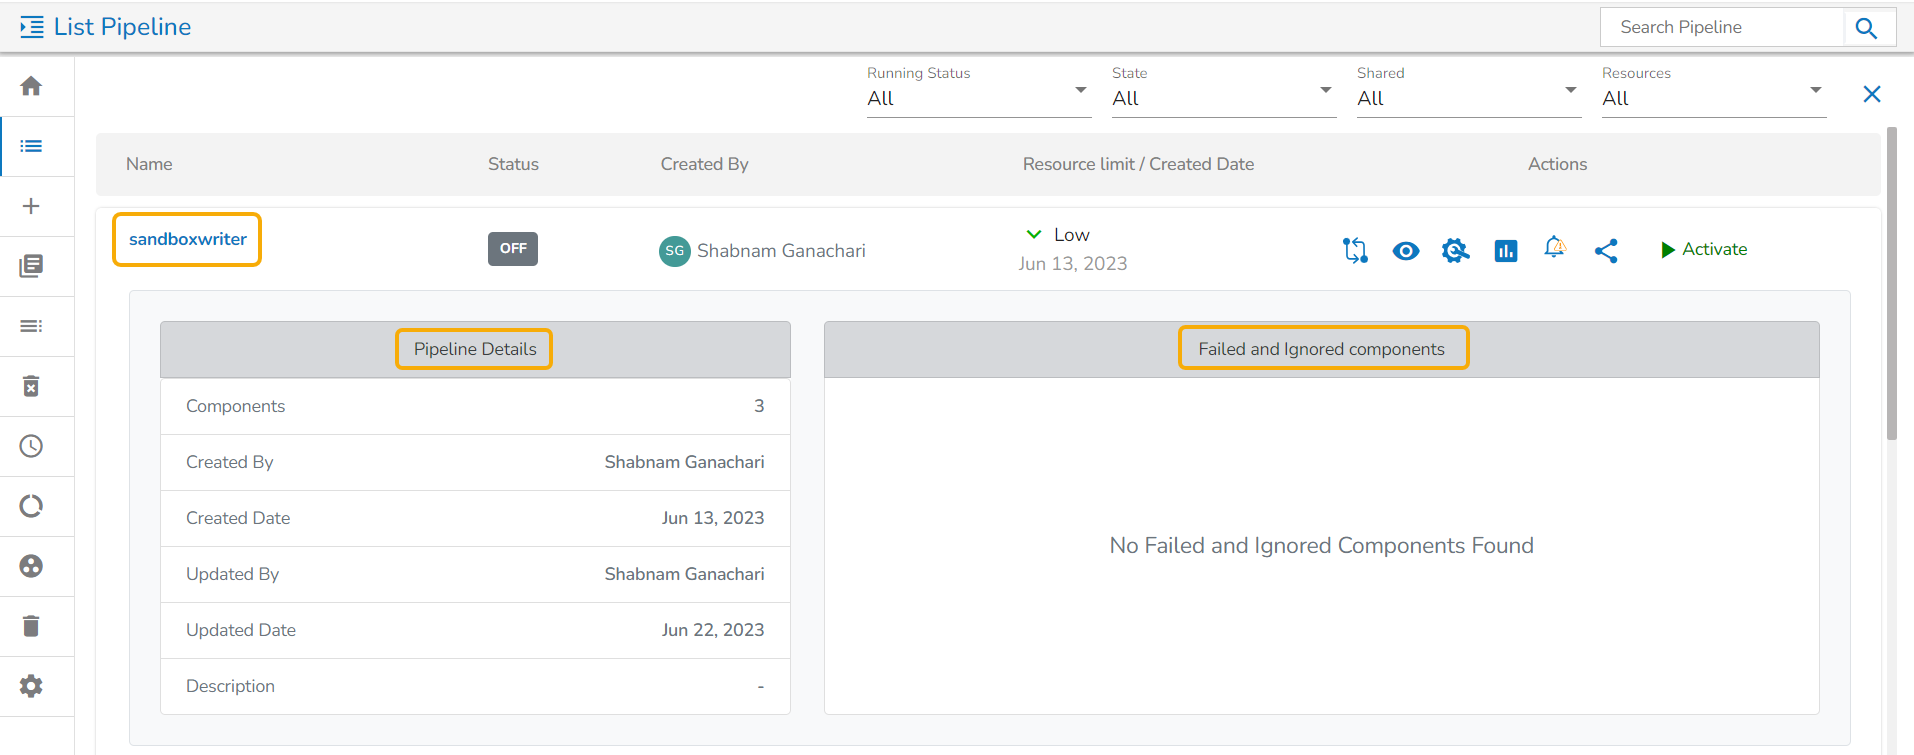
Monitor icon provided on the Pipeline List page
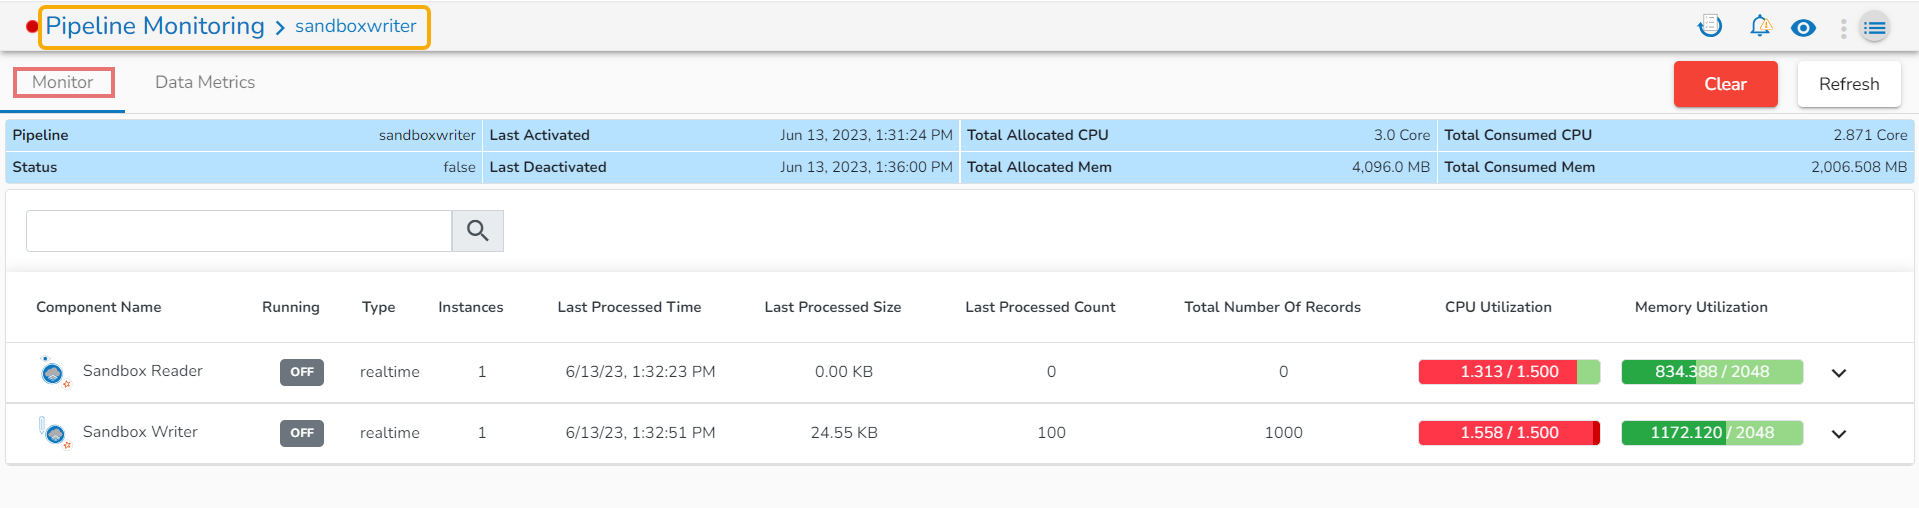
Monitor tab for a Data Pipeline

Failure Analysis icon in the Pipeline list
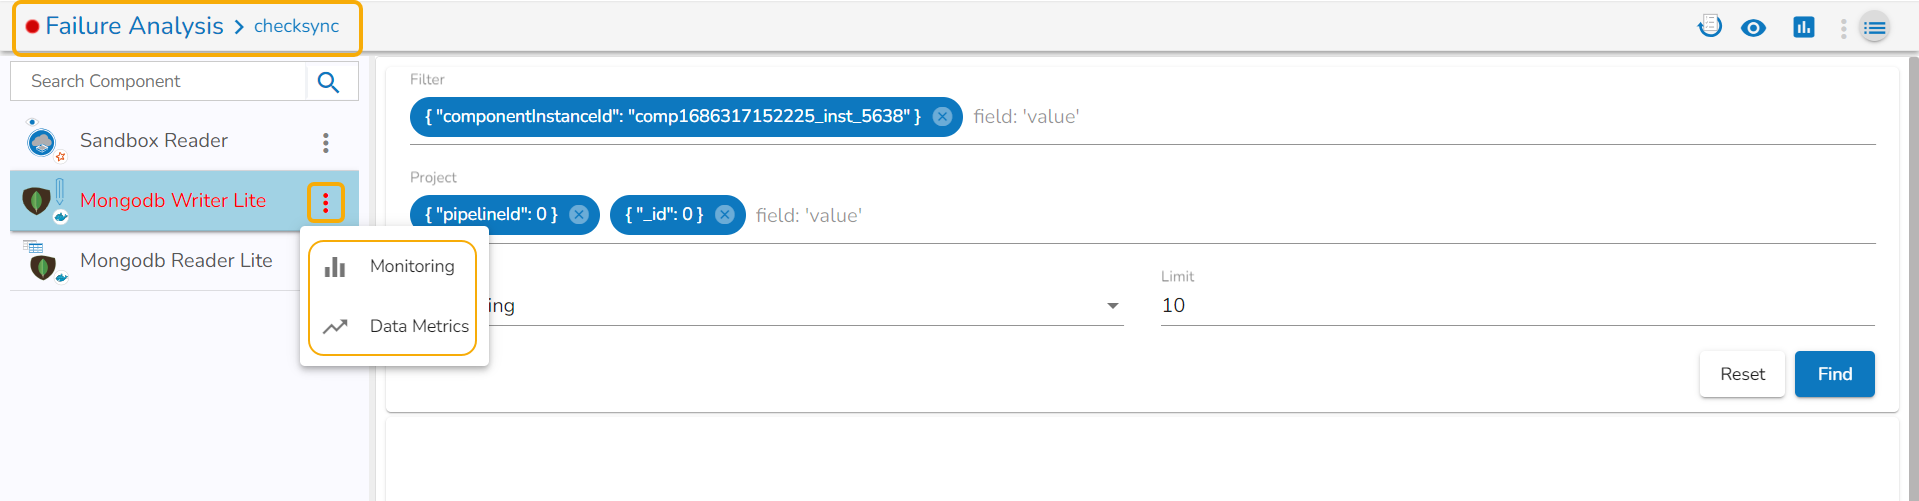
The Failure Analysis page for the selected Pipeline flow
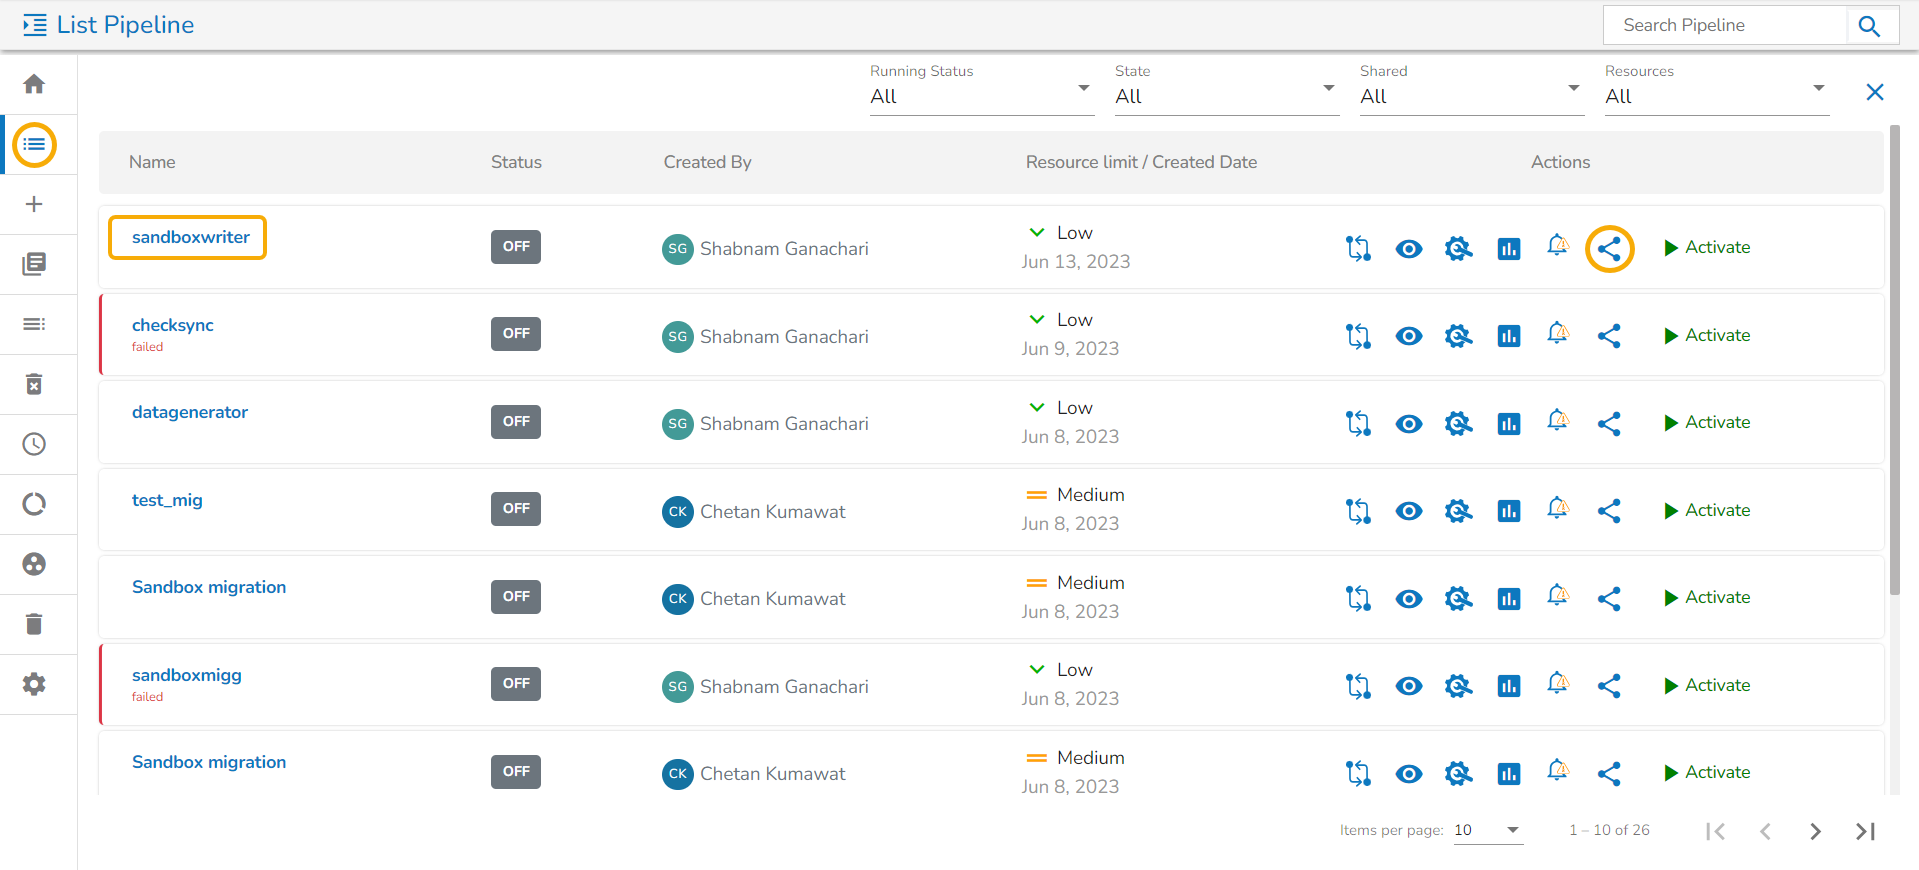
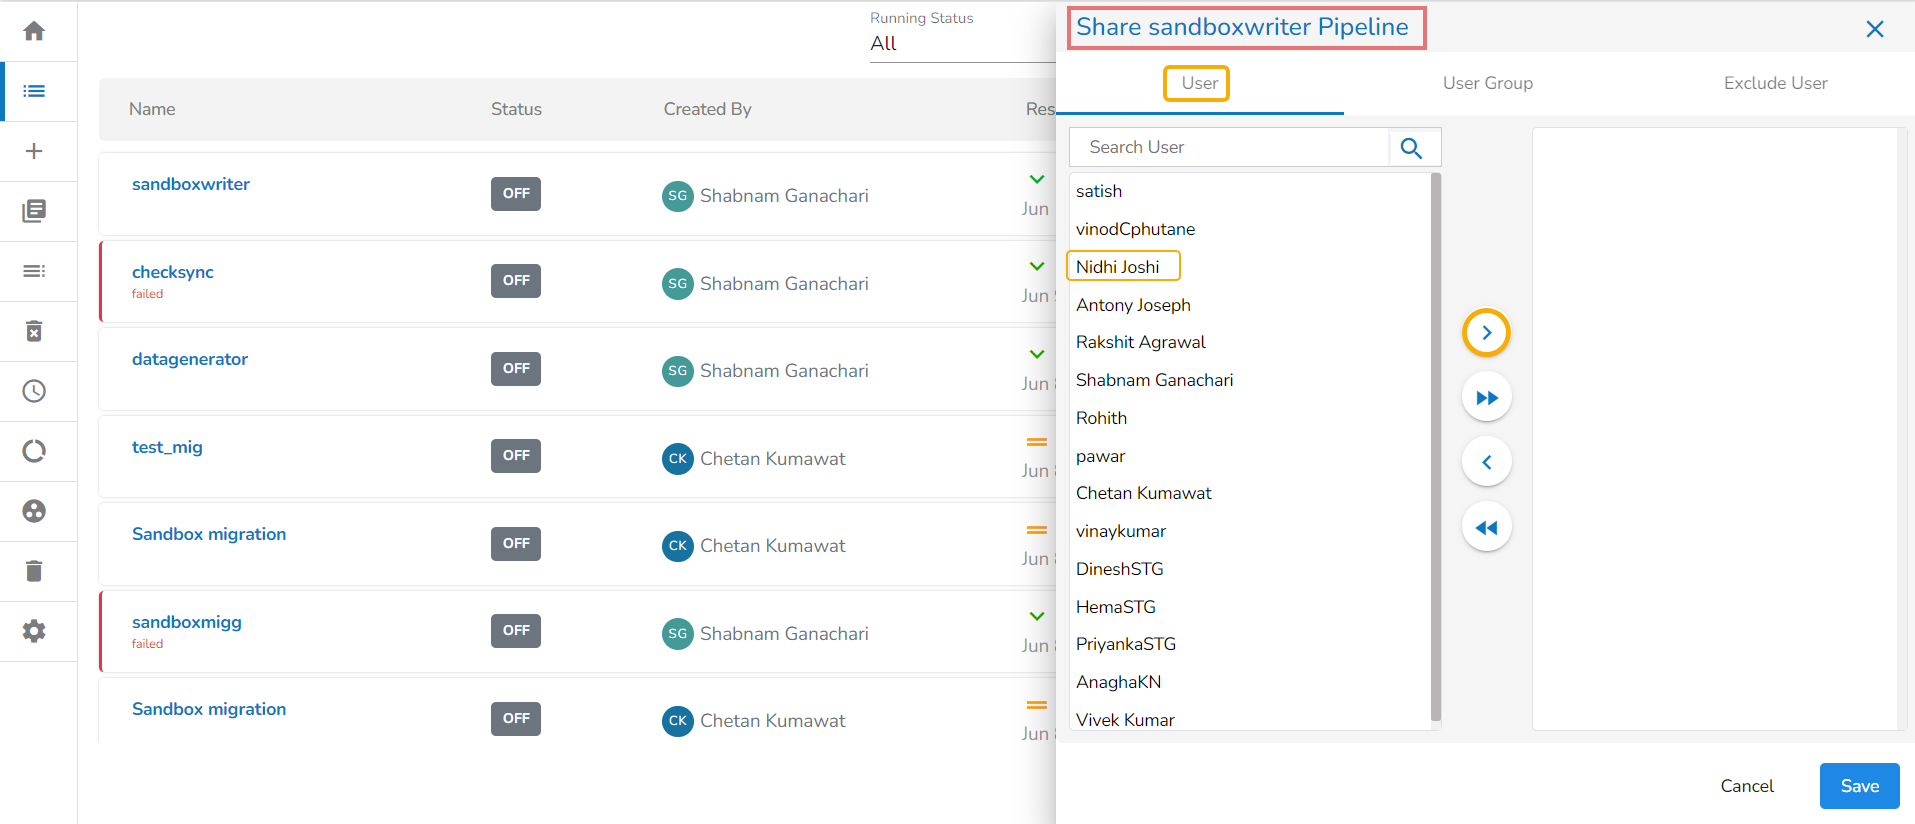
Accessing the Share icon from the List Pipeline page
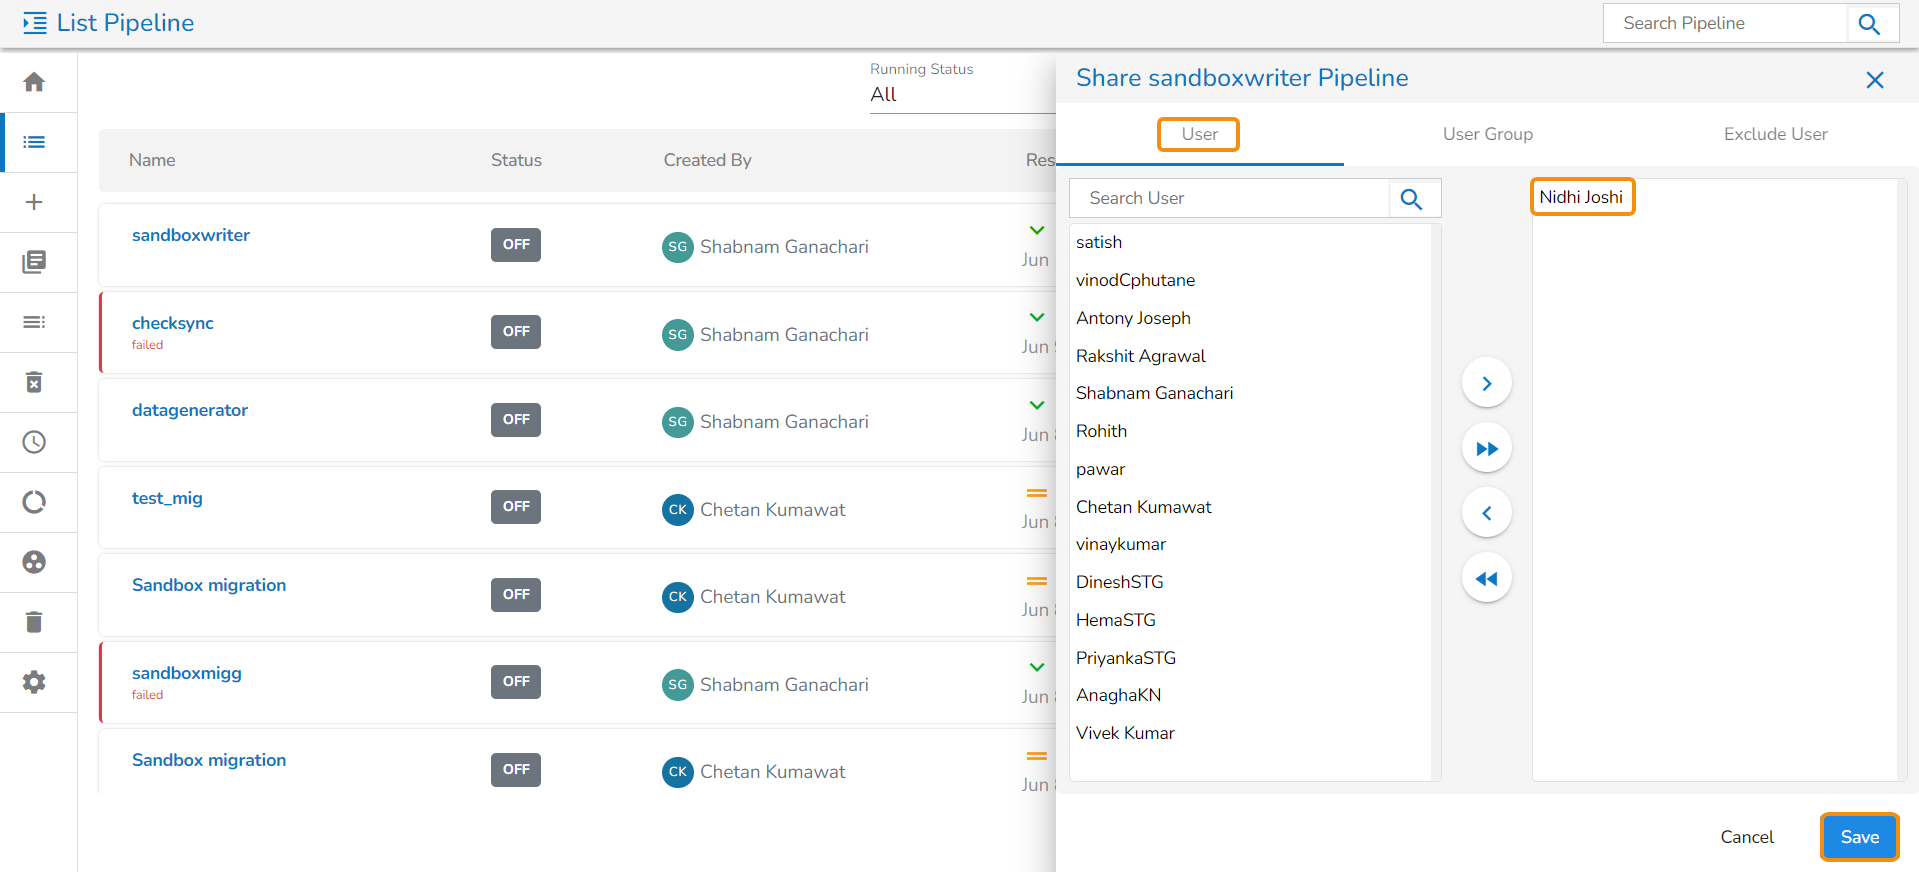
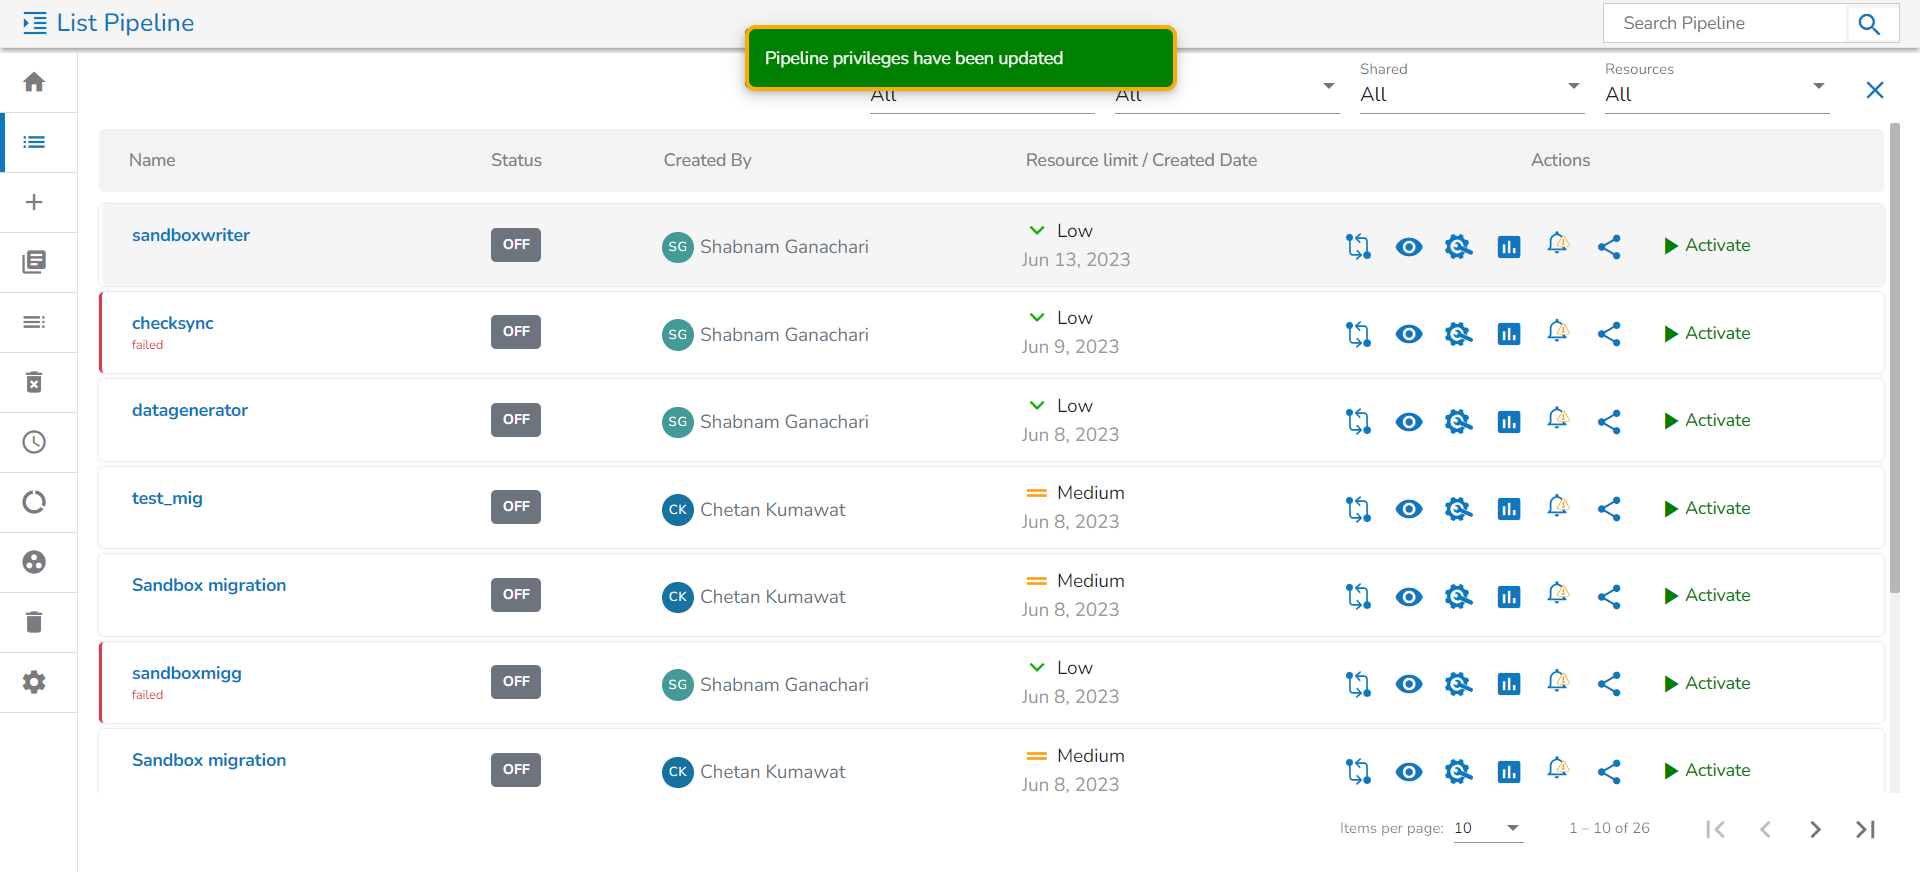
Confirmation message after a Pipeline gets shared
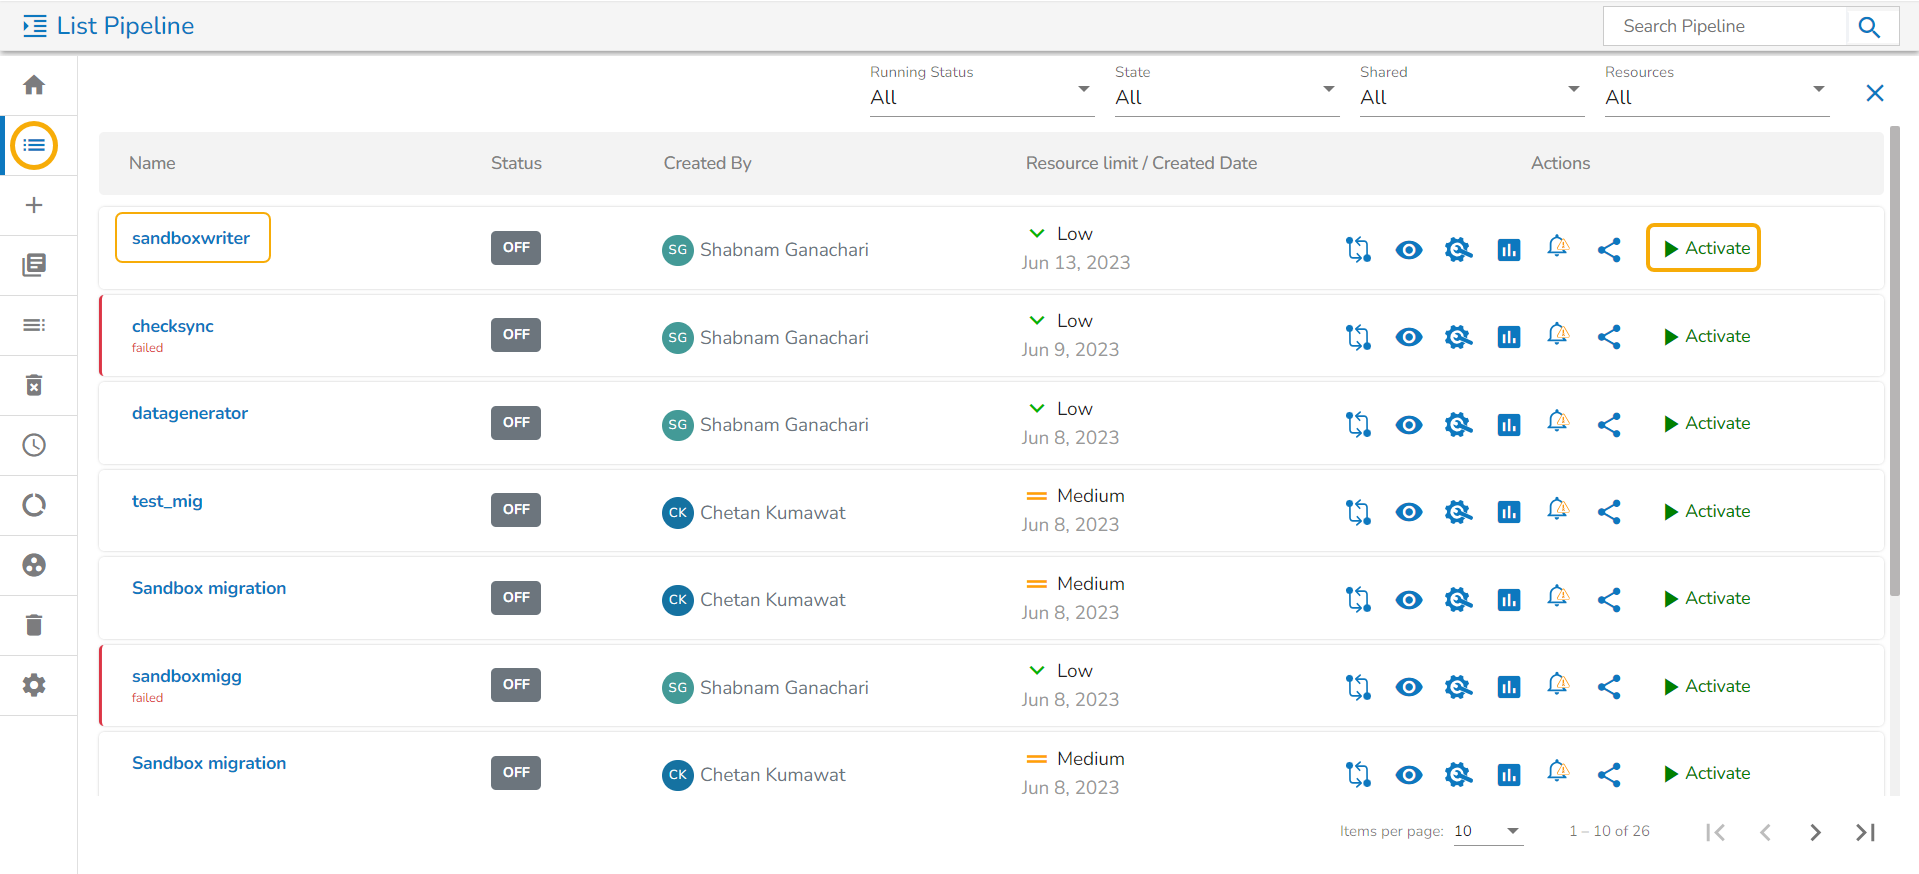
Accessing the Activate option on the Pipeline List
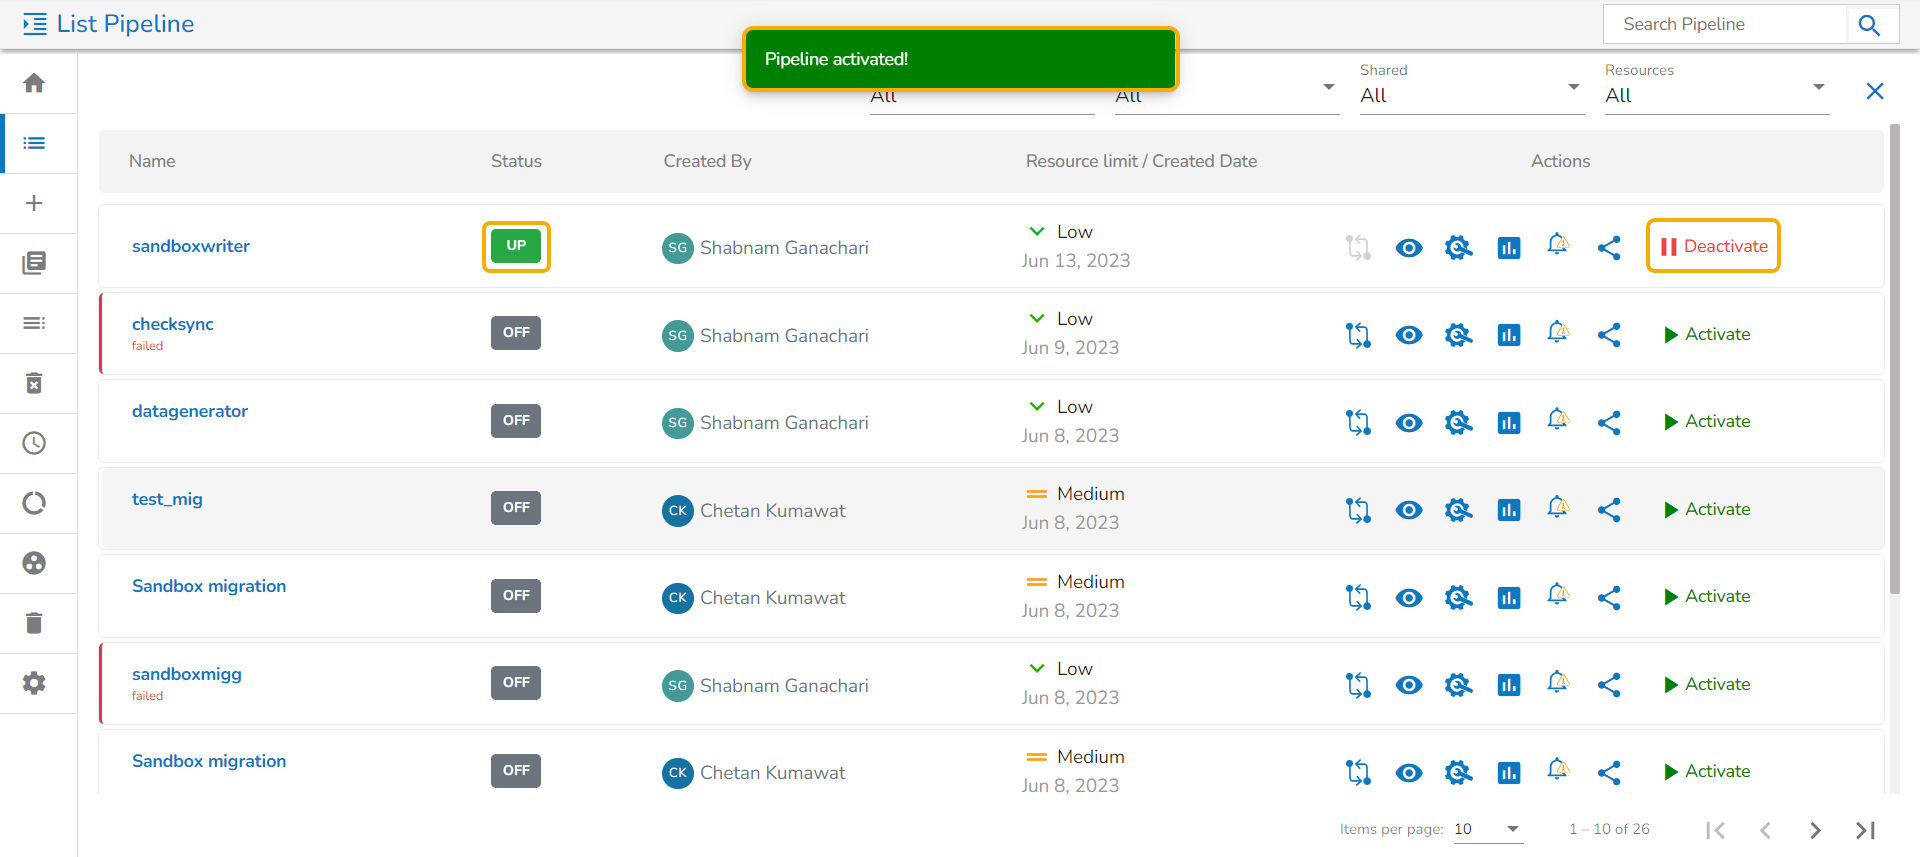
Activating Pipeline
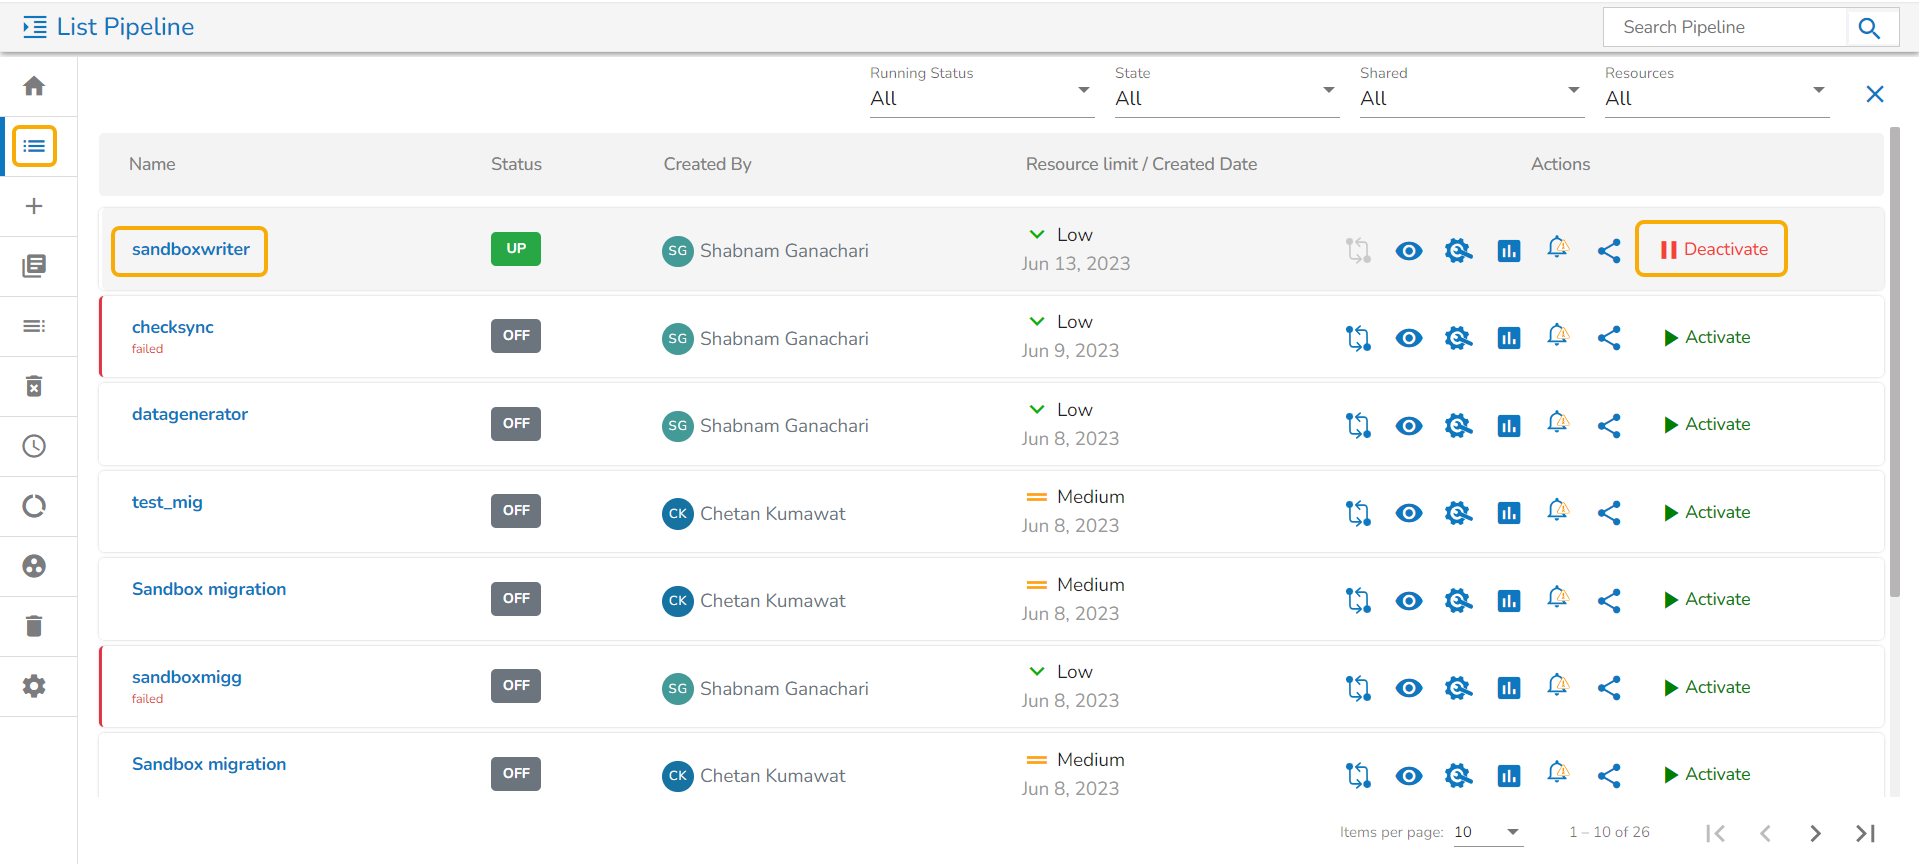
Accessing the Deactivate icon
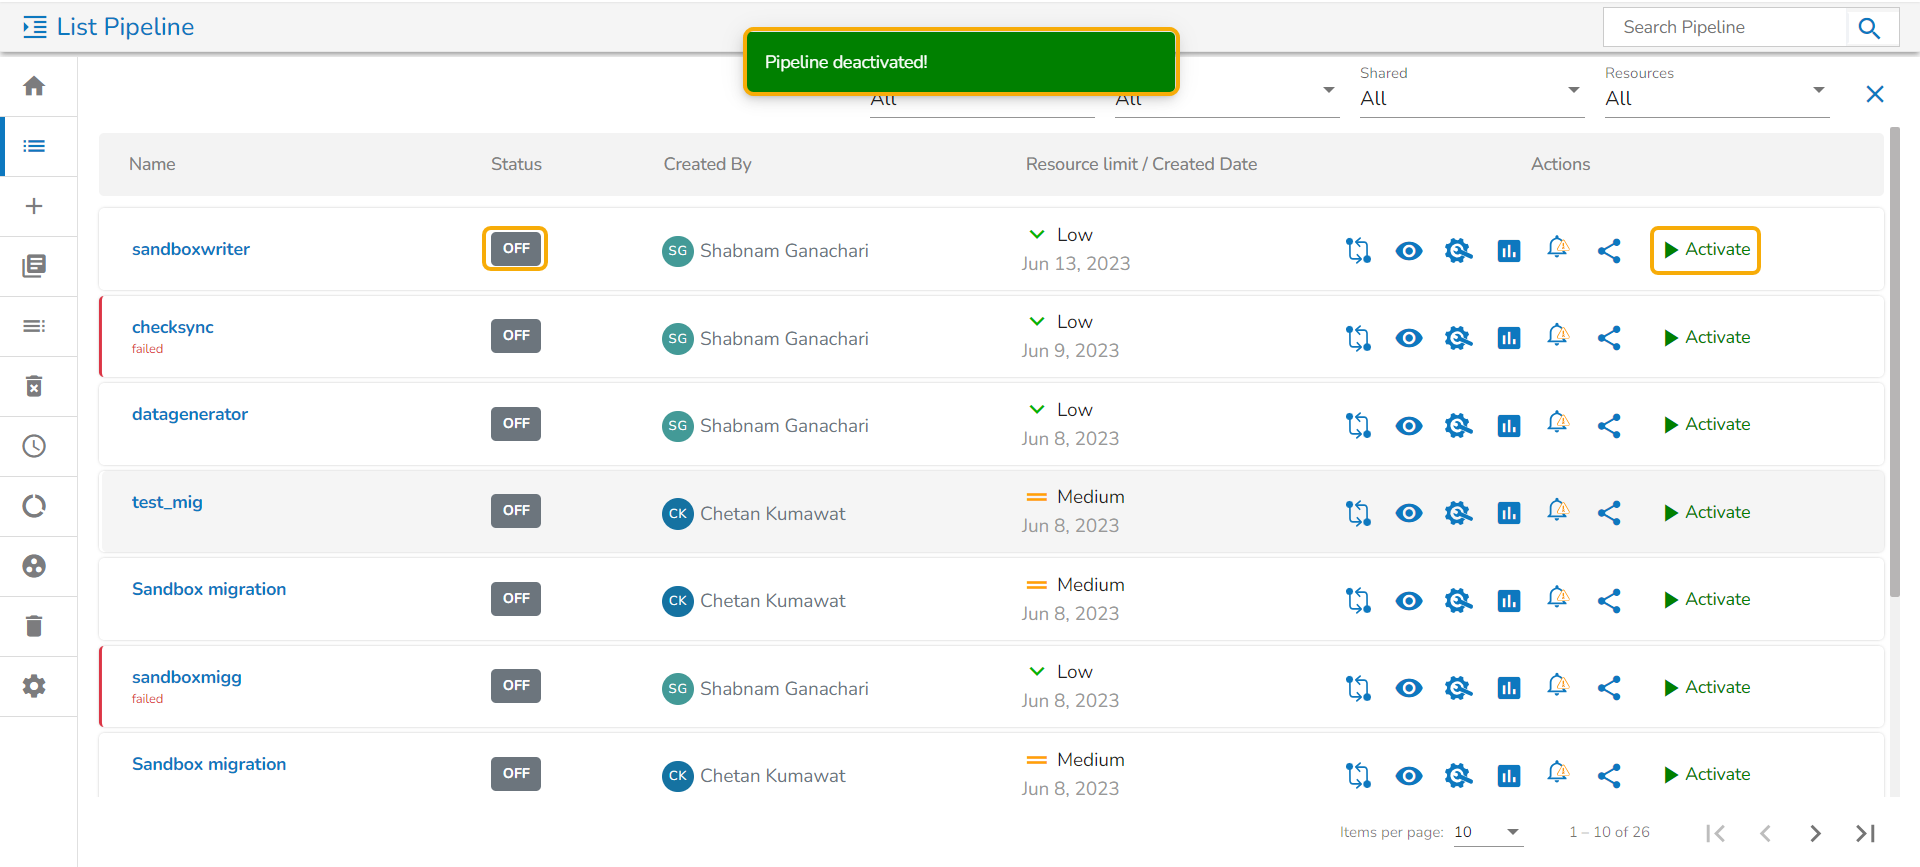
Deactivating a Pipeline from the Pipeline List