
Events [Kafka and Data Sync]
Kafka Event
Creating a Kafka Event
Navigate to the Pipeline Editor page.
Click the Toggle Event Panel
 icon from the header.
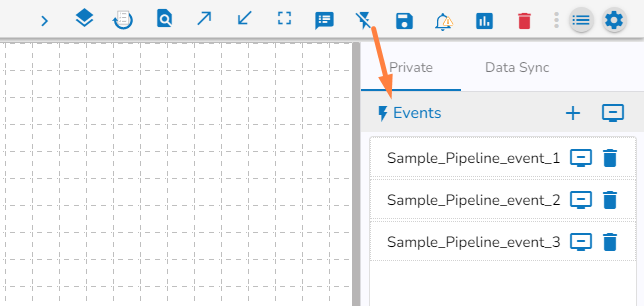
The Events Panel appears, and the Toggle Event Panel icon gets changed as
 suggesting that the event panel is displayed.
Click the Add New Event icon from the Event Panel.
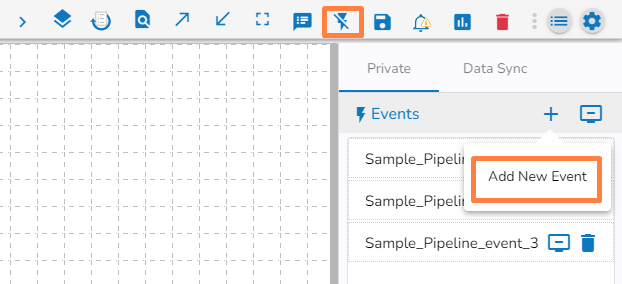
The New Event window opens.

Provide a name for the new Event.
Select Event Duration: Select an option from the below-given options.
* Short (4 hours)
* Medium (8 hours)
* Long (48 hours)
* Full Day (24 hours)
* Long (48 hours)*
Week (168 hours)
Please Note: The event data gets erased after 7 days if no duration option is selected from the available options. The Offsets expire as well.
Provide No. of Partitions (1-50). By default, the number of partitions will be 3.
No. of Outputs: The user can define the number of outputs using this field.
Checkmark the 'Is Failover' option to enable the Failover Event.
Select a Pipeline using the drop-down menu if you have selected the ‘Is Shared?’ option.
Click the Add Event option.

A notification message appears.
The newly created Event gets added to the Private tab in the Events panel.

Updating a Kafka Event
The user can use the below-given steps to update a Kafka Event.
Drag the created Event component to the Pipeline Editor canvas.
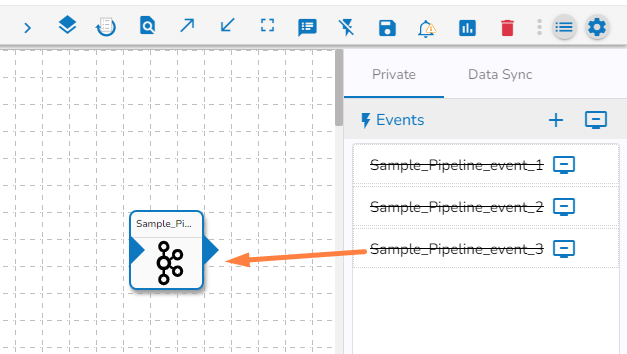
Click the dragged Event component to open the Basic Info configuration fields.
The user can edit the following information (except No. of Partition and Event Duration):
Event Name: Modify the event name.
No. of Outputs: Set the number of outputs (the maximum allowed number of outputs are 3).
‘Is Failover?’: Enable this option to create a failover event.
Select Pipeline: Select one pipeline or multiple pipelines using the drop-down list.
Click the Save Event icon to save the changes.

The user gets a notification message stating that the pipeline update is a success.
The targeted Event component gets updated.

Flushing Events
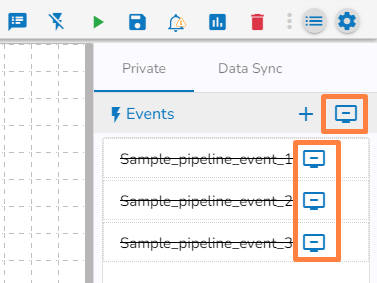
Kafka events can be flushed to delete all records present. Flushing an event retains the offsets of the topic by setting the start-offset value to the end-offset. Events can be flushed by using the "Flush Event" button beside the respective event in the event panel, and all events can be flushed at once by using the "Flush All" button. This button is present at the top of the event panel.
Connecting Event to a Component
Drag a (reader) component to the canvas.
Configure the parameters of the dragged reader.
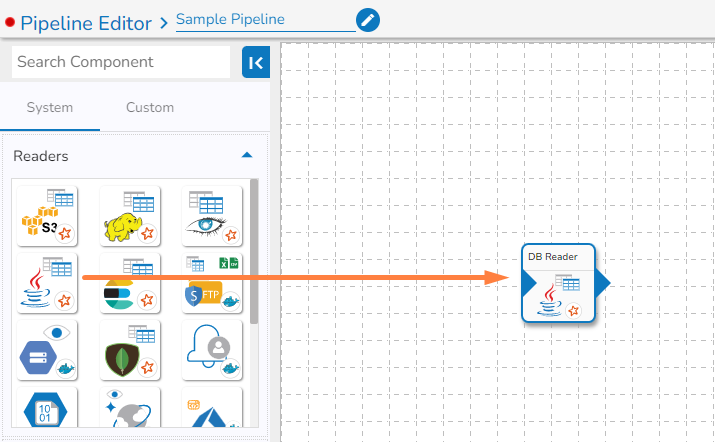
Drag the Event from the Events Panel.
Connect the dragged reader component as the input connection to the dragged Event.

Click the Update Pipeline icon to save the pipeline workflow.
Data Sync Event
Data Sync Event in the Data Pipeline module is used to write the required data directly to the any of the databases without using the Kafka Event and writer components in the pipeline. Please refer the below image for reference:
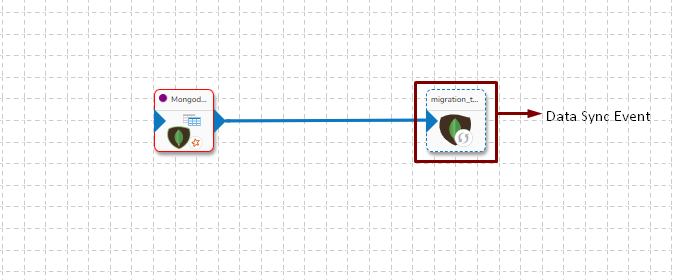
It can be seen in the above image that Data Event Event will directly write the data read by MongoDB reader component to the table of configured Database in Data Sync without using a Kafka Event in-between.
Benefits of using the Data Sync Event
It doesn't need Kafka event to read the data. It can be connected with any component to read the data and it writes it to the tables of respective databases.
Pipeline complexity is reduced because Kafka event and writer is not needed to use in the pipeline.
Since, writers are not used, the resource consumption are low.
Once Data sync are configured, multiple Data Sync events can be created for the same configuration and the data can be written to multiple tables.
Creating a Data Sync Event
Pre-requisite: Before Creating the Data Sync Event, the user has to configure the Data Sync section under the Settings page.
DB Sync Event enables direct write to DB that helps in reducing the usage of additional compute resources like Writers in the Pipeline Workflow.
Please Note: The supported drivers for the Data Sync component are as listed below:
ClickHouse
MongoDB
MSSQL
MySQL
Oracle
PostgreSQL
Snowflake
Check out the given video on how to create a Data Sync component and connect it with a Pipeline component.
Navigate to the Pipeline Editor page.
Click the Toggle Event Panel
icon from the header.The Events Panel appears, and the Toggle Event Panel icon gets changed as
, suggesting that the event panel is displayed.Click on the DB Sync tab.
Click on the Add New Data Sync (+) icon from the Toggle Event Panel.

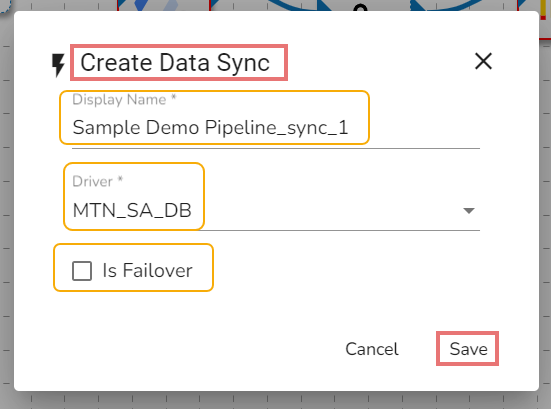
The Create Data Sync window opens.
Provide a display name for the new Data Sync.
Select the Driver
Put a checkmark in the Is Failover option to create a failover Data Sync. In this case, it is not enabled.
Click the Save option.
Please Note:
Only the configured drivers from the Settings page get listed under the Create Data Sync wizard.
The Data Sync component gets created as Failover Data Sync, if the Is Failover option is enabled while creating a Data Sync.
Drag and drop Data Sync Event to the workflow editor.
Click on the dragged Data Sync component.
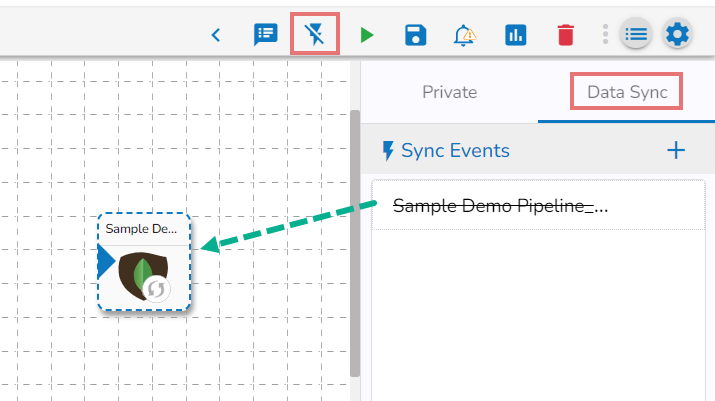
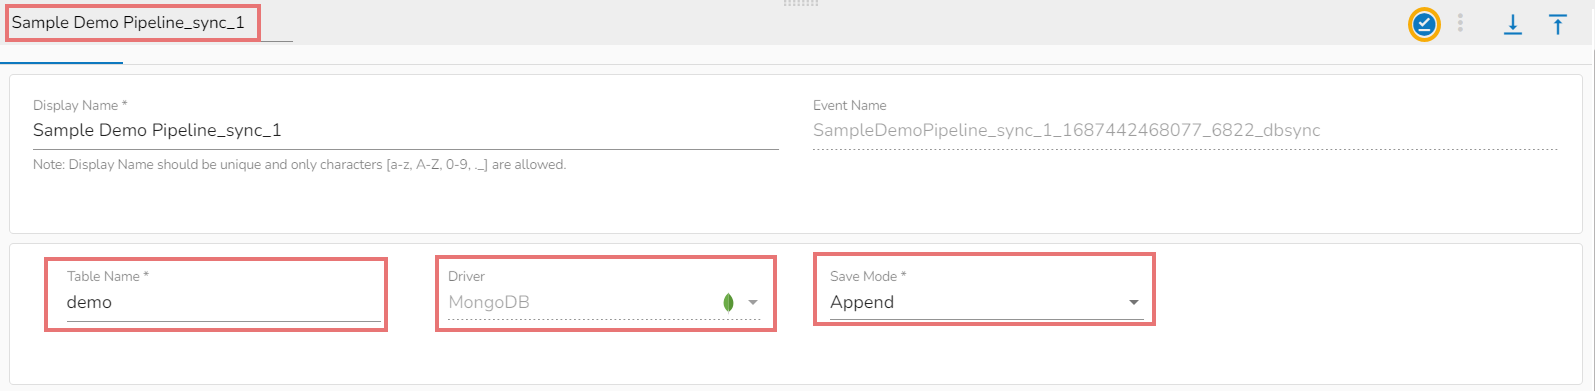
The Basic Information tab appears with the following fields:
Display Name: Display name of the Data Sync
Event Name: Event name of the Data Sync
Table name: Specify table name.
Driver: this field will be pre-selected.
Save Mode: Select save mode from the drop-down: Append or Upsert.
Composite Key: This field is optional. This field will only appear when upsert is selected as the Save Mode.
Click on the Save Data Sync icon to save the Data Sync information.
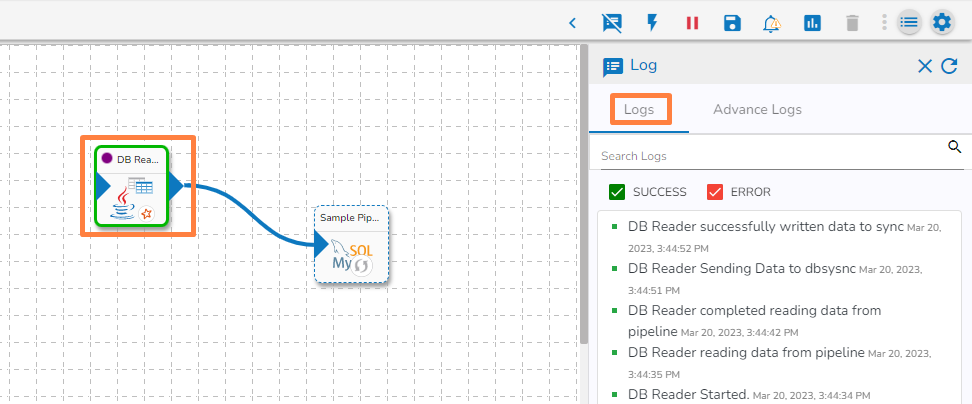
Connect the dragged Data Sync Event to the reader component as displayed below:
Update and activate the pipeline.
Open the Logs tab to view whether the data gets written to a specified table.
Please Note:
In the Save mode, there are two available options.
Append
Upsert: One extra field will be displayed for upsert save mode i.e.: Composite Key.
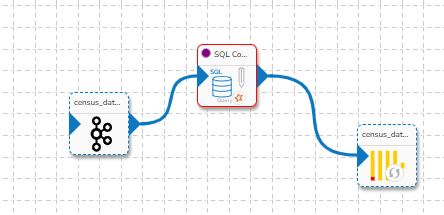
When the SQL component is set to Aggregate Query mode and connected to Data Sync, the data resulting from the query will not be written to the Data Sync event. Please refer to the following image for a visual representation of the flow and avoid using such scenario.
Creating a Failover Data Sync
Click the Event Panel
icon from the Pipeline Editor page.The Events Panel appears, and the Event Panel icon gets changed as
, suggesting that the event panel is displayed.Click on the Data Sync tab.
Click on the Add New Data Sync (+) icon from the Toggle Event Panel.

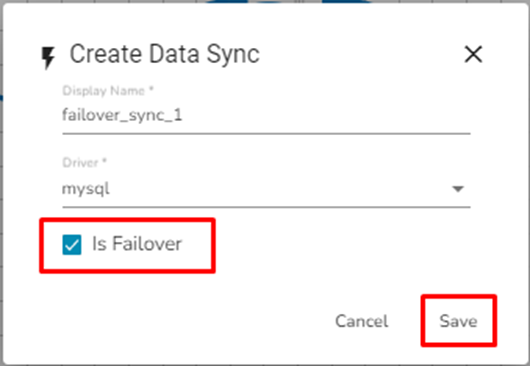
The Create Data Sync dialog box opens.
Provide the Display Name and
Enable the Is Failover option.
Click the Save option.

The failover Data Sync will be created successfully.
Connecting Data Sync to a Component
Drag & drop the failover data sync to the pipeline workflow editor.
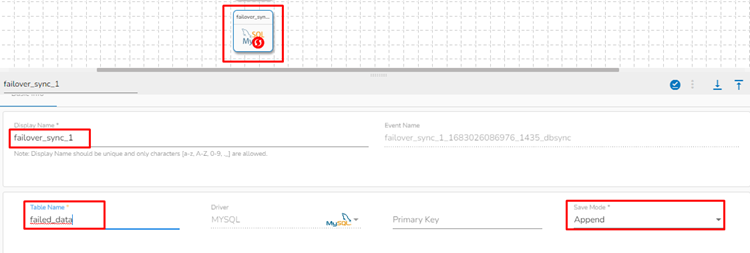
Click on the failover Data Sync and fill in the following field:
Table name: Enter the table name where the failed data has to be written.
Primary key: Enter the column name which has to be made as the primary key in the table. This field is optional.
Save mode: Select a save mode from the given choices. Select either Append or Upsert.
The failover Data Sync event gets configured, now the user can map it with any component in the pipeline workflow.
The below-given image displays that the failover Data Sync event is mapped with the SQL Component.

If the component gets failed due to any reason, then it will write all the failed data to the given table of the configured DB in the failover Data Sync.
Please Note: There is no information available on UI that the failover Data Sync has been configured while hovering on the failover Data Sync Event.