Transforms
Save and load models with transform script, register them or publish them as an API through DS Lab module.
Check out a walk-through on how to use the Transform script inside Notebook.
You can write or upload a script containing transform function to a Notebook and save a model based on it. You can also register the model as an API service. This entire process gets completed in the below given steps:
Saving and loading a Model with Transform script
Navigate to a Notebook.
Add a Code cell (by default one cell gets added in a new Notebook).
Write or provide a transform script to the cell (In this case, it has been provided in three cells).
Run the cell(s) (In this case, run all the three cells).
Add a new code cell.
Click the Save Model option for the newly added code cell.

Specify the model name and model type in the auto-generated script in the next code cell.
Run the cell.
Open the Transforms tab.
The model gets saved under the Transforms tab.

Add a new code cell.
Load the transform model by using the checkbox.
Run that cell.

Insert a new code cell.
Click the Transform option for the code cell.
The auto-generated script appears.
Specify the train data.
Run the code cell.

It will display the transformed data below.

Registering a Transform Model
Open the Transforms tab inside a Notebook.
Click the ellipsis icon for the saved transform.
Select the Register option for a listed transform.

The Register Model dialog box opens to confirm the action.
Click the Yes option.

A confirmation message appears to inform completion of the action.
The model gets registered and lists under the Registered list of the models.

Open a pipeline workflow with a DS Lab model runner component.
The registered model gets listed under the Meta Information tab of the DS Lab model runner component inside the Data Pipeline module.

Publishing a Transform Model as API
The Publish Model as API functionality gets completed in three steps:
Register a Transform Model as API
Navigate to the Model tab.
Select a saved model from the model list.
Click the Register as API option.

You will get directed to the Update Model page.
Provide the Max Instance option.
Click the Save and Register option.

A confirmation message appears to indicate that the Model has been saved and registered (The icon for a registered model appears differently).

Register an API Client
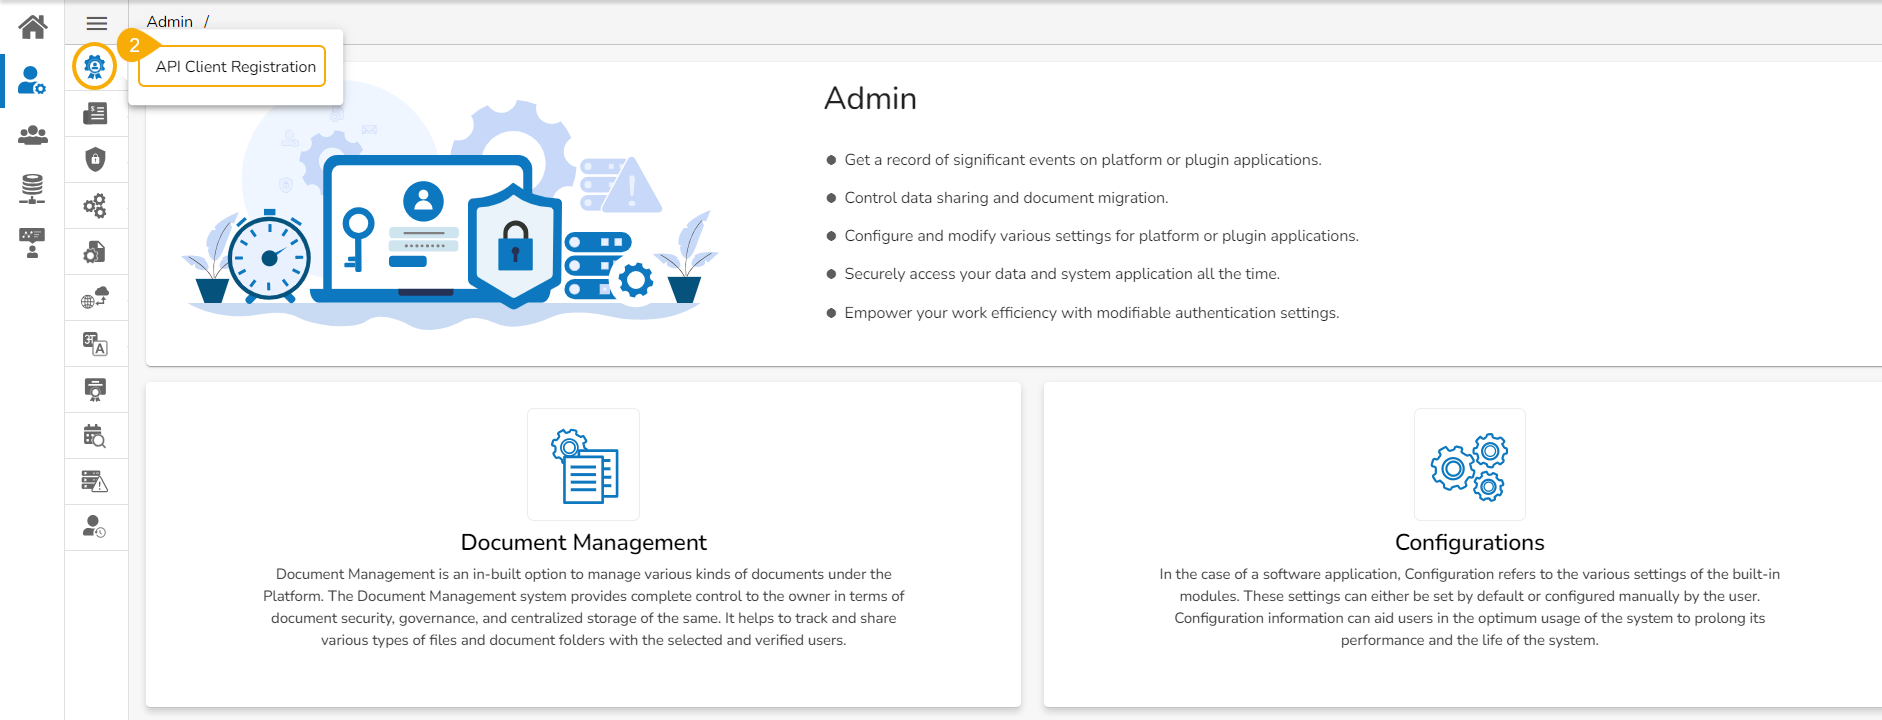
Navigate to the Admin Module from the Apps menu.

Click on the API Client Registration option from the Admin panel.

The API Client Registration page appears.
Click the New option.

The API Client Registration form opens.
Choose the Internal option from the Select drop-down.
Provide the required details to register the API Client:
Client Name
Client Email
App Name
Request Per Hour
Request Per Day
Select App Type (Select Model As API option from the drop-down menu).
Select the saved model using the Select the Services Entitled option.
Click the Save option to save the client details.

A confirmation message appears to inform about the completion of the client registration action.
The API client gets registered.

Open the registered API Client by clicking the Edit icon.
The following information can be received after registering an API client.
App Name
Client Id
Client Secret Key

Pass Model values in Postman
Navigate to the Postman application and select POST service.
Open the Headers tab.
Provide the clientid, clientsecret, and appname from the API Client Registration form as explained in the previous step.

Open the Body tab.
Provide the input DataFrame using the raw option.
Click the Send option.
The response will appear below.

Please Note: Refer the Data Science Lab Quick Start Flow page to get an overview of the Data Science Lab module in nutshell.
Last updated