
Creating a Repo Sync Project
Create your experimental DS projects within the platform.
Pre-requisite: The users must have the following Admin level settings configured to access and use the Repo Syncs Project functionality inside the DS Lab module.
It is mandatory to configure the DS Lab Settings option before beginning with the Data Science Project creation.
Also, select the Algorithms by using the Algorithms field from the DS Lab Settings section which you wish to use for your DS Lab project.
The user must have the following Version Control settings done.
The token key has to be configured for the DS Lab module.
The repository and branch have to be specified to save the settings.
The user must complete the following Custom Field Settings:
Token key – bdbvcstoken
User id key - bdbvcsuserid
The user must do the following User level configuration to create a Repo Sync DS Lab project.
Create a New Project
Navigate to the Projects Page of the Data Science Lab module.
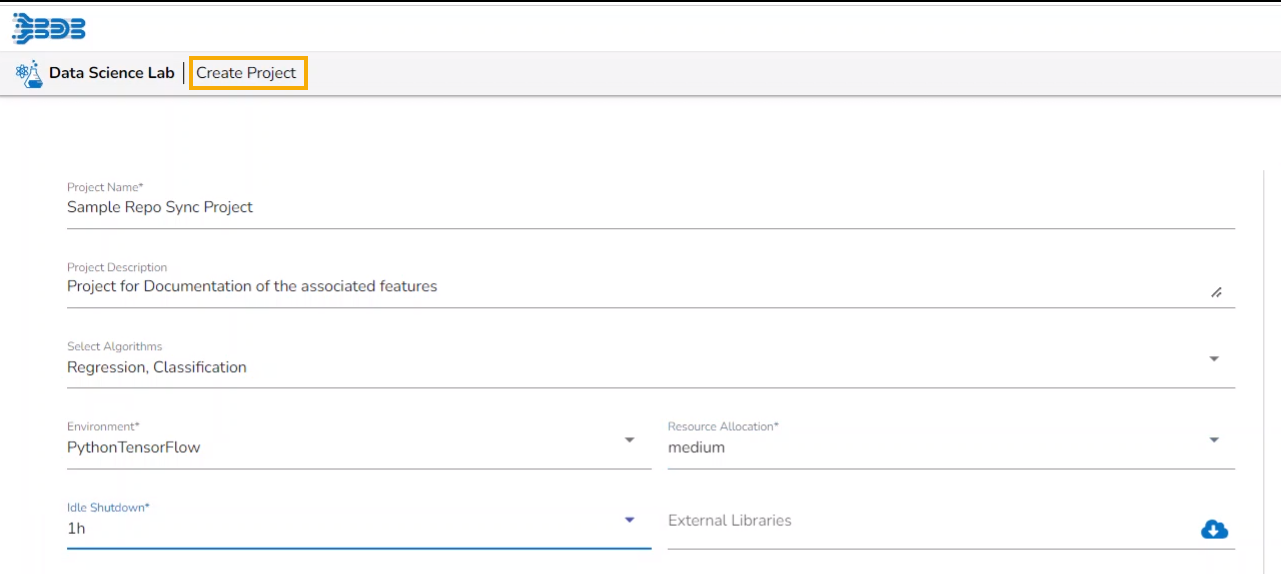
Click the Create Project option to create a new project.

A form opens to provide the Project-related information.
The next screen opens asking for the following details for a new project:
Project Name: Give a name to the new project.
Project Description: Describe the project.
Select Algorithms: Select algorithms using the drop-down menu.
Environment: Allows users to select the environment they want to work in. Currently, supported Python frameworks are Sklearn (default), TensorFlow, and PyTorch (The user can execute Sklearn commands by default in the notebook).
If the users select the TensorFlow environment, they do not need to install packages like the TensorFlow and Keras explicitly in the notebook. These packages can simply be imported inside the notebook.
If the users select the PyTorch environment, they do not need to install packages like the Torch and Torchvision explicitly in the notebook. These packages can simply be imported inside the notebook.
The user can select an option out of the given choices: 1. Python Tensor Flow, 2. Python PyTorch
Resource Allocation: This allows the users to allocate CPU/ GPU and memory to be used by the Notebook container inside a given project. The currently supported Resource Allocation options are Low, Medium, and High.
Idle Shutdown: It allows the users to specify the idle time limit after which the notebook session will get disconnected, and the project will be deactivated. To use the notebook again, the project should be activated. The supported Idle Shutdown options are 30m, 1h, and 2h.
External Libraries: Mention the names of external libraries (if a specific version is required then mention the library name with version number) that need to be installed for use in your project /notebook. The names of the external libraries should be separated only by commas (without space) for this field.
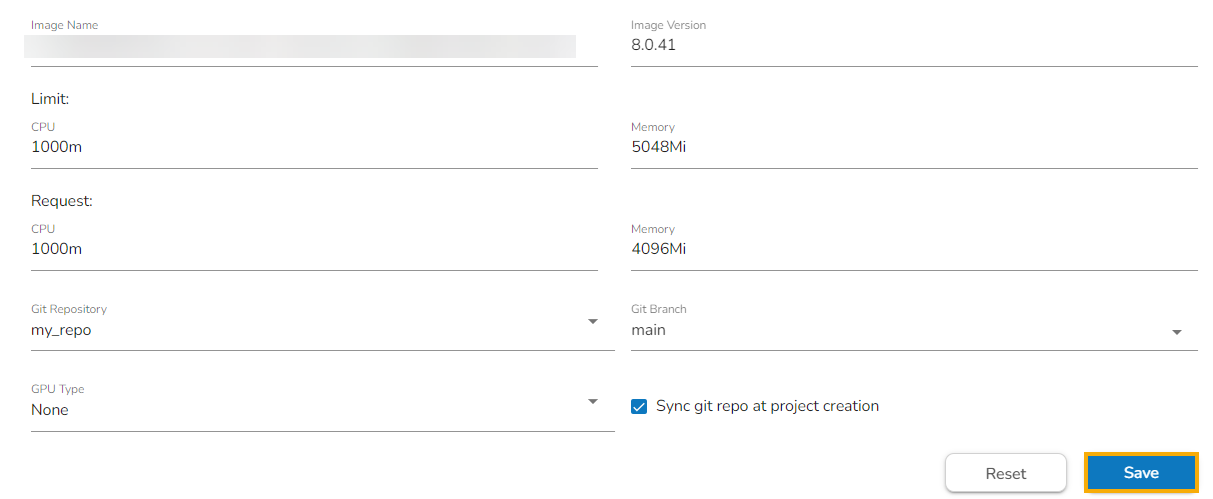
Mandatory fields for Project creation After you fill in the mandatory fields the following modifiable fields appear with pre-selected values:
Image Name
Image Version
Limit
Memory
Request (CPU)
Memory
Git Project: Select a project from the drop-down menu.
Git Branch: Select a branch option from the drop-down menu (The supported branches are main, migration, and version).
GPU Type: Select GPU type from the drop-down menu (Currently we support nvidia as the GPU Type).
GPU Limit: Set the GPU limit using this field (This field appears only after GPU Type option is selected).

Sync git repo at project creation: Put a checkmark in the given checkbox to avail sync git repo while creating a DS Lab project.
Click the Save option.
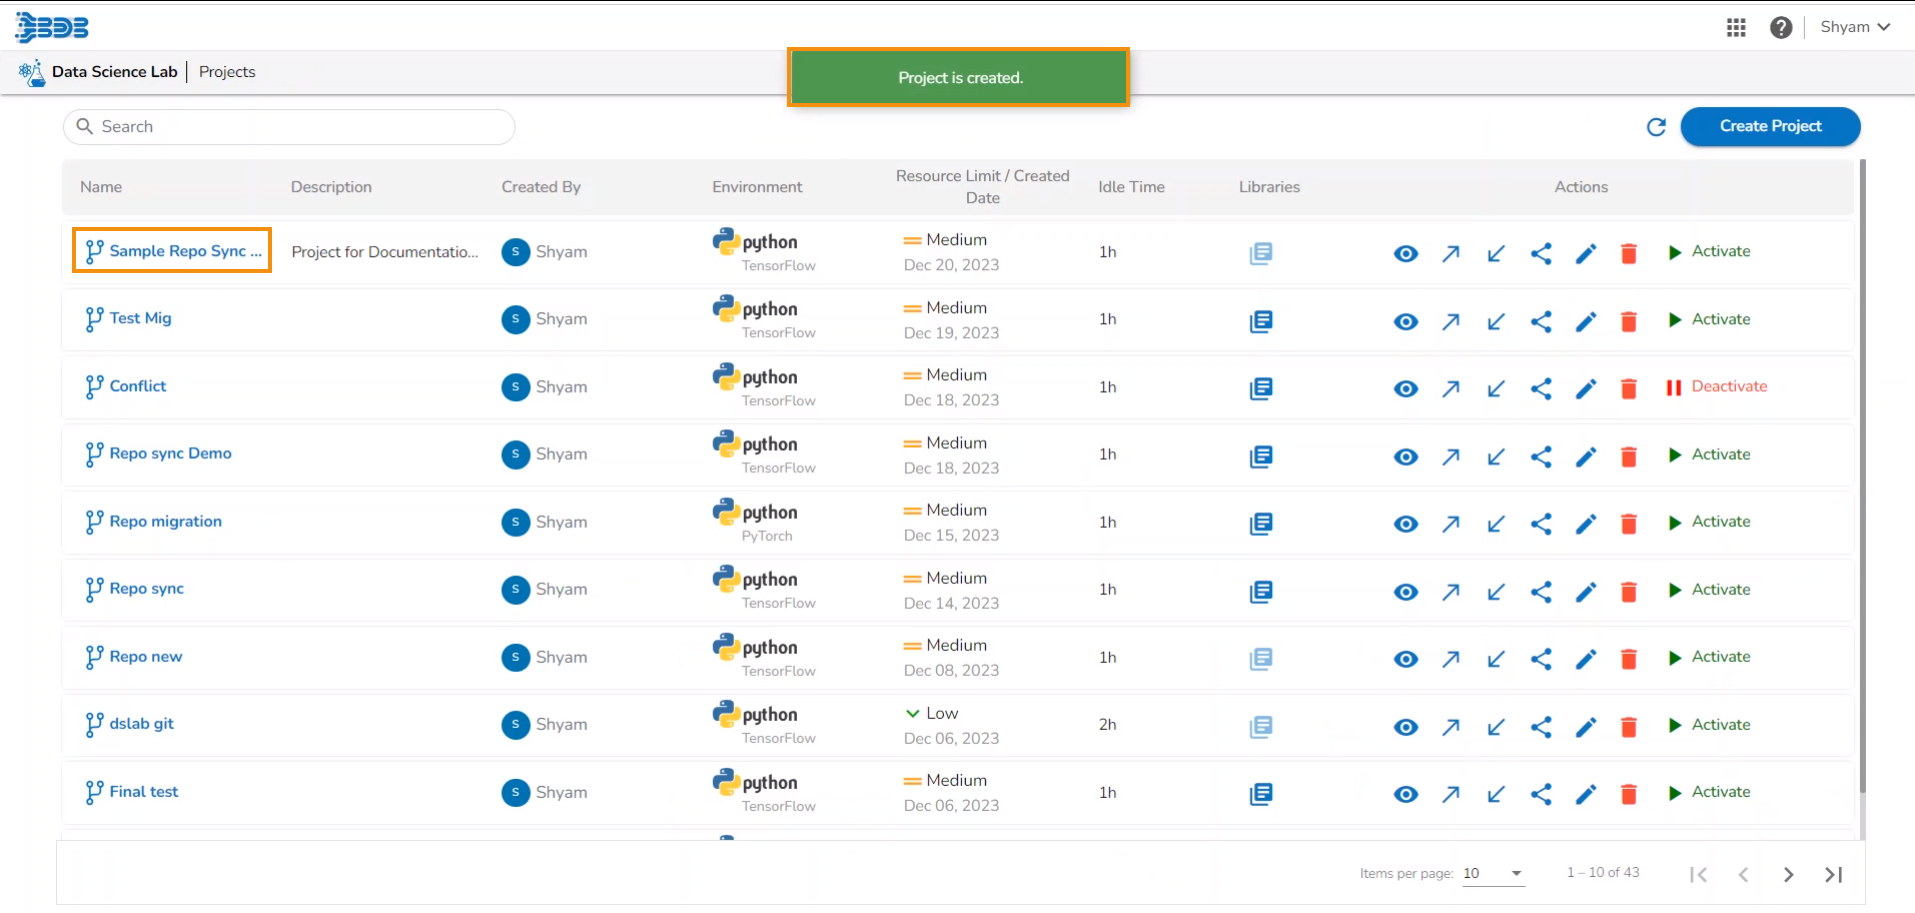
The confirmation message appears.
The newly created project gets saved, and it appears on the screen.
Container Status Message
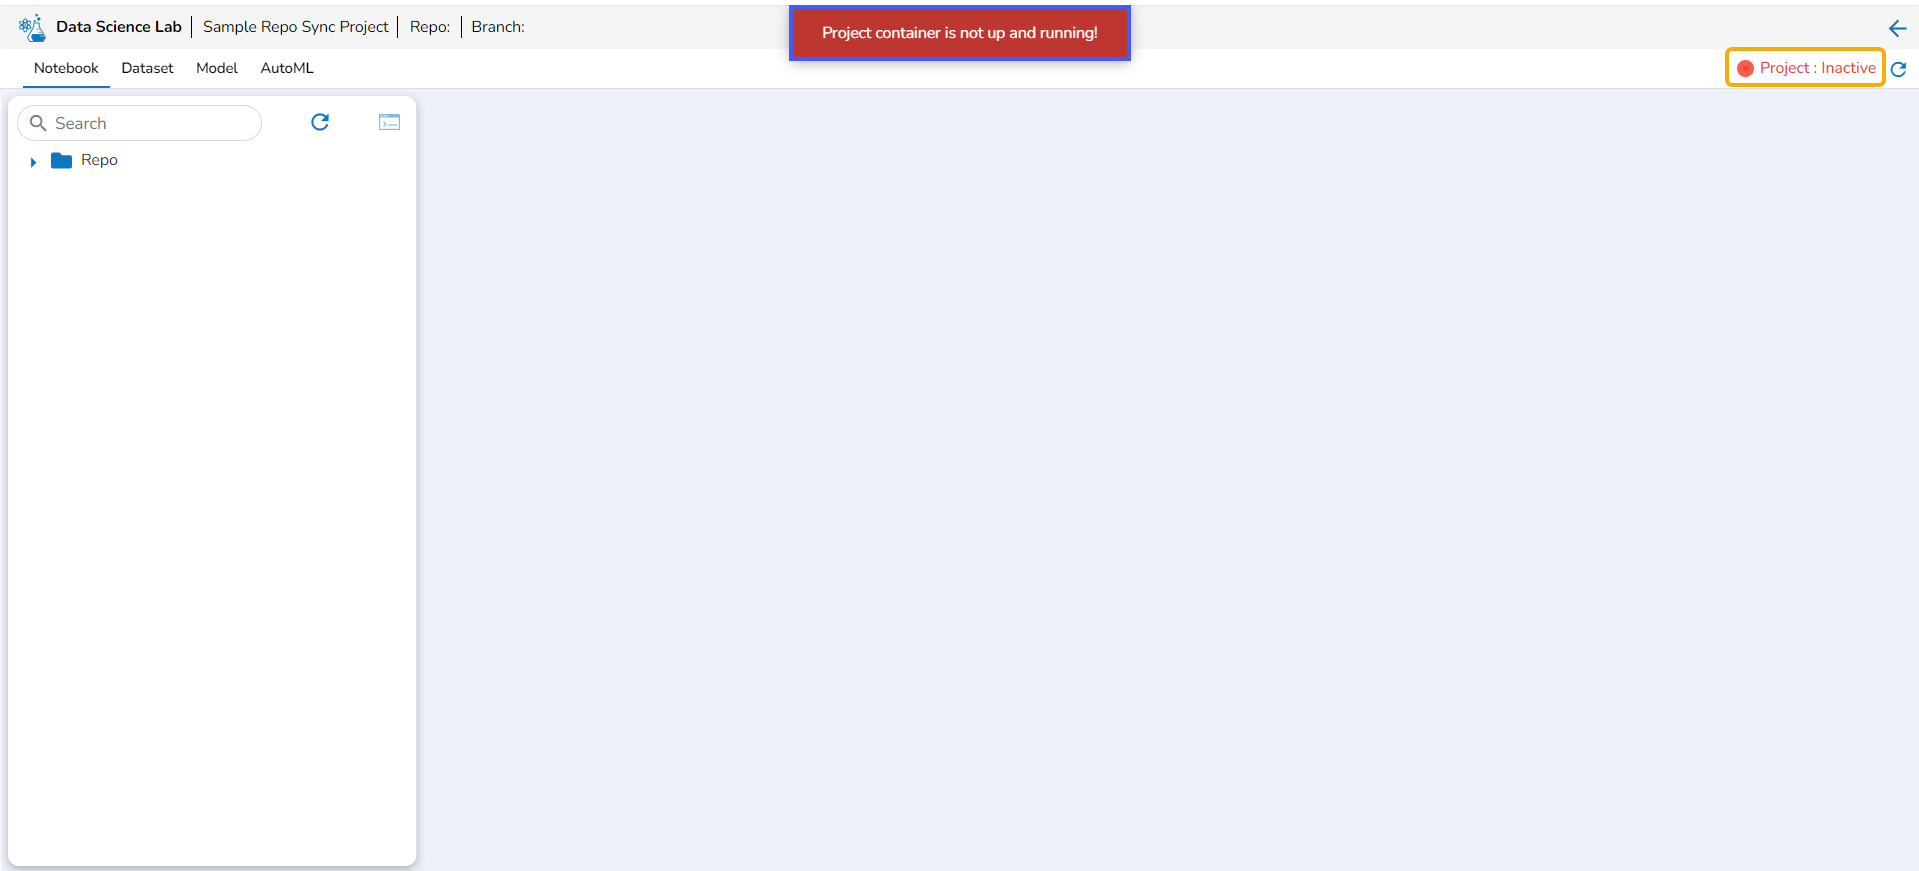
The user gets all the updates regarding container status through color coded message display for a specific DSL Project. After creating a new project and opening it the user gets to see various status messages on the top right side of the page.
Steps to see the container message:
Open an active Data Science Project.
The user gets redirected to create or import Notebook.
The container status message gets displayed on the top right side of this screen.
The following status messages get displayed till the container gets created and comes into the running status.
Container status message when container is not available. An error message also appears to inform user that the Project container is not up and running.
Project Container is inactive Container status message when container is getting created, and it is initializing.
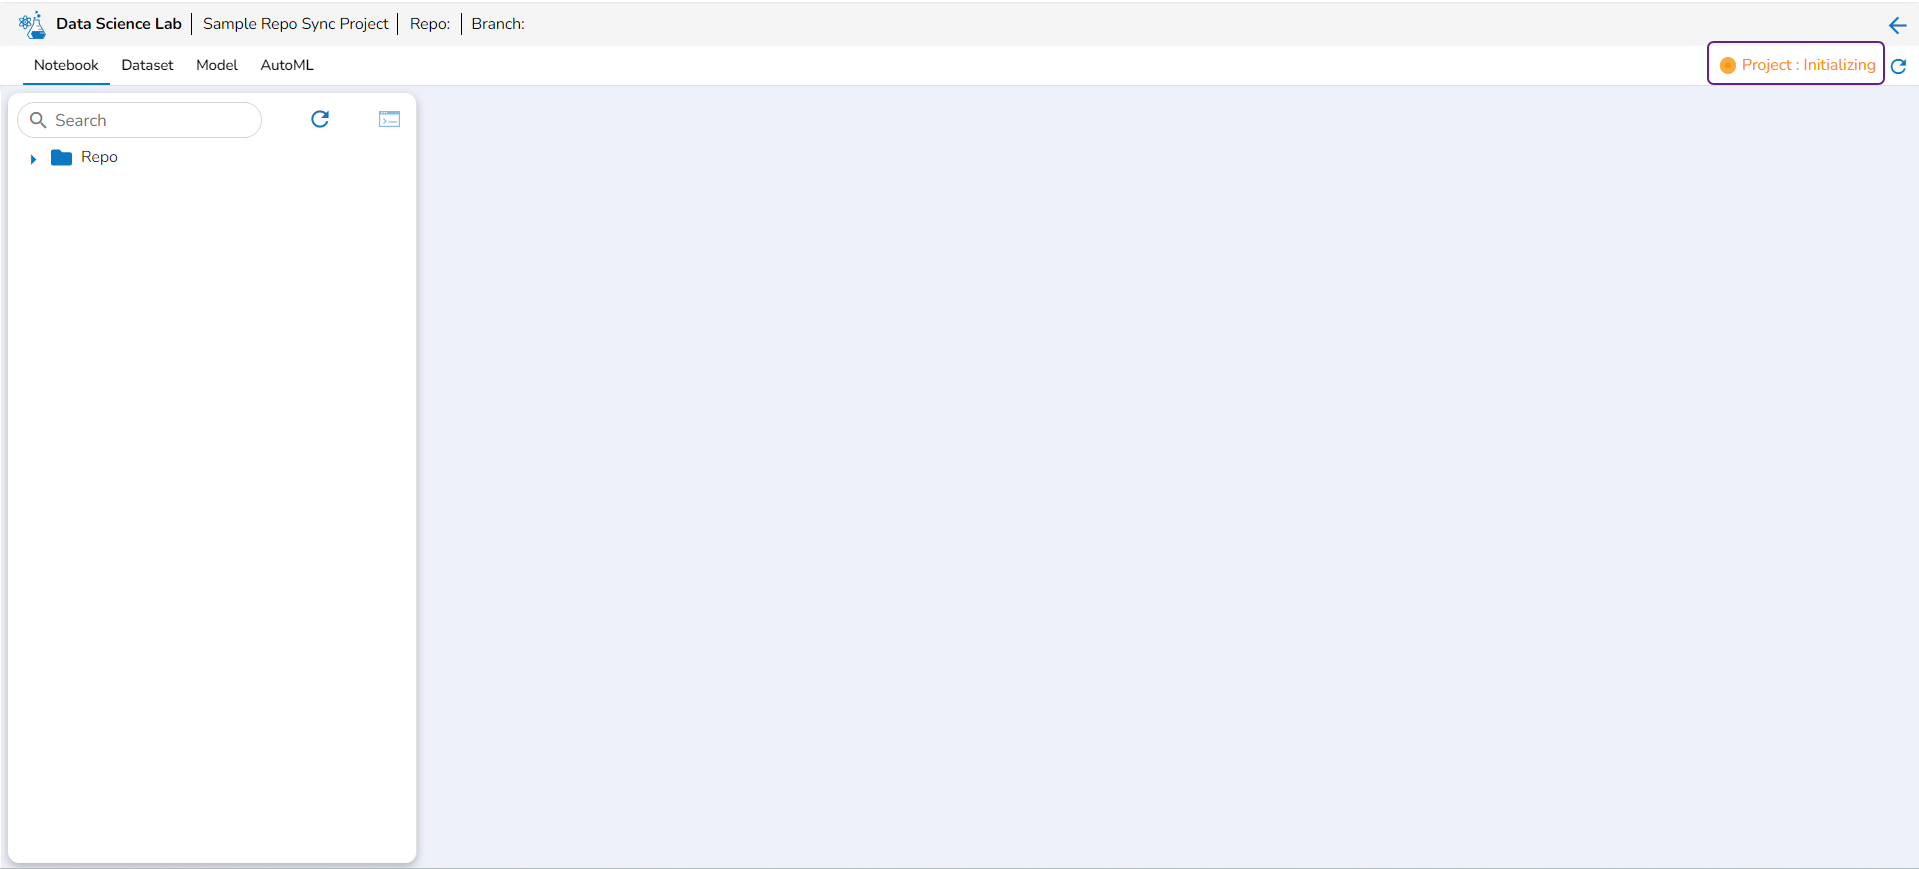
Project container initializing Container status message when container is running.
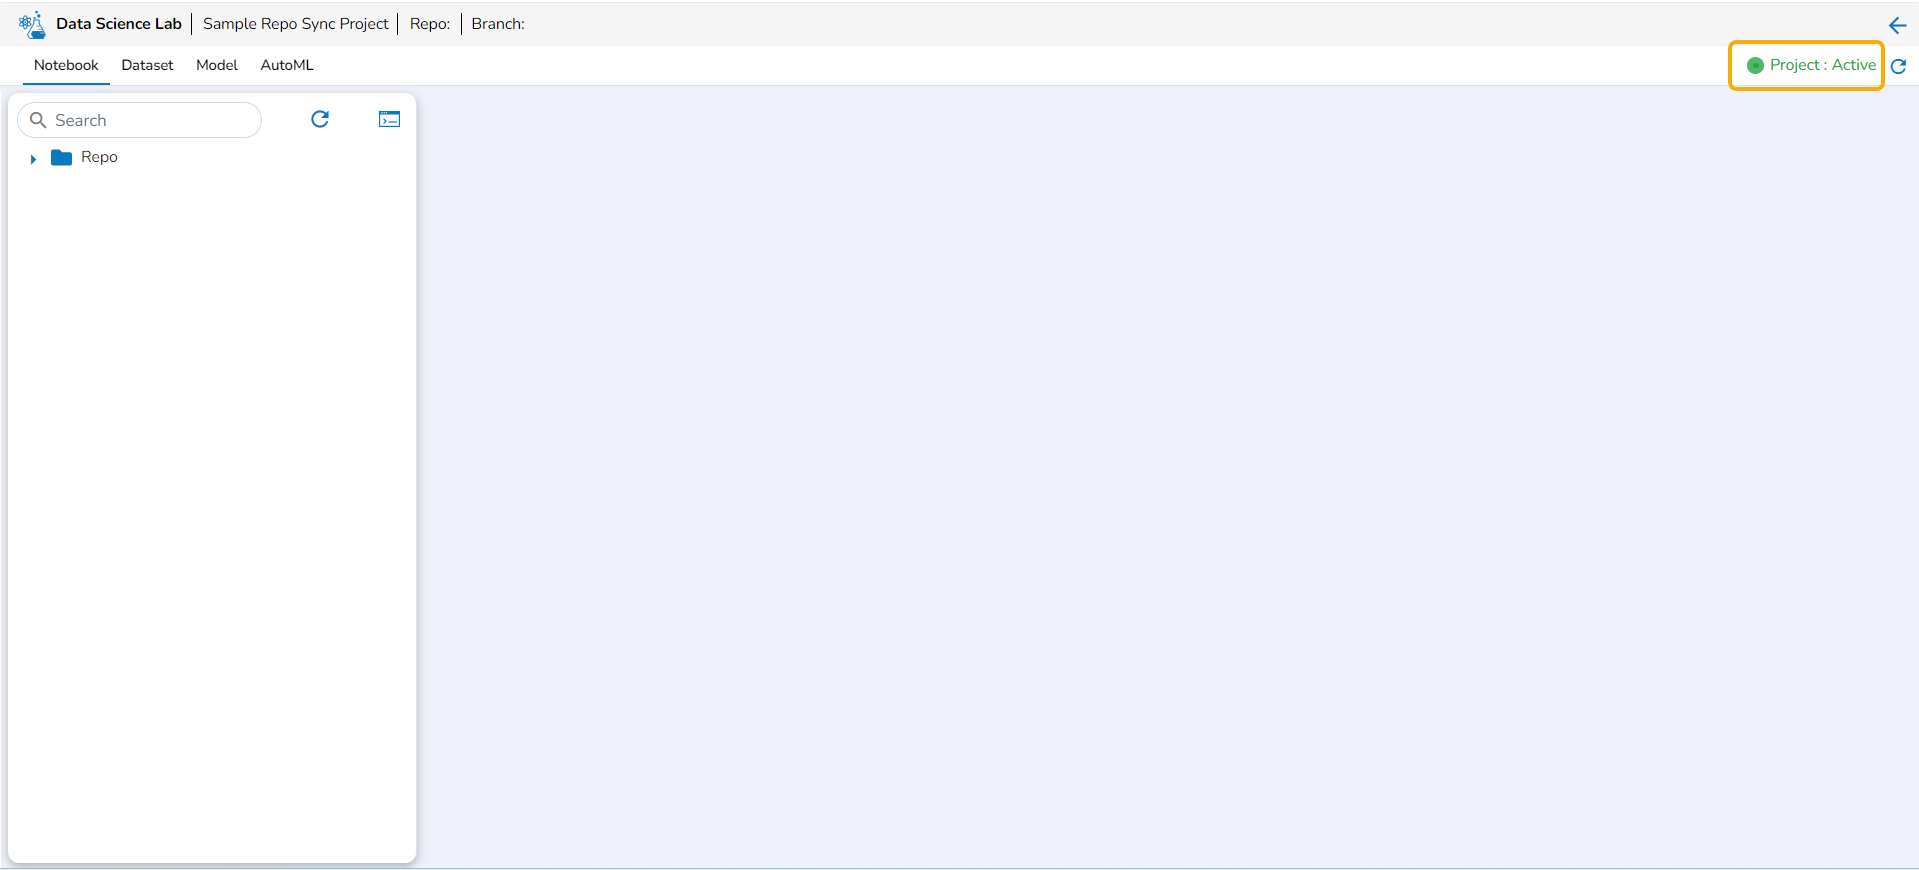
Project container is active
Please Note: The user can click on the branch icon to get the latest branch related configuration.

Check out the given walk-through on how the Container Status message appears for a specific Data Science Lab Project.
Please Note: Refer the Data Science Lab Quick Start Flow page to get an overview of the Data Science Lab module in nutshell.
Last updated