Share
This page describes the steps involved to share a Notebook script and access it as a shared Notebook.
Sharing a Notebook
The user can share a DSL Notebook across the teams using this feature.
Check out the walk-through on sharing a Notebook.
Navigate to the Workspace tab for a DS Lab project.
Select a Notebook from the list.
Click on the Ellipsis icon.

Accessing a Notebook from a DSL Project A context menu opens for the selected Notebook, click the Share option from the Context menu.
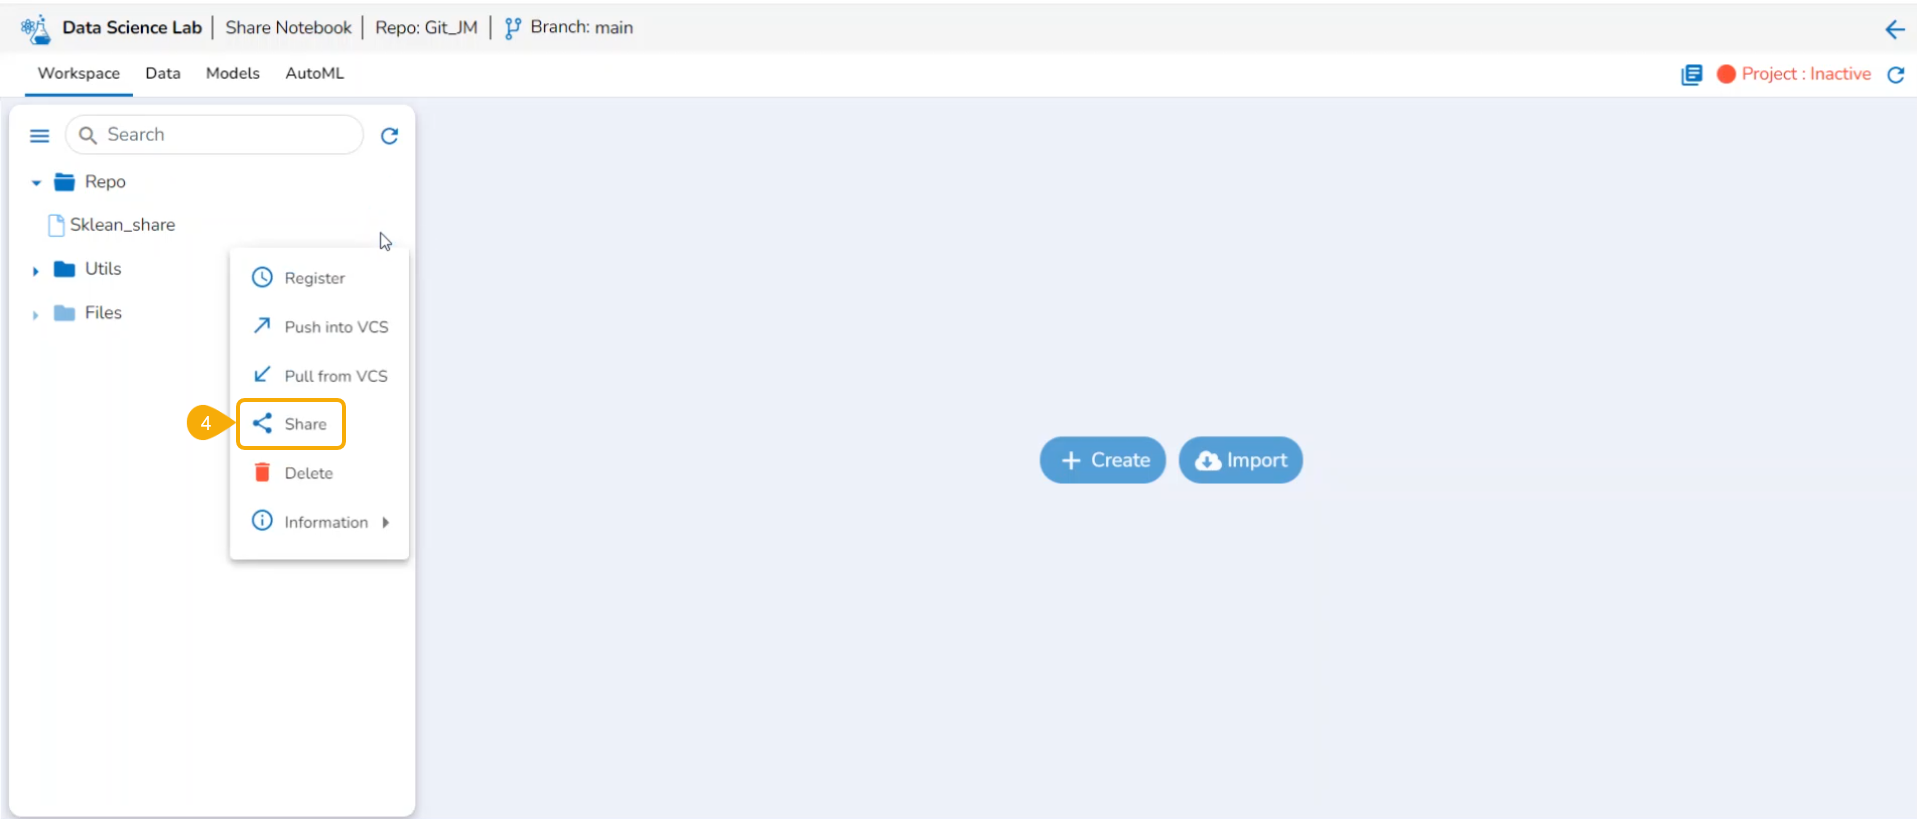
Share option for a DSL Notebook The Manage Access window opens for the selected Notebook.
Select the permissions to be granted to users/ groups using the checkboxes.
The Users, User Groups, and Exclude Users tabs appear. Select a tab from the Users and User Groups tabs.
Search for a specific user or user group to share the Notebook.
Select a User or user group from the respective tabs (as displayed in the image for the Users tab).
Click the Save option.

Sha A notification message appears to ensure about the share action.
The selected user gets added to the Granted Permissions section.

The Notebook gets shared with the selected user
Accessing a Shared Notebook
Check out the illustration to access a shared Notebook.
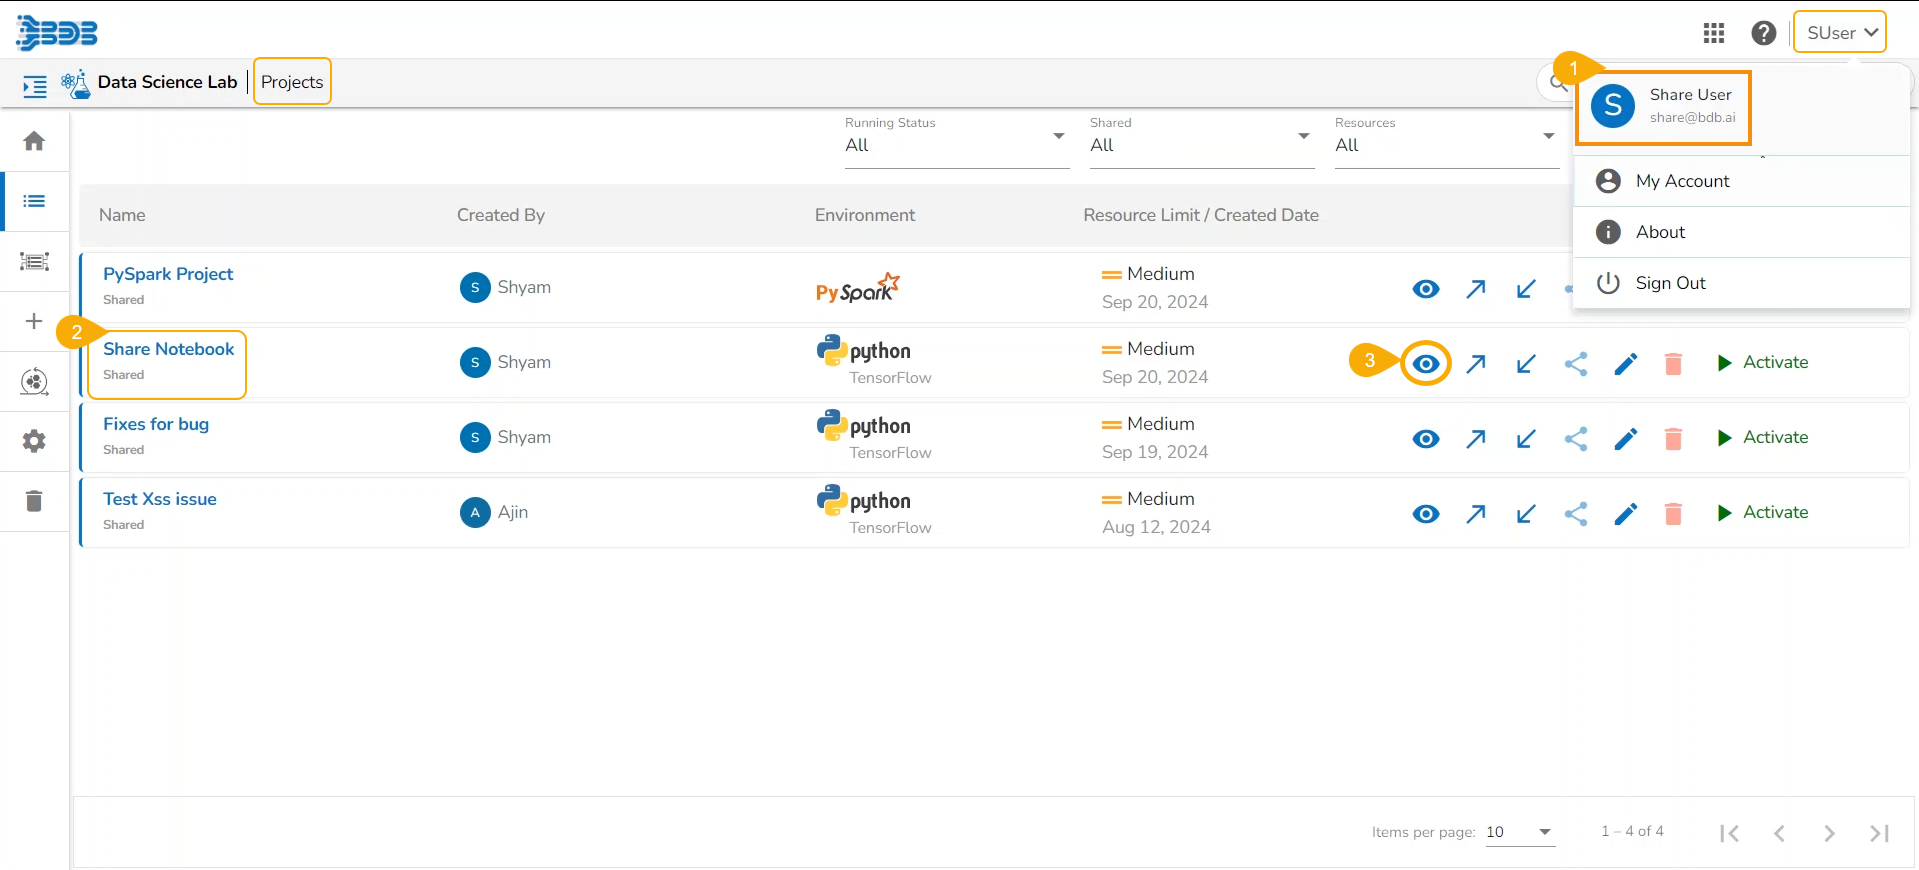
Login to the Platform using the user's credentials to whom the Notebook is shared and navigate to the Projects page for the DS Lab module.
The Shared Project gets indicated as shared on the Projects page.
Click the View icon to open the project.
The Workspace tab opens by default for the shared Project.
The shared Notebook would be listed under the Repo folder.
Open the Notebook Actions menu. The Share and Delete options will be disabled for a shared Notebook.

Accessing a Shared Notebook
Shared DSL Notebook with View Permission
When a Notebook is shared from User A to User B with View Permission, User B will have the following privileges:
View Notebook Contents.
Shared DSL Notebook with Edit Permission
When a Notebook is shared from User A to User B with Edit Permission, User B will have the following privileges:
View the Notebook contents & edit.
Edit the Notebook contents and save.
Shared DSL Notebook with Execute Permission
When a Notebook is shared from User A to User B with Execute Permission, the User B will have the following privileges:
View the Notebook contents and Start the Kernel.
View the Notebook contents and shut down the kernel.
View the Notebook contents and Execute code and markdown cells.
View the Notebook contents and interrupt the kernel.
View the Notebook contents and Execute git commands in the console.
View the Notebook contents and restart the kernel.
Please Note: A targeted share user cannot re-share or delete a shared DSL Notebook regardless of the permission level (View/ Edit/Execute).
Revoking the Granted Permissions
You can revoke the permissions shared with a user or user group by using the Revoke Permissions icon.
Check out the illustration on revoking the granted permissions.
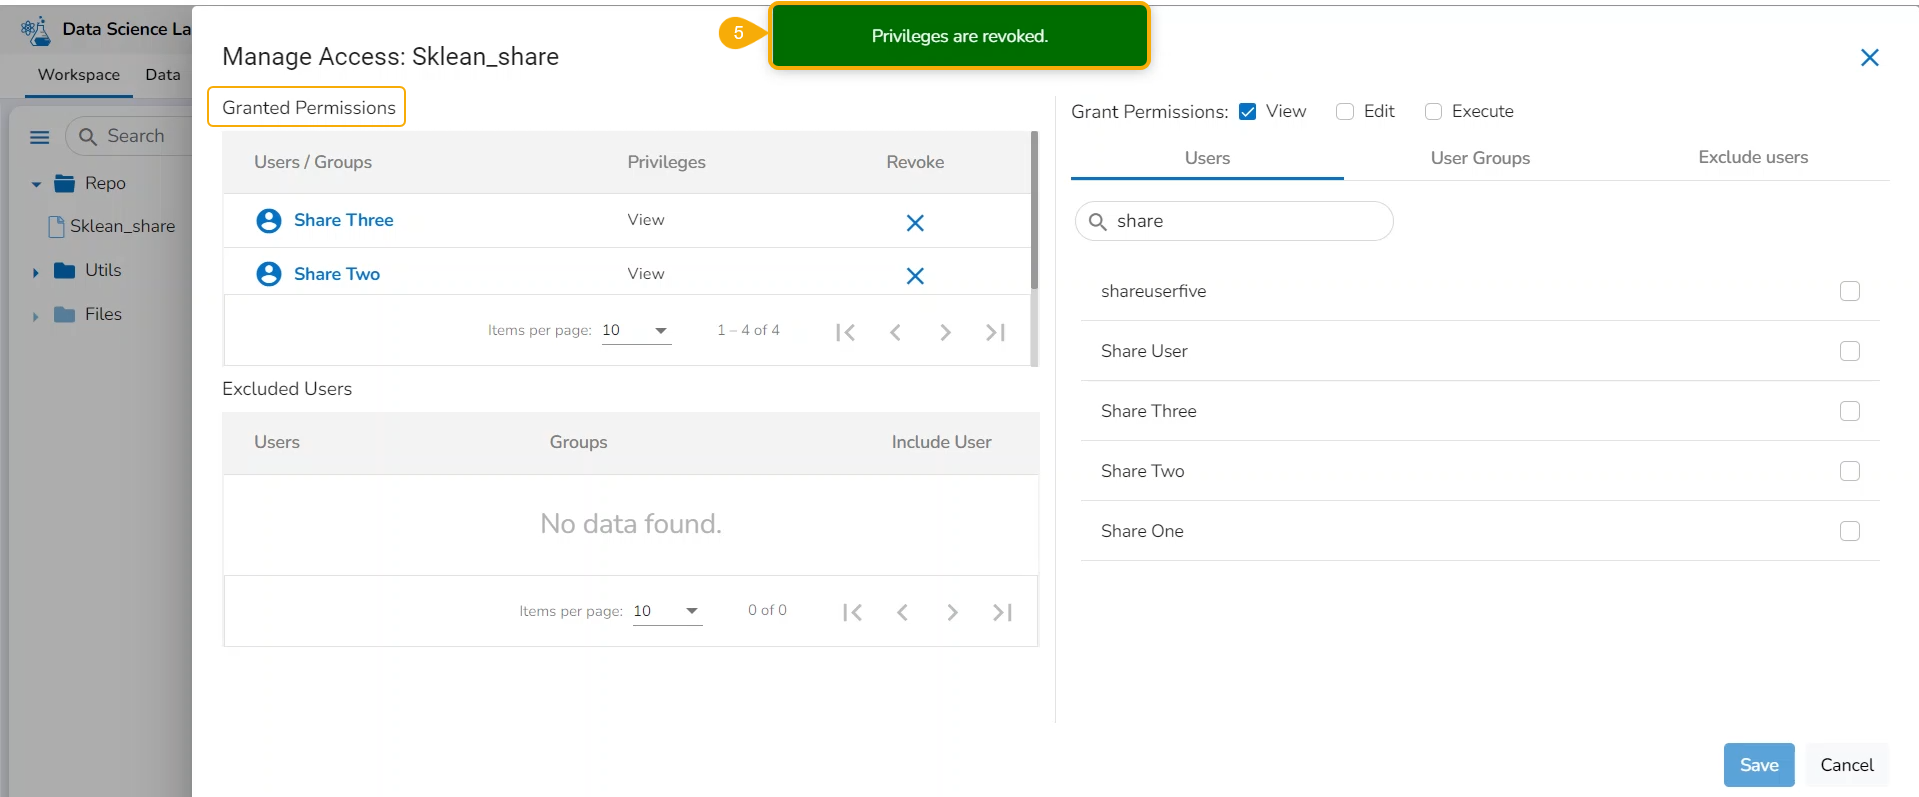
Navigate to the Manage Permissions window for a shared Notebook.
The Granted Permissions section lists all the users or user groups to whom the Notebook has been shared.
Select a user or user group from the list.
Click the Revoke Privileges icon.

A con
A notification appears, and the shared privileges will be revoked for the selected user/ user group. The user/ user group gets removed from the Granted Permissions list.
Excluding User(s)
The user can exclude some users from the privileges to access a shared Notebook while allowing permissions for the other users of the same group.
Check out the illustration on excluding a user/ user group from the shared privileges of a Notebook.
Navigate to the Manage Access window for a shared Notebook.
Grant Permissions to the user(s)/ user group(s) using the checkboxes.
Open the User Groups tab.
Select a User Group from the displayed list.
Use the checkbox to select it for sharing the Notebook.

Navigate to the Exclude Users tab.
Select a user from the displayed list and use the checkbox to exclude that user from the shared permissions.
Click the Save option.

A notification appears to ensure the shared action.
The selected user gets excluded from the shared Notebook permissions.
The Notebook gets shared with the rest of the users in that group.

Including an Excluded User
Check out the illustration on including an Excluded user for accessing a shared Notebook.
Navigate to the Excluded Users section.
Select a user from the displayed list.
Click the Include User icon.

The Include User confirmation dialog box appears.
Click the Yes option.

A notification appears to ensure the success of the action.
The selected user gets included in the group with the shared permissions for the Notebook. The user will get removed from the Excluded Users list.

Please Note:
If the project is shared with a user group, then all the users under that group appear under the Exclude User tab.
The Project gets shared by default with the concerned Notebook while using the Share function for a Notebook.
A Shared Project even if it is shared by default with a Notebook remains Active for the user to access the Notebook and open it.
Last updated