
Adding Components to Canvas
Adding components to a pipeline workflow.
Check out the below given walk-through to add components to Pipeline Workflow editor canvas.
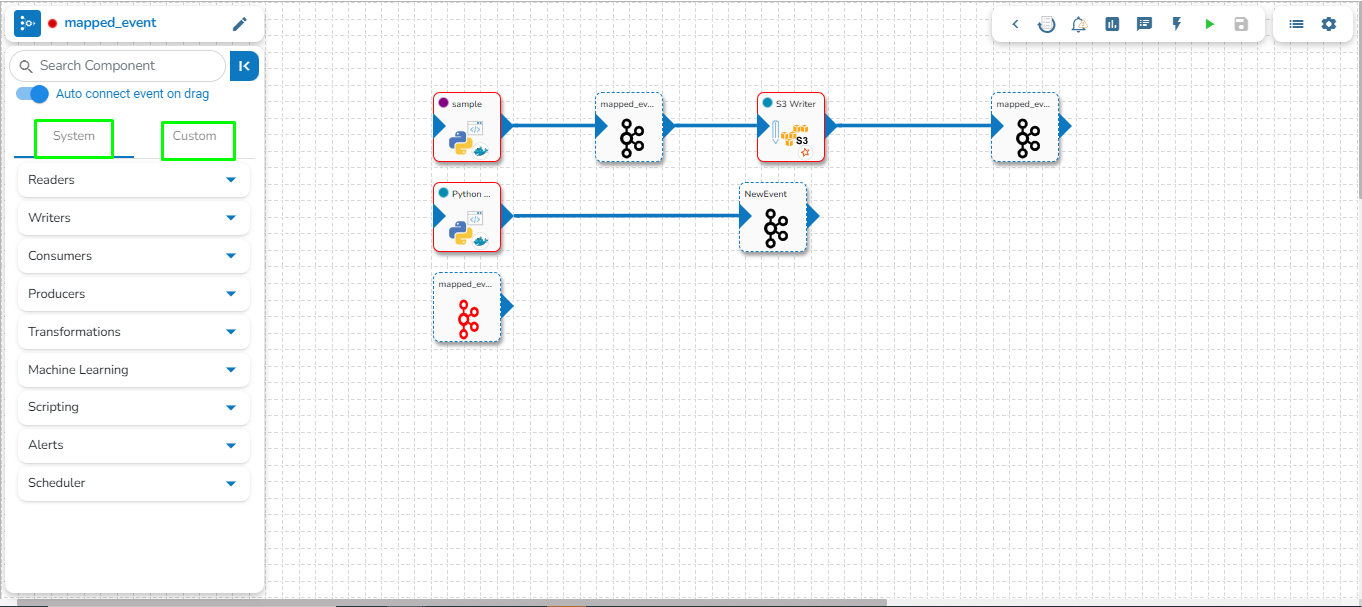
The Component Pallet is situated on the left side of the User Interface on the Pipeline Workflow. It has the System and Custom components tabs listing the various components.
The System components are displayed in the below given image:
Once the Pipeline gets saved in the pipeline list, the user can add components to the canvas. The user can drag the required components to the canvas and configure it to create a Pipeline workflow or Data flow.
Navigate to the existing data pipeline from the List Pipelines page.
Click the View icon for the pipeline.
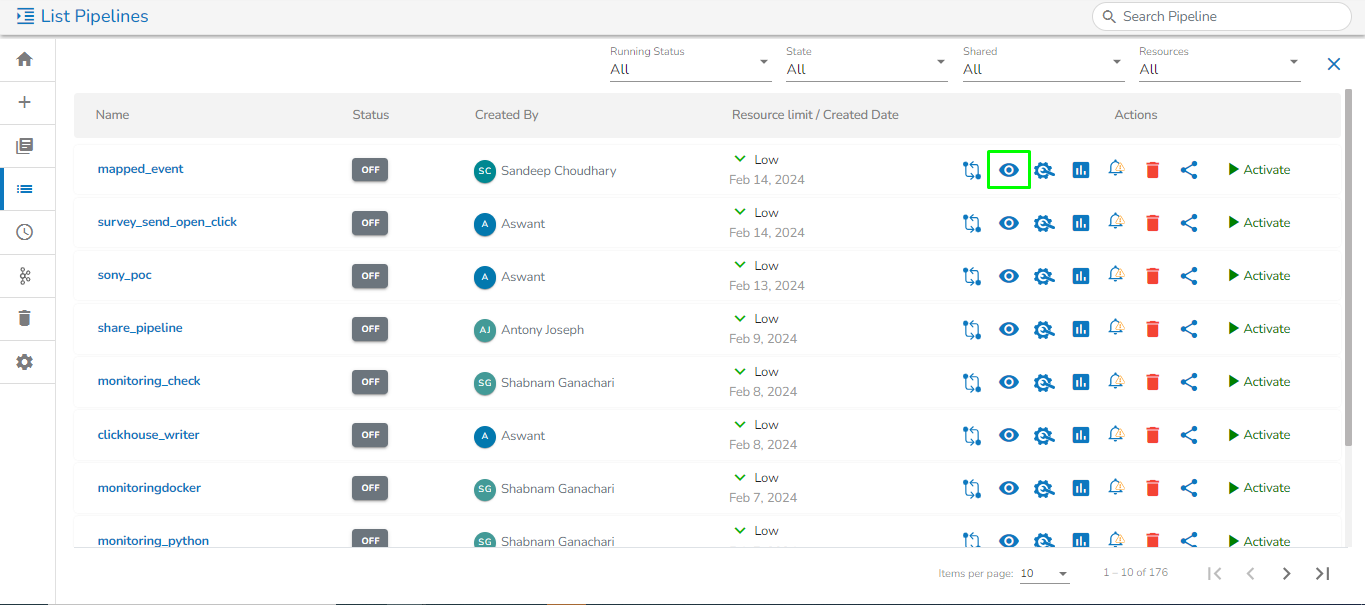
The Pipeline Editor opens for the selected pipeline.
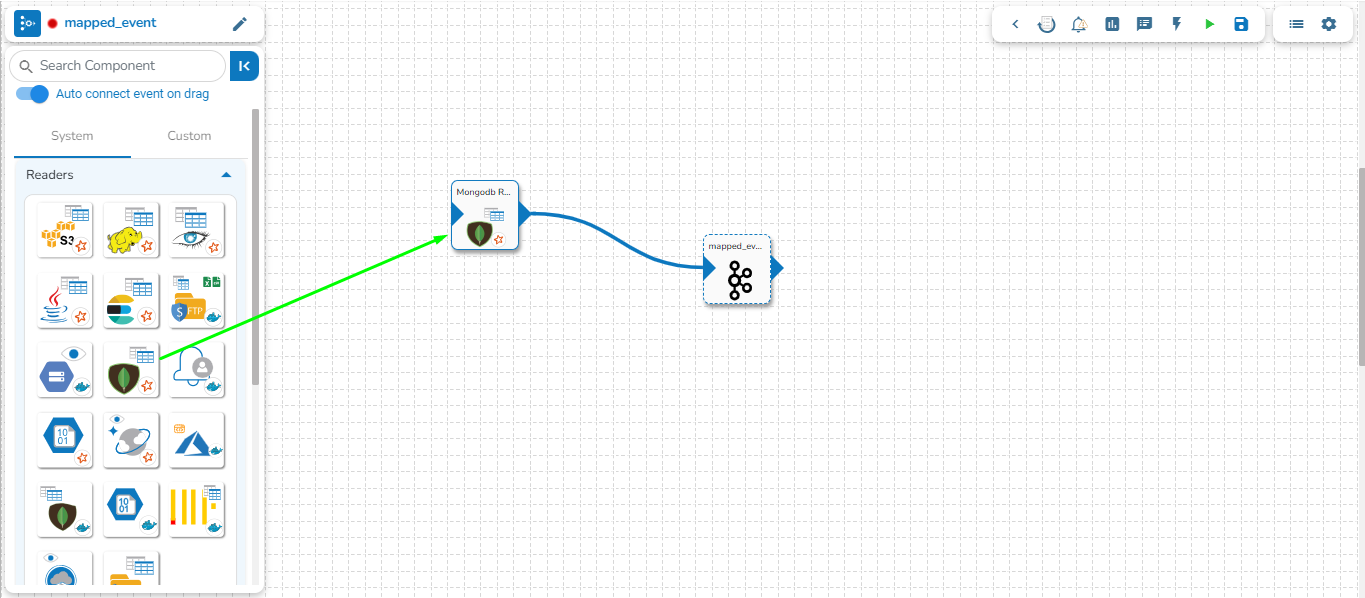
Drag and drop the new required components or make changes in the existing component’s meta information or change the component configuration (E.g., the DB Reader is dragged to the workspace in the below-given image).
Once dragged and dropped to the pipeline workspace, components can be directly connected to the nearest Kafka Event. To enable the auto-connect feature, the user needs to ensure that the Auto connect event on drag option is enabled, which is the default setting.
Please refer to the Event page for more details on creating Kafka Events and connecting them to components using various methods.
Click on the dragged component and configure the Basic Information tab, which opens by default.
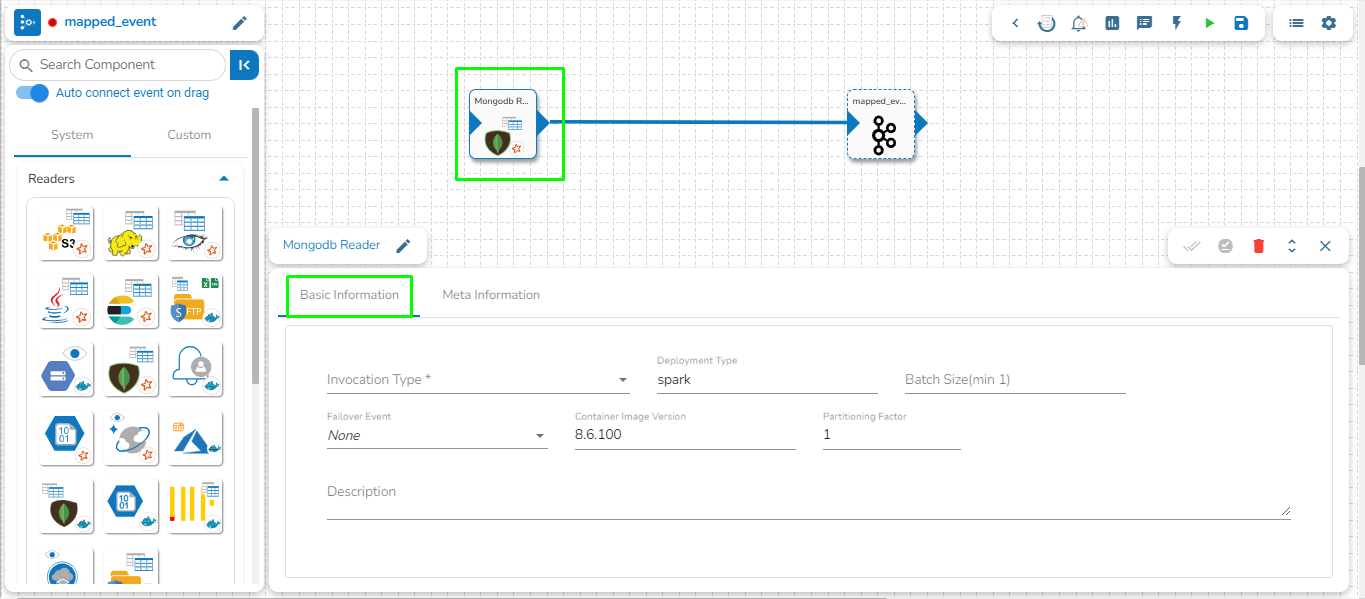
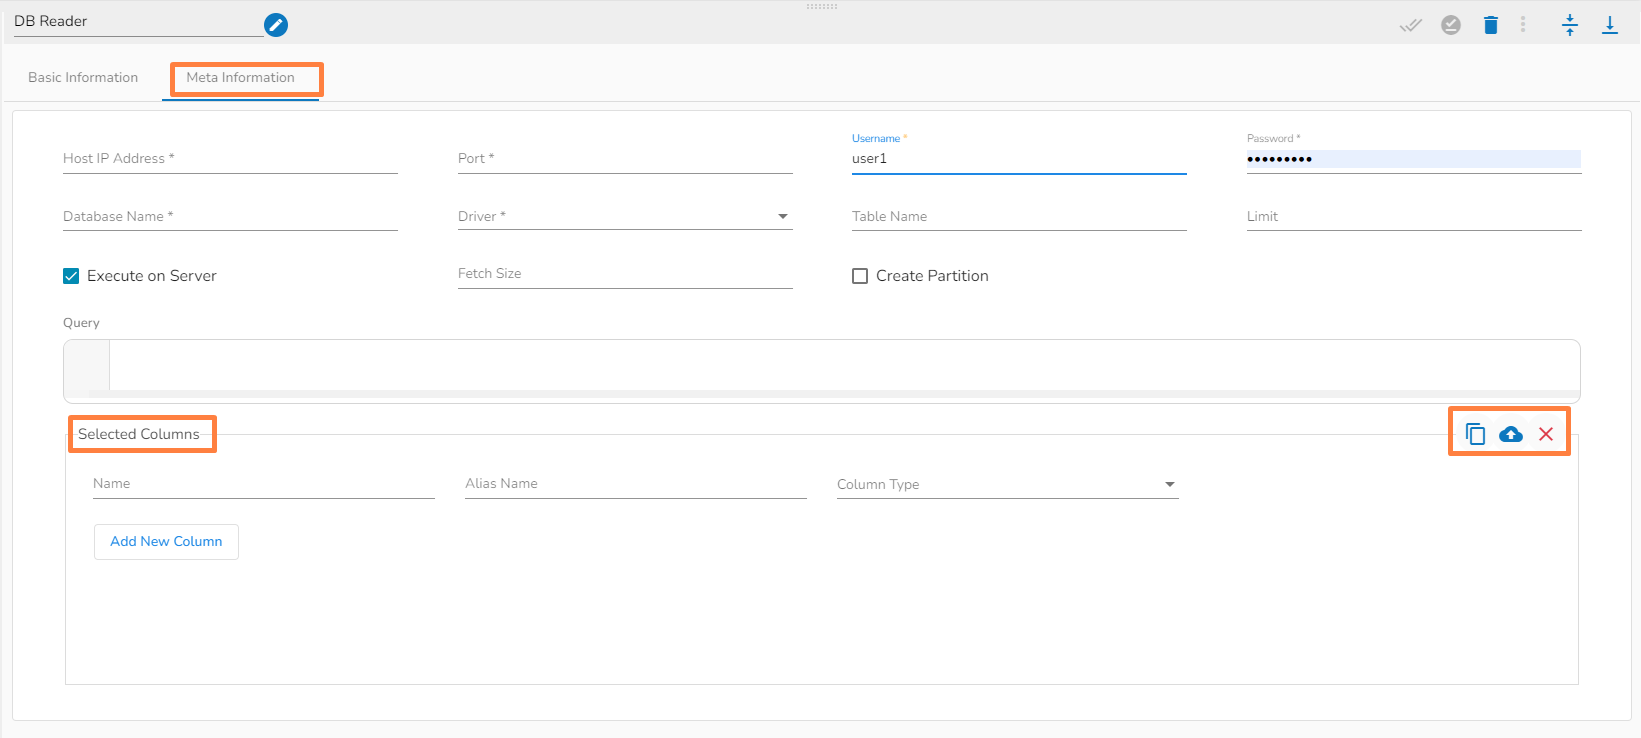
Open the Meta Information tab, which is next to the Basic Information tab, and configure it.
Make sure to click the Save Component in Storage icon to update the component details and pipeline to reflect the recent changes in the pipeline. (The user can drag and configure other required components to create the Pipeline Workflow.
Click the Update Pipeline icon to save the changes.
A success message appears to assure that the pipeline has been successfully updated.
Click the Activate Pipeline icon to activate the pipeline (It appears only after the newly created pipeline gets successfully updated).
A dialog window opens to confirm the action of pipeline activation.
Click the YES option to activate the pipeline.
A success message appears confirming the activation of the pipeline.
Another success message appears to confirm that the pipeline has been updated.
The Status for the pipeline gets changed on the Pipeline List page.
Please Note:
Click the Delete icon from the Pipeline Editor page to delete the selected pipeline. The deleted Pipeline gets removed from the Pipeline list.
Refer to the Component Panel section to get detailed information on the each Pipeline Component.
Last updated