Creating a New Job
This section provides detailed information on the Jobs to make your data process faster.
Jobs are used for ingesting and transferring data from separate sources. The user can transform, unify, and cleanse data to make it suitable for analytics and business reporting without using the Kafka topic which makes the entire flow much faster.
Check out the given demonstration to understand how to create and activate a job.
Navigate to the Data Pipeline homepage.
Click on the Create icon.
Navigate to the Create Pipeline or Job interface.
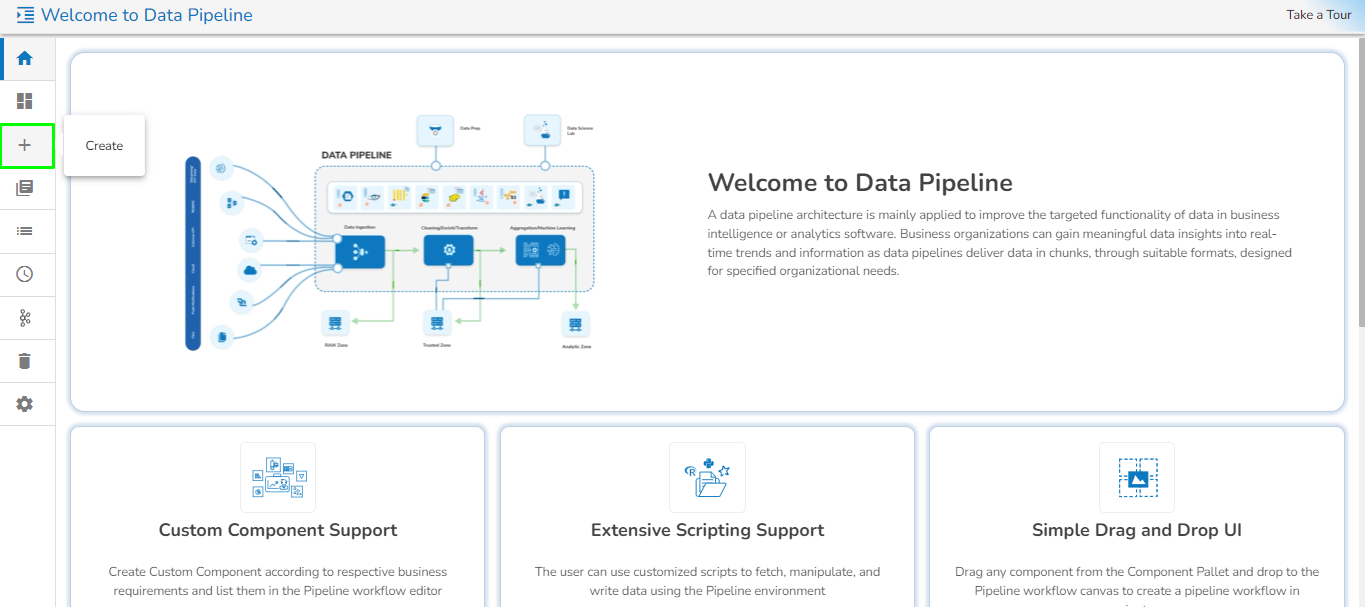
The New Job dialog box appears, redirecting the user to create a new Job.
Enter a name for the new Job.
Describe the Job(Optional).
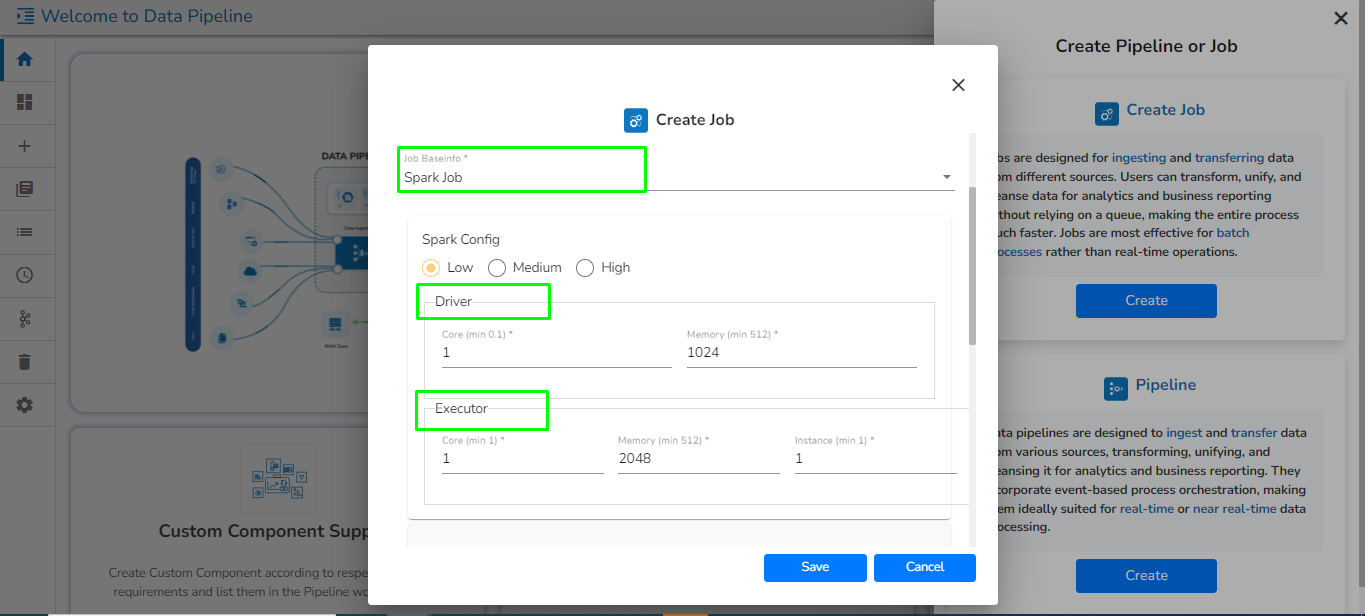
Job Baseinfo: In this field, there are the following options:
Trigger By: There are 2 options for triggering a job on success or failure of a job:
Success Job: On successful execution of the selected job the current job will be triggered.
Failure Job: On failure of the selected job the current job will be triggered.
Is Scheduled?
A job can be scheduled for a particular timestamp. Every time at the same timestamp the job will be triggered.
Job must be scheduled according to UTC.
Concurrency Policy: Concurrency policy schedulers are responsible for managing the execution and scheduling of concurrent tasks or threads in a system. They determine how resources are allocated and utilized among the competing tasks. Different scheduling policies exist to control the order, priority, and allocation of resources for concurrent tasks.
Please Note:
Concurrency Policy will appear only when "Is Scheduled" is enabled.
If the job is scheduled, then the user has to activate it for the first time. Afterward, the job will automatically be activated each day at the scheduled time.
There are 3 Concurrency Policy available:
Allow: If a job is scheduled for a specific time and the first process is not completed before the next scheduled time, the next task will run in parallel with the previous tasks.
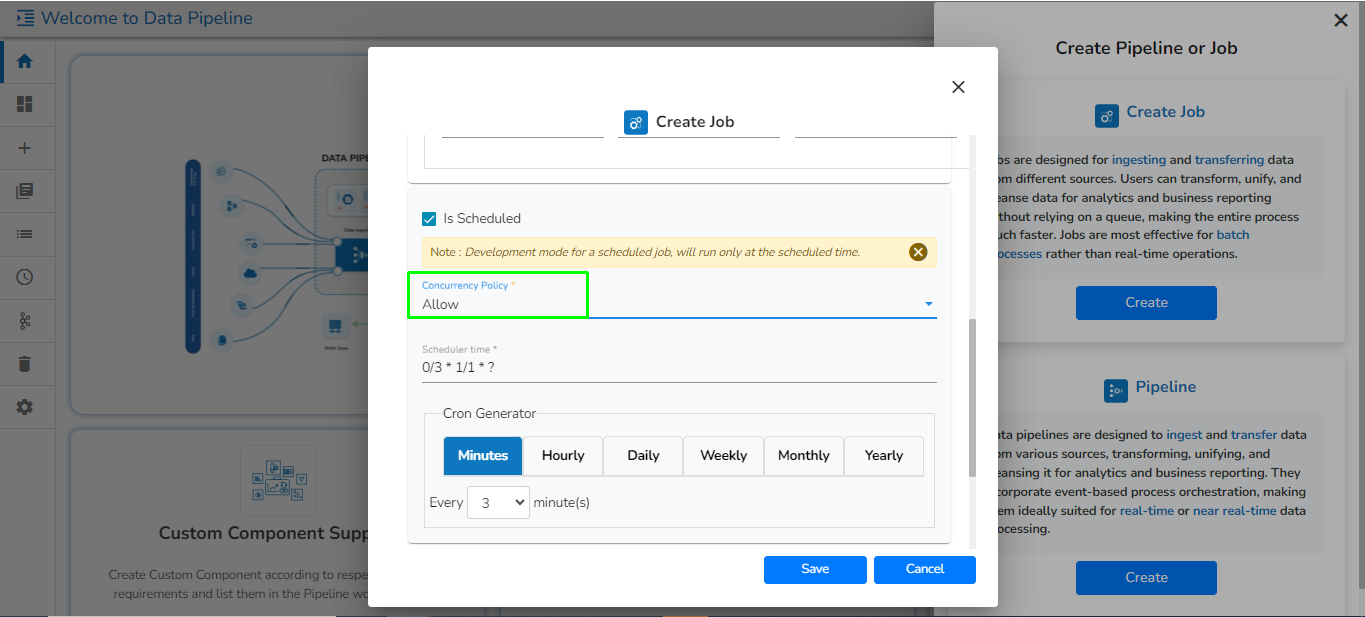
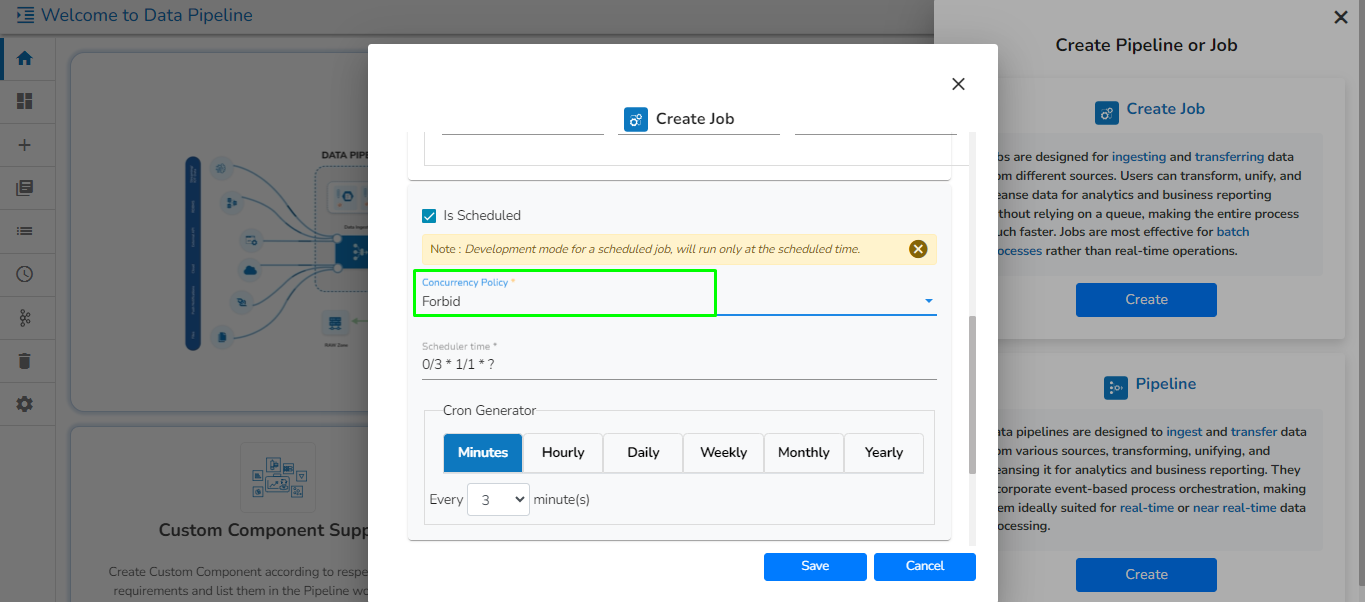
Allow concurrency policy Forbid: If a job is scheduled for a specific time and the first process is not completed before the next scheduled time, the next task will wait until all the previous tasks are completed.
Forbid concurrency policy Replace: If a job is scheduled for a specific time and the first process is not completed before the next scheduled time, the previous task will be terminated and the new task will start processing.
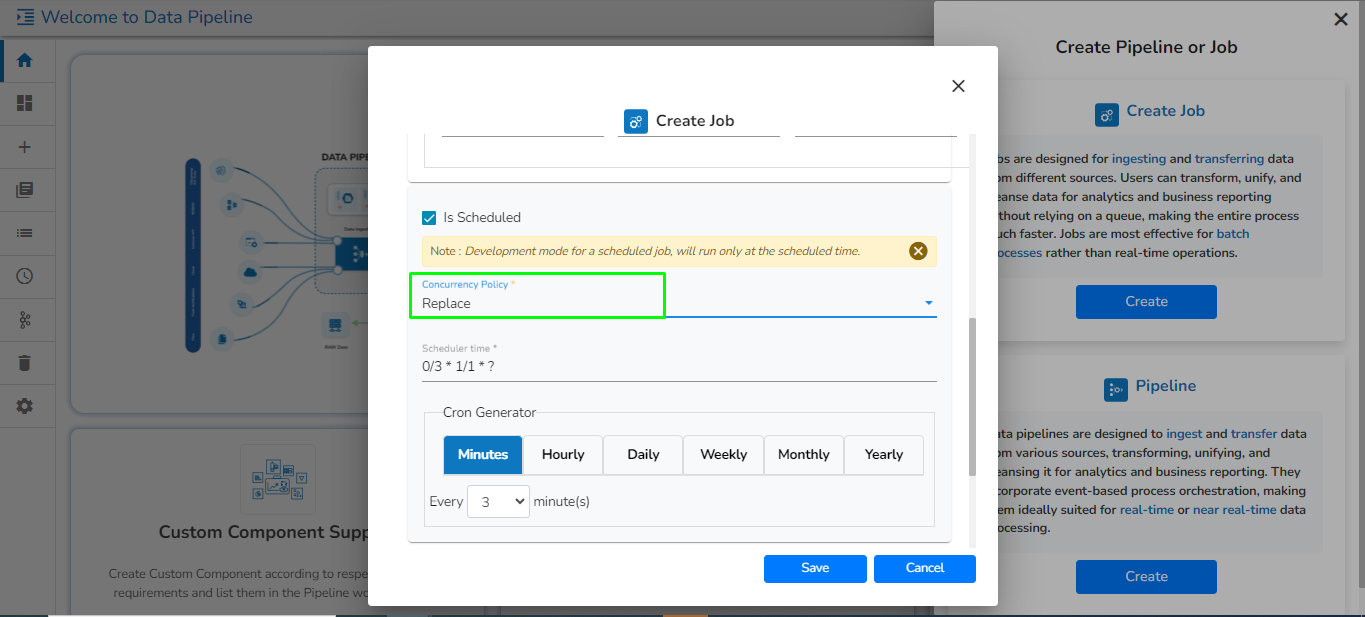
Replace concurrency policy
Spark Configuration
Select a resource allocation option using the radio button. The given choices are:
Low
Medium
High
This feature is used to deploy the Job with high, medium, or low-end configurations according to the velocity and volume of data that the Job must handle.
Also, provide the resources to Driver and Executer according to the requirement.
Alert: There are 2 options for sending an alert:
Success: On successful execution of the configured job, the alert will be sent to selected channel.
Failure: On failure of the configured job, the alert will be sent to selected channel.
Please go through the given link to configure the Alerts in Job: Job Alert
Click the Save option to create the job.
A success message appears to confirm the creation of a new job.
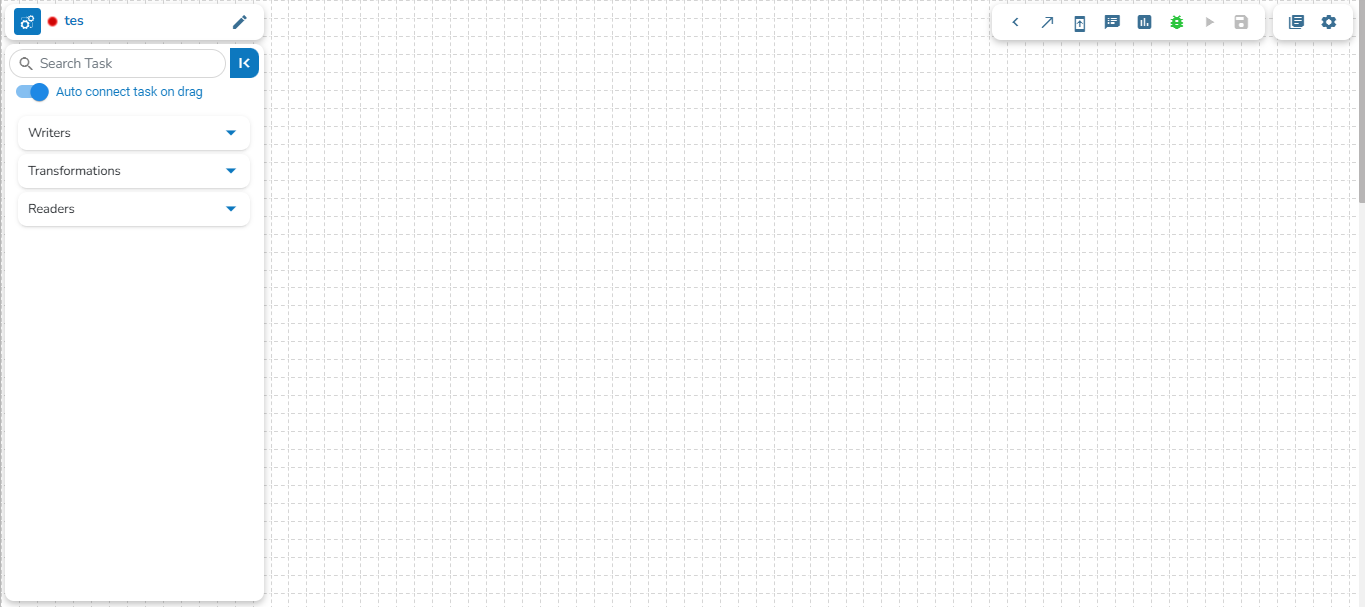
The Job Editor page opens for the newly created job.
Please Note:
The Trigger by feature will not work if the selected Trigger by job is running in the Development mode. Trigger by feature will only work when the selected Trigger by Job is activated.
By clicking the Save option, the user gets redirected to the job workflow editor.
Last updated