Geo Spatial
This section explains the steps to configure the Geospatial plugin.
The option provides two types of Map settings.
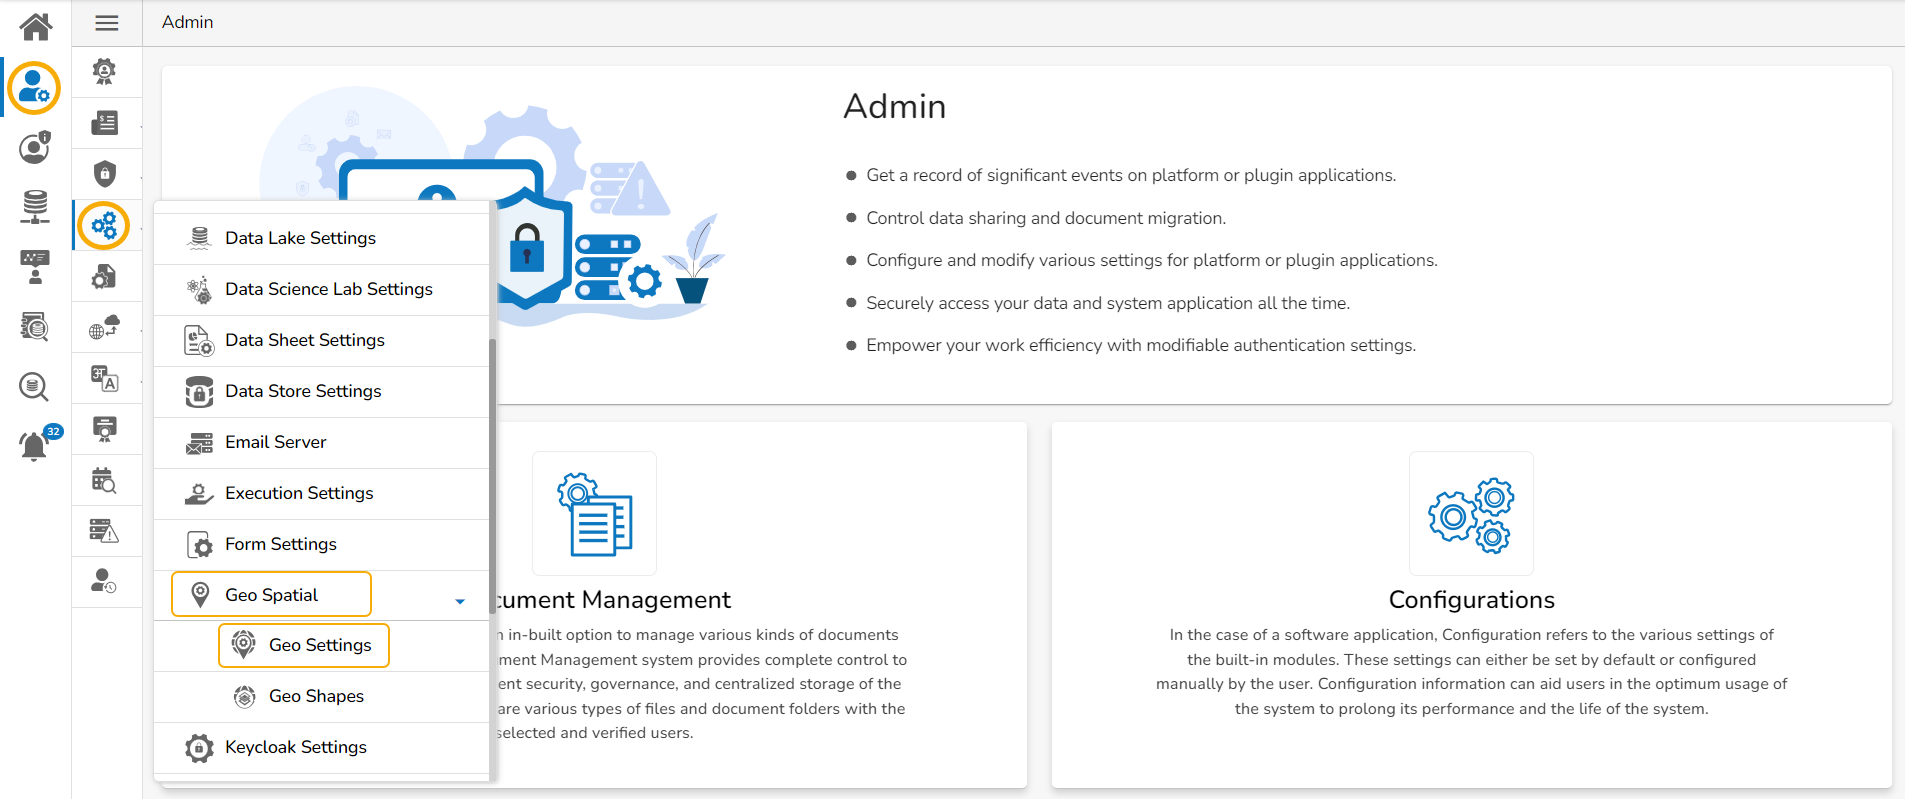
Click the Geo-Spatial from the Configuration and Settings admin option.
The following option appears:
Geo Settings
Click the Geo Settings option from the Configurations list.
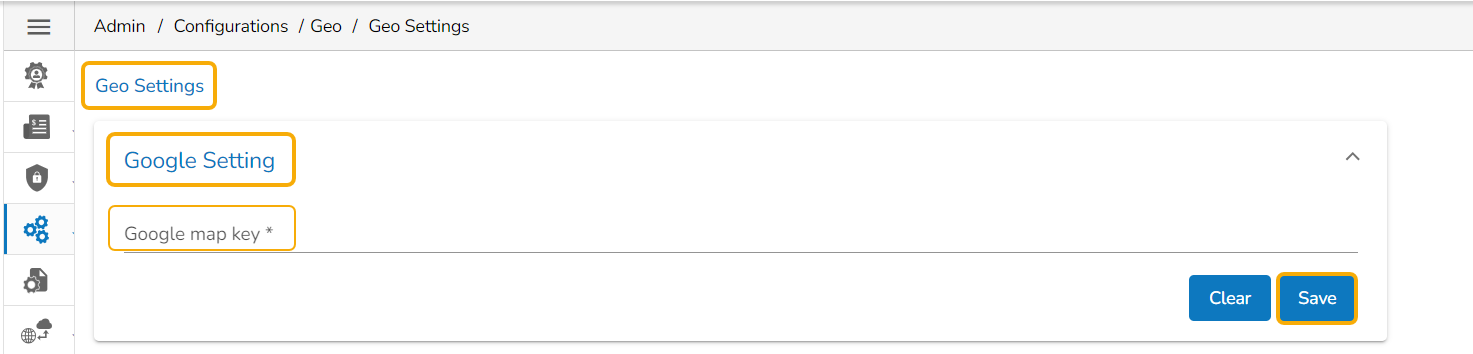
The Geo Settings page opens displaying the Google Settings and Leaflet Settings options.
Fill in the following information for the Google Map:
Map Key: Enter the map key that has been provided by Google (To be purchased from Google).
Click the Save option.
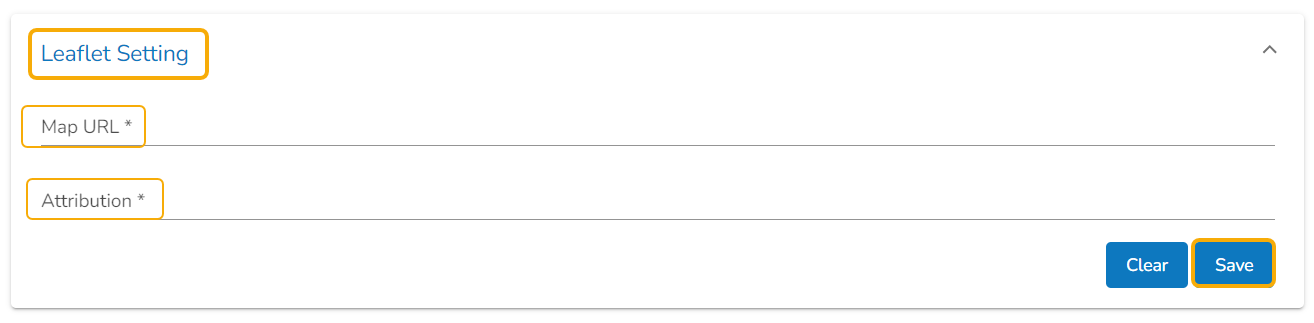
Fill in the following information for the Leaflet Settings:
Map URL: URL of the selected map (provided by the open-source vendors)
Attribution: Configuration parameters for the map (provided by the open-source vendor)
Click the Save option.
Please Note: Click the Clear option to erase the information.
Geo Shapes
Uploading a Geo Shape File
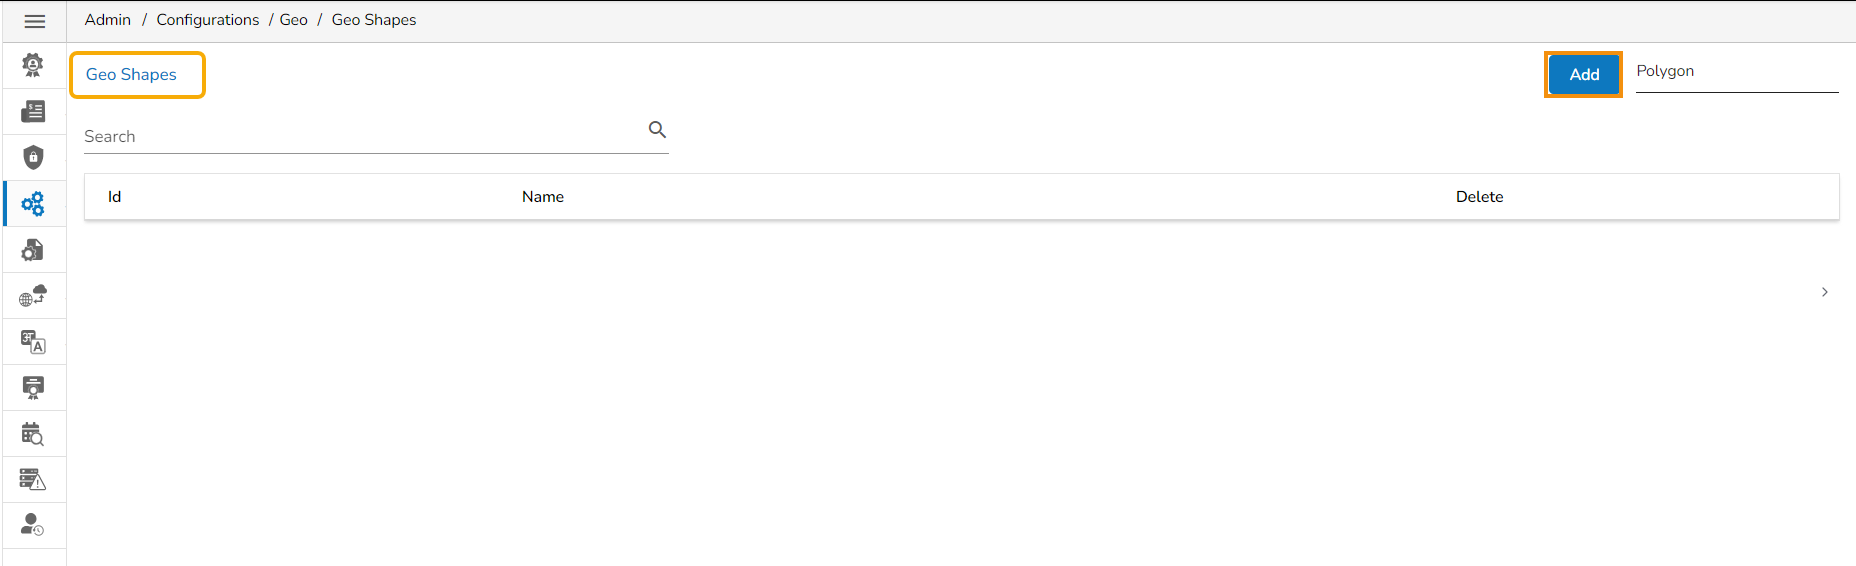
Click the Geo Shapes option from the Geo Settings configuration option.

The Geo Shapes page opens.
Click the Add option from the Geo Shapes page.
The Create New Geo Shapes page opens.
Enter the following information:
Shape Name: Title of the geo shape (map)
Geometry Type: Select any Geometry type from the drop-down menu (out of Polygon or Line)
Area Type: Select an area type using the drop-down menu
Choose File: Browse a shapefile from the system and upload (Only JSON and JS formats are supported)
Click the Save option to save the inserted details.

A message will pop up to ensure that the file has been uploaded.
The uploaded Geo Shapefile is displayed in the list format.
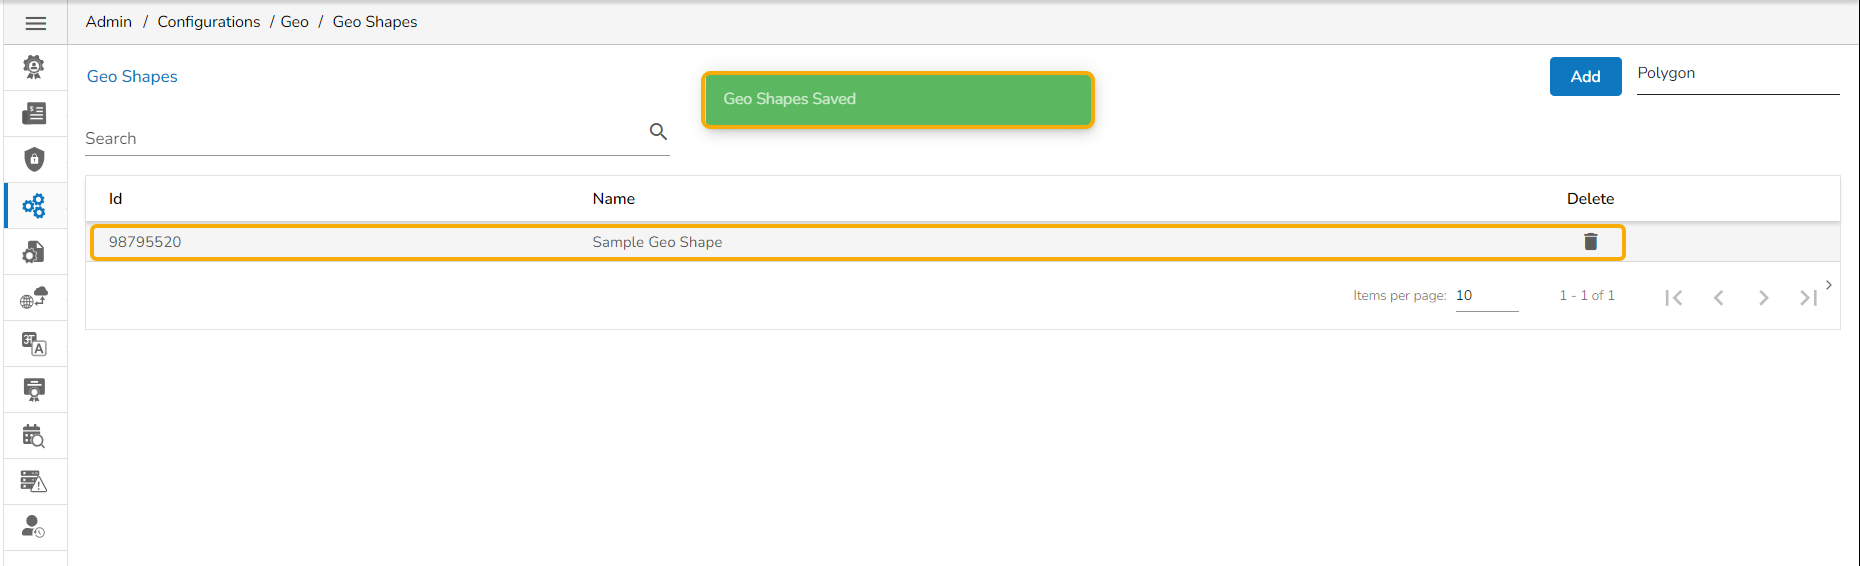
Please Note: Use the Search space to search a Geo Shapefile from the displayed list.
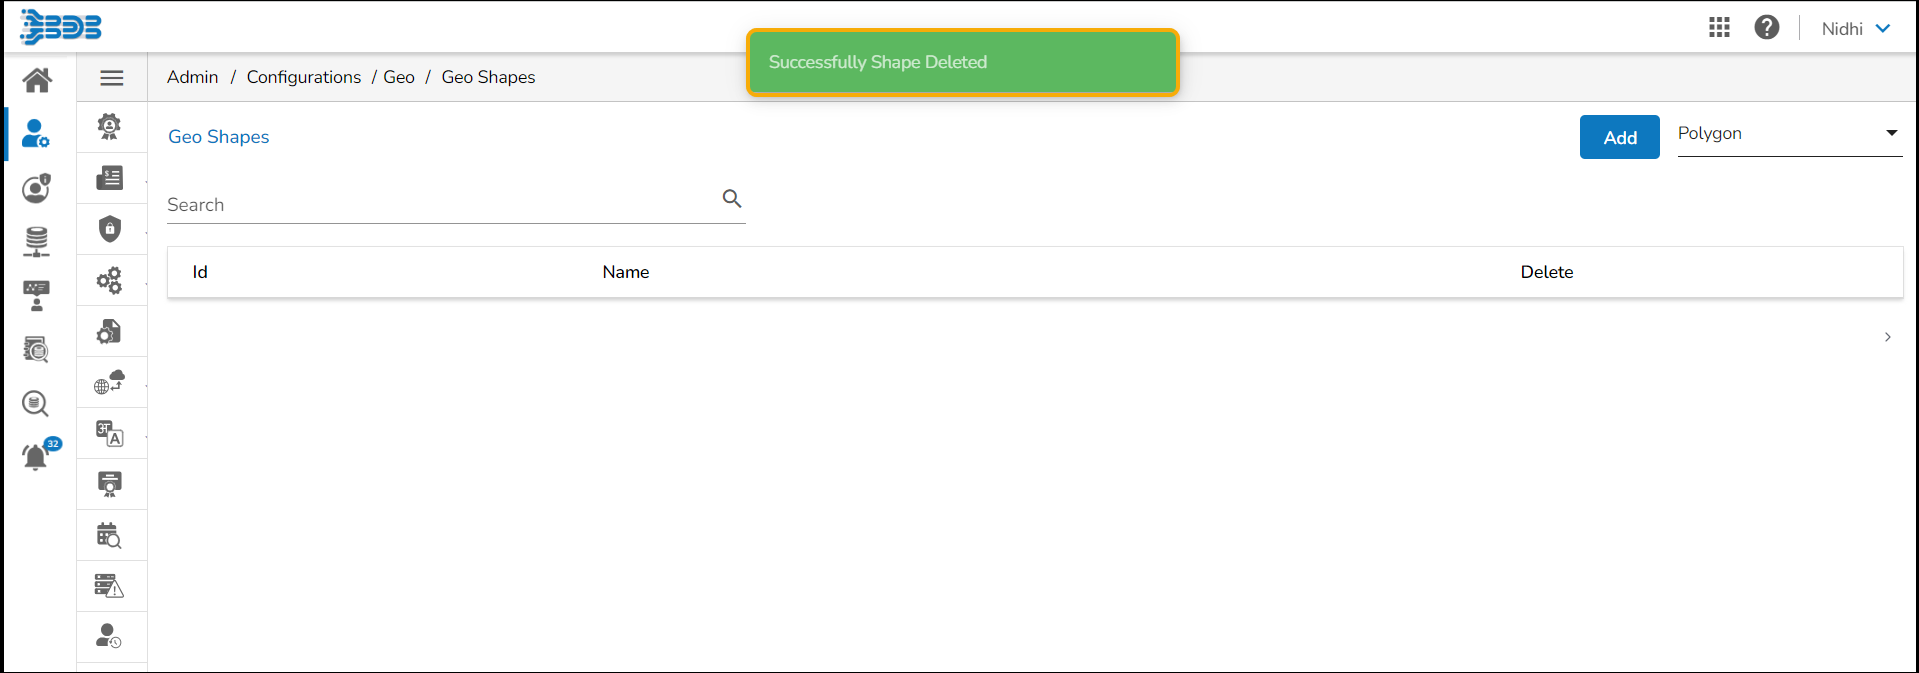
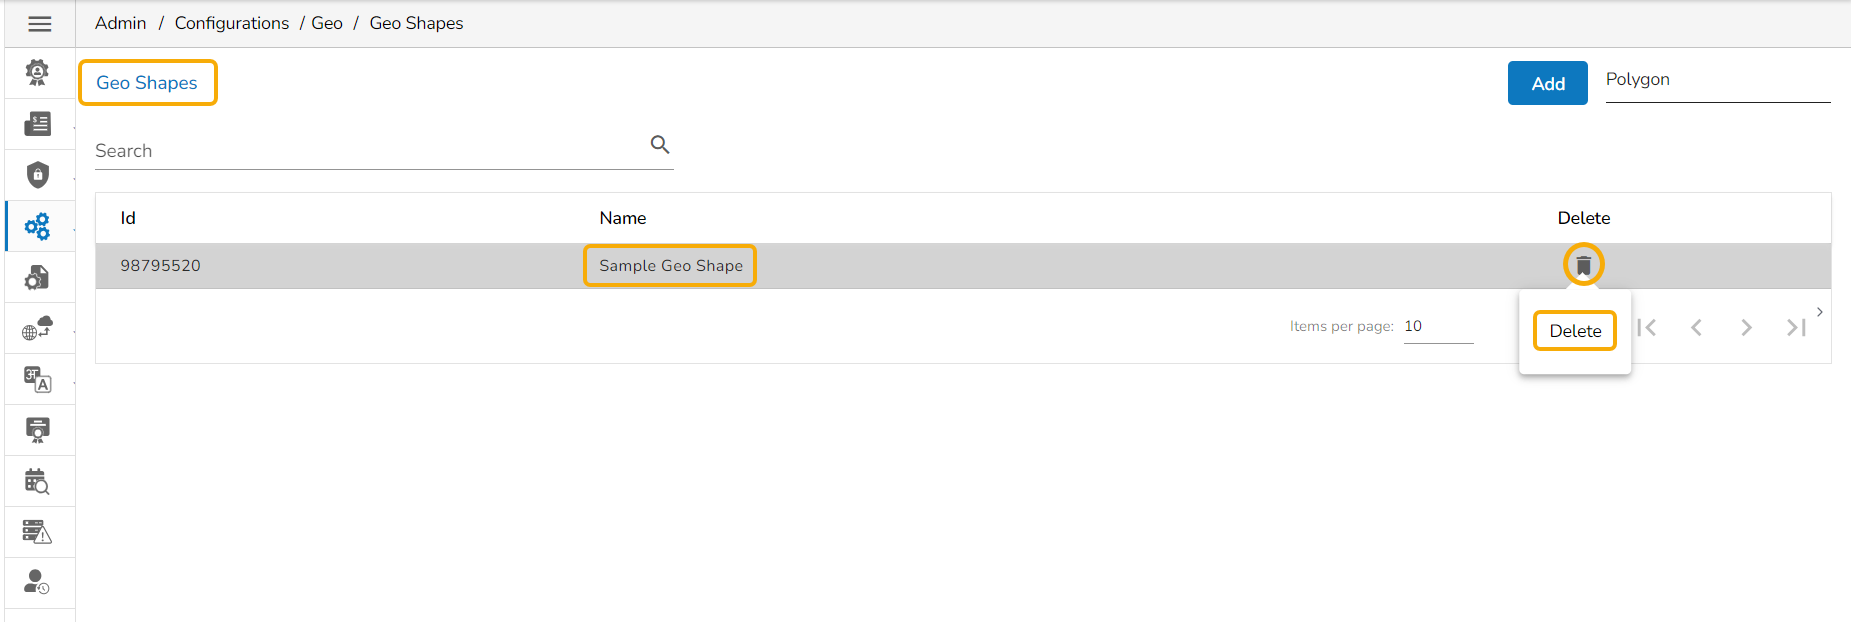
Deleting a Geo Shape File
Select an uploaded Geo Shapefile from the list.
Click the Delete icon provided next to a Geo Shape File.
A new window opens to confirm the deletion.
Select the DELETE option.
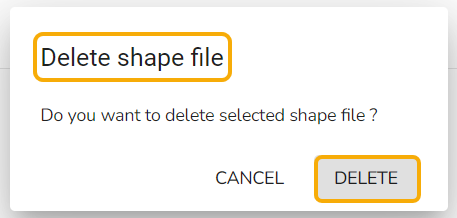
The selected Geo Shape file gets removed from the list.