Creating a New User
Select the User option from the New Context menu.

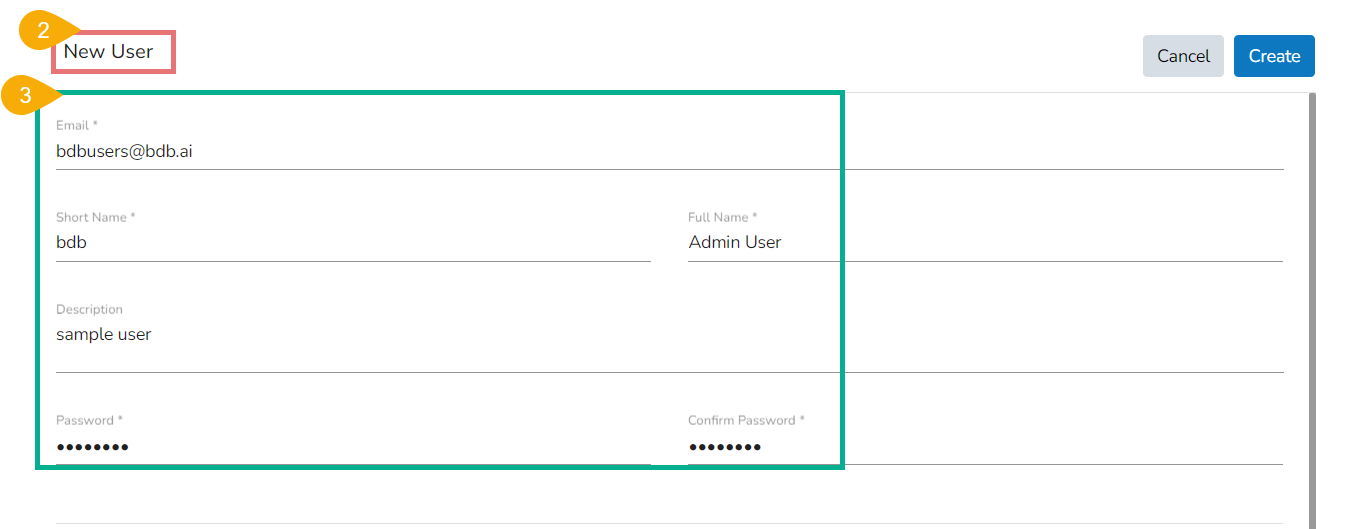
The New User form opens.
Fill in the following information to create a new User:
Email: Provide an email address to be registered for the user.
Short Name: Short name of the user.
Full Name: Full name of the user.
Description: Describe the user (optional).
Password: Set password for the new user.
Confirm Password: Confirm the above password.

Click the Assign option provided for Adding the new User to Group(s).

The Add Users to Group window opens, listing all the groups.
Either choose the Select all option or select the specific group(s) by using the checkmarks.

The selected group(s) will be assigned, and the number of the selected groups will mentioned.

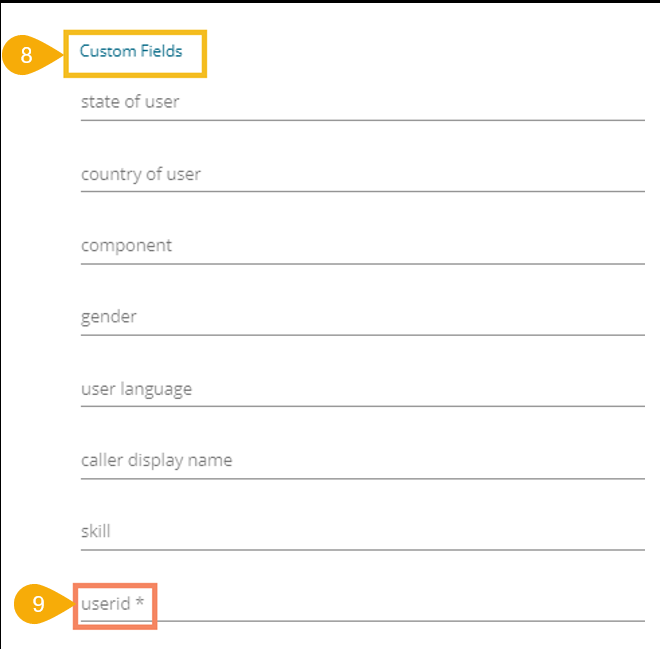
Pre-configured custom fields are displayed under the Custom Fields heading in this form.
Please Note: You can configure the Custom Fields part using the Custom Fields Settings option Admin module The list of mandatory Custom Fields for a user help to Restrict the Data Access for that user.
The users need to provide the required details using the custom fields if marked as mandatory (A user gets group-specific custom fields).

Click the Create option.

A confirmation message appears.

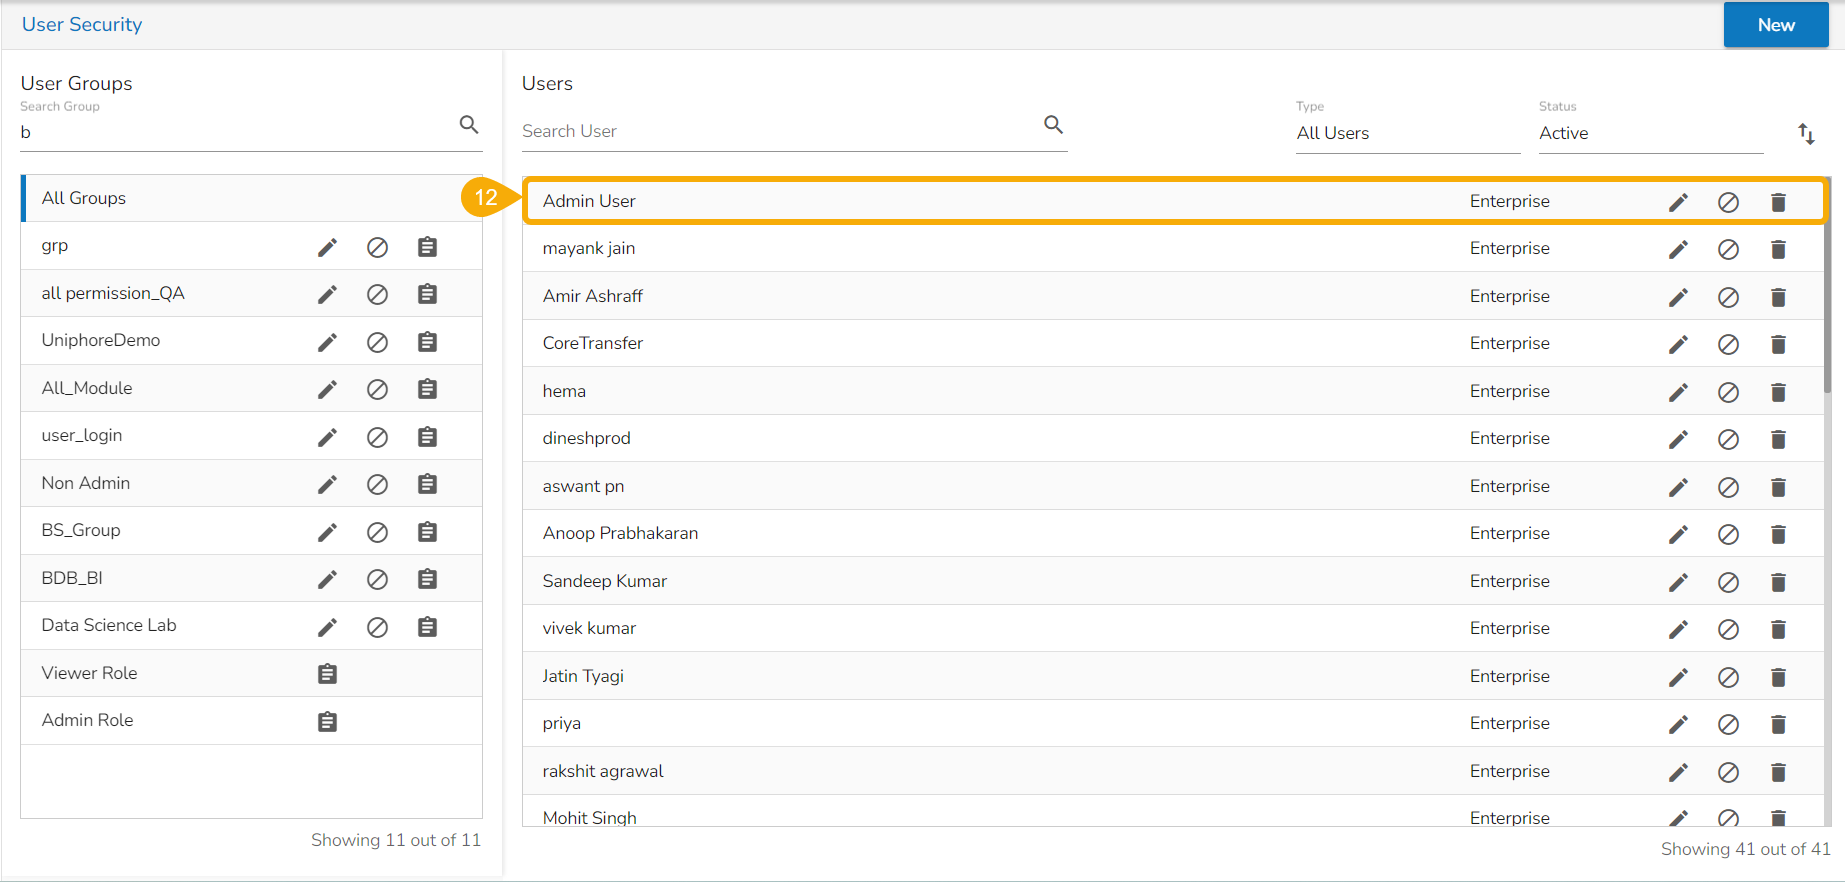
The newly created user gets added to the user list.

Please Note:
All the user-specific details other than email ID can be updated/edited by the Update User option.
If the new user gets added to a Group with all the permission access, the new user gets the Admin Role.
A single user can be a part of multiple groups, and the user can get collective permissions from all the groups to access different platform modules.