
Using a Markdown Cell
This page describes steps to use the text cells of the Data Science Notebook.
Inserting a Markdown Cell


Editing a Markdown Cell


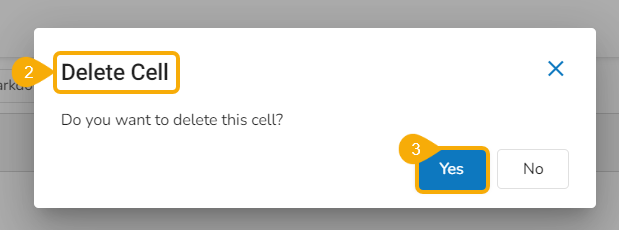
Deleting a Markdown Cell


Uploading an Image in the Markdown


Last updated