Administrative Settings
  • Accessing the Admin Module
  • Admin Panel Options
    • API Client Registration
    • Audit Trail
    • Authentication
      • AD Configuration
      • AWS Cognito Configuration
      • CA PPM Configuration
      • SSO Configuration
        • Keycloak
        • Azure/ OAuth
    • Configurations
      • API Base URL
      • API Connectors Configurations
      • Bulk User Creation
      • Core Ownership Transfer
      • Custom Field Settings
      • Data Connectors
      • Data Lake Settings
      • Data Science Lab Settings
      • Data Sheet Settings
      • Data Store Settings
      • Email Server
      • Execution Settings
      • Form Settings
      • Geo Spatial
      • Keycloak Settings
      • Version Control
        • Versioning
        • Migration
      • Open ID Settings
      • Password
      • Pipeline Settings
      • Sandbox Settings
      • Secret Management
      • SSL Certificate Settings
    • Documentation Management
    • GIT Migration
      • Migrating a Dashboard
      • Migrating DS Lab
      • Migrating an API Service
      • Migrating a Pipeline
      • Migrating a Report
    • Language Mapping
      • Languages
      • Mapping Table (Language Text Mapping)
    • License
    • Resource Observability
    • Schedule Monitor
    • Server Monitor
    • Session Manager
Powered by GitBook
On this page
  • Report Migration (Exporting a Report)
  • Importing Story
Export as PDF
  1. Admin Panel Options
  2. GIT Migration

Migrating a Report

The user can export and import a story file by using this feature.

PreviousMigrating a PipelineNextLanguage Mapping

Please Note: The GIT Migration option for the Report module includes both Export and Import options.

Report Migration (Exporting a Report)
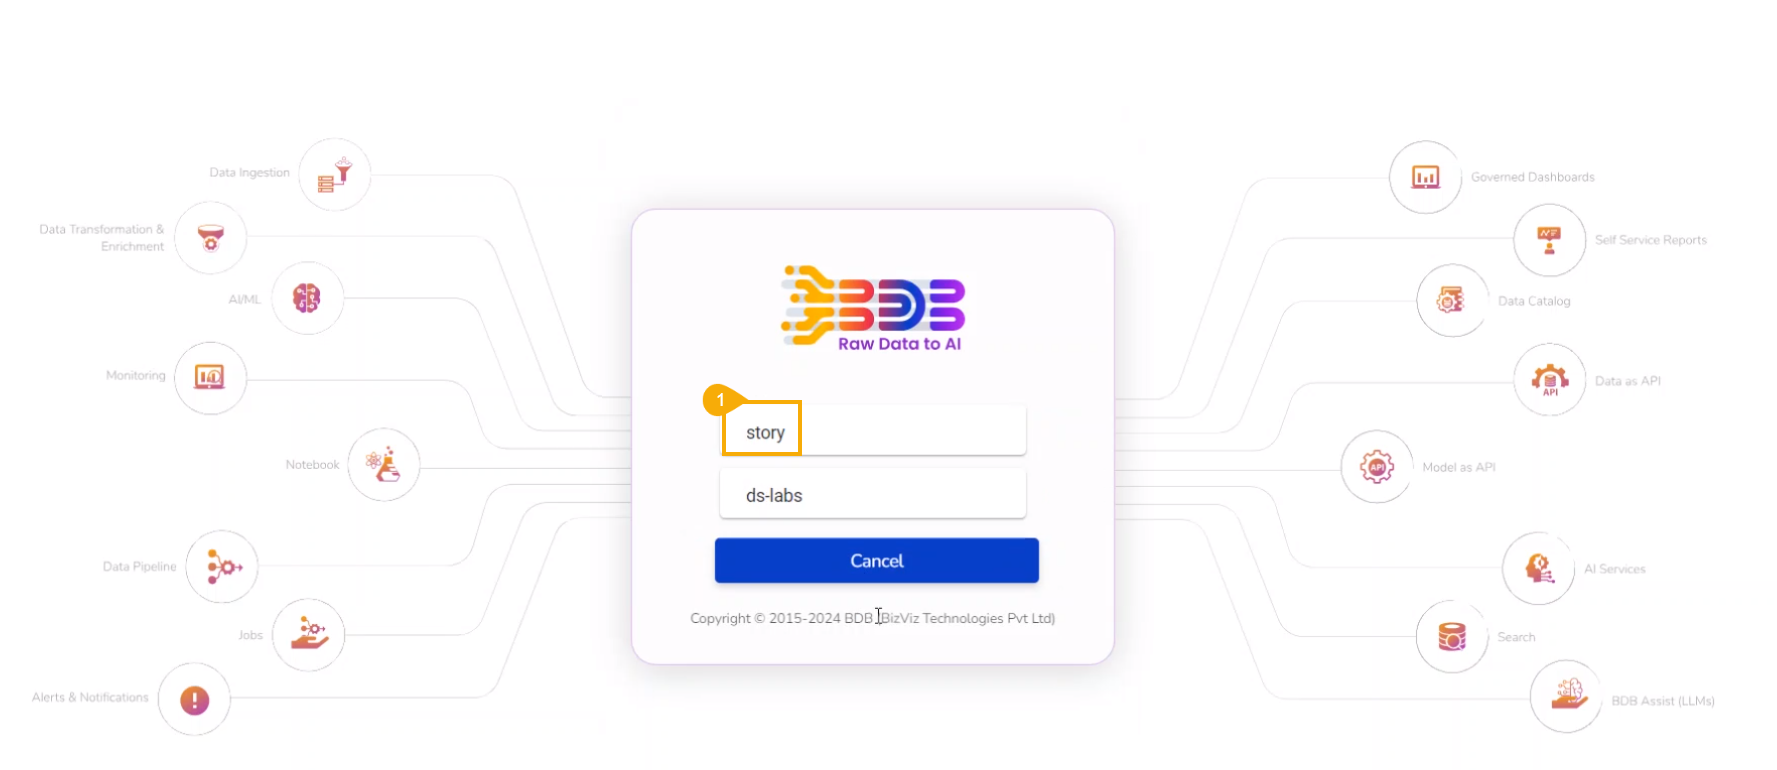
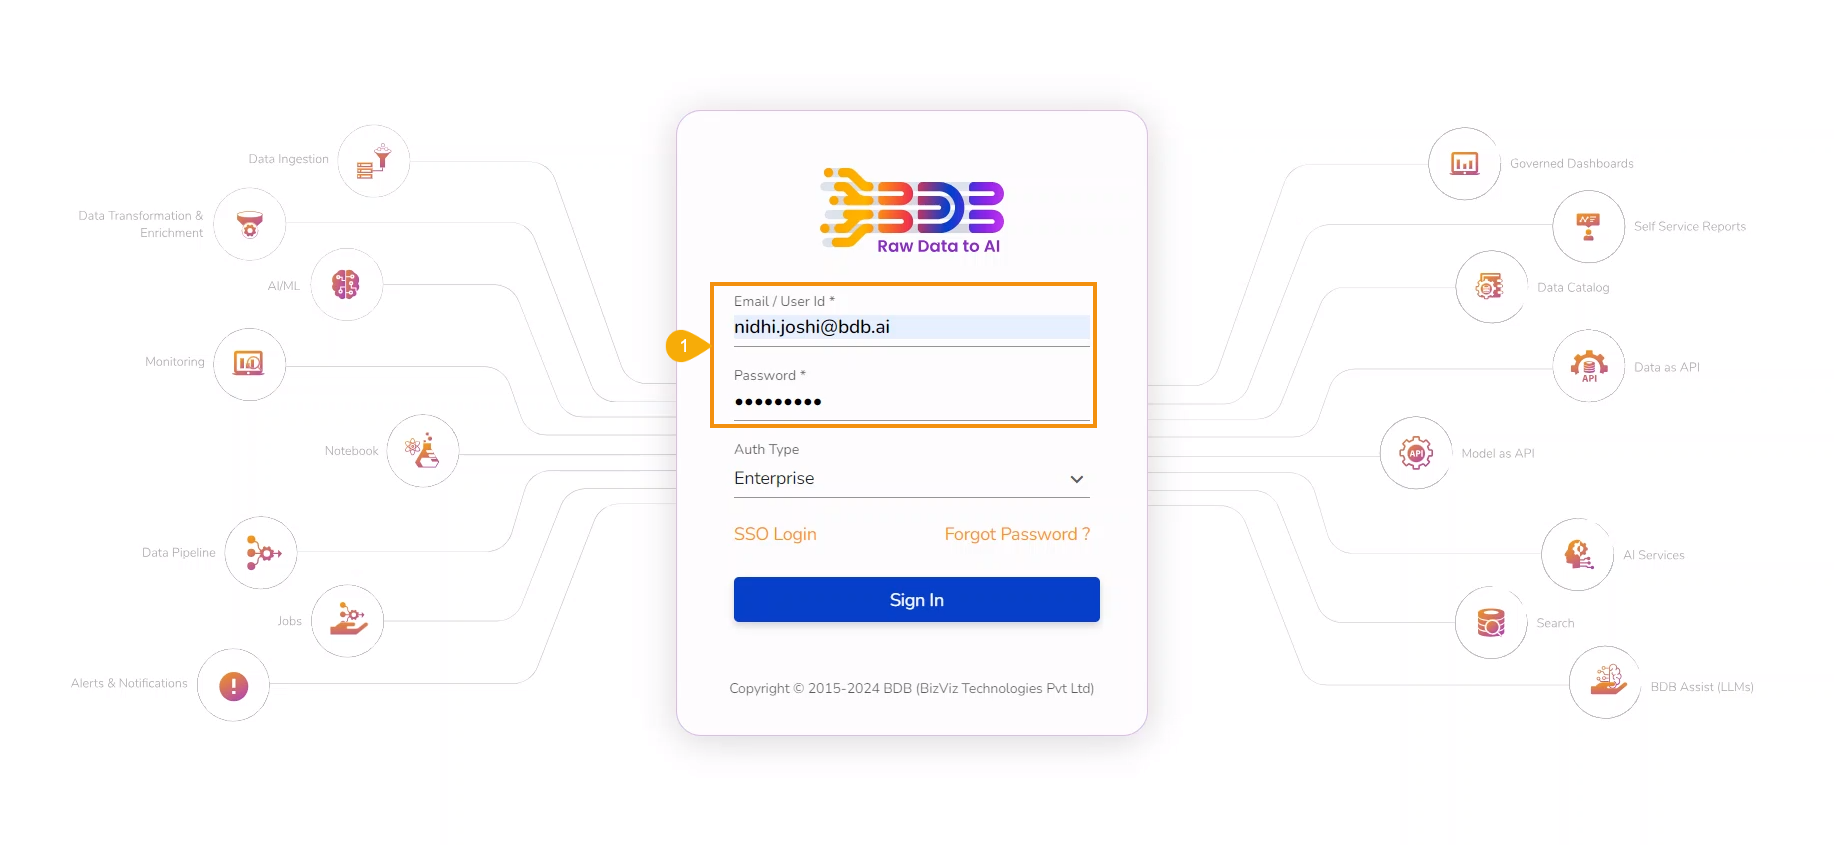
  • Login to the Platform with a specific space. The story space has been used in this case to export a report.

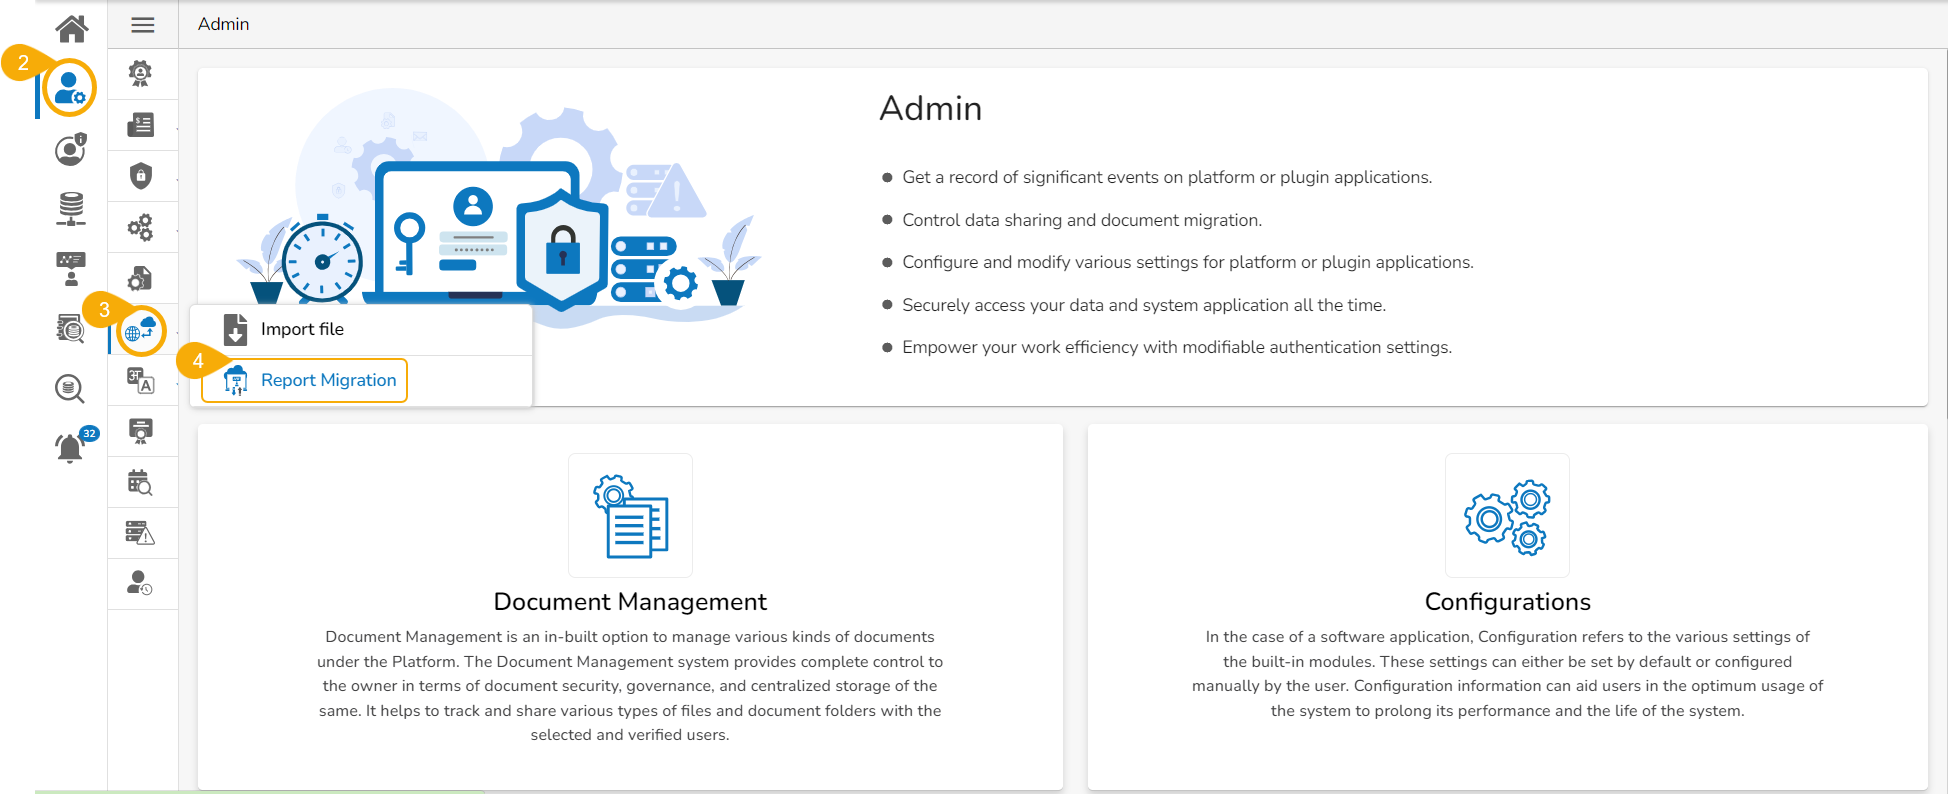
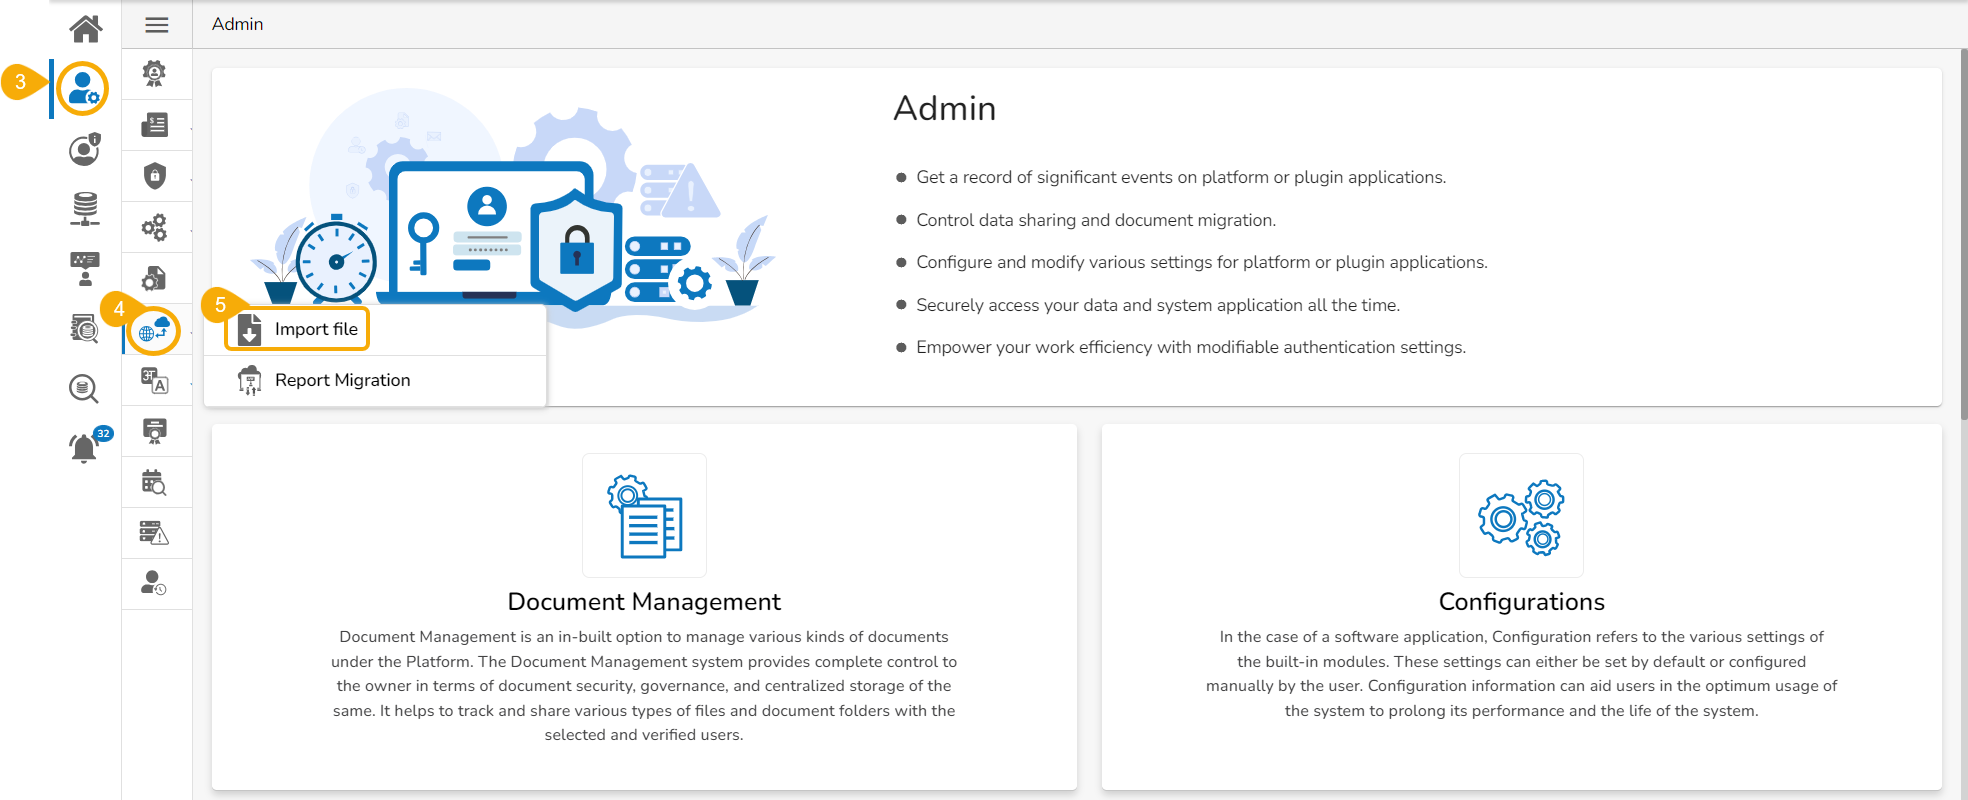
  • Navigate to the Admin option.

  • Open the GIT Migration option.

  • Click the Report Migration option from the GIT Migration.

  • The user gets redirected to the Export Document page.

  • Click the Export option.

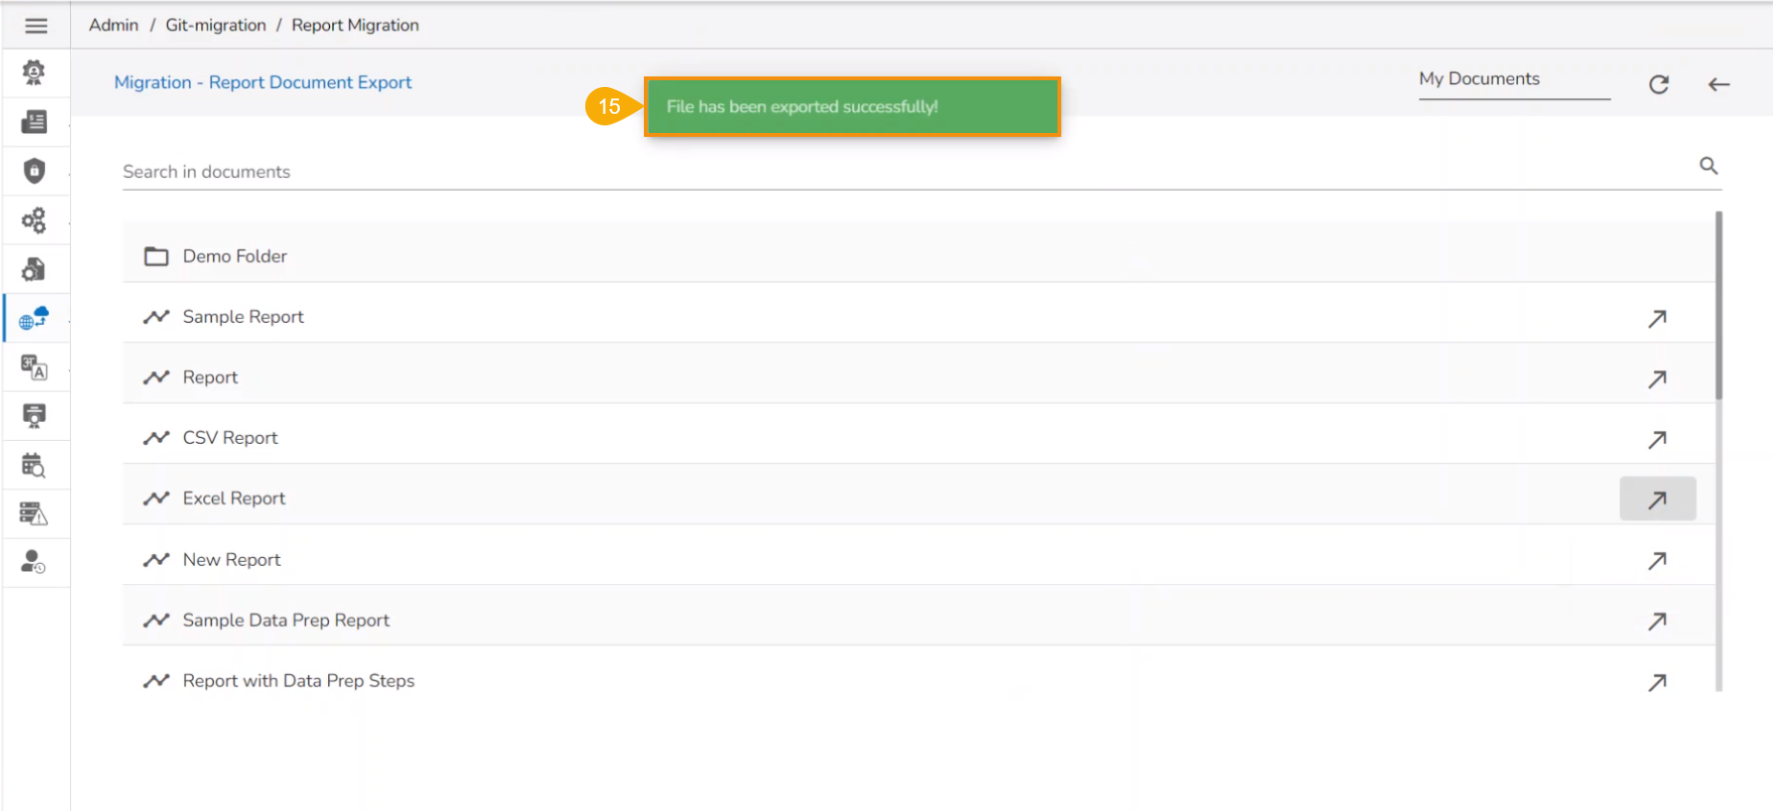
  • The user gets redirected to the Migration - Report Document Export page.

  • Select a document space to choose the Report from. The available document spaces are My Documents, Public Documents, and Favorites.

  • The user can Search for the specific file from the list.

  • Select a Report from the displayed list.

  • Click the Push to VCS icon for the selected Story file.

  • The Report Migration- Export dialog box appears.

  • Provide a Commit Message.

  • Click the Export option.

  • A notification message ensures the users of the success of the export action.

Importing Story

The Excel Report has been selected in the previous section to display the export steps. This section displays the steps for importing the same report file to another user space.

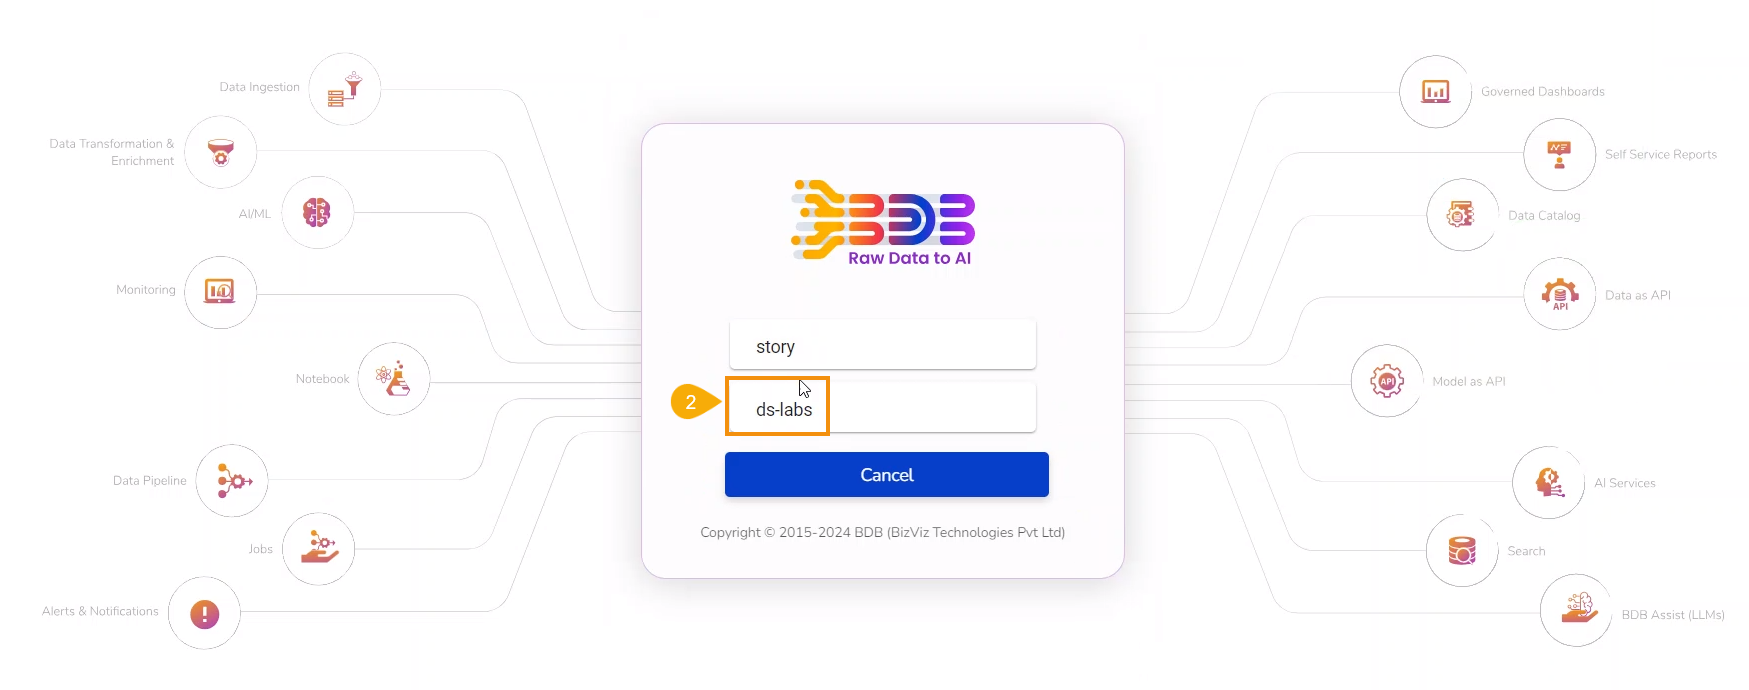
  • Use another user's credentials or another space.

  • The selected user tenant space is ds-labs which displays the steps to import the same exported report.

  • Navigate to the Admin module.

  • Open the GIT Migration option.

  • Select the Import File option from the GIT Migration context menu.

  • The Import Document page opens.

  • click the Import option.

  • The Migration - Document Import page appears.

  • Select a module using the given drop-down menu.

  • Use the Search bar to search for a specific story file.

  • A customised list of the exported stories appears based on the search.

  • Select a Story file from the displayed list.

  • Available versions of the selected Story appears.

  • Select a Version by using the given checkbox.

  • Click the Migrate option.

  • A notification message appears to ensure completion of the migration process.

  • Navigate to the Platform Homepage.

  • The My Documents space opens by default.

  • The migrated Report gets added to the My Documents space.

Accessing Report Migration from the Admin Module
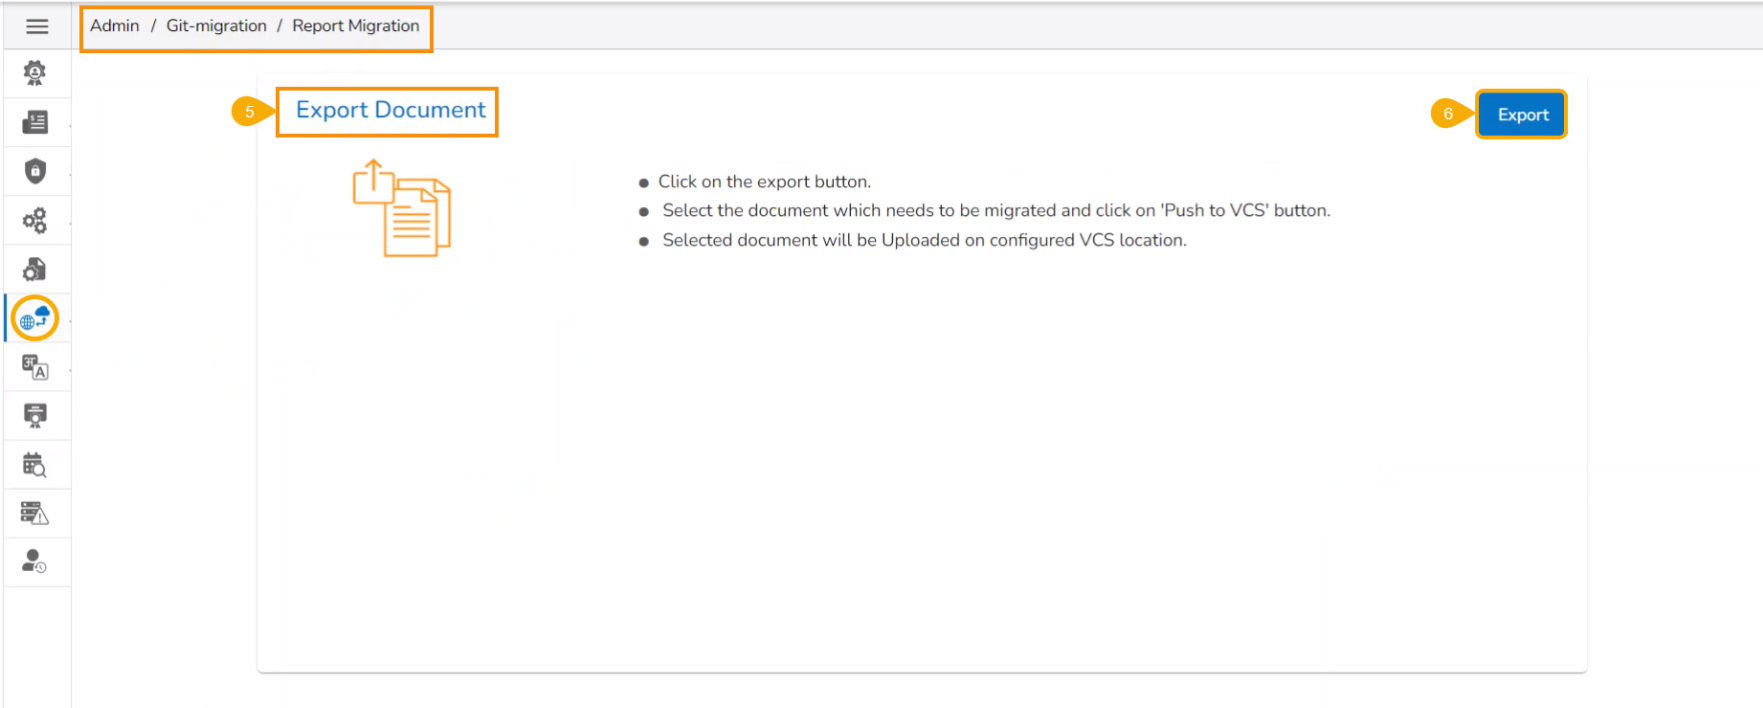
the Export Document option
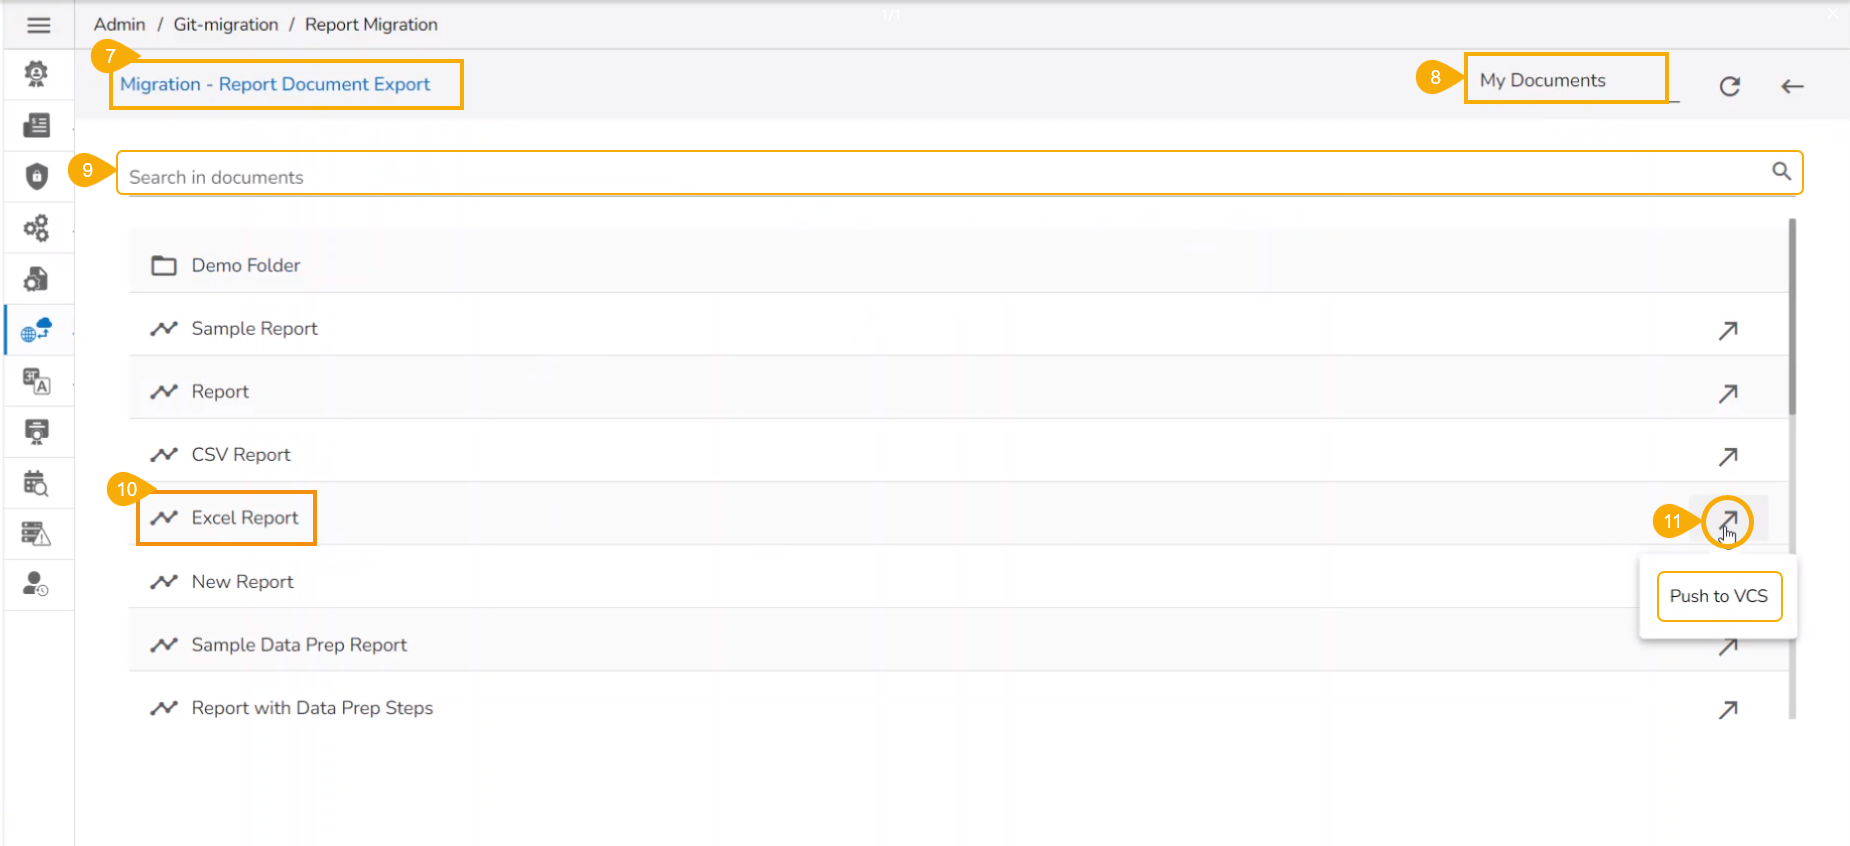
Accessing the Push to VCS option for a Report
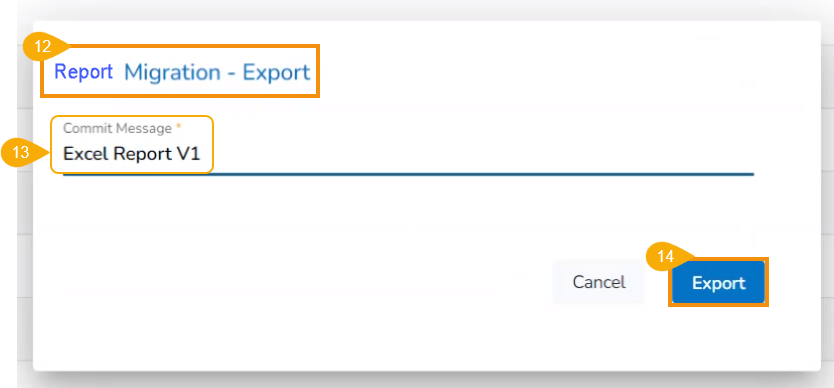
Report Migration - Export dialog box
Notification message after the Report file gets Exported
Signing In to Platform with a different user space
Accessing Import File option for Story Migration
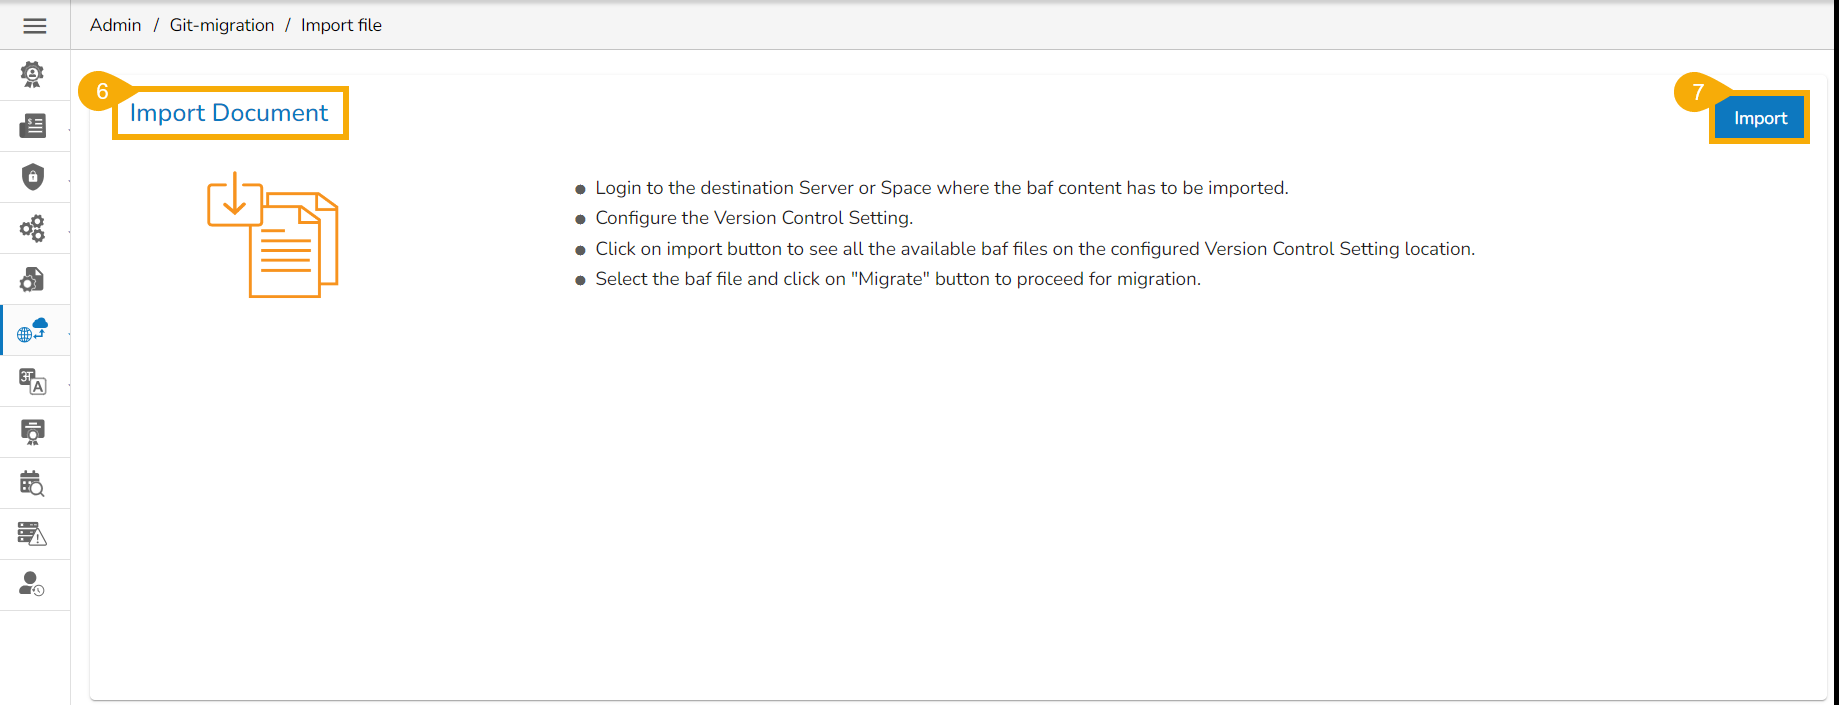
Import Document Page
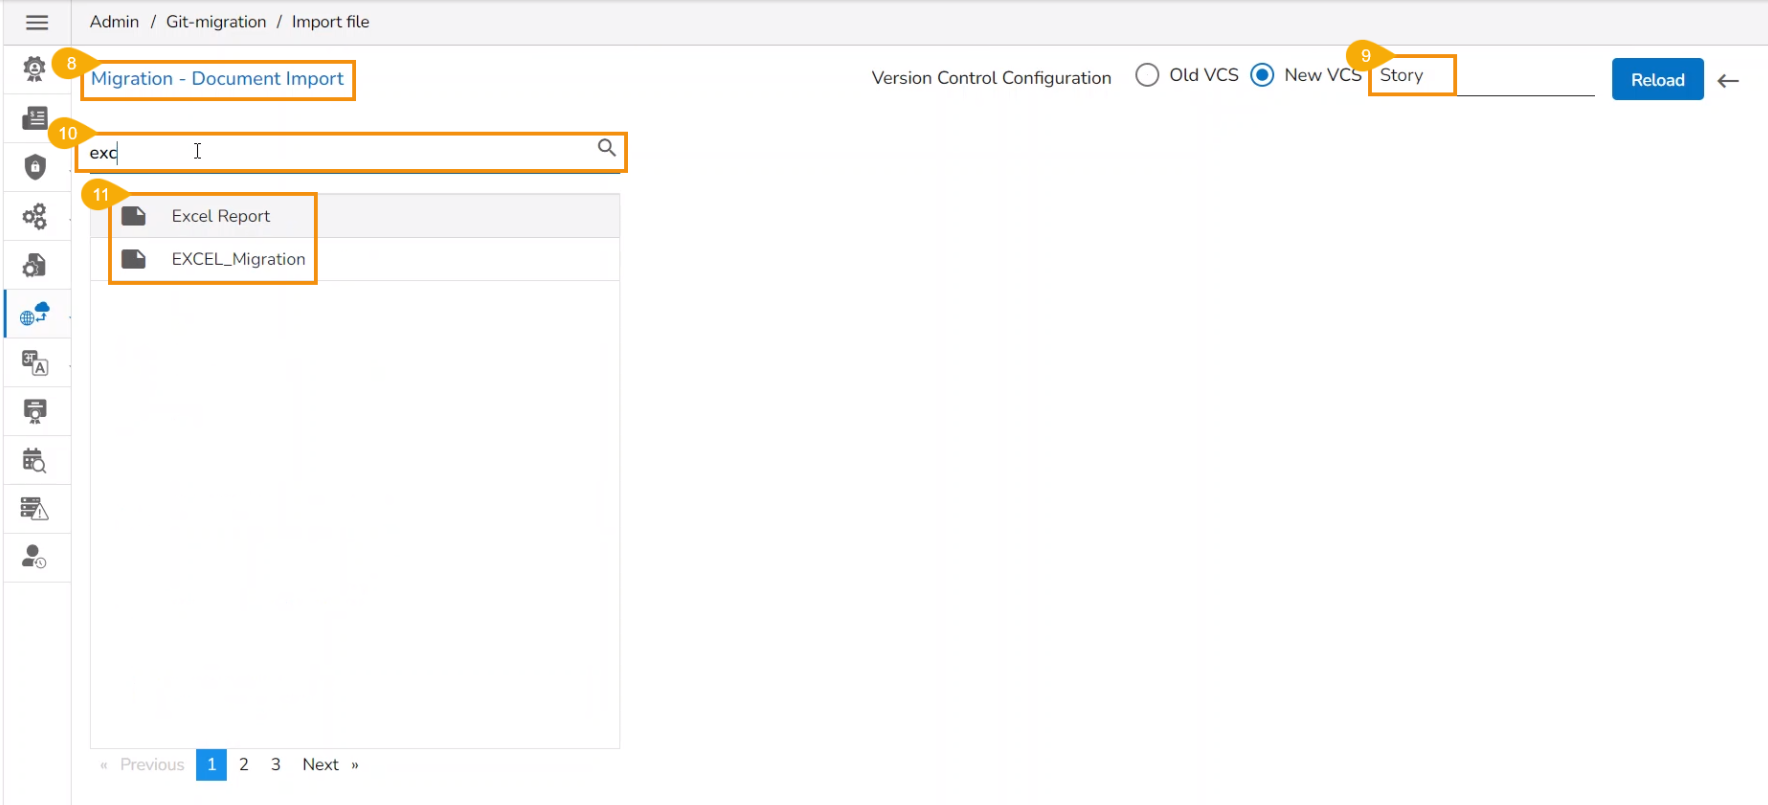
Customised list of the Exported Report files
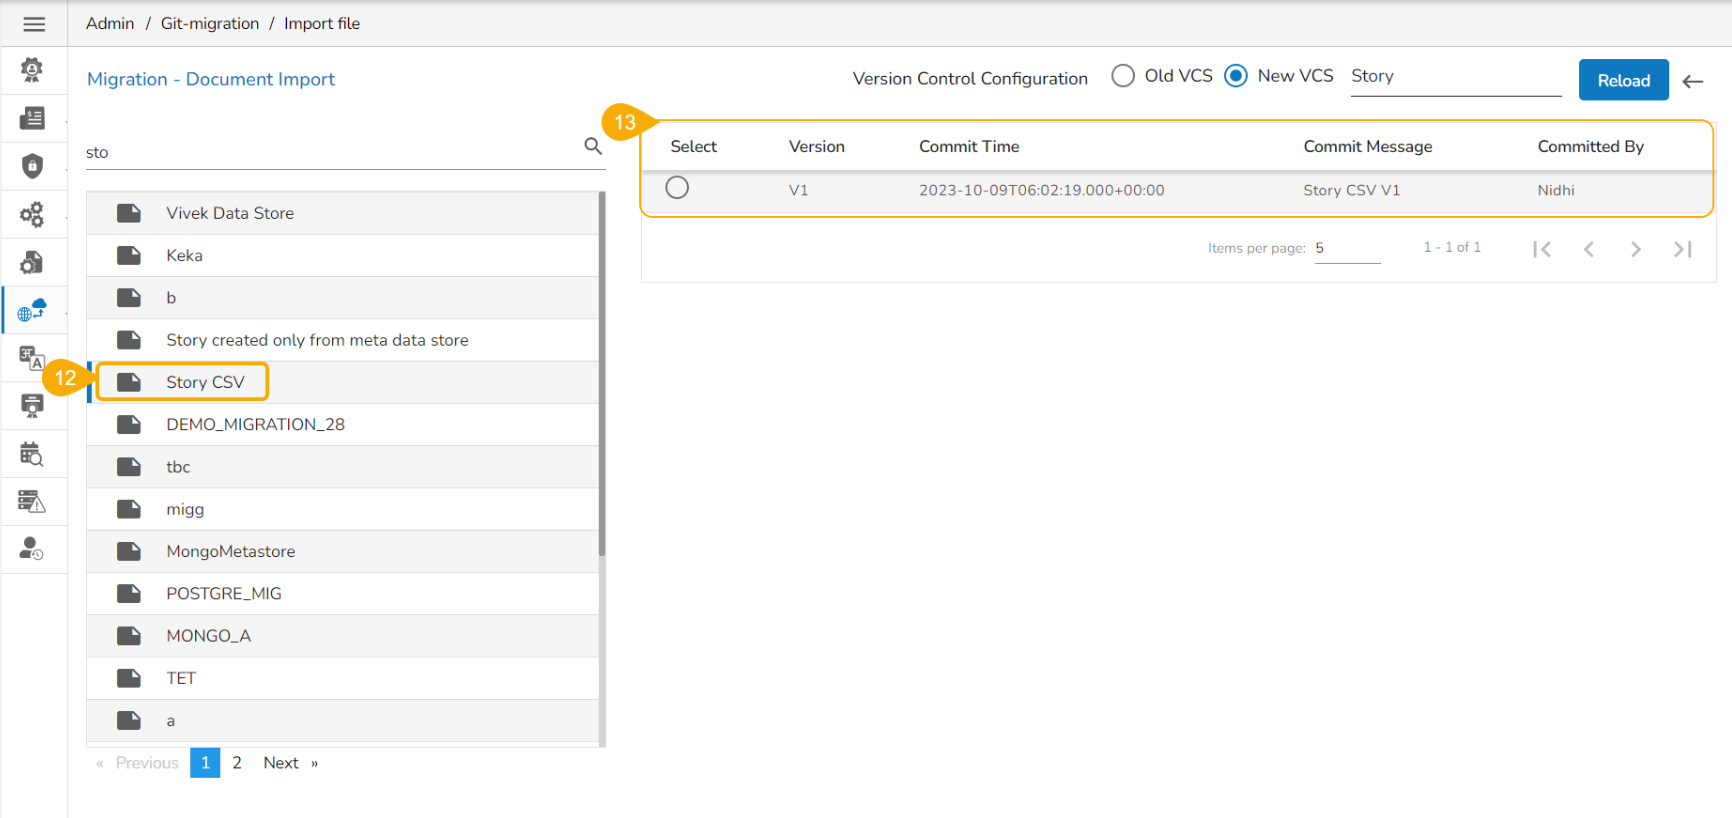
Selecting a specific Report file
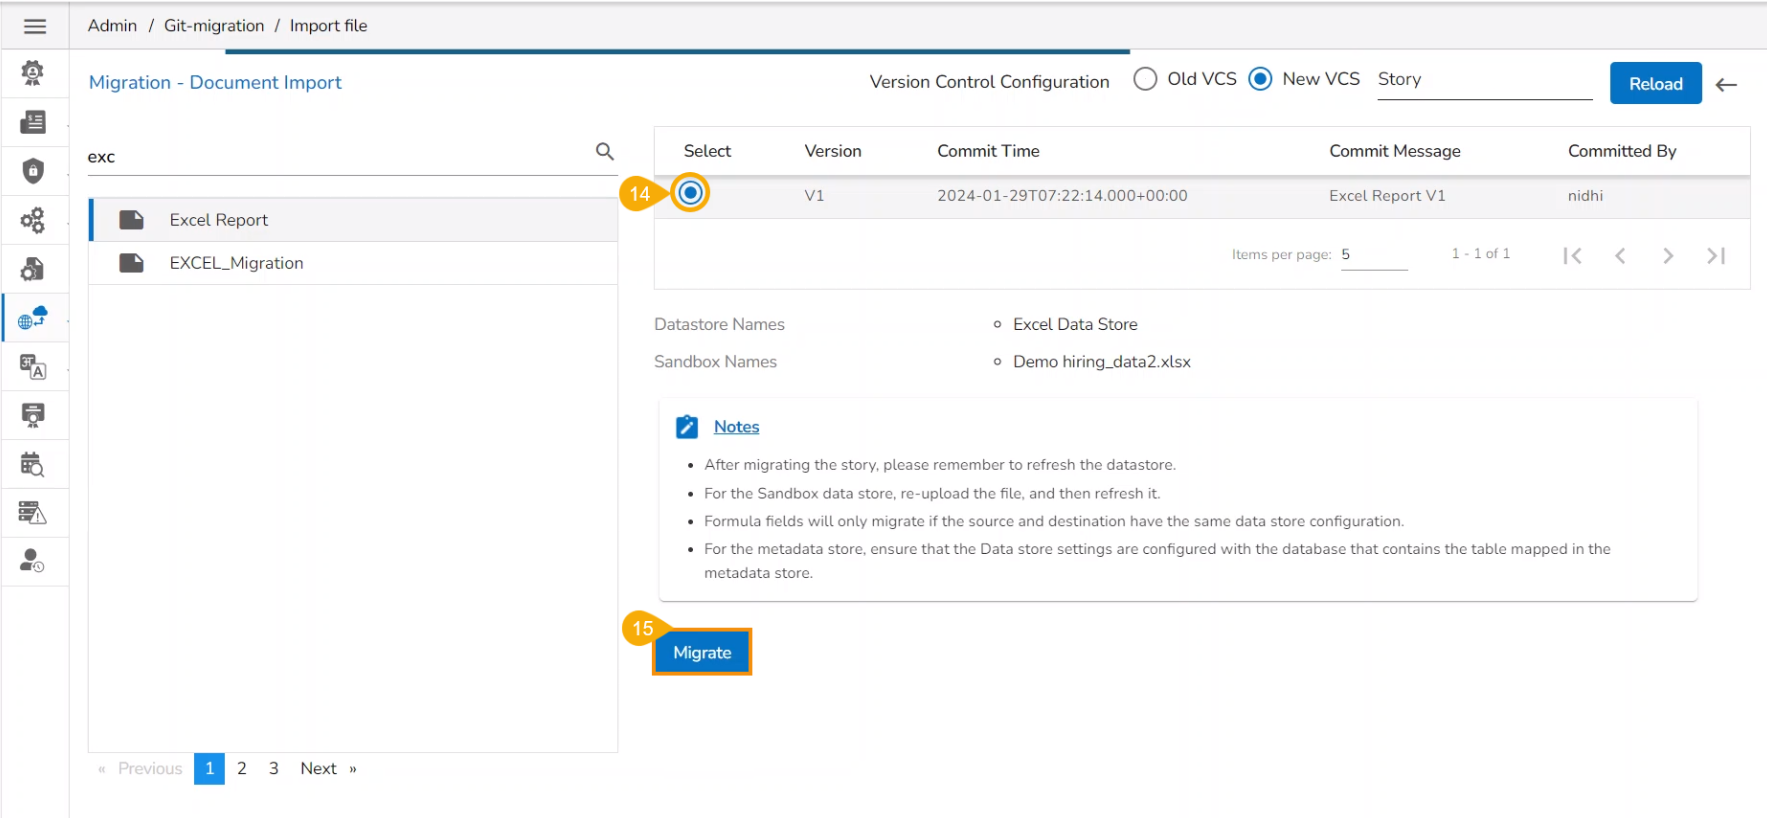
Selecting an exported version for Migration
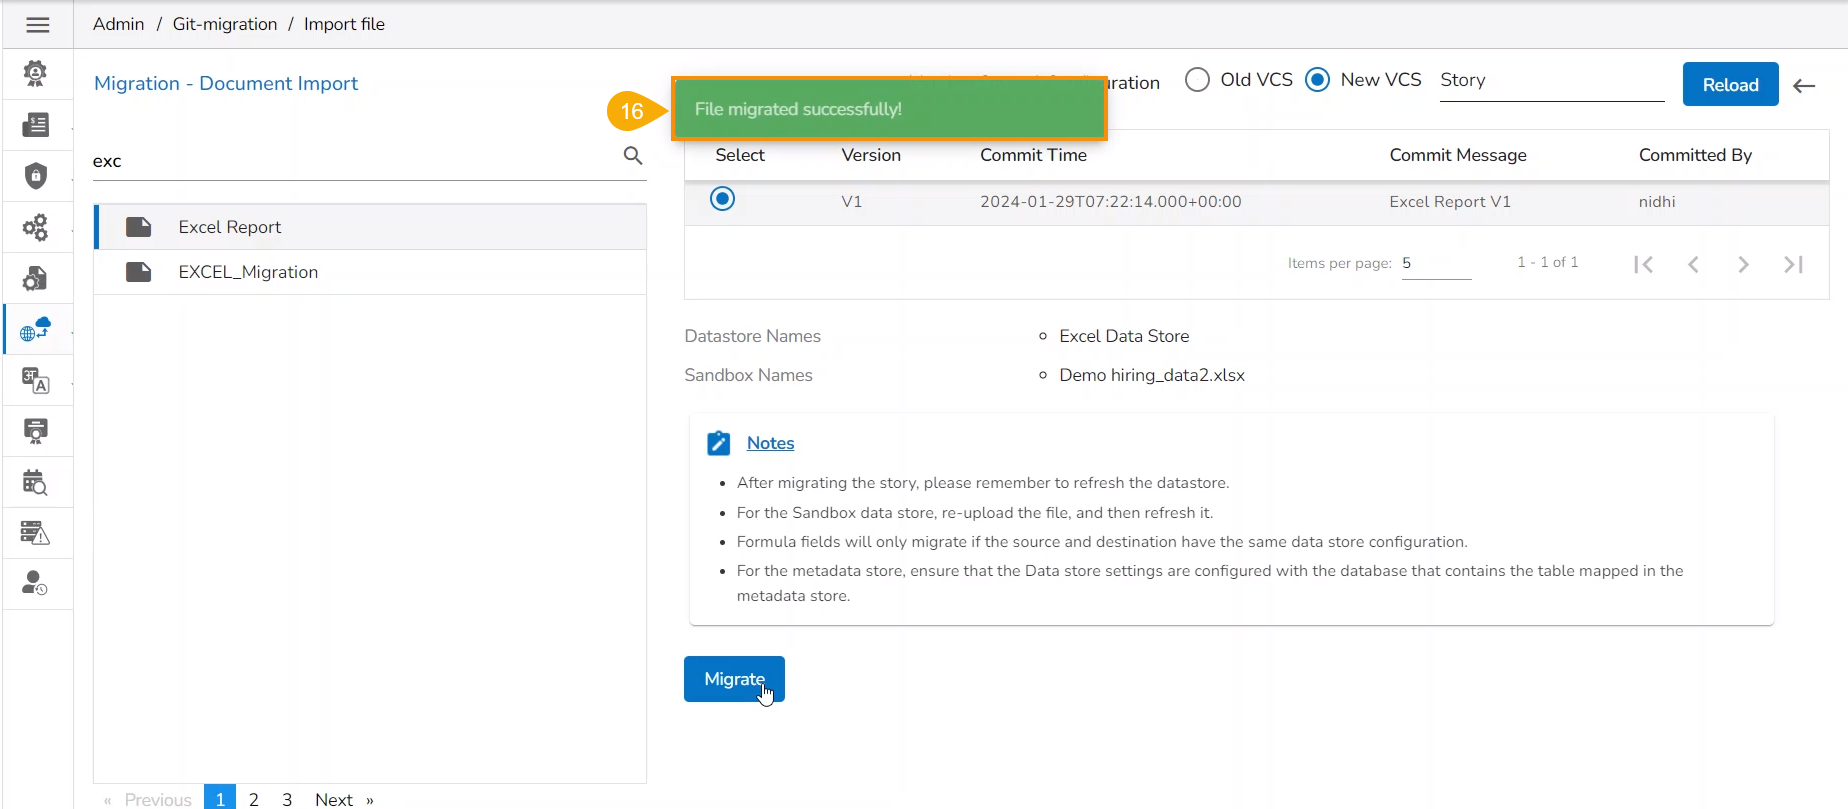
the notification message after the import process gets completed.
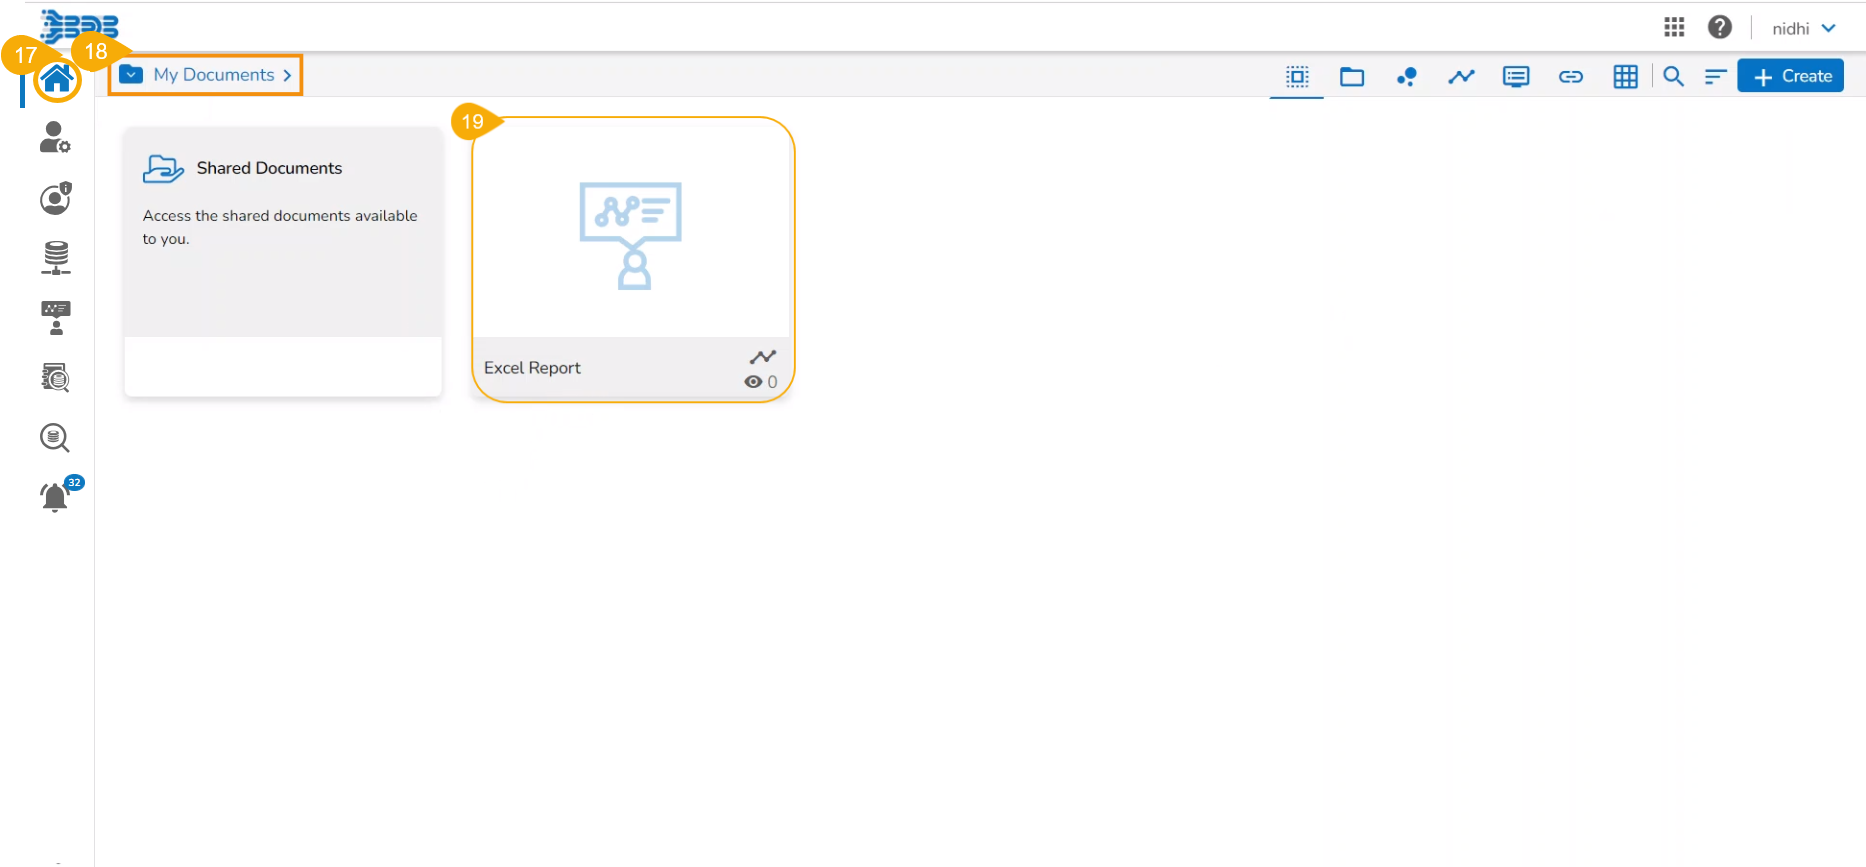
the imported Report Document