Creating a new Report by Uploading an Excel File

This page describes steps on how upload a CSV file to create a New Story. The user can try this functionality themselves by using the sample file.
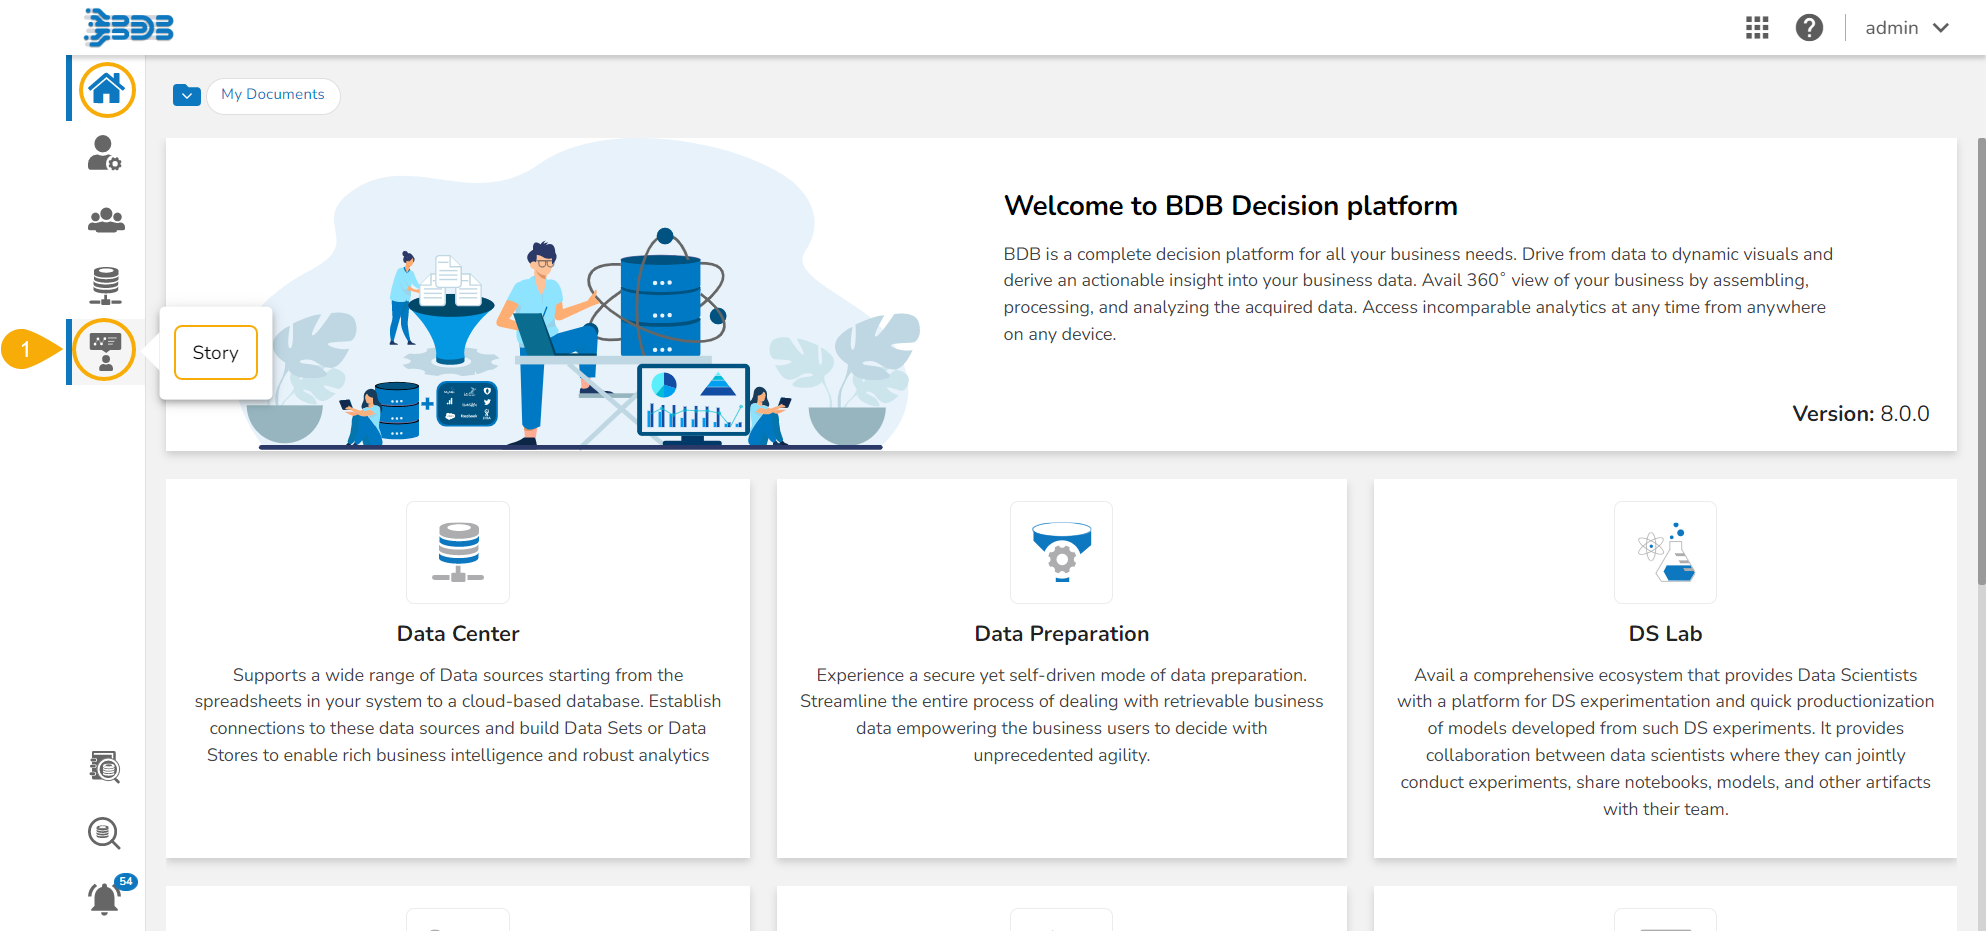
Check out the given walk-through on how to create a new Story and save a View in it using the Upload File option.

  • Access and click the Story module.

  • The Create New Report page opens.

  • Provide a name for the report.

  • Describe the report.

  • Click the Upload Excel option.

  • Provide the Data Store Name.

  • Use the Choose File option to upload a file.

  • Select a sheet inside the selected Excel file.

  • A notification flashes suggesting the user wait till the file gets uploaded.

  • A notification message appears. The file upload completion is suggested by displaying 100% on the screen.

  • The File Uploaded option gets a blue tick mark after uploading an Excel file.

  • The Data Store Details tab opens by default (as displayed in the image).

  • Open the Variable Types tab to get the variable types with count.

  • Navigate to the Examples tab to display the sample data from the uploaded file.

  • Click the Create Story option given below.

  • A notification message appears to ensure that the datastore creation process has been started, and the notification for the same will be sent to the user.

  • The report gets created based on the selected Data Store and the user gets redirected to the Design page of the newly created report.

Try it out yourself

As explained above Creating a New Story with BDB Story module is so easy and gets completed in less than 3 minutes. If you don't believe this, here is a sample Excel file for you to try it out yourself.

Please Note: Kindly change the name of the Sample File while using it for your trial each time.

Last updated