Administrative Settings
  • Accessing the Admin Module
  • Admin Panel Options
    • API Client Registration
    • Audit Trail
    • Authentication
      • AD Configuration
      • AWS Cognito Configuration
      • CA PPM Configuration
      • SSO Configuration
        • Keycloak
        • Azure/ OAuth
    • Configurations
      • API Base URL
      • API Connectors Configurations
      • Bulk User Creation
      • Core Ownership Transfer
      • Custom Field Settings
      • Data Connectors
      • Data Lake Settings
      • Data Science Lab Settings
      • Data Sheet Settings
      • Data Store Settings
      • Email Server
      • Execution Settings
      • Form Settings
      • Geo Spatial
      • Keycloak Settings
      • Version Control
        • Versioning
        • Migration
      • Open ID Settings
      • Password
      • Pipeline Settings
      • Sandbox Settings
      • Secret Management
      • SSL Certificate Settings
    • Documentation Management
    • GIT Migration
      • Migrating a Dashboard
      • Migrating DS Lab
      • Migrating an API Service
      • Migrating a Pipeline
      • Migrating a Report
    • Language Mapping
      • Languages
      • Mapping Table (Language Text Mapping)
    • License
    • Resource Observability
    • Schedule Monitor
    • Server Monitor
    • Session Manager
Powered by GitBook
On this page
Export as PDF
  1. Admin Panel Options
  2. Authentication

CA PPM Configuration

PreviousAWS Cognito ConfigurationNextSSO Configuration

This section explains how to configure Clarity.

  • Select the CAPPM Configuration using the Authentication Admin option.​

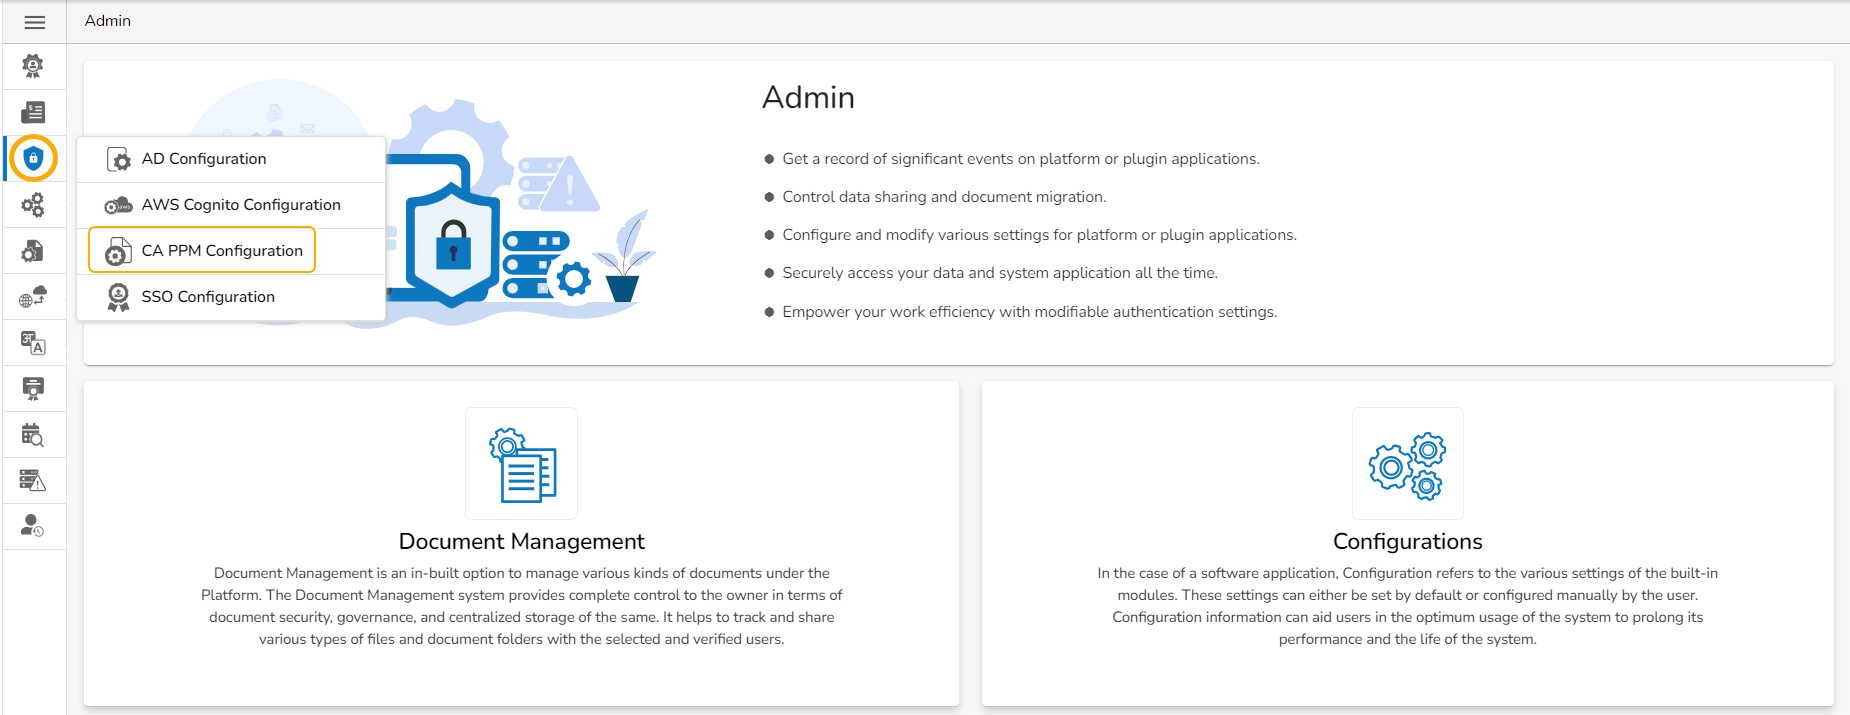
  • A new page opens with 3 steps mentioned on it.

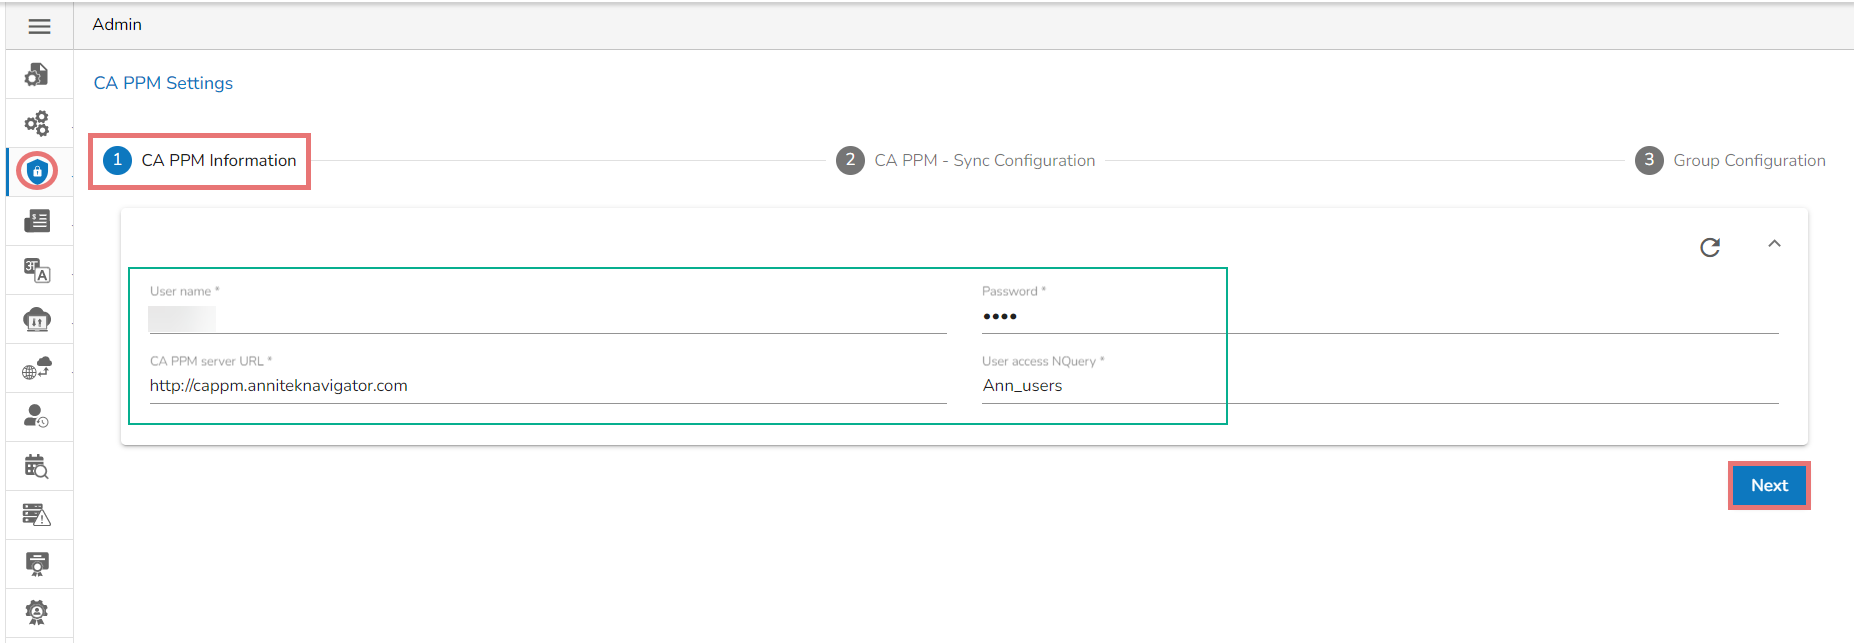
  • The fields for CA PPM Settings get displayed by default.

  • Provide a Username of a CAPPM account.

  • Enter the valid Password for the selected CAPPM account.

  • Enter the CAPPM server URL.

  • Provide the query name that fetches a list of the Clarity users in the User access NQuey field.

  • Click the Next option to proceed.

  • A success message appears, and the administrator gets directed to the CA PPM Sync Configuration tab.

  • The CA PPM Sync Configuration tab opens, displaying the Clarity User list.

  • Select a user.

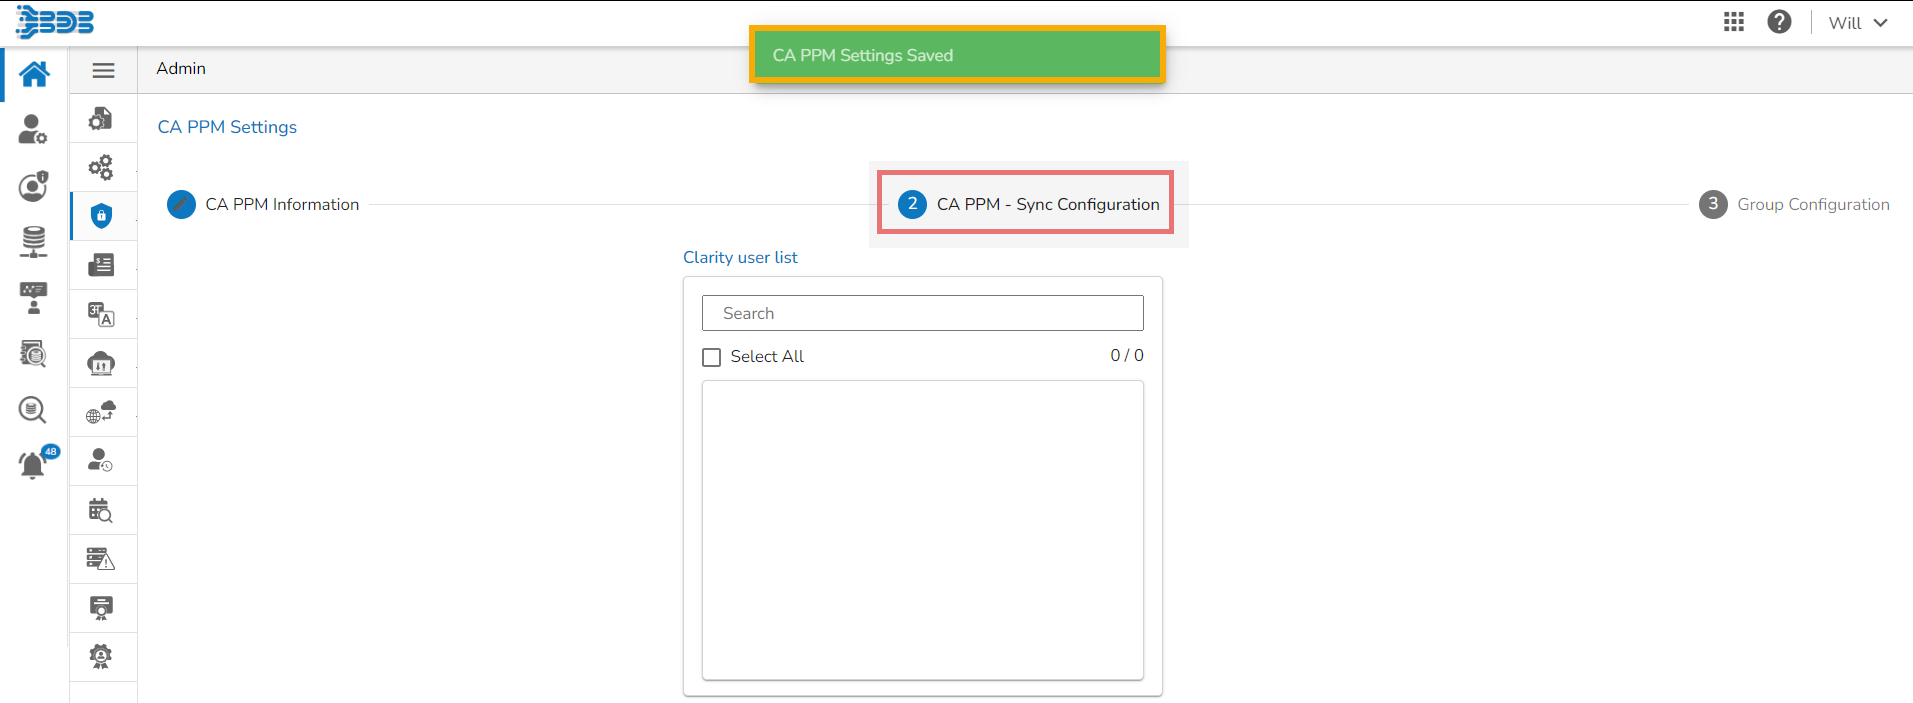
  • Click the Next option.

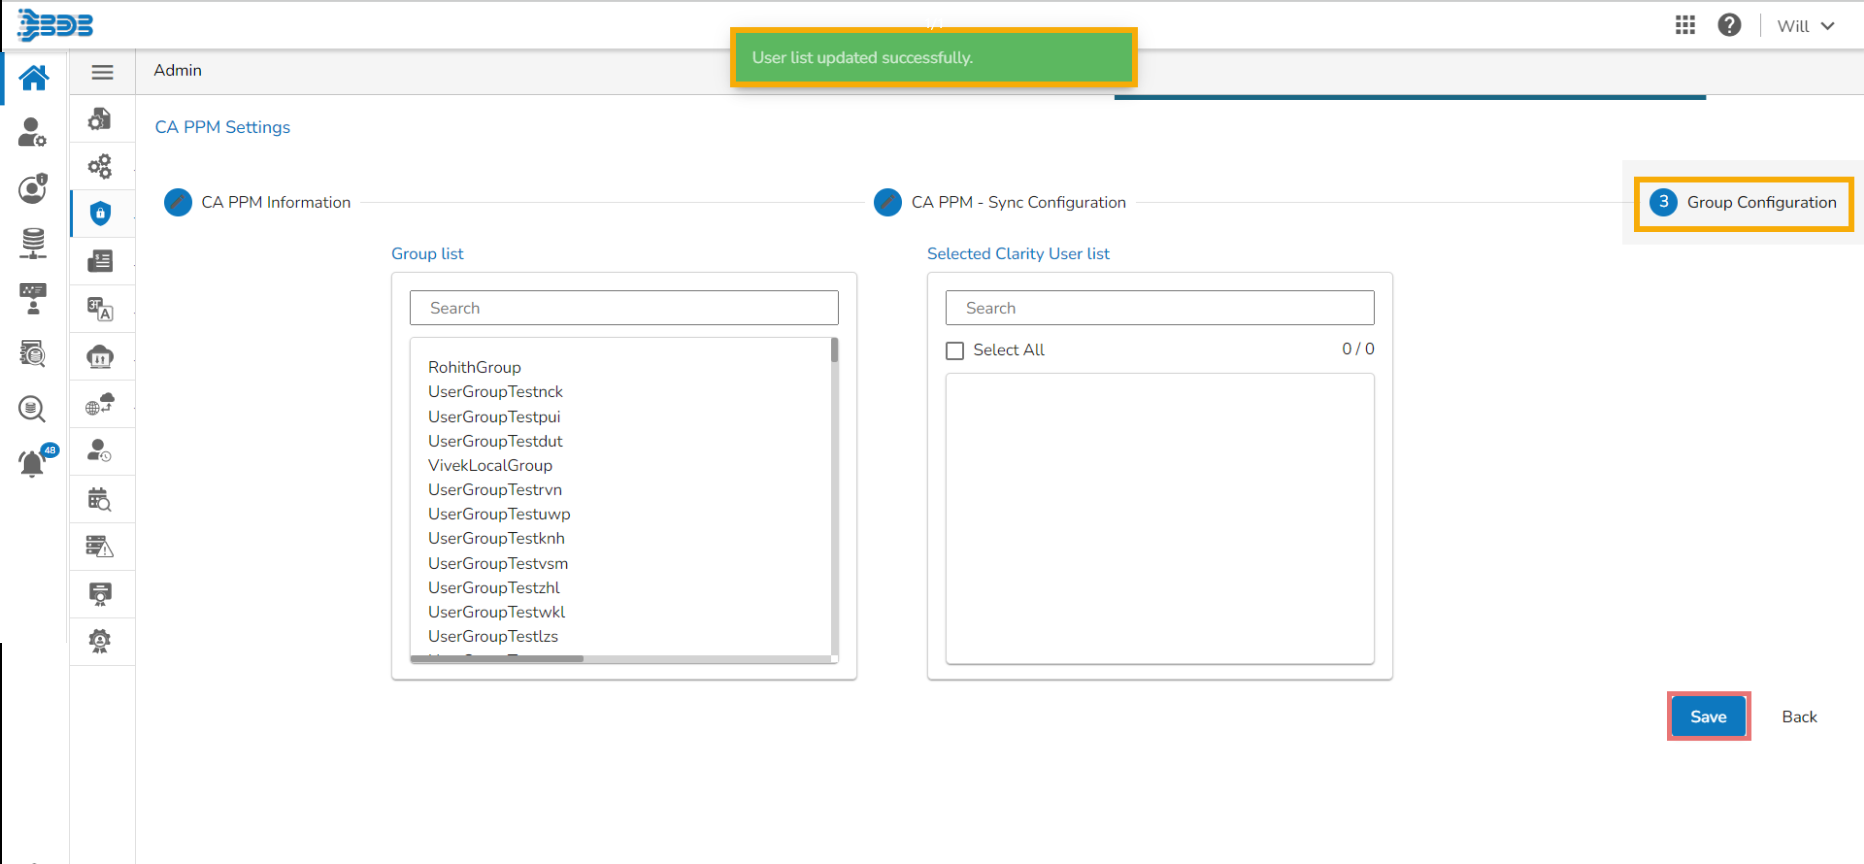
  • A success message appears to confirm the user list update and the administrator gets directed to the Group Configuration tab.

  • Select a clarity user from the Group List and add to the Selected Clarity User list.

  • Select clarity user from the List.

  • Click the Save option.

Please Note:

  • Click the Back option to go back on the CA PPM Settings page.

Click the Clear all settingicon to erase the entered CA PPM Information.