
Options for a Published Datasheet
Publishing a Data Sheet
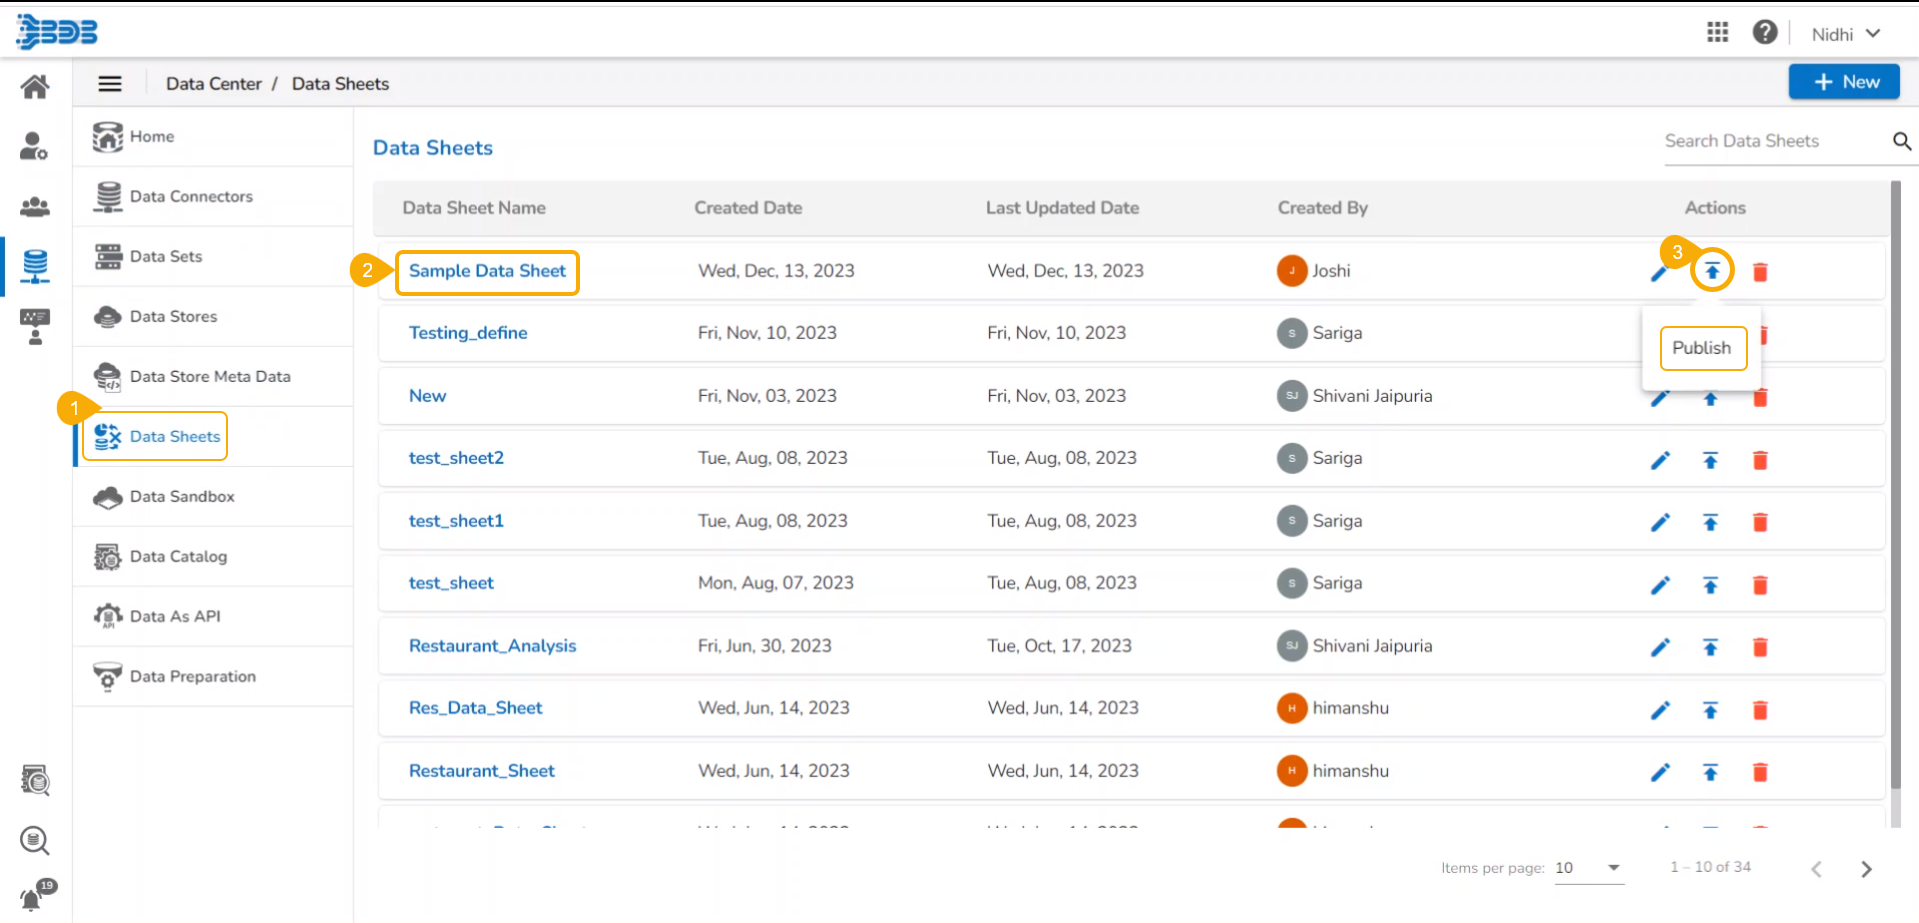
The user can publish a Data Sheet by clicking the Publish icon.
Navigate to the Data Sheets list.
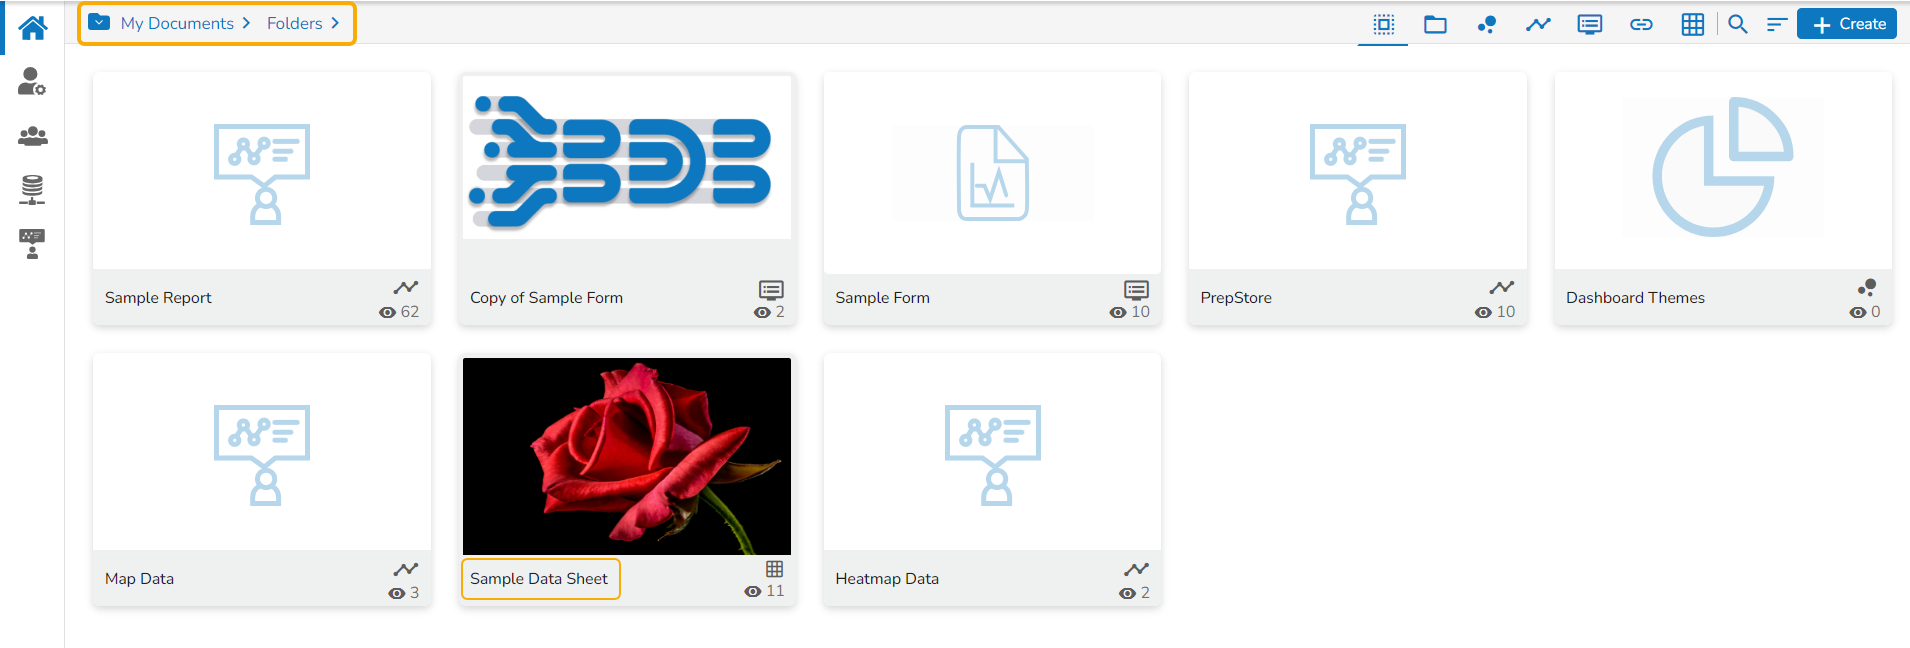
Select a Data Sheet from the Data Sheets list (E.g., Sample Data Sheet in the following image).
Click the Publish icon for the selected Data Sheet.
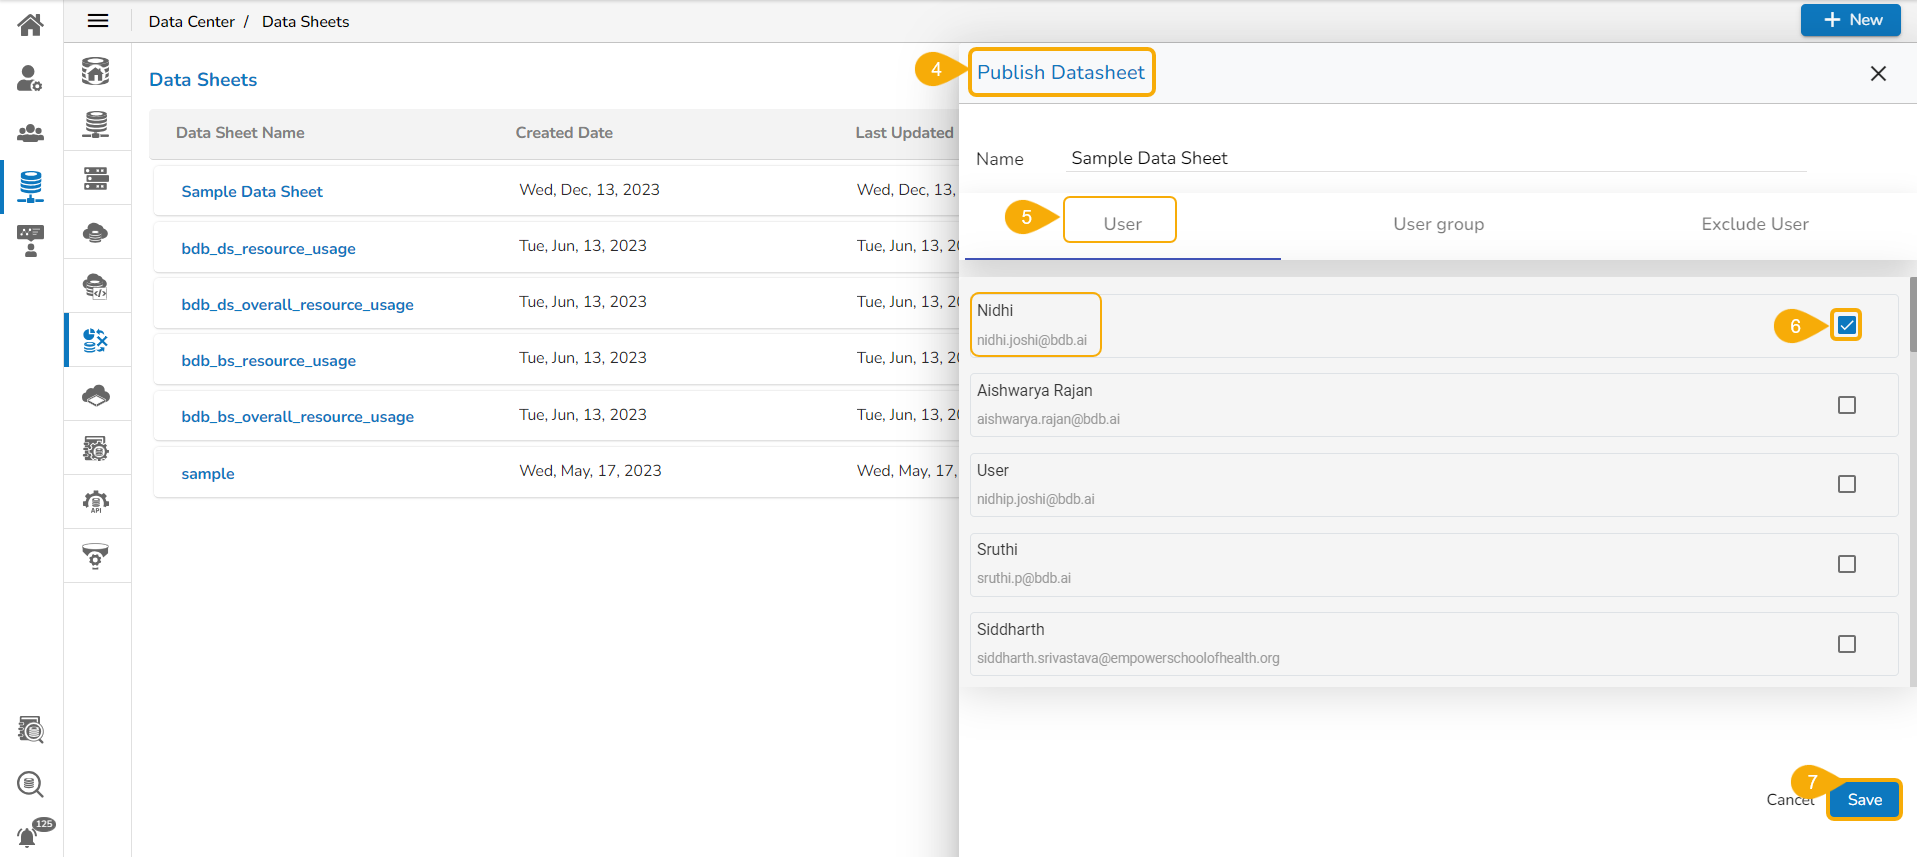
The Publish Datasheet drawer opens.
Select either User or User group tab to share the published Data Sheet (Use the Exclude User tab if you want to exclude any user from the rights to access a data sheet).
Select user(s) or user group(s) based on the selected tabs.
Click the Save option.
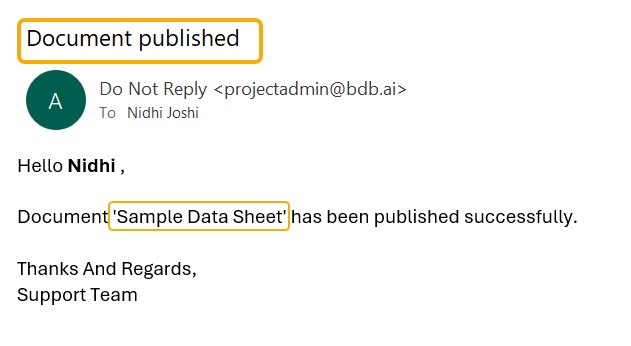
A confirmation message appears as shown below.
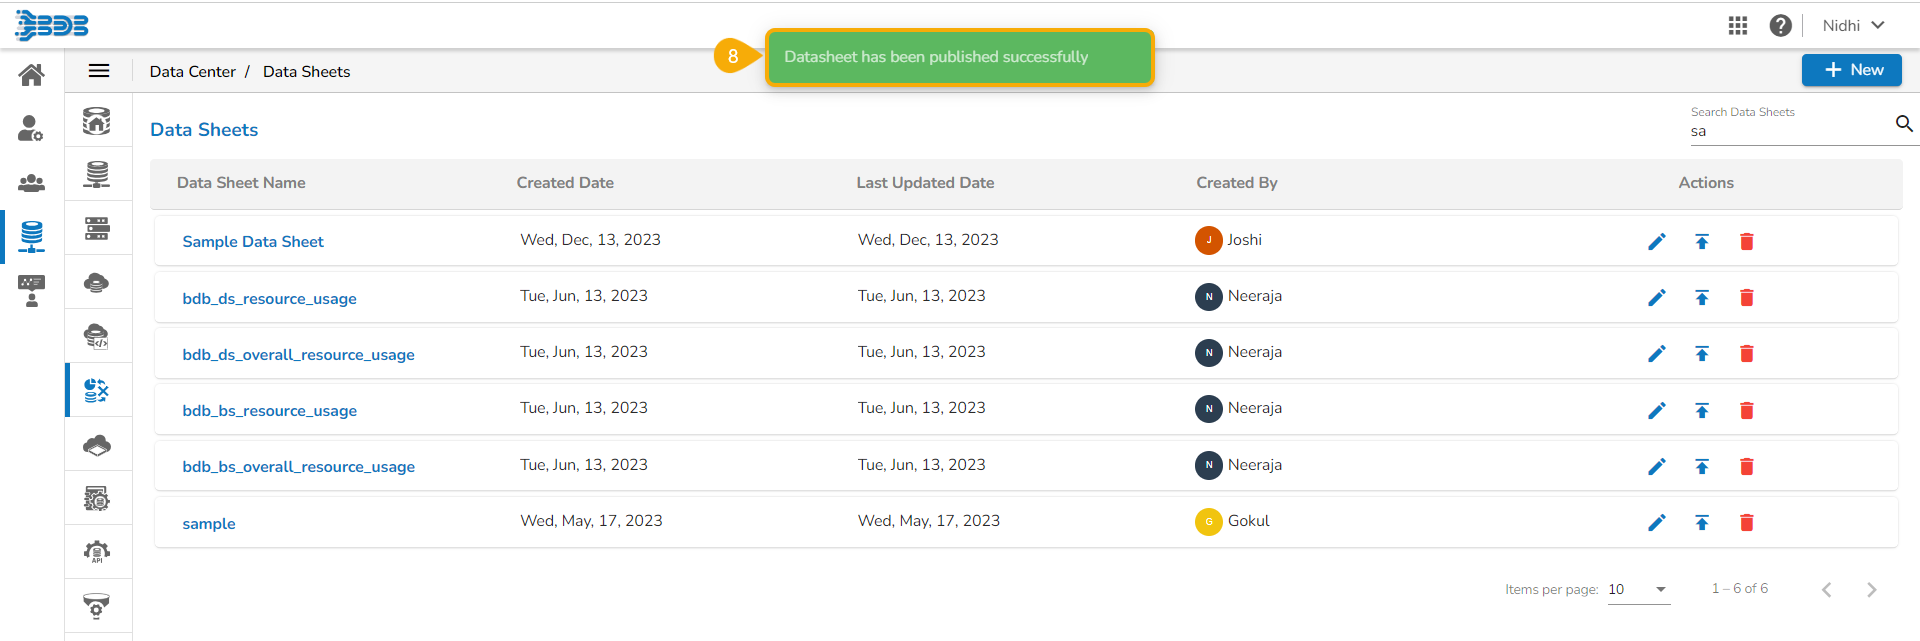
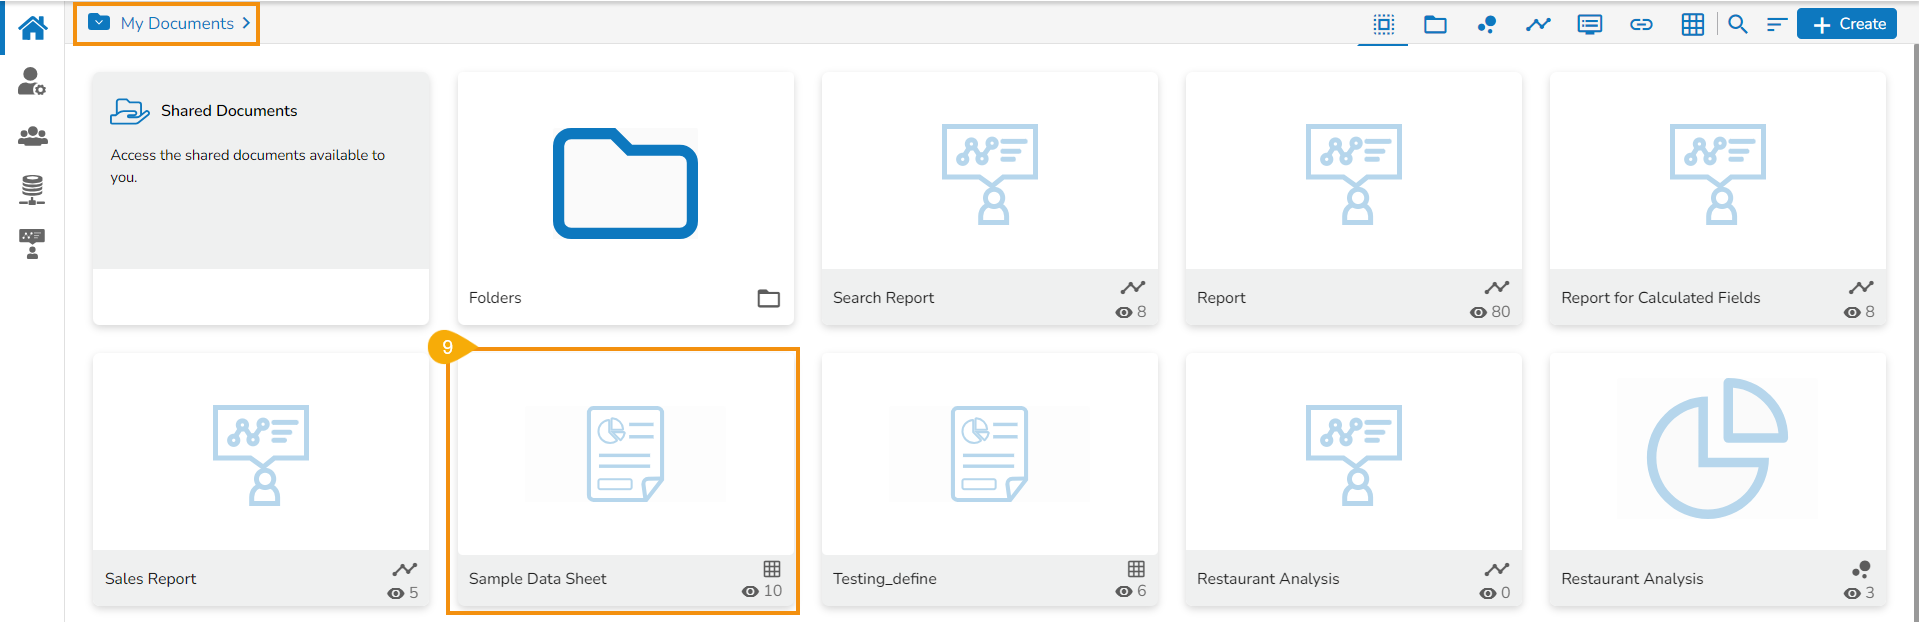
The selected Data Sheet gets published on the My Documents space of all the selected user(s).
The user also receives a mail notification (as displayed below) for the published Datasheet.
Options Assigned to a Published Datasheet
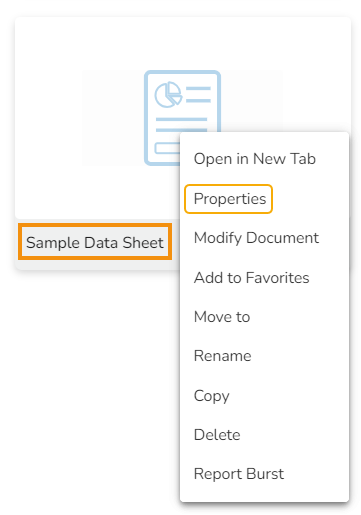
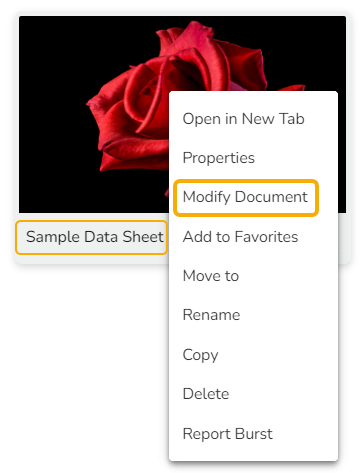
Each published Datasheet is credited with some operations on the BDB Platform. The users can use right-click to access the available Datasheet operations in a context menu.
Open in New Tab
Select the Open in New Tab option using the Context menu.

The Datasheet opens in the new tab.

Properties
Select the Properties option from the context menu.
The Properties window appears with four options:
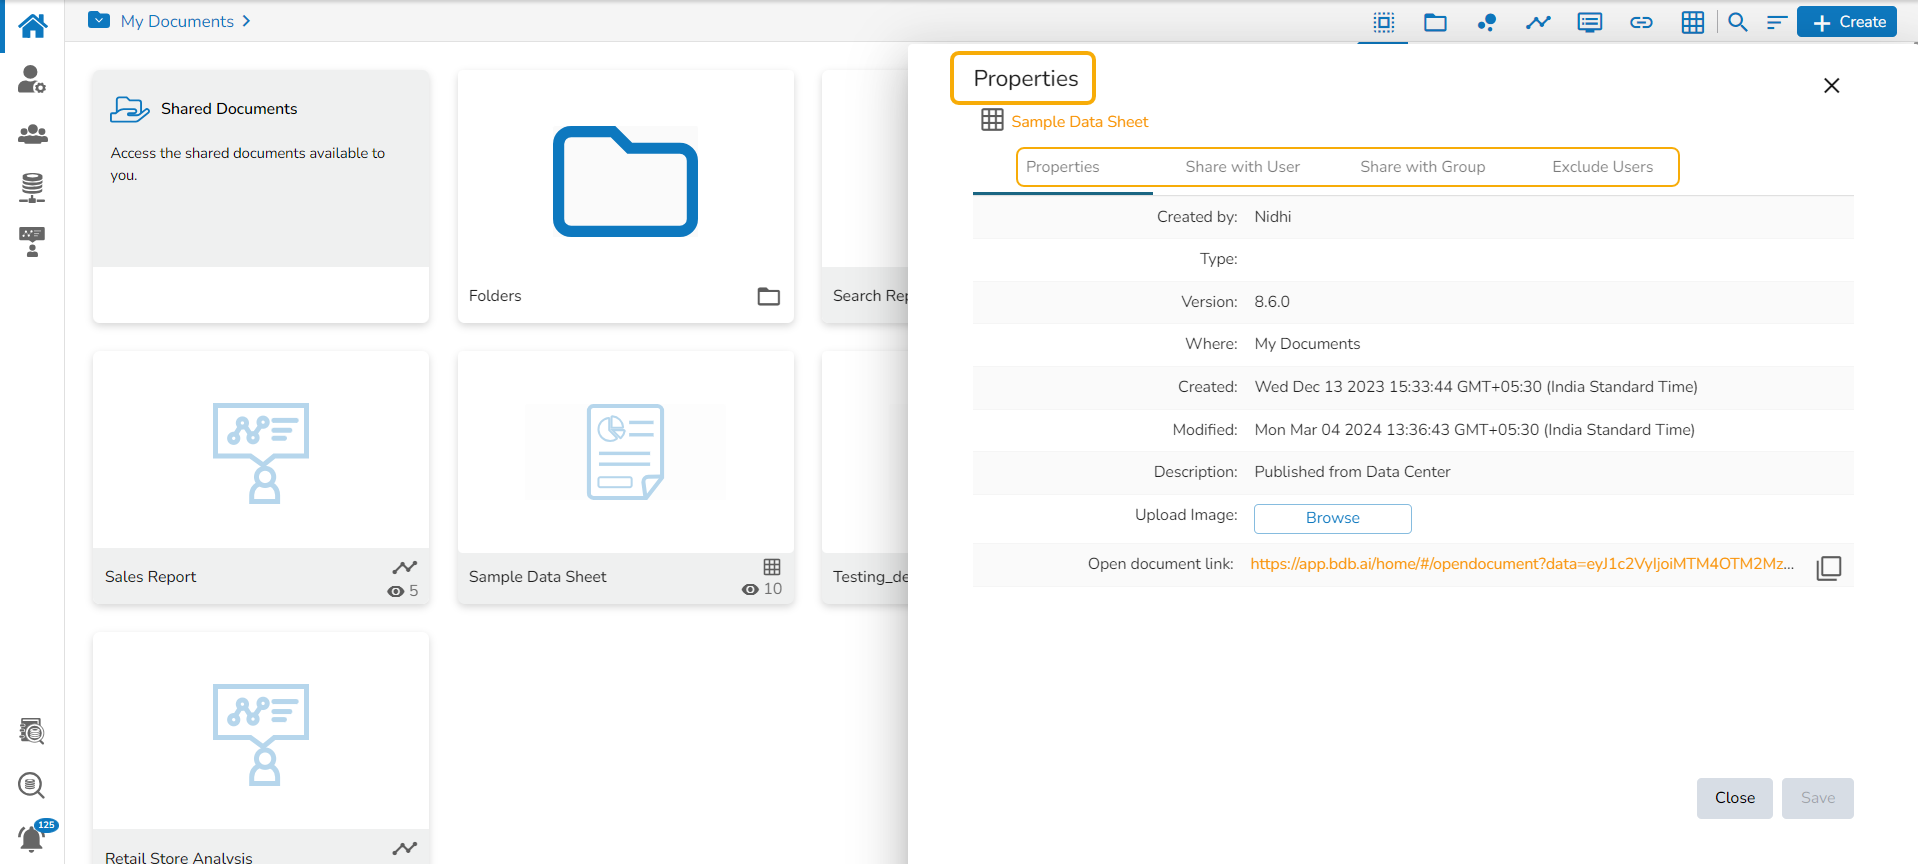
Properties
Properties: Displays basic details about the Datasheet creation.
Click the Browse option to upload an image.
Click the Save option to save the update.
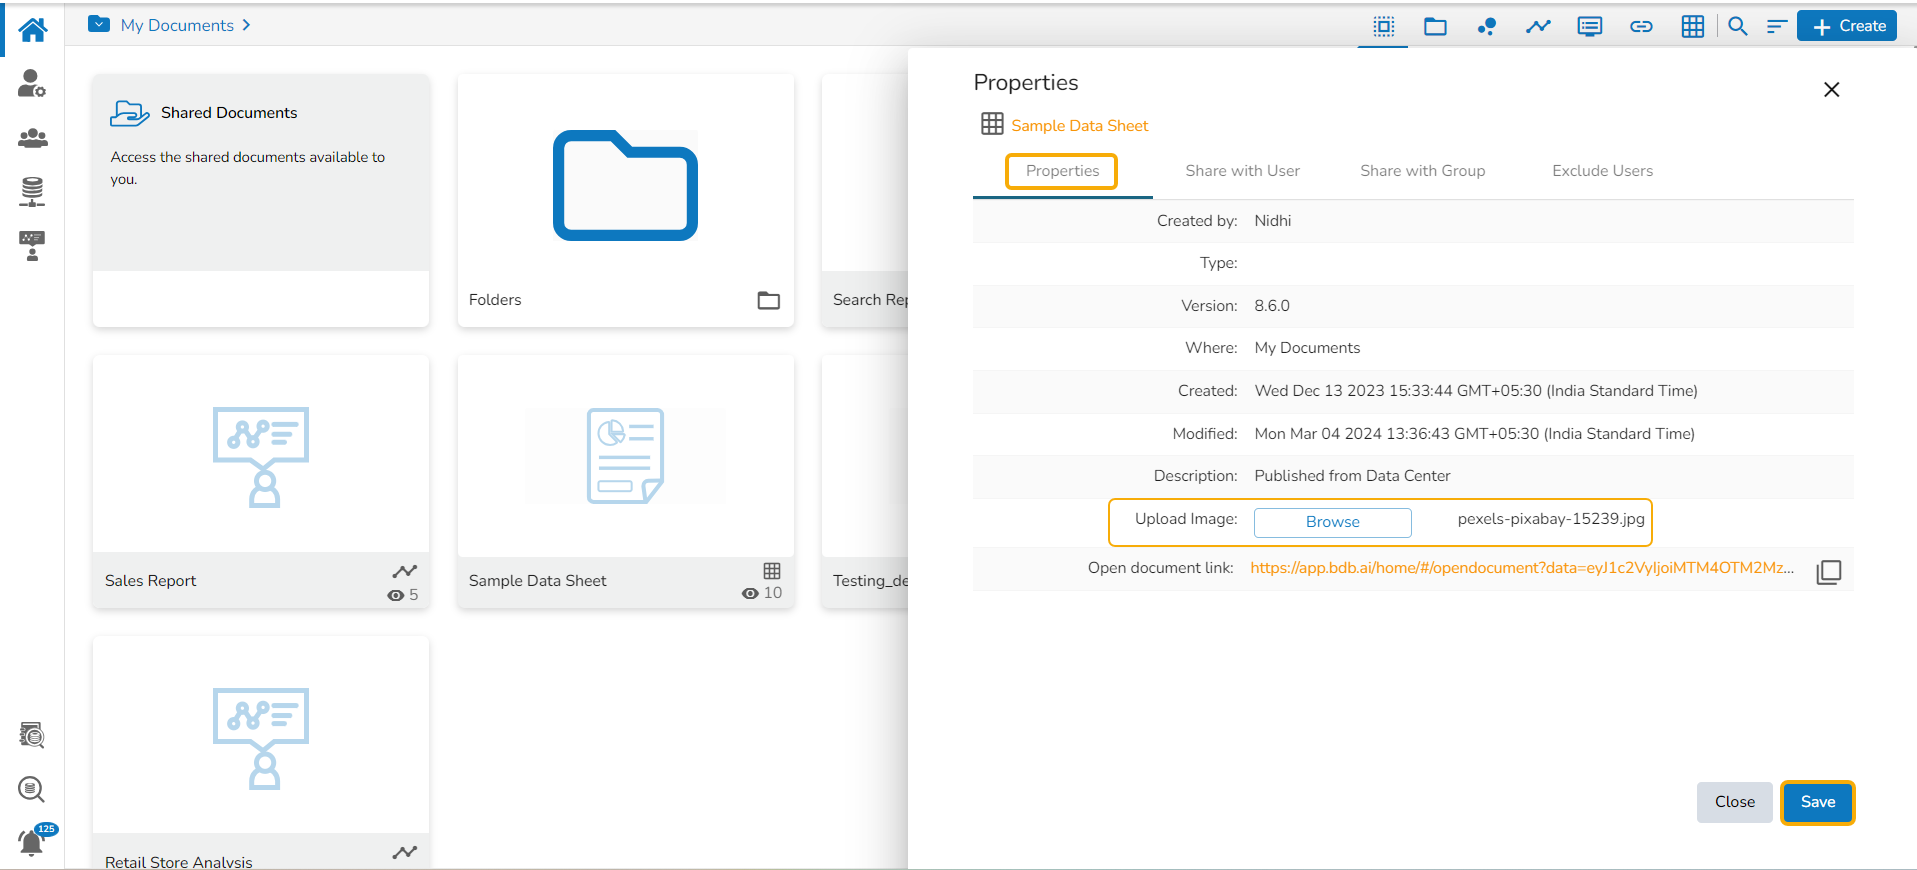
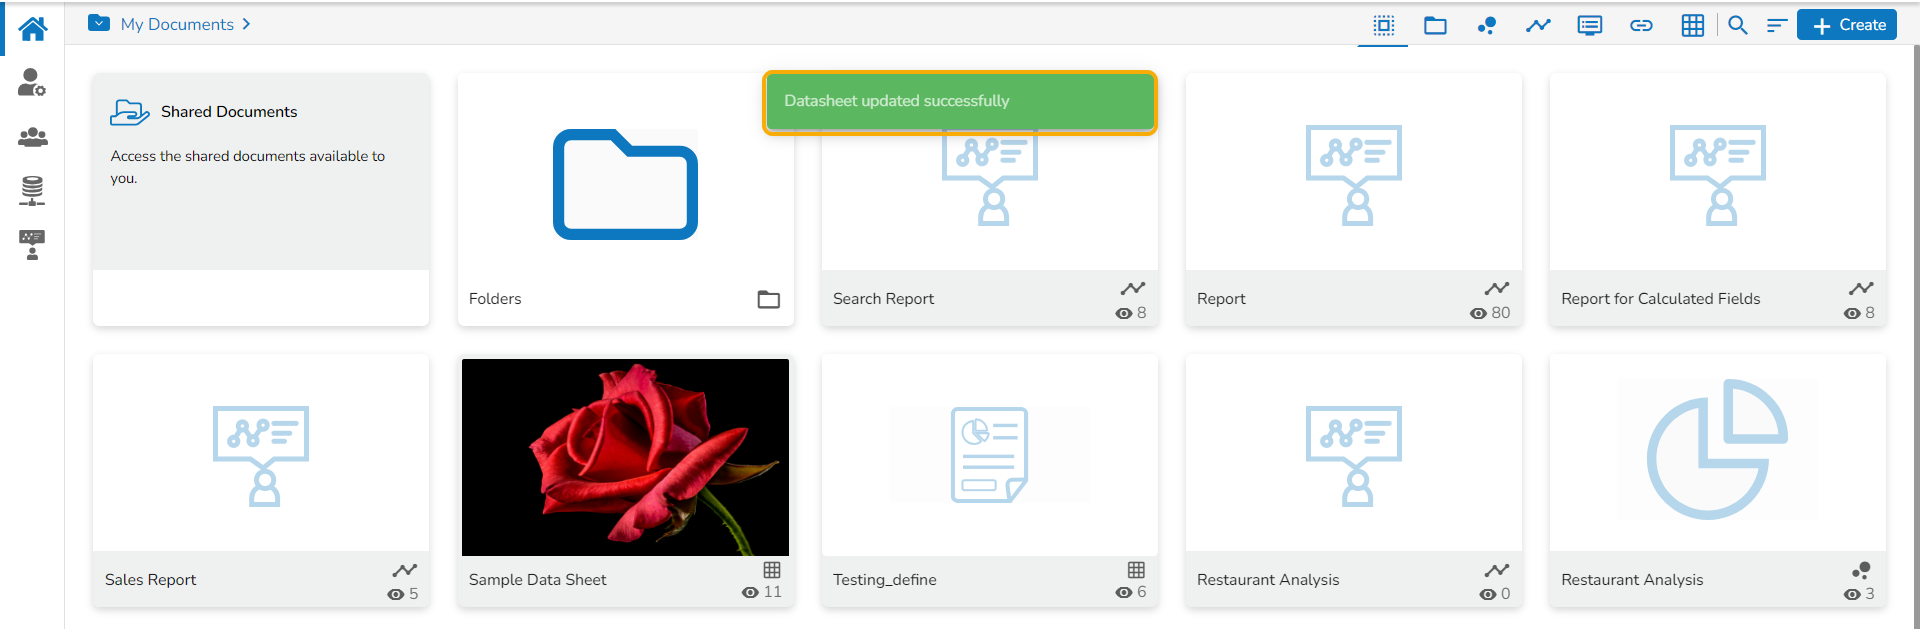
A message appears to assure about the update.
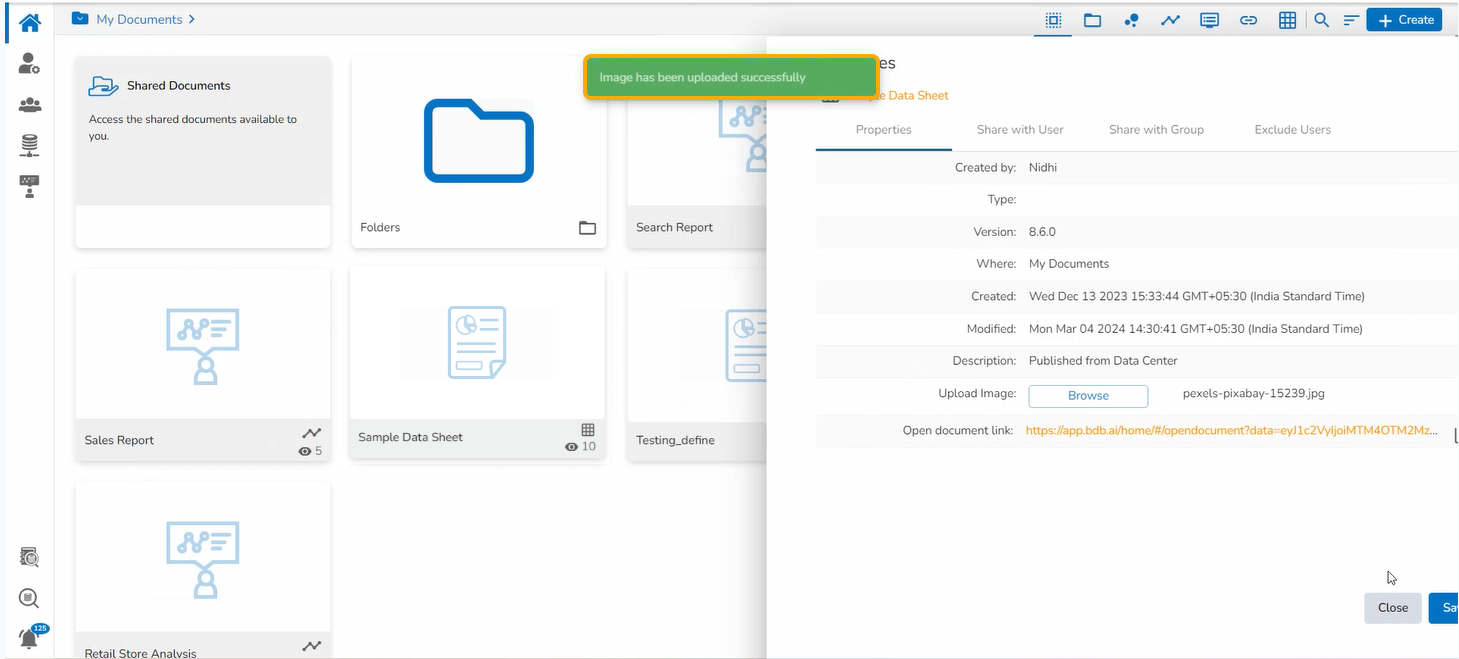
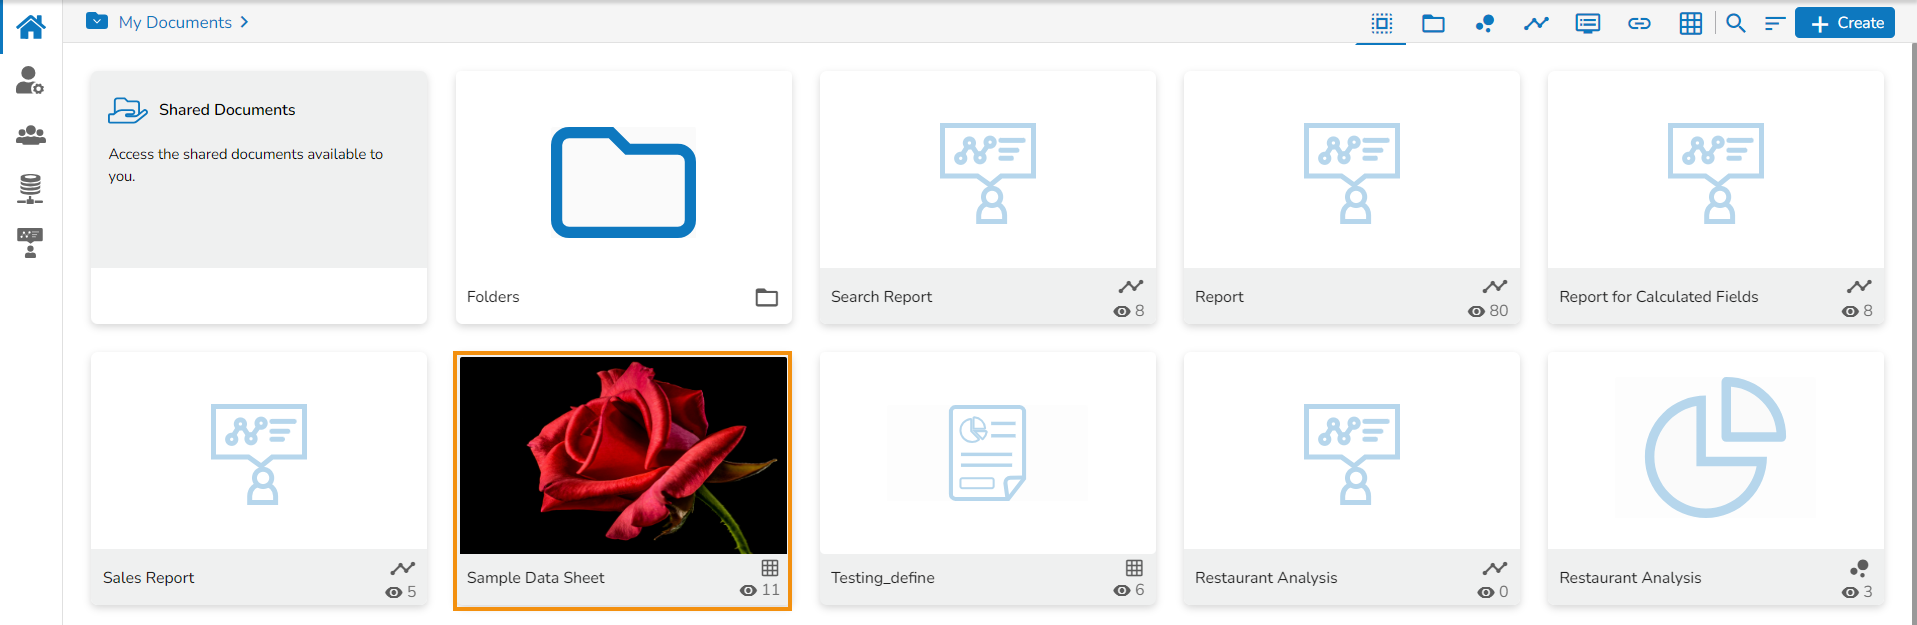
The image gets updated to the Datasheet.
Share with User
The Datasheet can be shared with the selected User by using the Share with User option.
Select the Share with User option using the Properties window.
Search for the specific user(s) using the Search bar.
Select a user or multiple users by using a checkbox in the given box.
Click the Save option.

A success message appears stating that the document privilege has been updated.
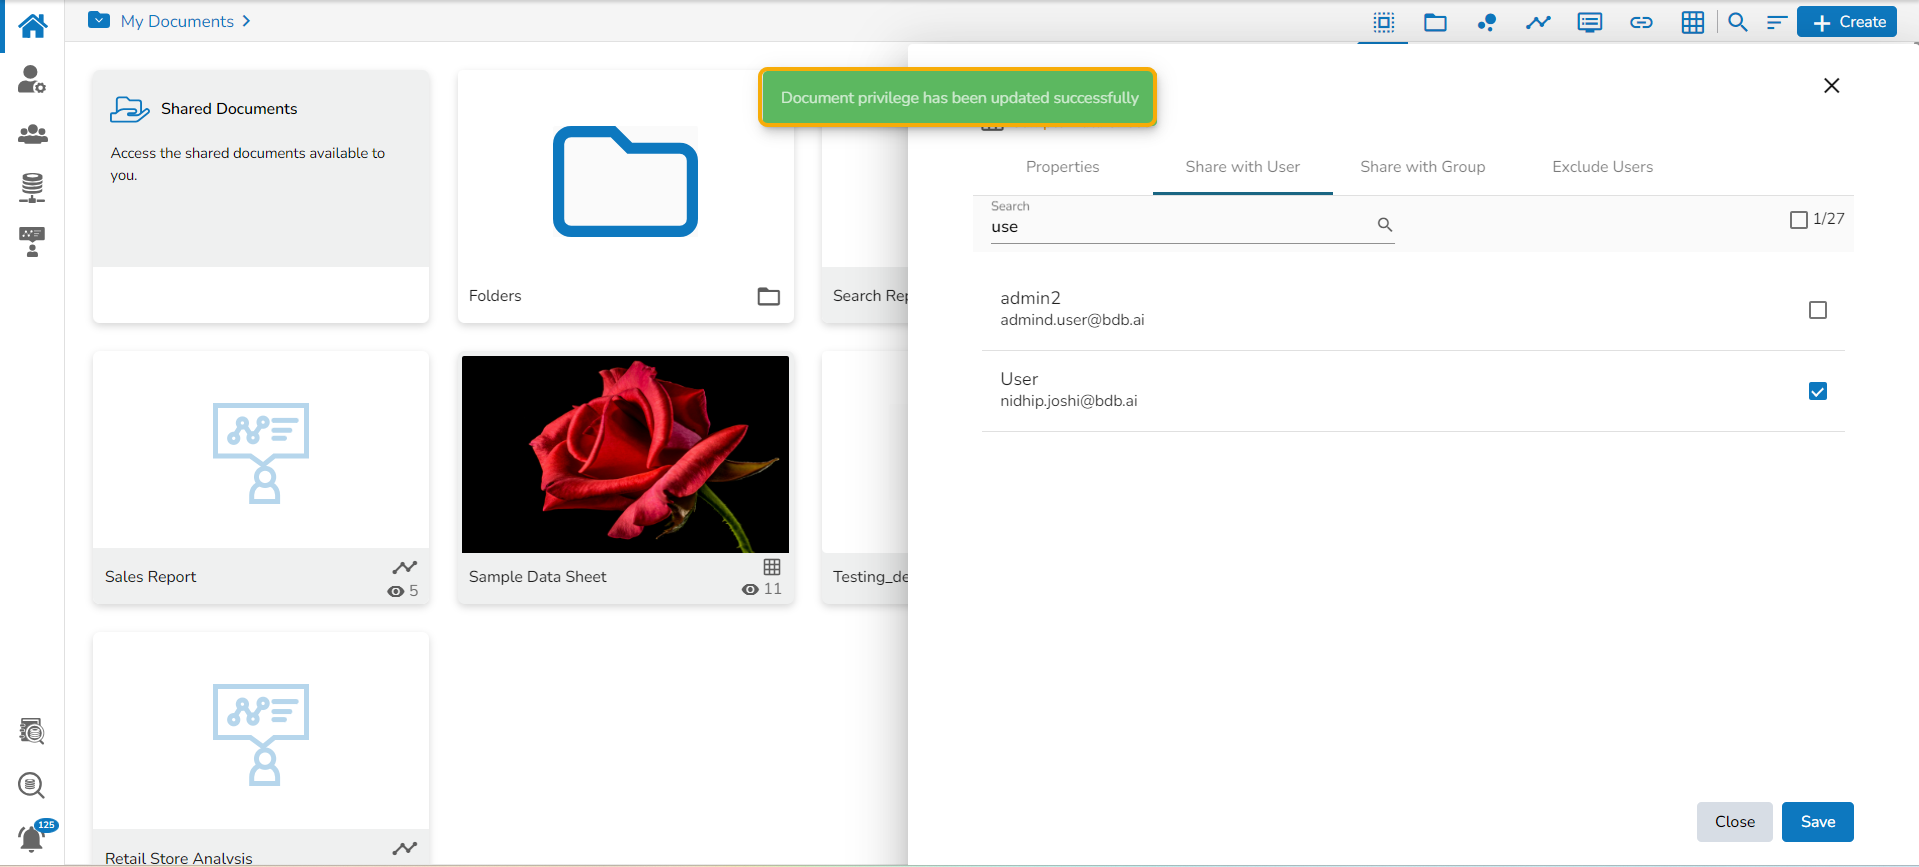
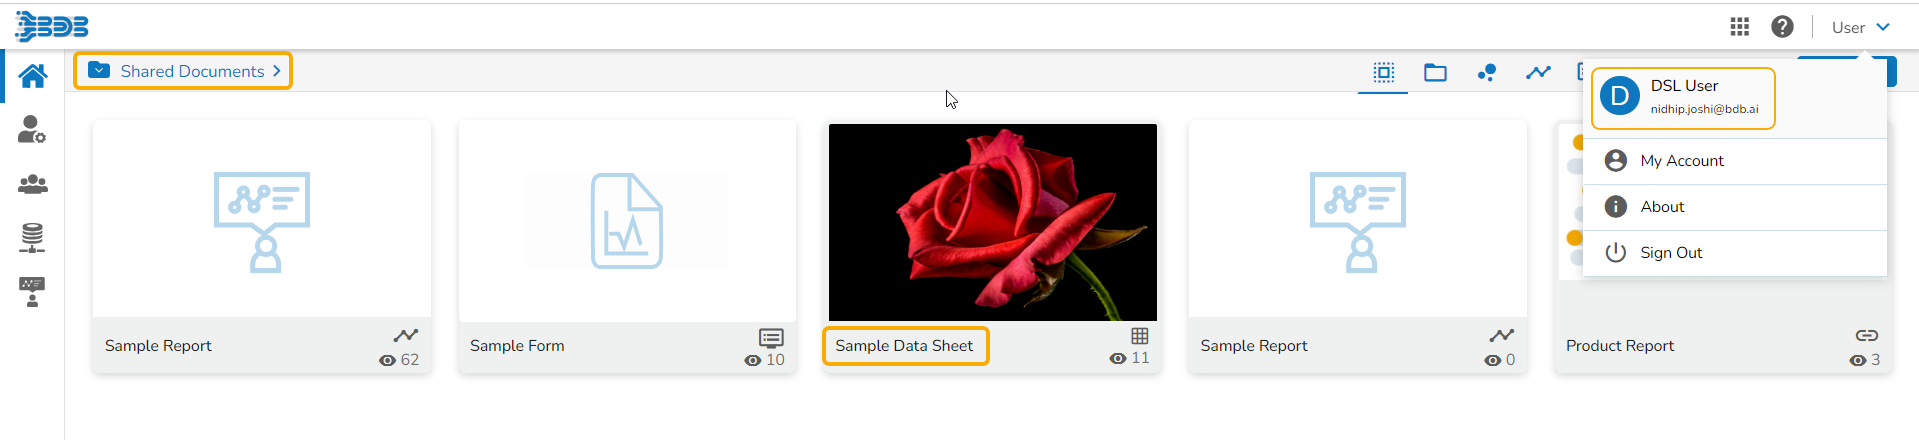
The Datasheet gets shared with the selected user(s) under the Shared Documents folder.
Share with Group
The Datasheet can be shared with the selected User Group by selecting the Share with Group option.
Select the Share with Group option using the Properties window.
Search for the specific user group(s) using the Search bar.
Select a user group or multiple user groups and move to the space given on the right side.
Click the Save option.

A success message appears stating that the document privilege has been updated.

The Datasheet is shared with the selected user group(s).
Please Note: A notification mail is sent to the users on their registered mail IDs to whom the concerned Datasheet has been shared either using the Share with User option or the Share with Group option.
Exclude the User
The Selected User gets excluded from the rights to access the Datasheet.
Select the Exclude User option using the Properties window.
Search for the specific user(s) using the search bar.
Select a user or multiple users and move to the space given on the right side. (Use the single arrow icon to move only one user. Use the double arrows icon to move all the users.)
Click the Save option.
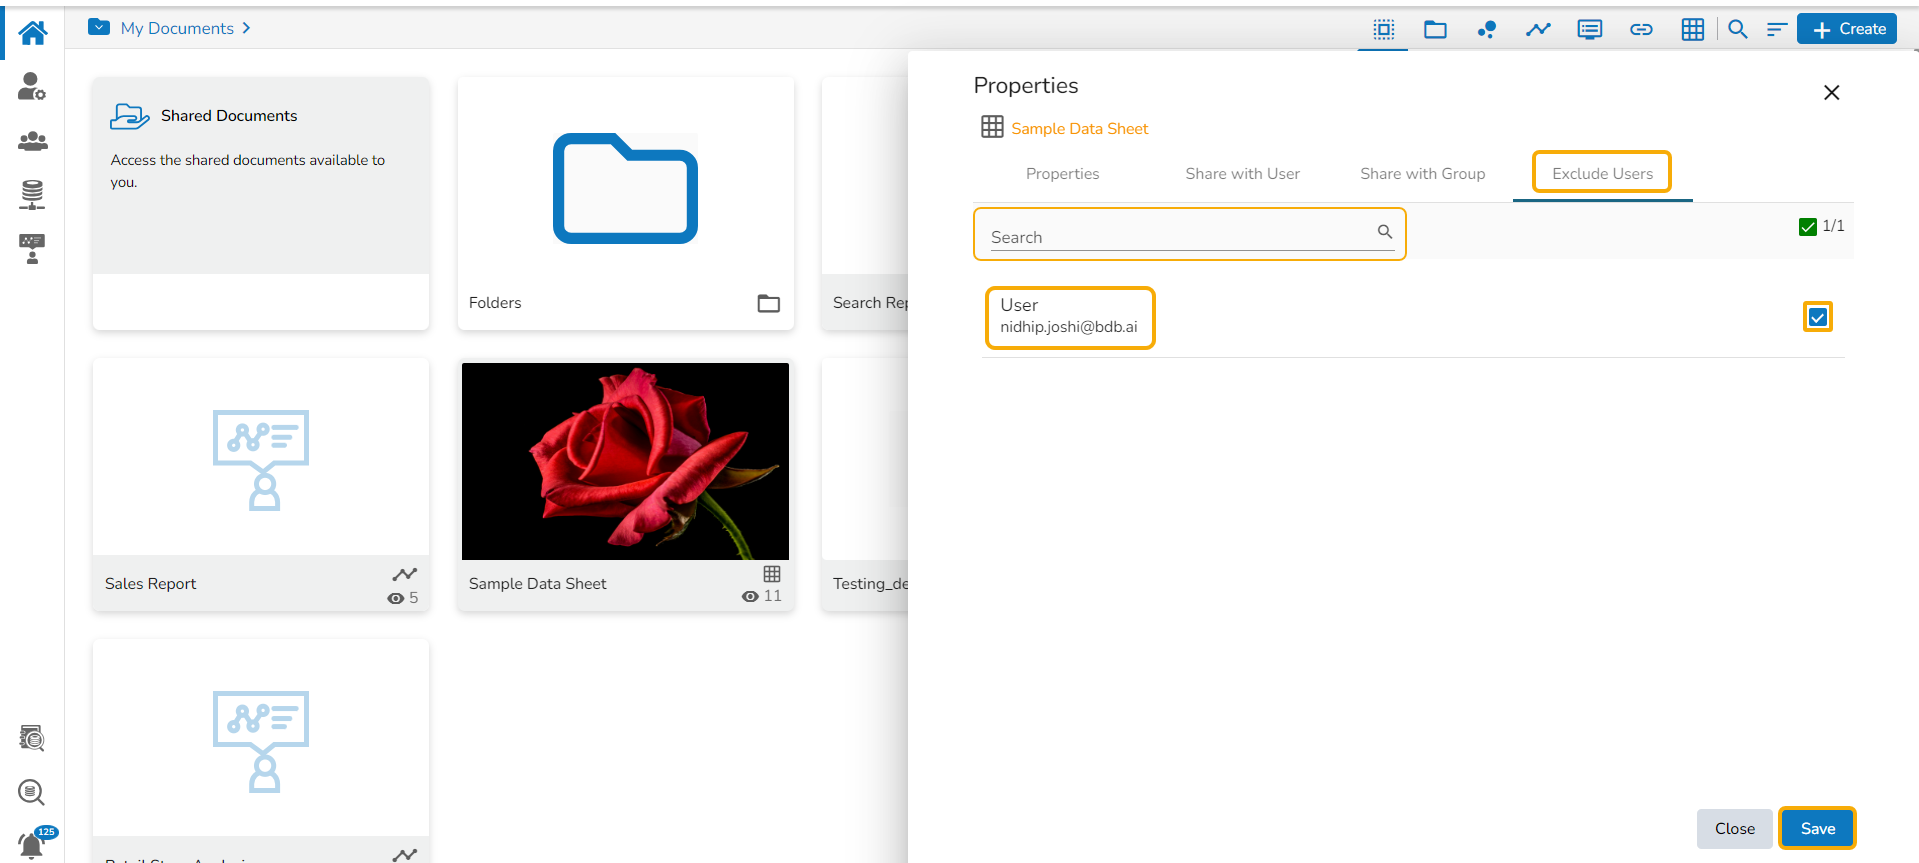
A success message appears, and the document privilege gets updated to exclude the selected users.

The Datasheet permission gets excluded for the selected user/users.
Modifying a Datasheet
The user can modify Datasheet name and description by using the Modify option.
Select the Modify Document option using the context menu.
The Modify Datasheet window opens for the selected datasheet.
Modify the required information:
Name of the Datasheet.
Description of the Datasheet.
Click the Save option.

The selected information gets modified, and a message appears to assure the same.
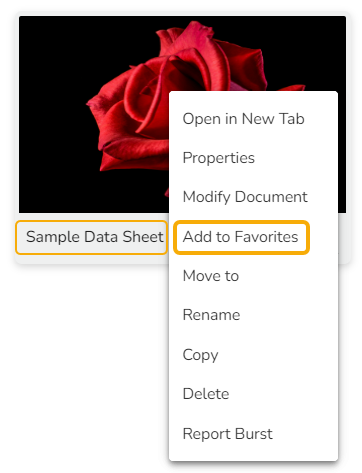
Adding a Datasheet to Favorite
Select the Add to Favorite option from the context menu.
A message appears to ensure the success of the action.
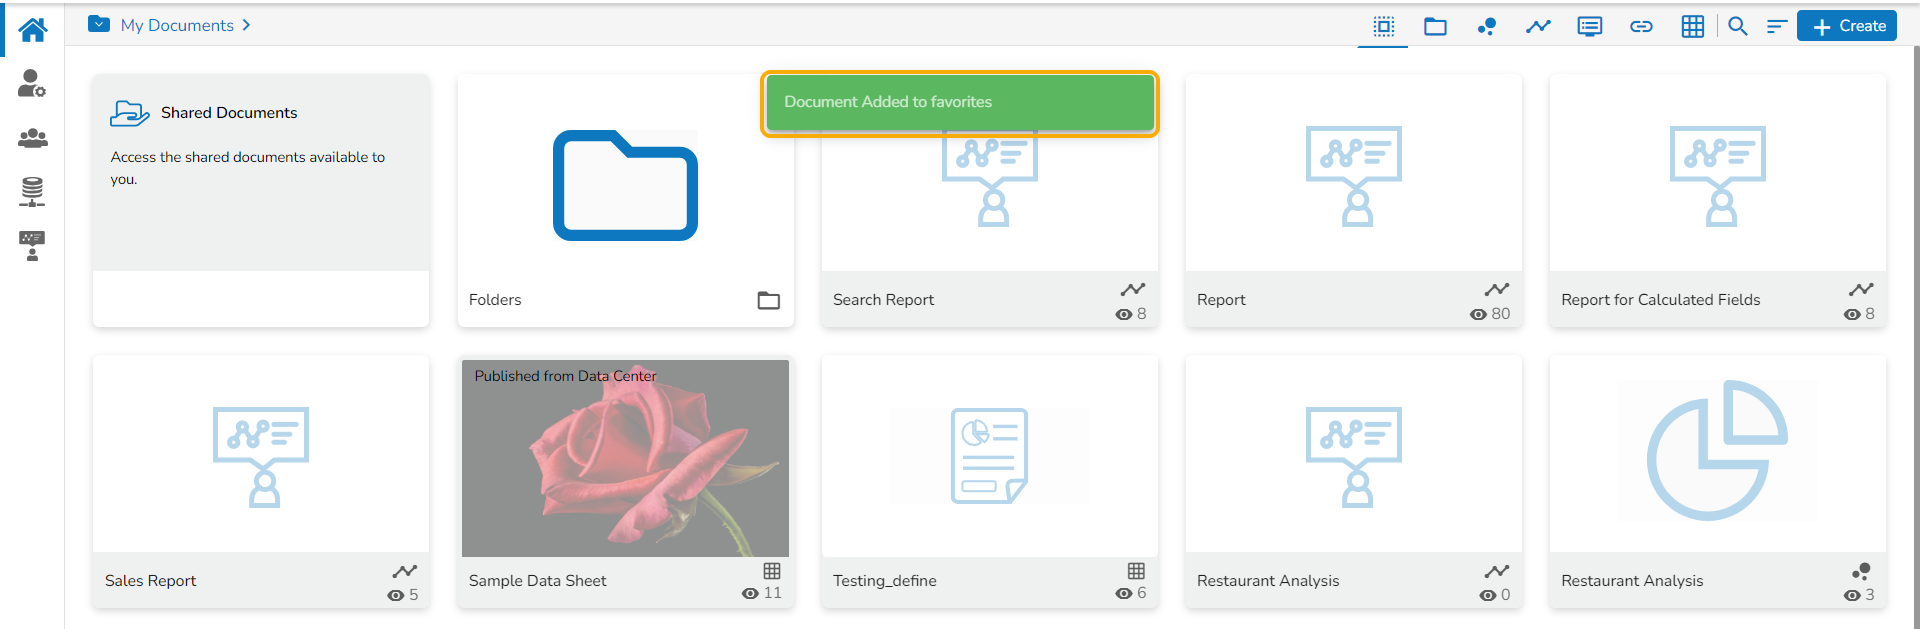
Open the Favorites section.
The selected Datasheet gets added to the Favorites.

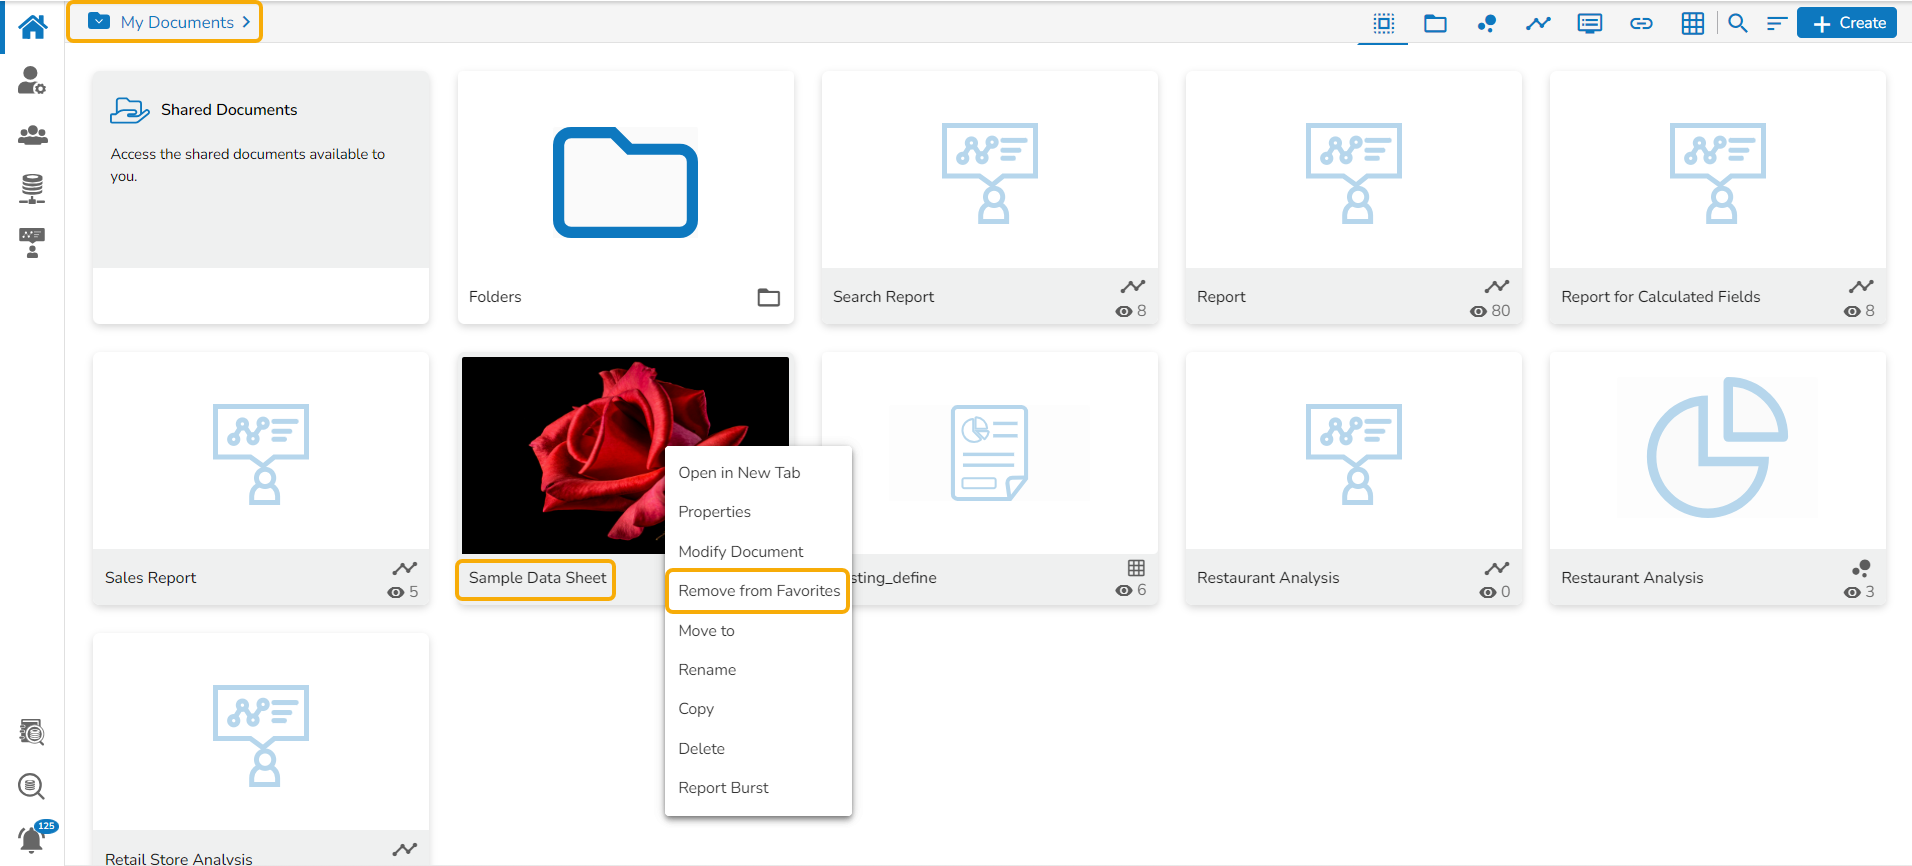
Open the context menu option for the same Datasheet.
Click the Remove from Favorites option.

OR
Use the right-click on the datasheet which has been added to the Favorites.
Click the Remove from Favorite option appears.
The Datasheet gets removed from the Favorites, and a notification message appears stating the same.

Moving a Datasheet
Administrators can move a Datasheet from one folder or document space (E.g. My Documents) to another folder or document space.
Select a Published Datasheet.
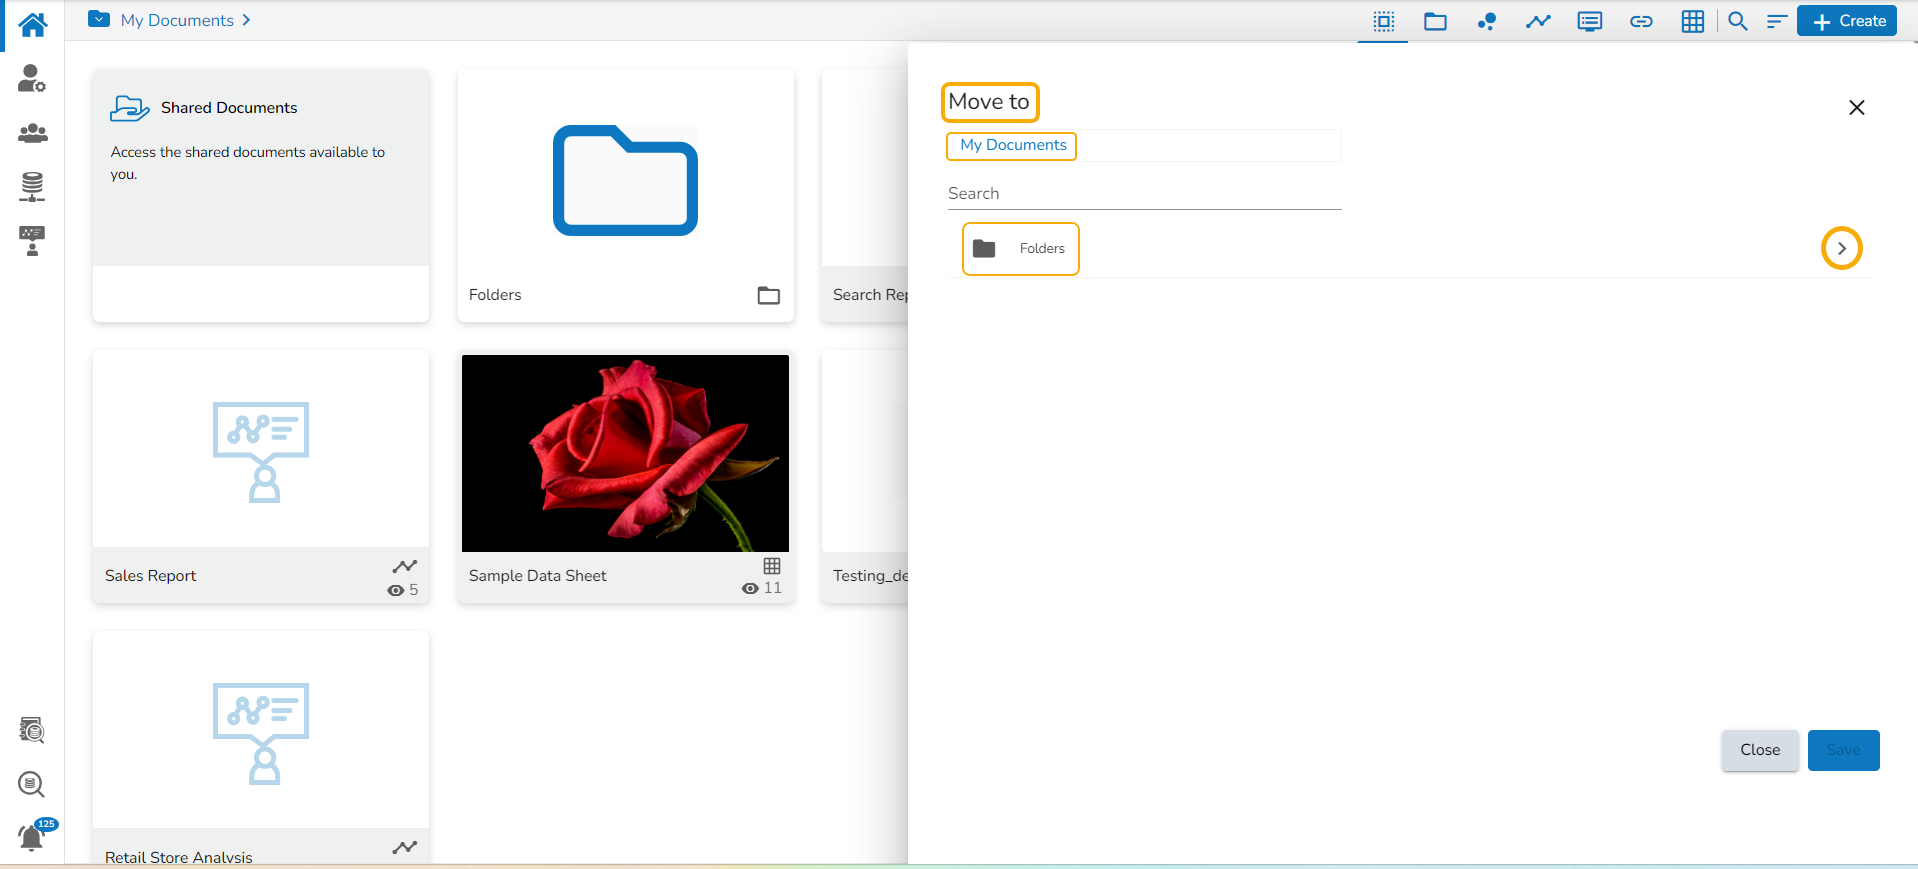
Select the Move to option from the operation context menu.

The Move To window appears displaying the available folders.
Select a folder.
Click the Move icon.
The users get redirected to the next screen displaying the selected folder name at the top.
Click the Save option.
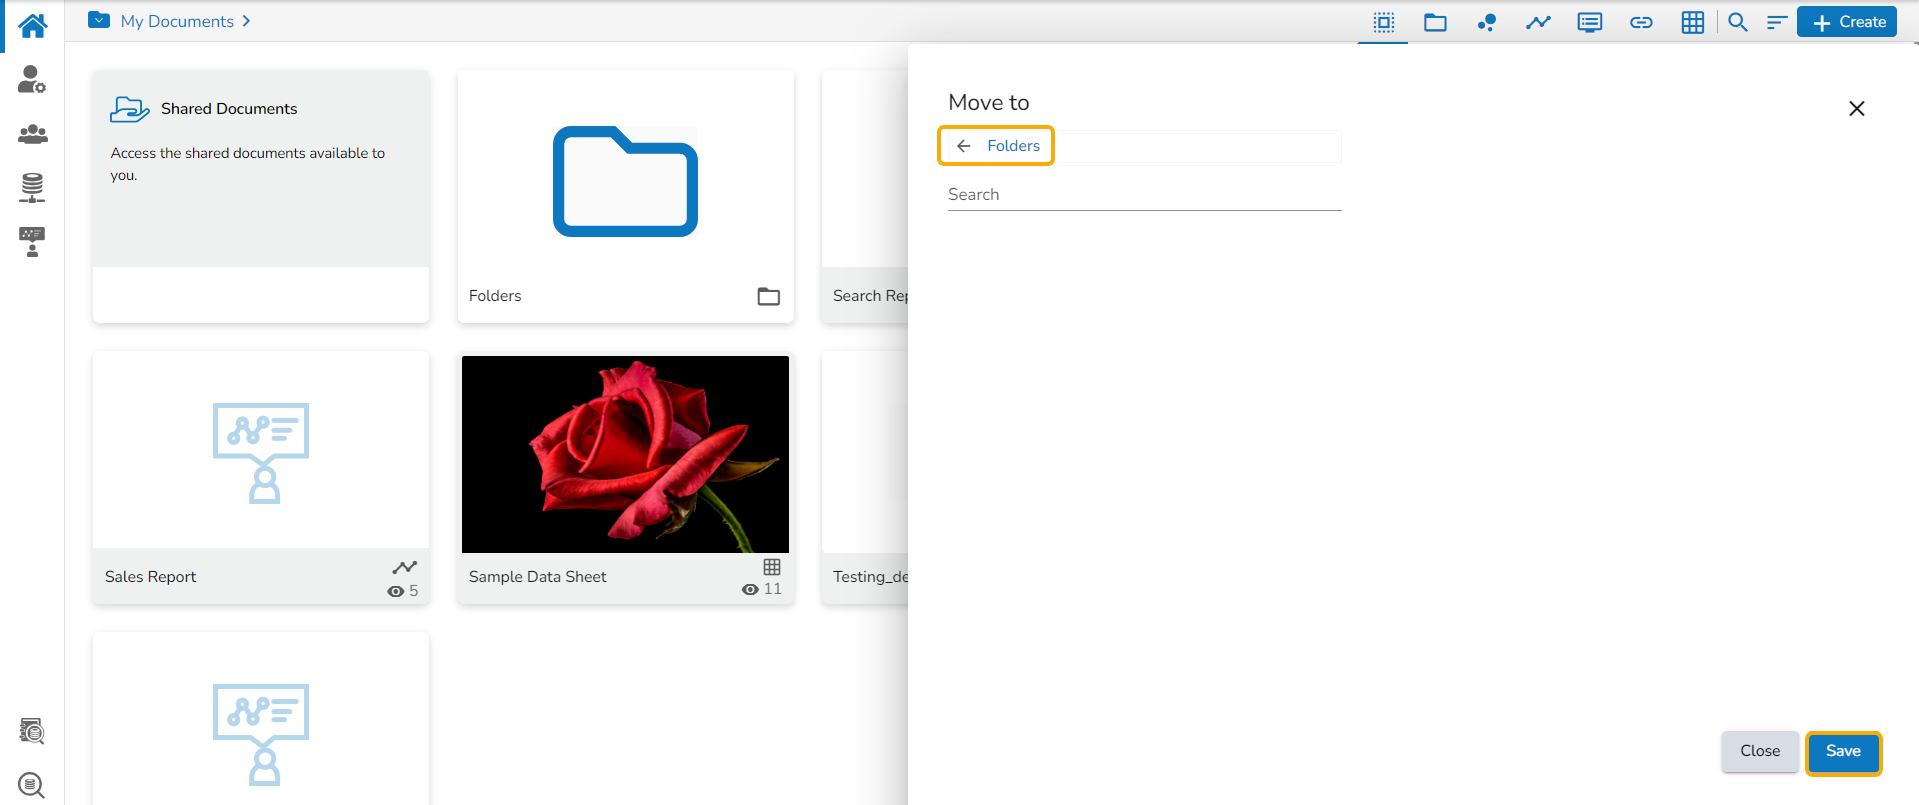
A notification message appears.
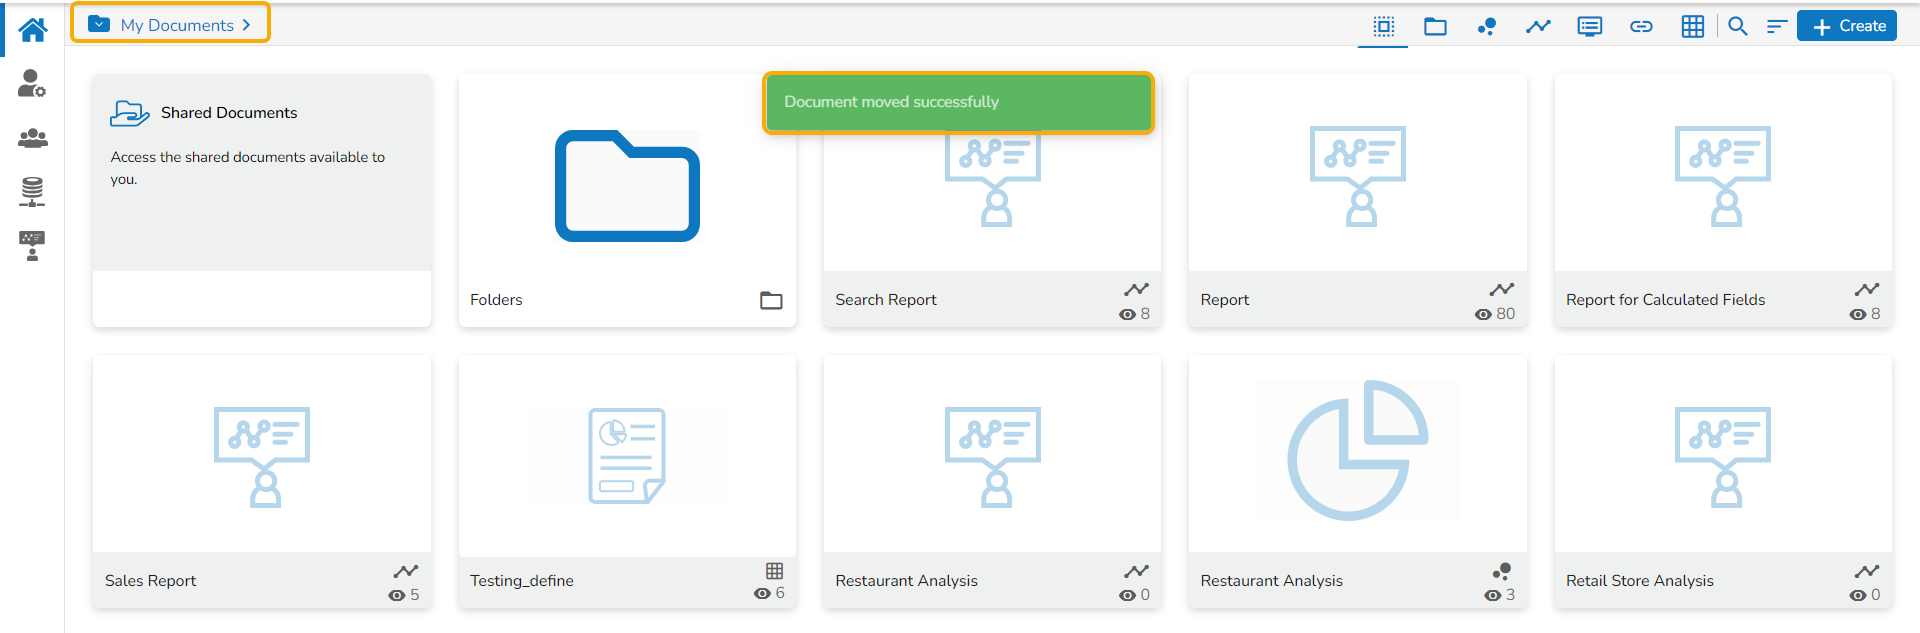
The Datasheet gets moved to the selected space or the folder under a space.
Renaming a Datasheet
Select the Rename option from the context menu.

A new window opens prompting to rename the Datasheet.
Provide a New Name for the selected datasheet.
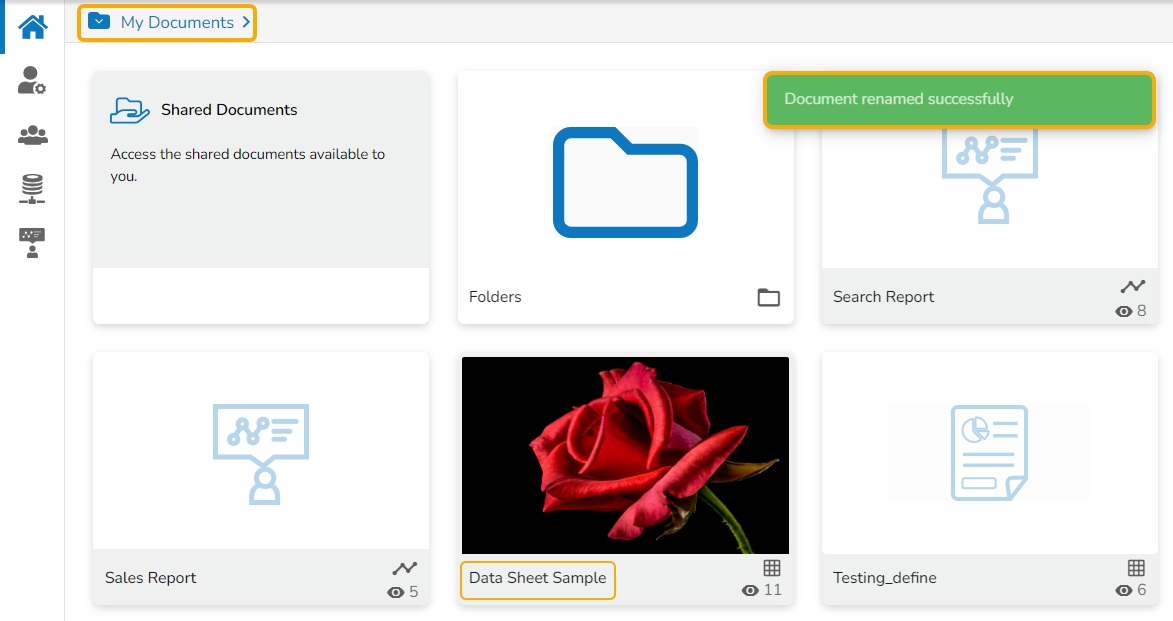
Click the Save option.

The selected datasheet gets renamed.
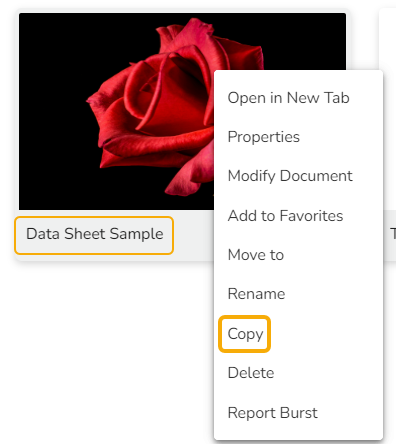
Coping a Datasheet
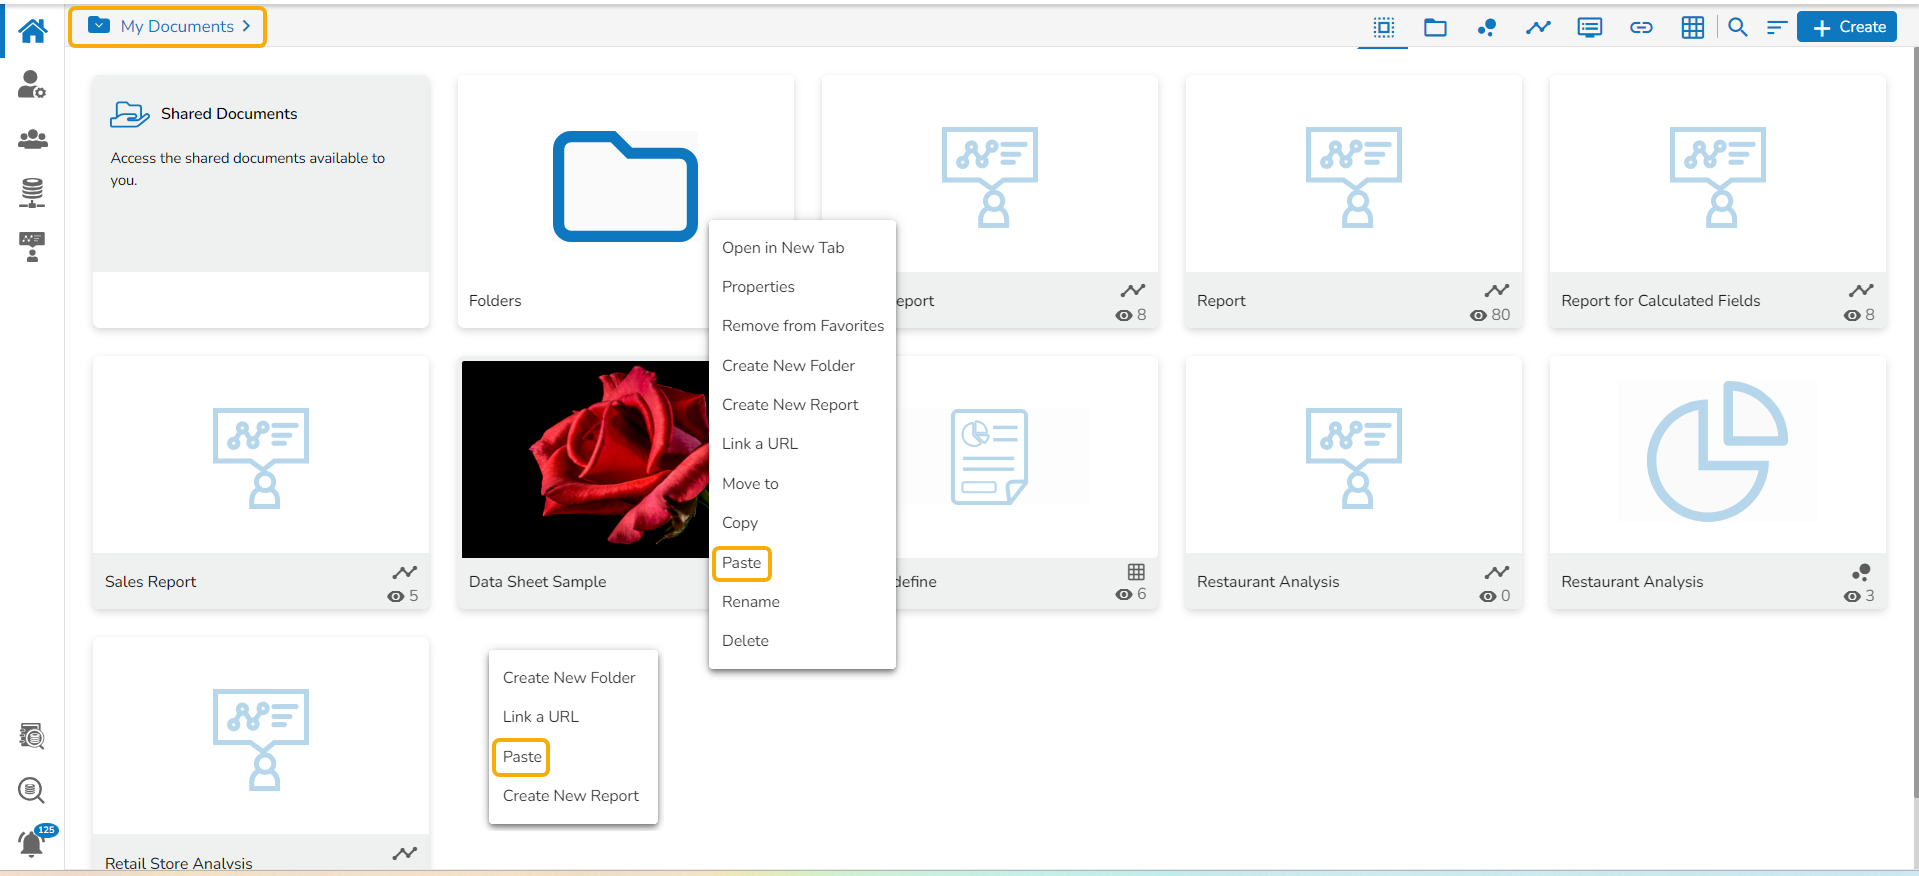
Select the Copy option from the context menu.
Use the right click on another folder or on the blank space to get the Paste option.
Click the Paste option.
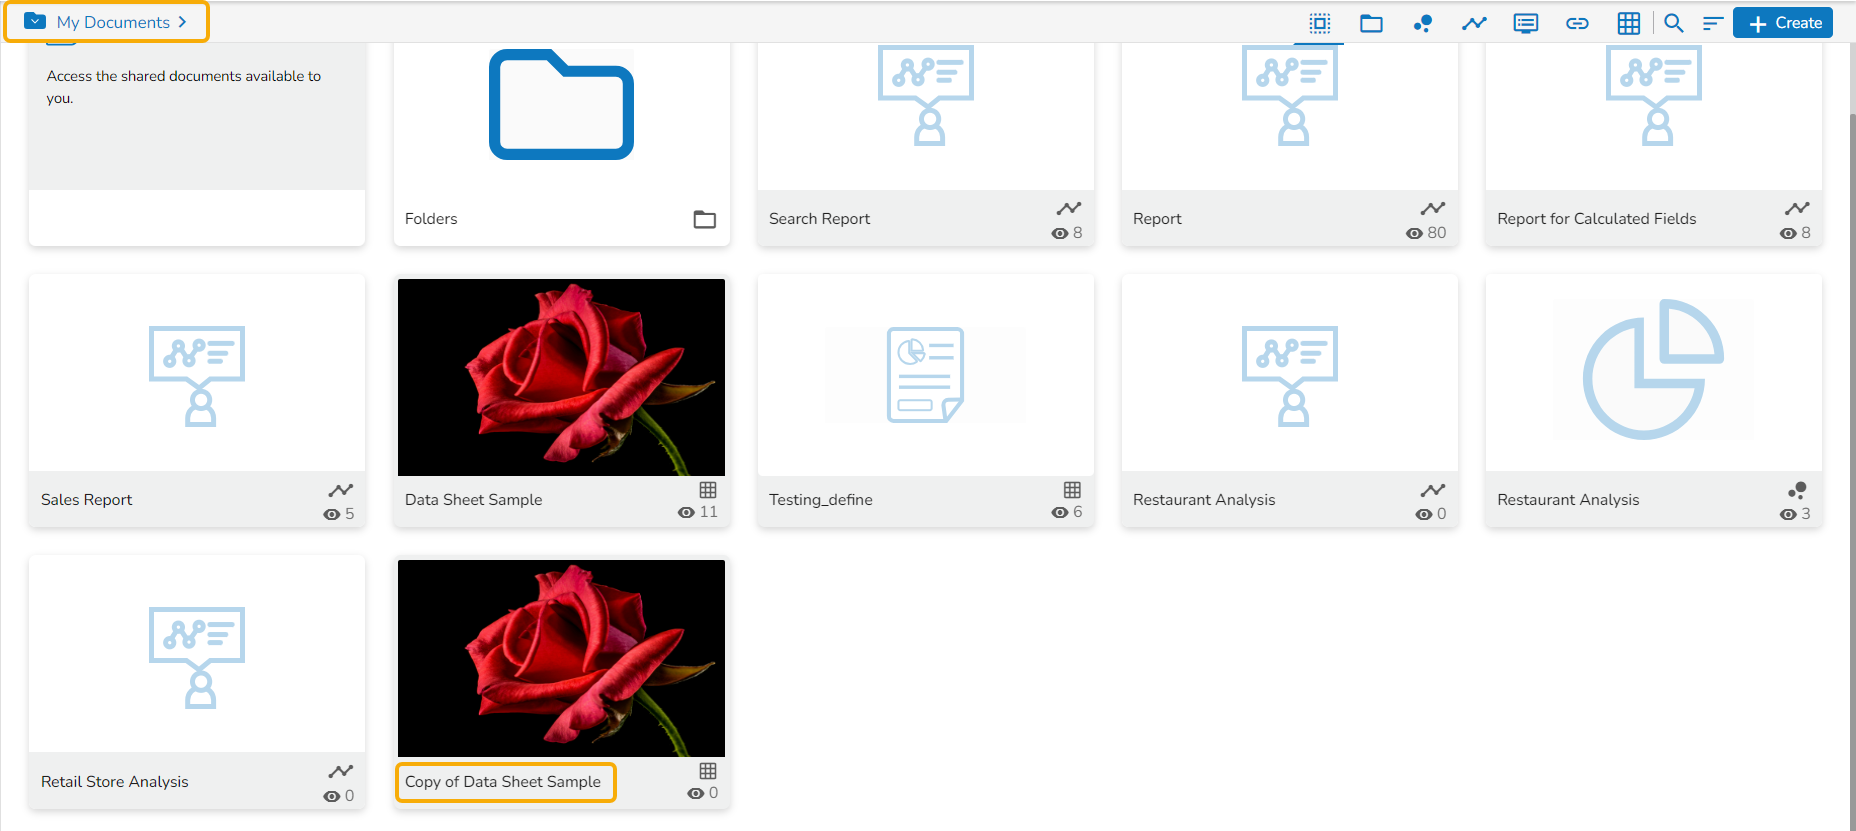
The Paste window opens displaying the selected datasheet name with the 'Copy of-' prefix. E.g., A Datasheet named Data Sheet Sample gets a new name, Copy of Data Sheet Sample as shown in the following image:
Click the Save option.

The datasheet gets copied to the selected space with the new name.
Deleting a Datasheet
Select the Delete option from the context menu.
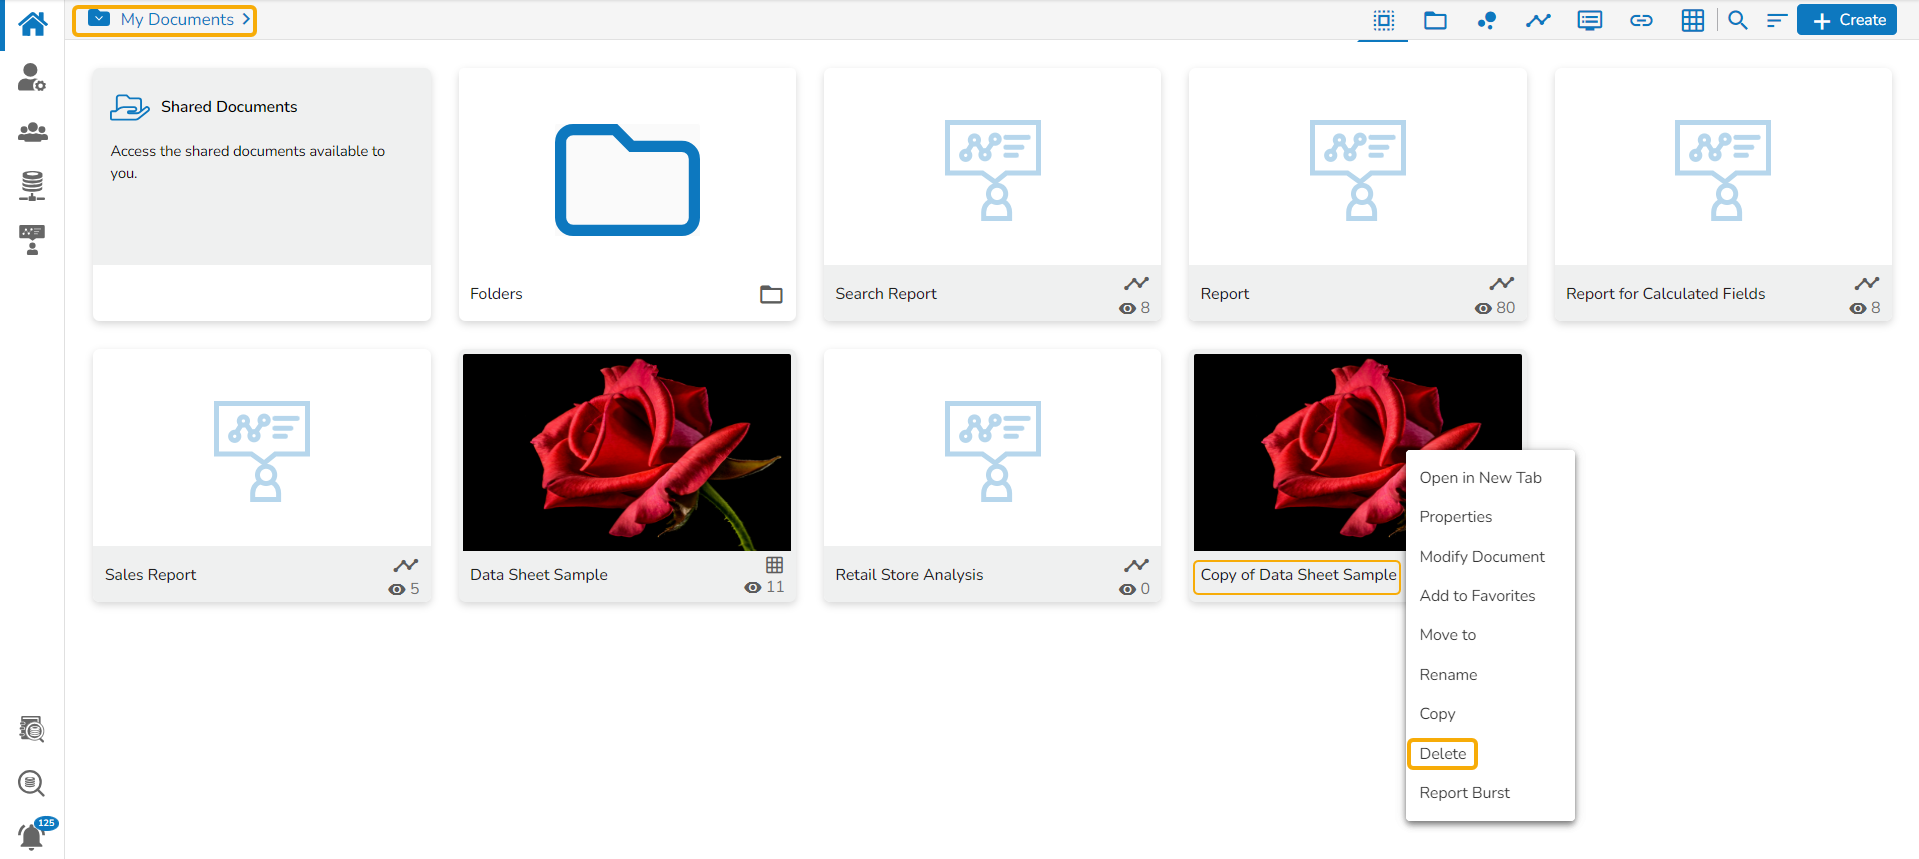
The Delete window opens to confirm the action.
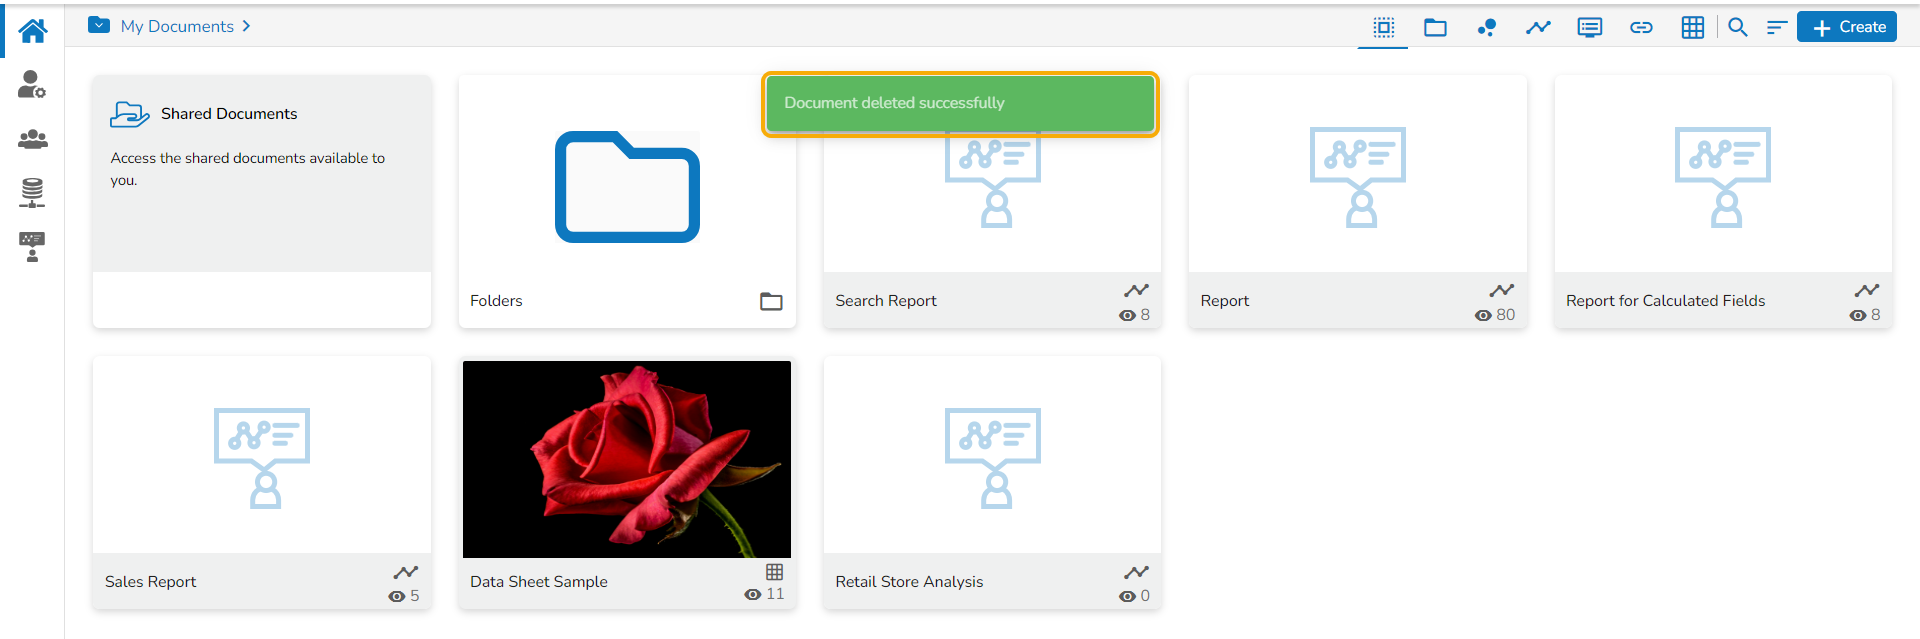
Click the Delete option to delete the selected Datasheet.
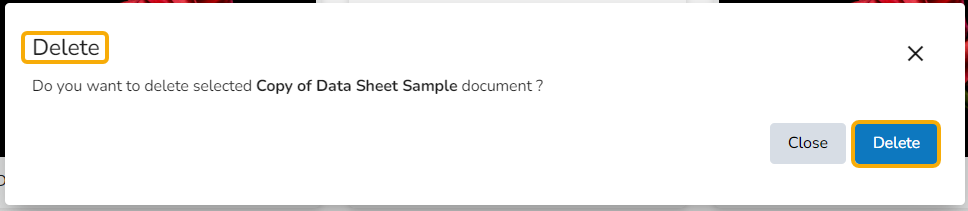
The selected Datasheet will be deleted.
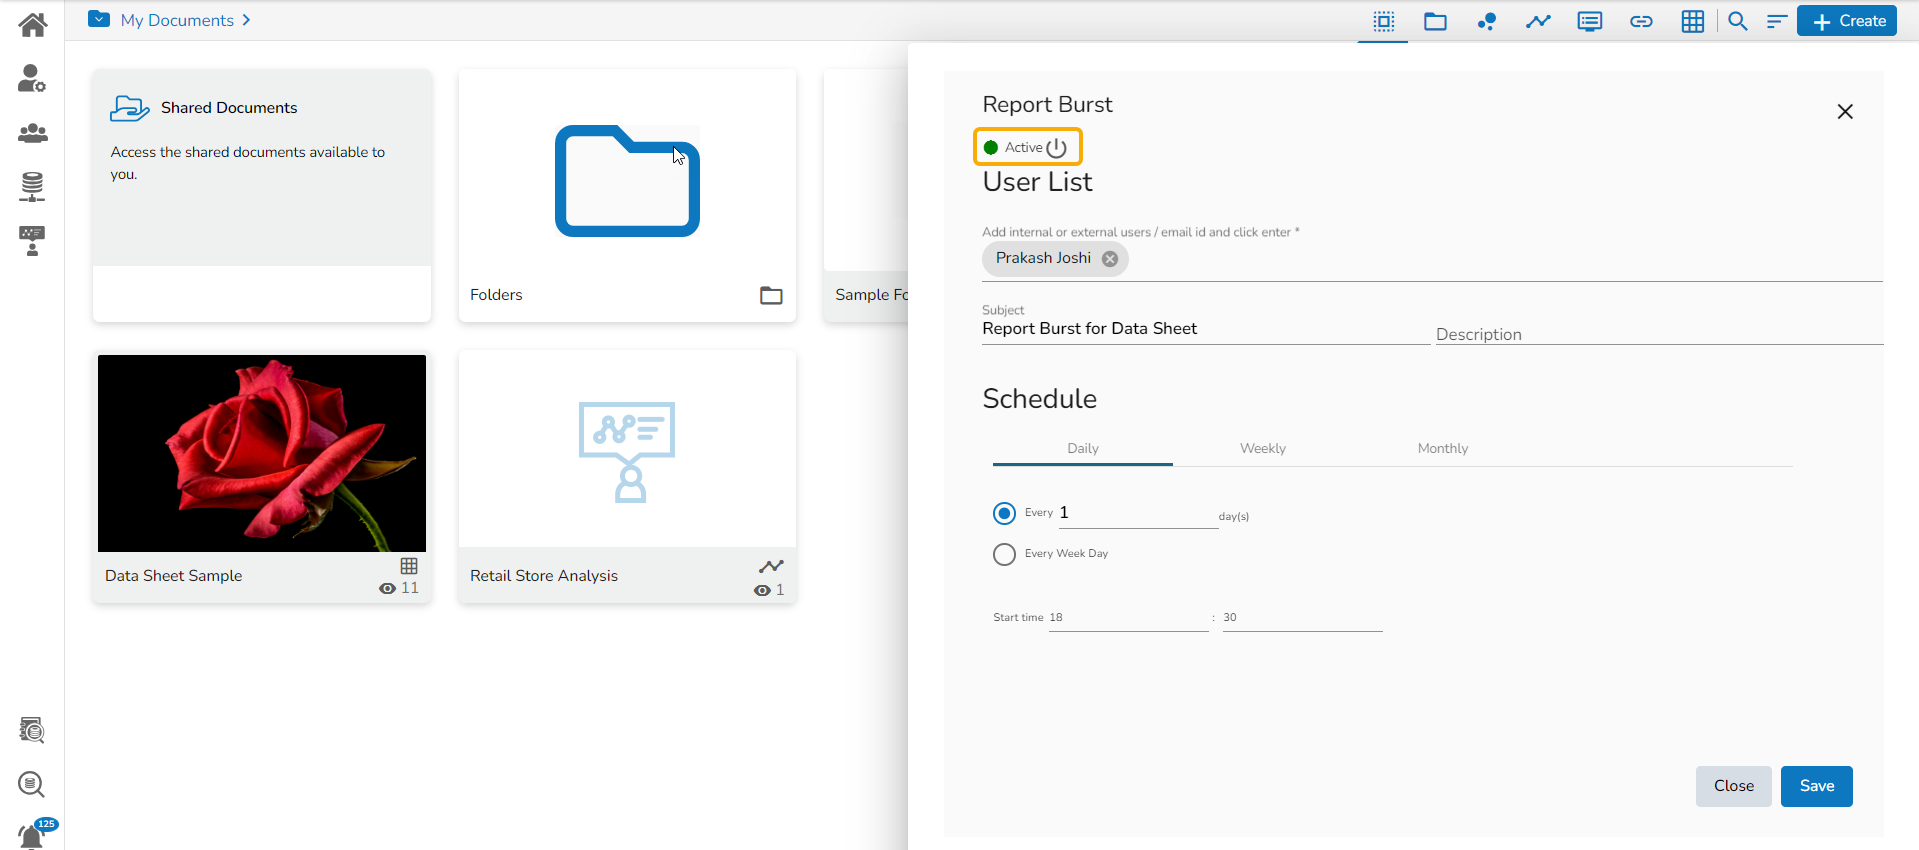
Report Burst
Select the Report Burst option from the context menu.
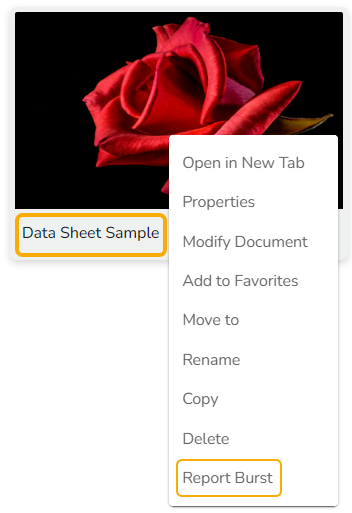
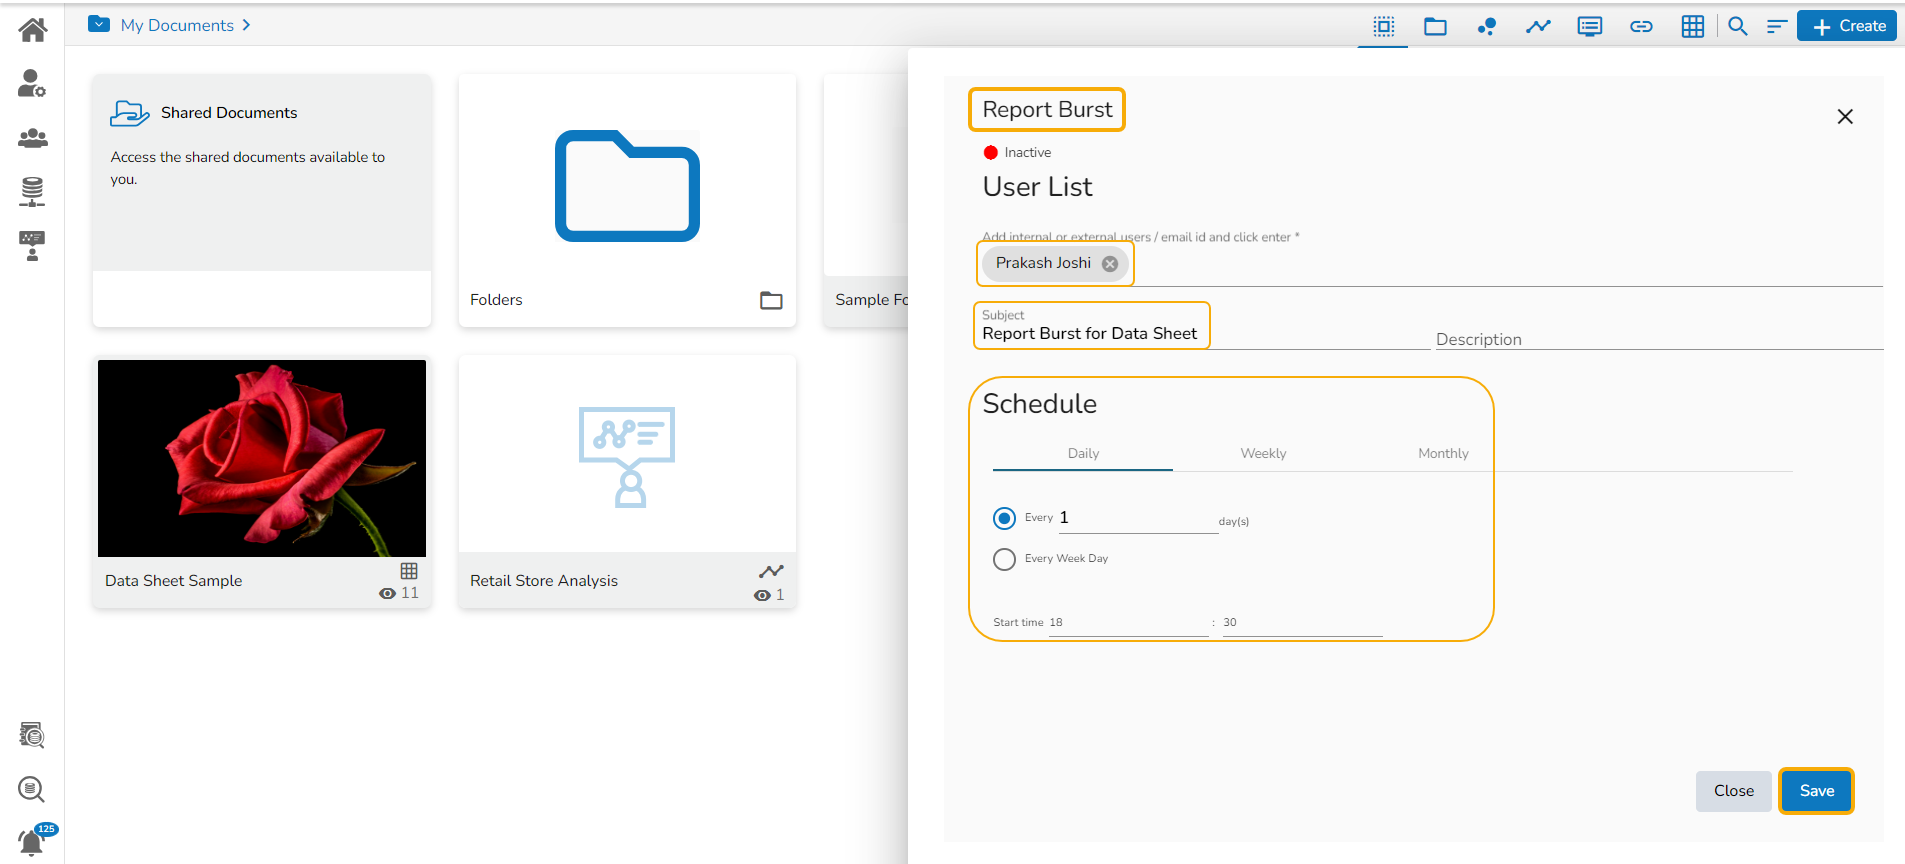
The Report Burst drawer opens.
Enter the internal or external user names/ mail ids.
Provide Subject.
Add description.
Use the Schedule part to the schedule the report burst using Daily, Weekly, or Monthly option.
Click the Save option.
A notification message appears to ensure that the Report Burst schedule status has been updated successfully.
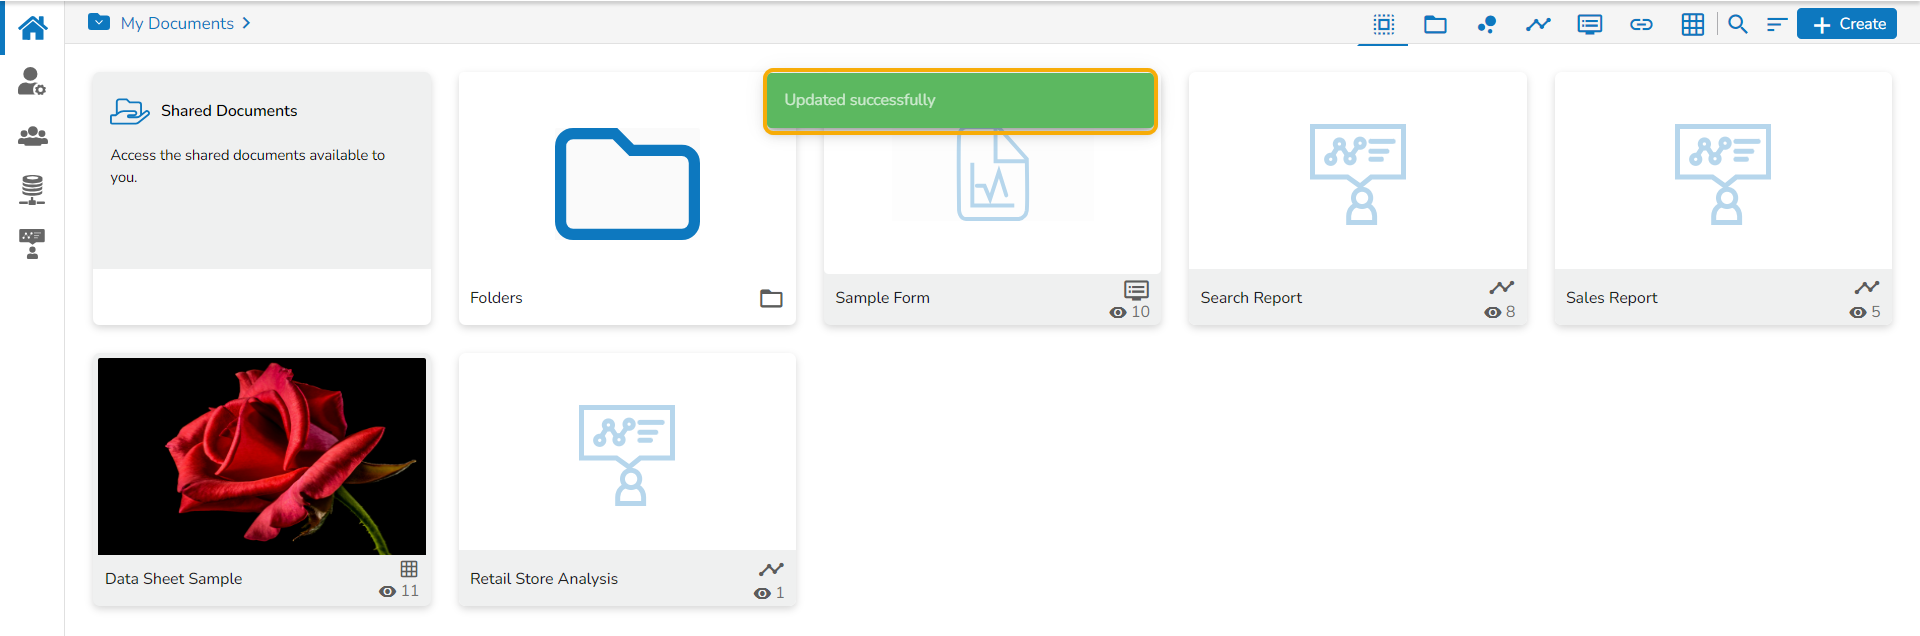
The Report Burst option turns active.
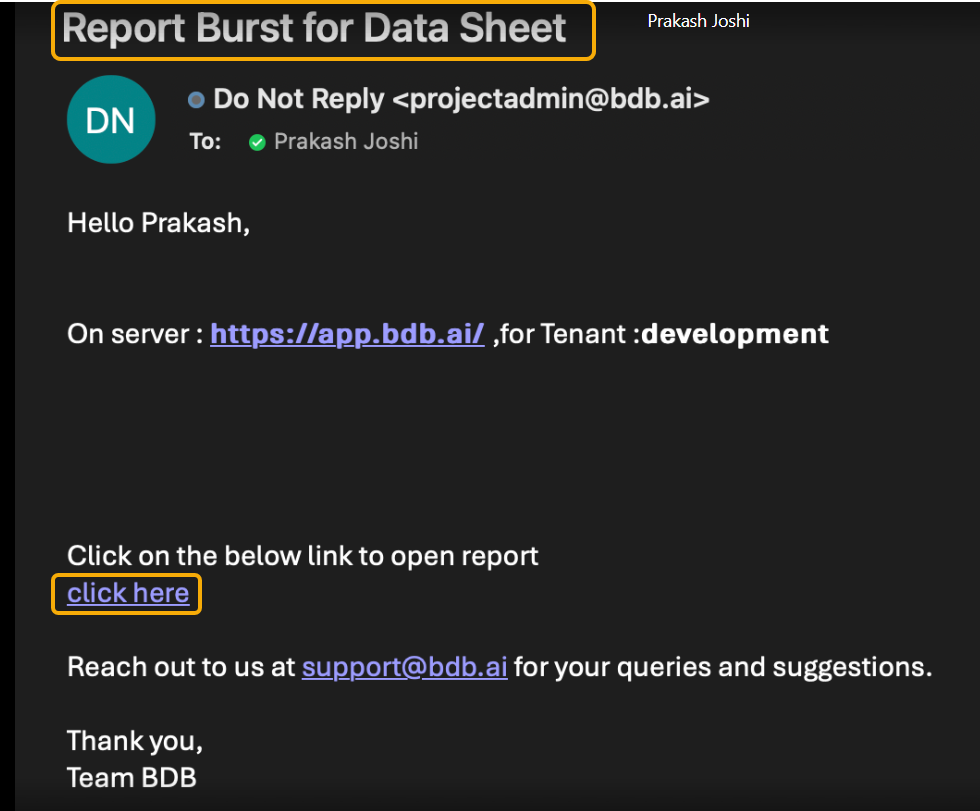
The user will receive a mail at the scheduled time together with the open doc link of the concerned Datasheet.
Please Note: Click the Stop Schedule icon to stop the scheduled Report Burst action.