Loading...
Loading...
Loading...
Loading...
Loading...
Loading...
Loading...
Loading...
Loading...
Click the Data Connectors icon to display all the available data sources.
Click the Create New Connection icon provided next to the Data Service connector.
A new connection gets added under the Data Service connector type.
Name: Name the connection.
Data Connectors: Select a data source from the drop-down menu.
Data Sets: Select a data service from the drop-down menu.
Please Note: The connection creation part based on all the available data sources is described under the Establishing a Data Connection.
Click the Component Library icon from the right edge of the window.
Various categories of the available charting components get displayed (The Charts category gets selected by default).
Select and drag a component on the canvas.
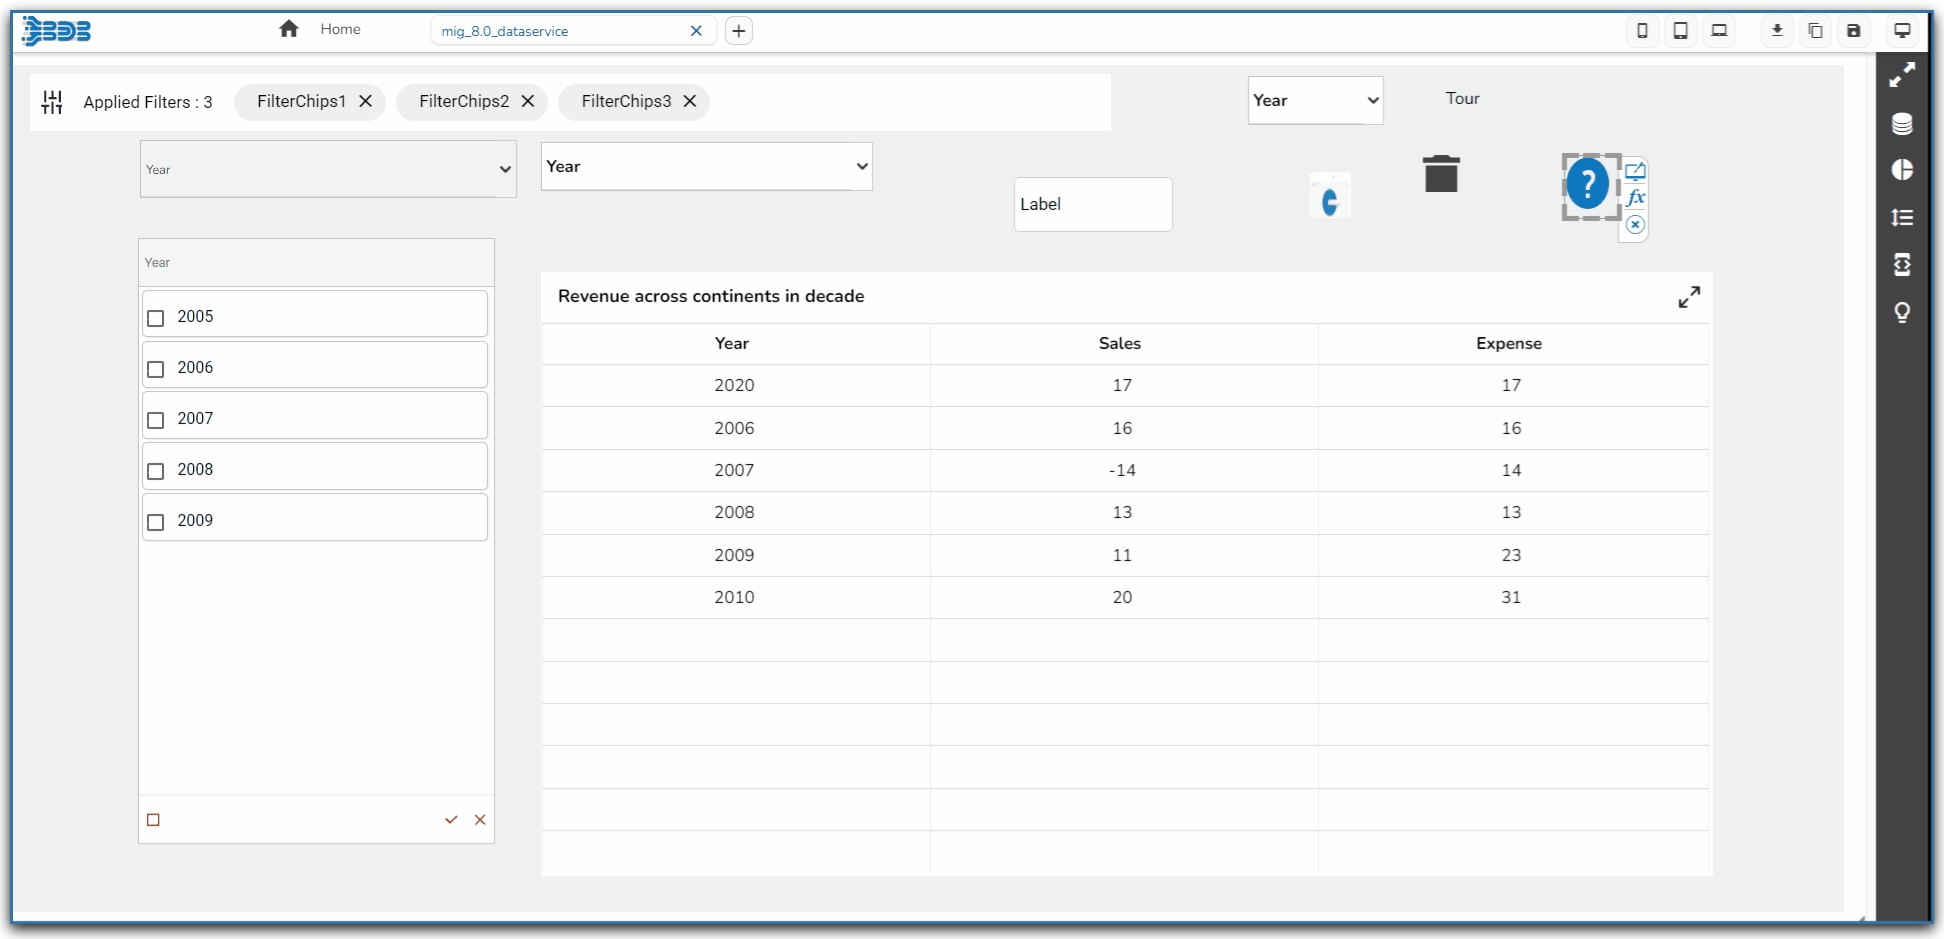
To create a dashboard the user needs to go through multiple pages and use various options provided under the Designer module. It begins with adding a new Dashboard and goes all the way to create a data connection, drag multiple charting components, associate the created data connections with the dragged charts, preview the dashboard data, and finally save the created dashboard.
Please check-out the given walk-through on the complete flow of dashboard creation under the designer module.
This page provides step-by-step process to understand the User alert notification functionality provided for a shared Dashboard.
Pre-requisite: To avail this functionality on any dashboard it is required to be shared across multiple users (minimum 2 users).
Check out the below-given demonstration on the User Alert Notification functionality.
The users will get the alert notification when multiple users are working on the same dashboard. The alert message will pop-up while one of them would like to save the updates on the same dashboard.
The user who gets the Alert Notification has two choices:
Please check out the following scenario to understand how the User Alert Notification functionality works.
A dashboard is shared to multiple users.
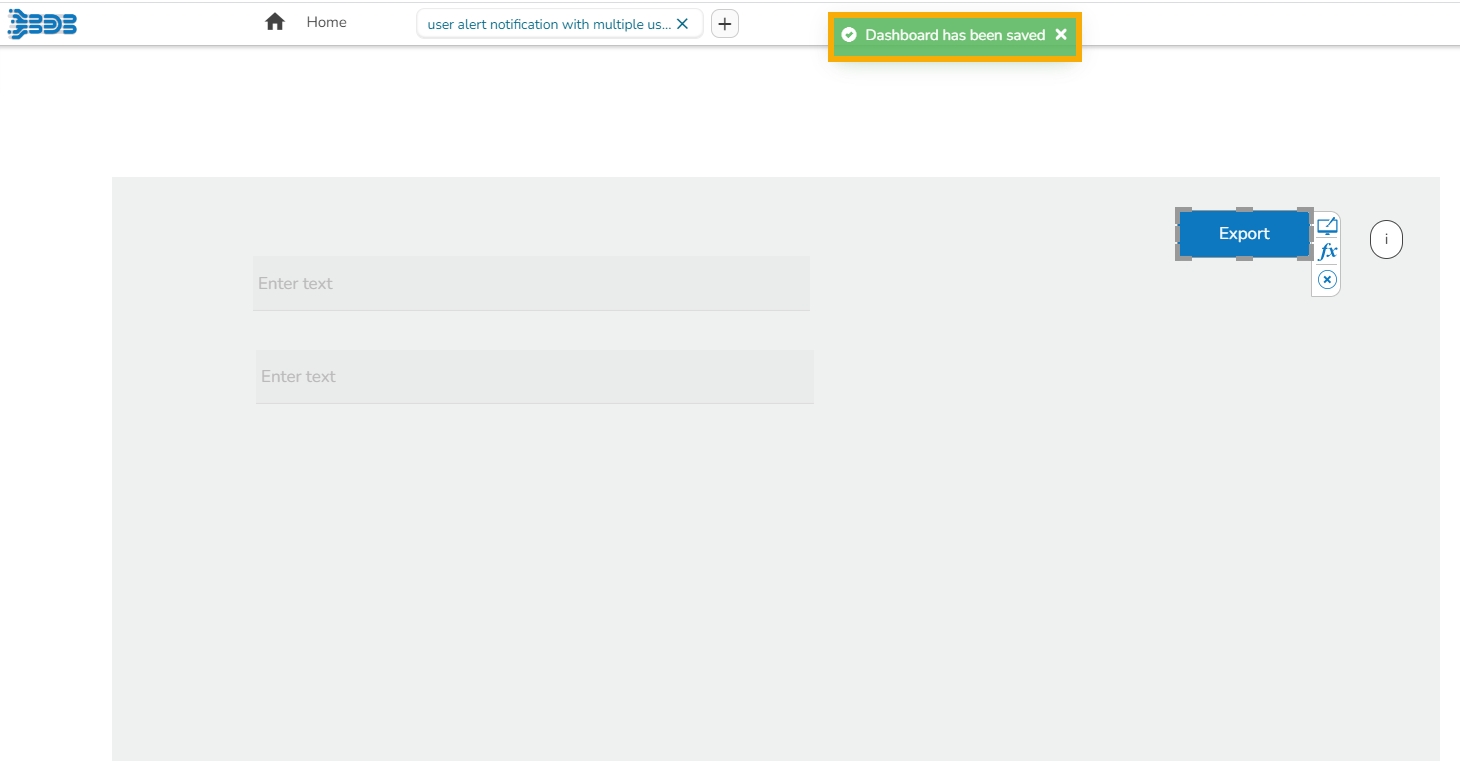
If more than one users are working parallelly on the same dashboard and one of the users i.e., User-A saves the dashboard to save the updates added by him in the dashboard. A notification message appears and all the updates committed by the User-A gets saved.
All the other users (i.e., User-B and User-C) who are working still on the same dashboard will receive an alert notification as displayed in the below-given image.
They can either accept it by clicking the Yes option or deny it by using the Cancel option.
If the User-B accepts the alert, then User-B's dashboard will get closed.
Please Note: The User-B can reopen it only with the updates provided by the User-A.
There is a User-C who has cancelled the alert option. So, User-C can continue the work on the same dashboard.
Please Note: If User-C saves the dashboard after updating it, that will overwrite the updates given by User-A in the same dashboard.
This section covers two ways to add a new Dashboard.
Navigate to the Designer homepage.
Click the New drop-down menu and select Dashboard.
Or
Click on the ‘+’ icon, the users get redirected to the Designer Canvas.
Navigate to the Dashboard canvas page.
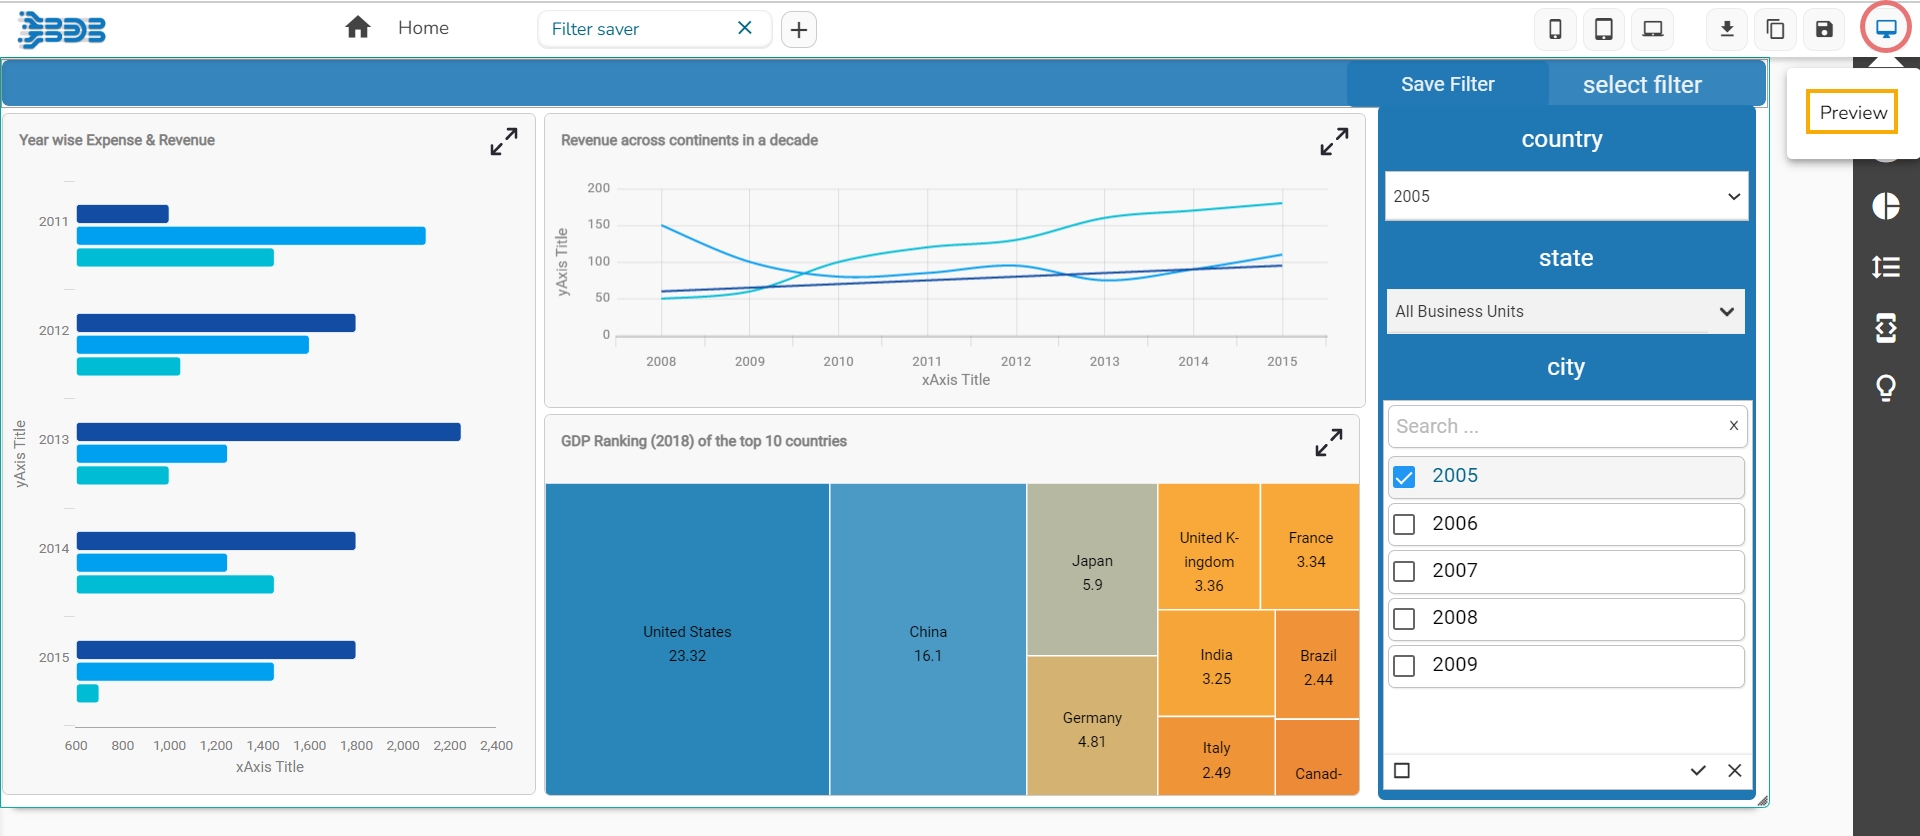
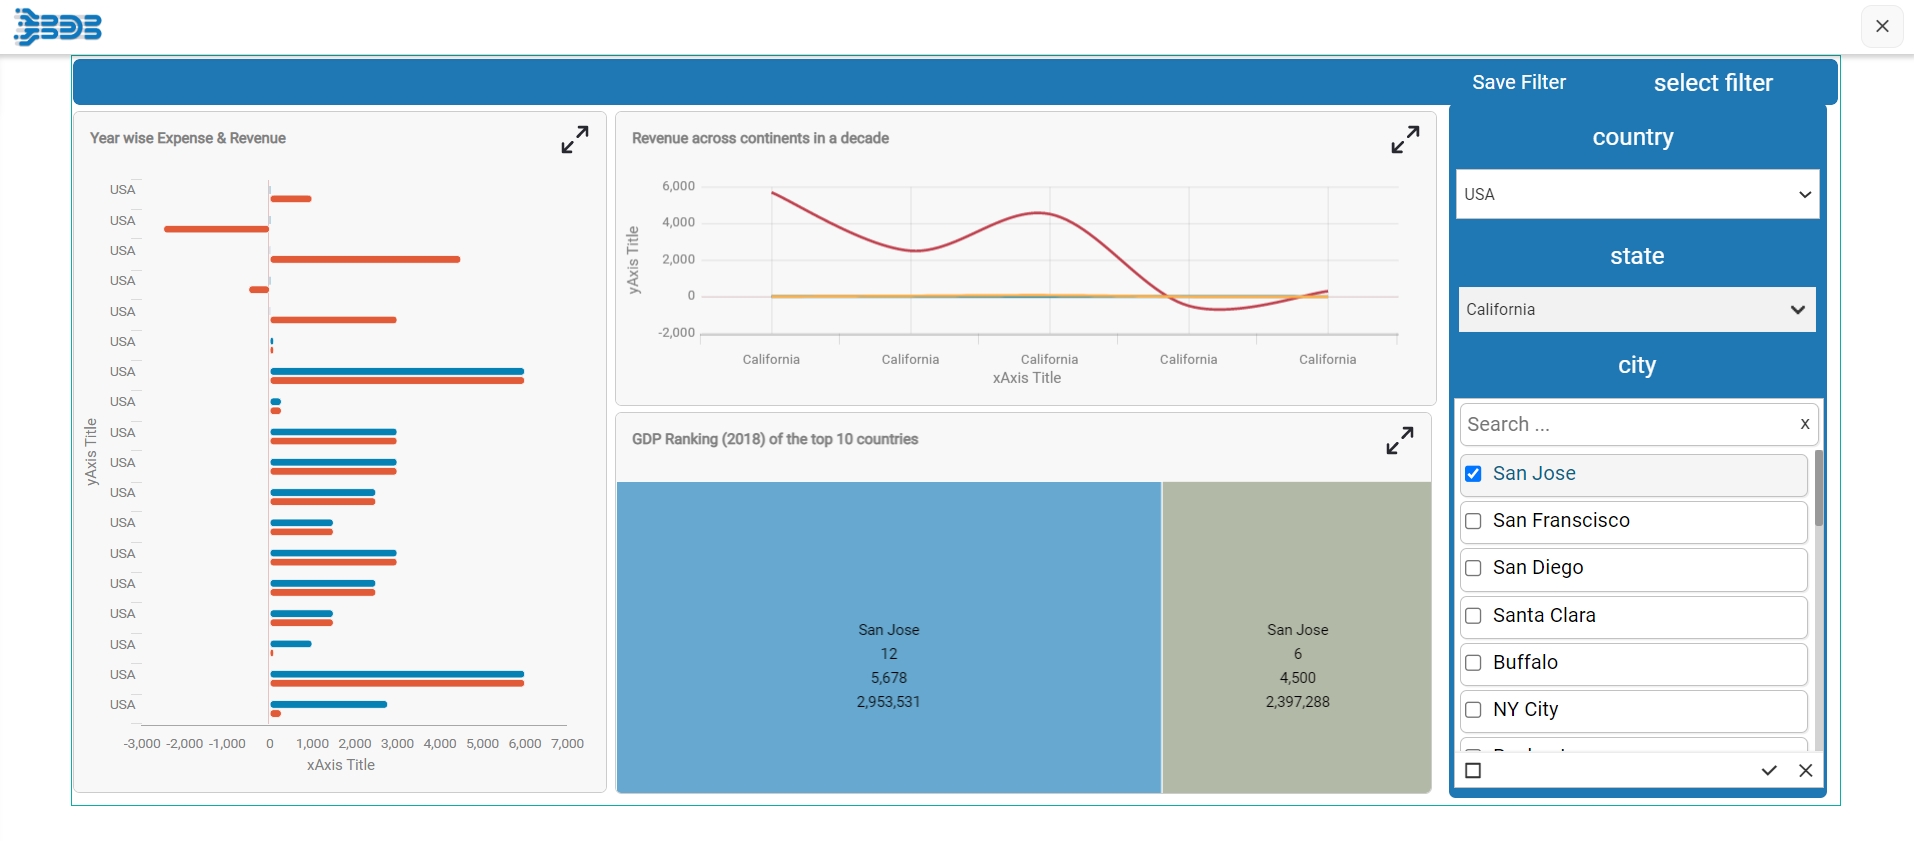
Click the Preview icon.
The selected Dashboard opens in the Preview mode.
Right click on the dragged component.
Select the Dataset property option.
Select the created connection from the list.
Drag the required fields.
The Designer module contains three types of Save options for a Dashboard. They are as explained below:
Click the Save icon from the Designer canvas header menu.
A pop-up window appears with the following details:
Dashboard Name: The name of the selected dashboard gets displayed.
Workspace: Select a workspace via the drop-down menu.
Click the Save option.
A success message appears to assure the same.
The dashboard gets saved to the selected workspace.
Click the Save to Another Workspace icon from the Designer canvas header menu.
The Save As pop-up window appears asking to save a copy of the selected dashboard.
Name: The dashboard name gets displayed as Copy_of_ the original Dashboard Name.
Workspace: Select a workspace from the workspace drop-down menu.
Click the Save option.
Two consecutive notification messages appear.
A copy of the selected dashboard gets saved in another workspace.
A dashboard can be saved to a local disk via the Save to Local Disk option.
Click the Save to Local Disk icon from the Designer canvas header menu.
The selected dashboard gets saved to the local system.


