Write & Run Code to create Data Science Scripts and models using the .ipynb file.
A user can write and execute code using the Data Science Notebook interface. This section covers the steps to write and run a sample code in the Code cell of the Data Science Notebook.
Check out the given walk-through on how to use a Code Cell under a .ipynb file.
Please Note: The above-given video displays inserting a new code cell using the Add Pre-cell icon for a code cell.
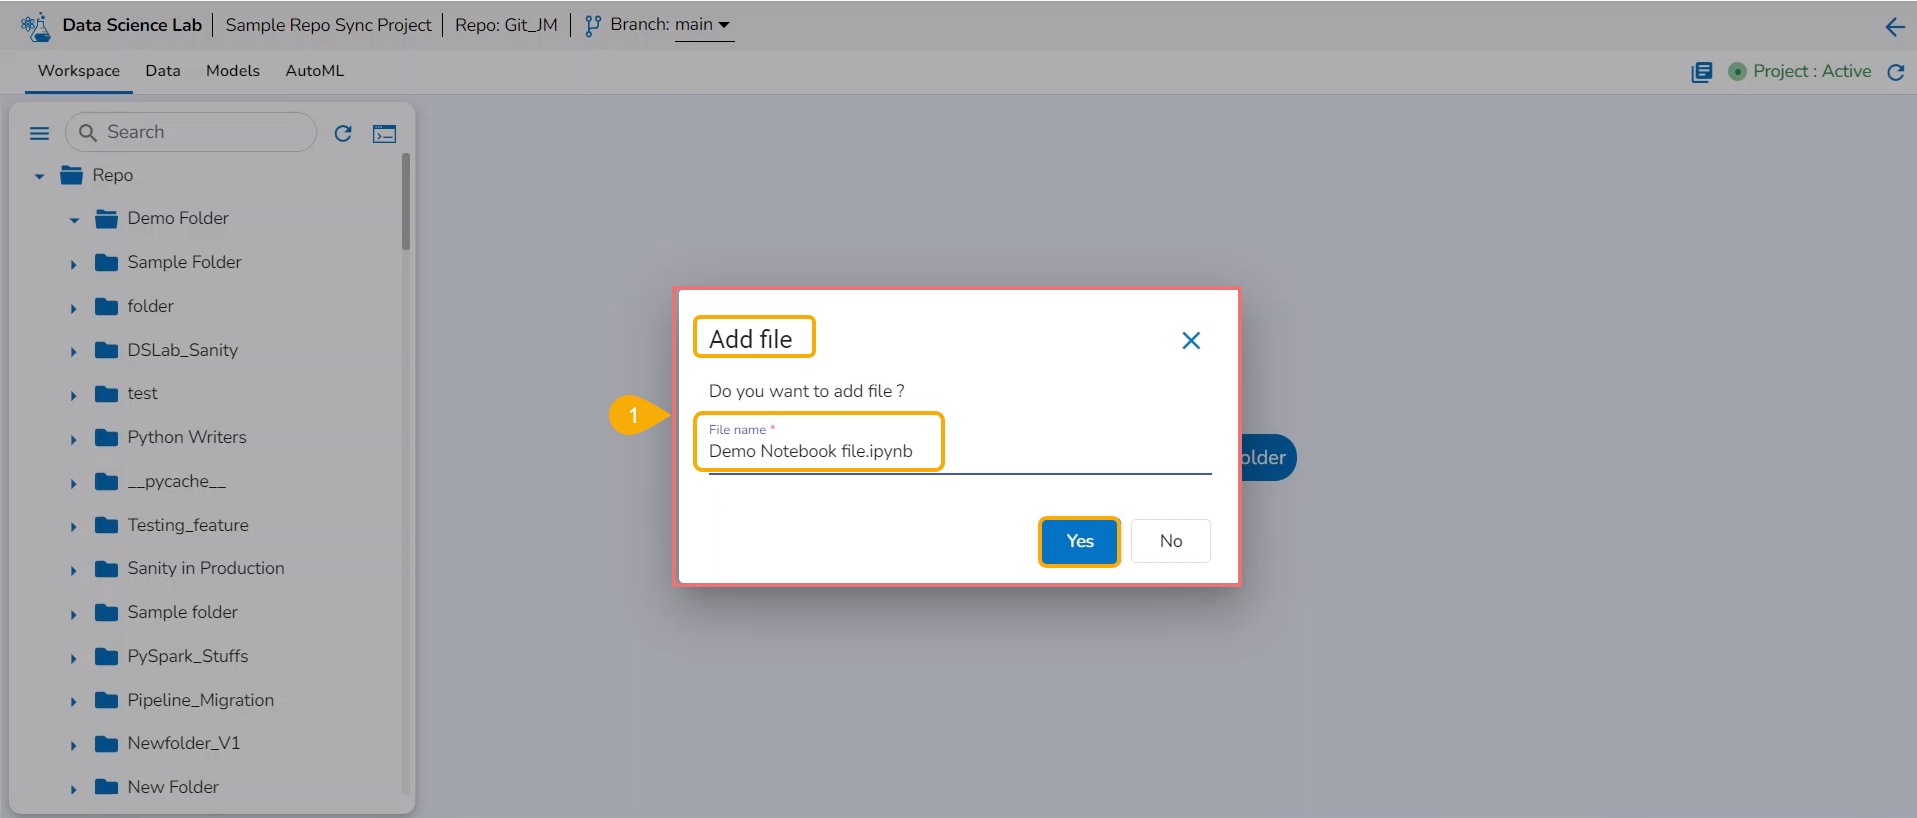
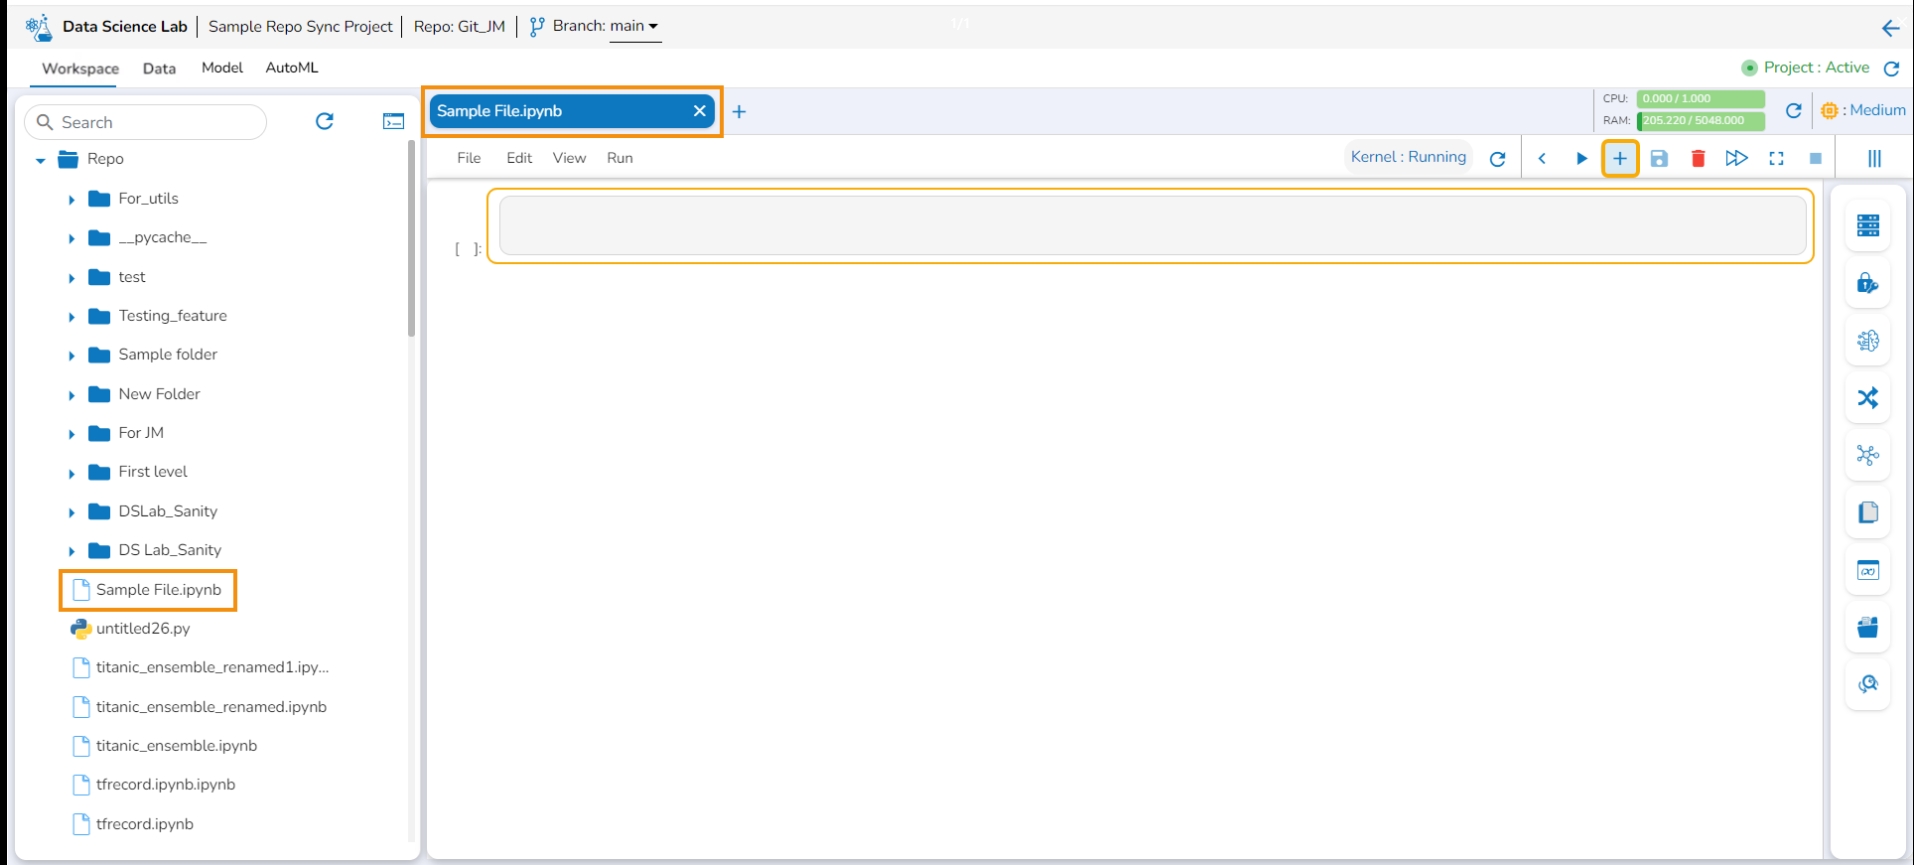
Create a new .ipynb file.
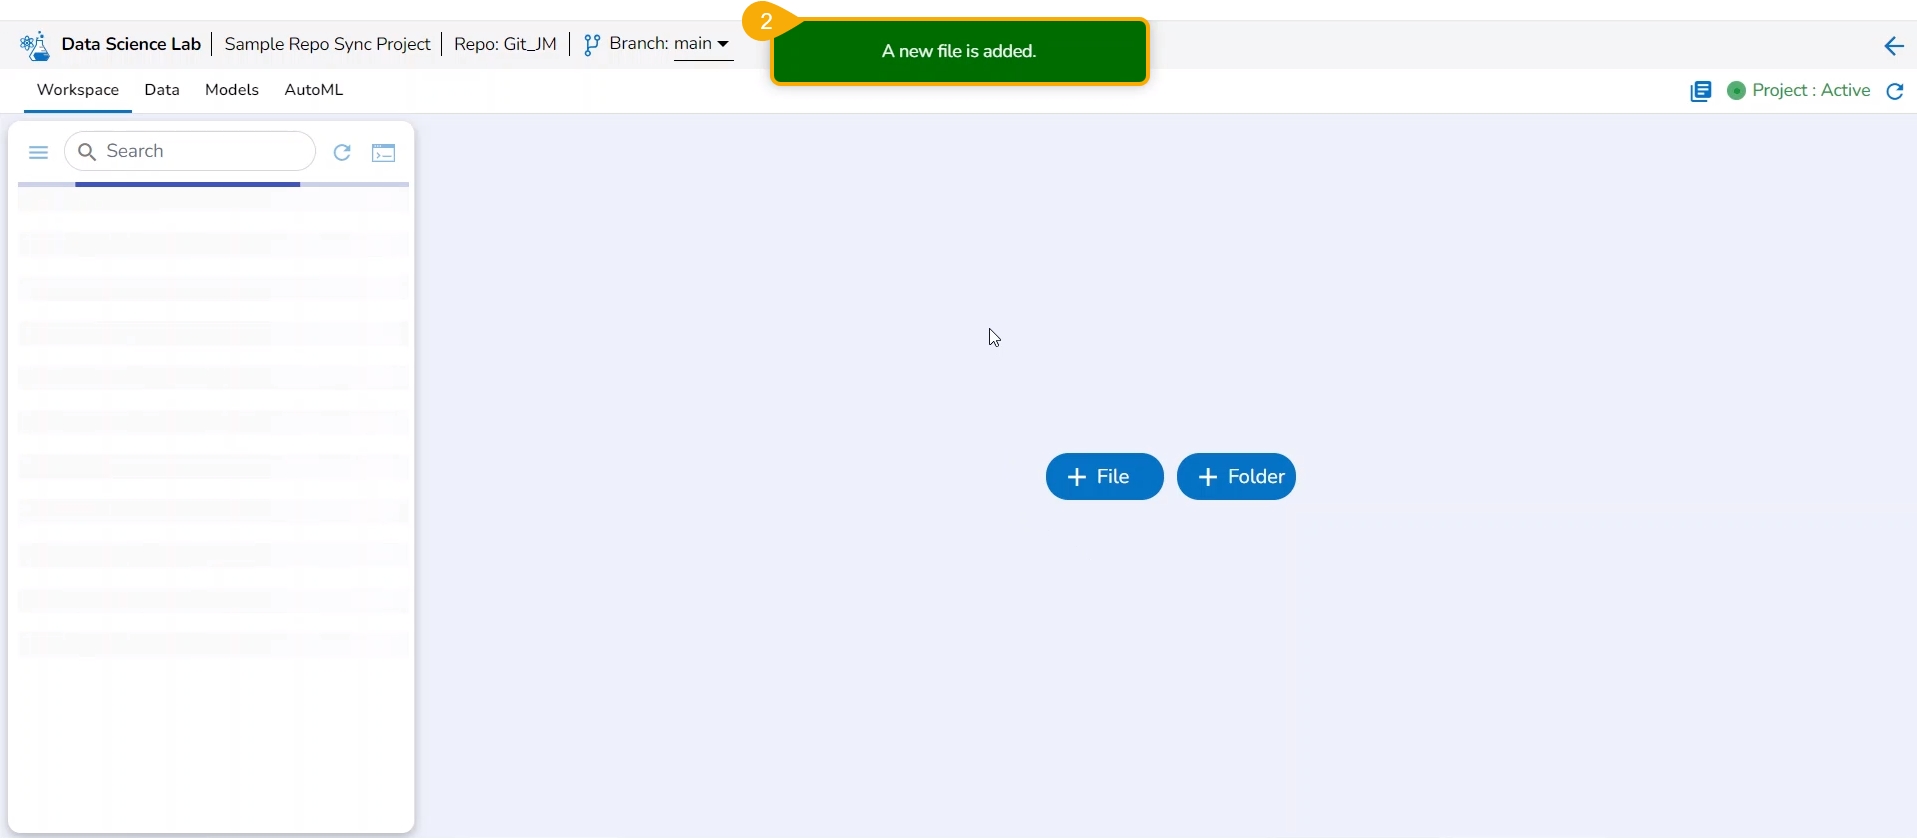
A notification message appears to ensure the creation of the new .ipynb file.
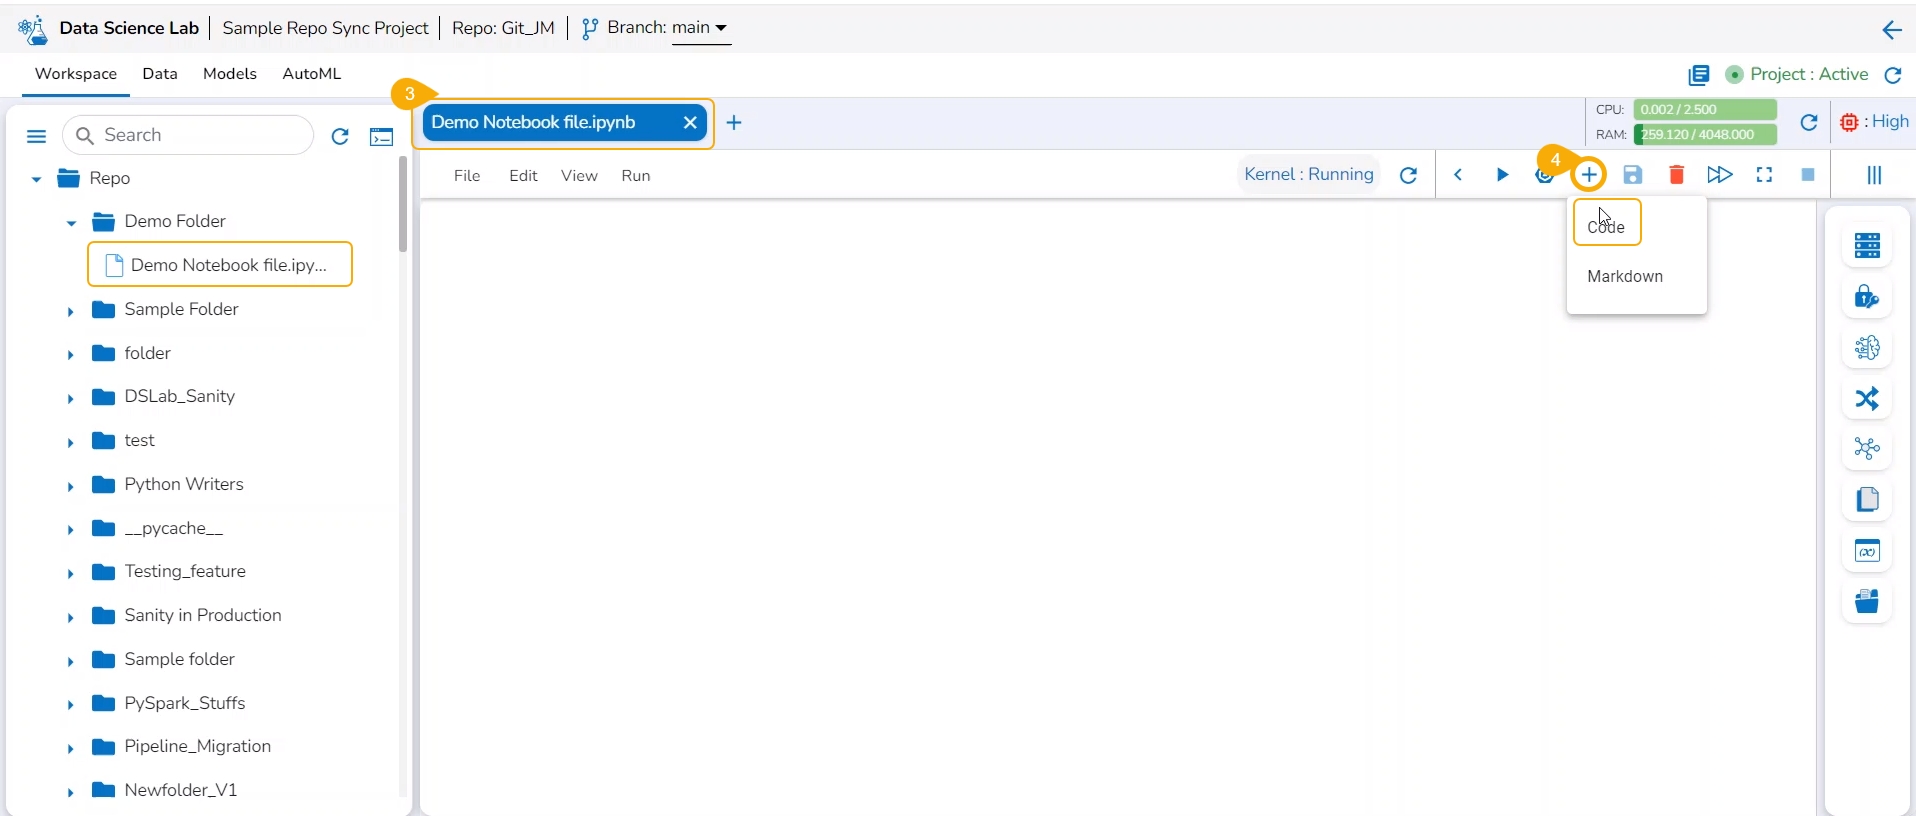
Open the newly created .ipynb file.
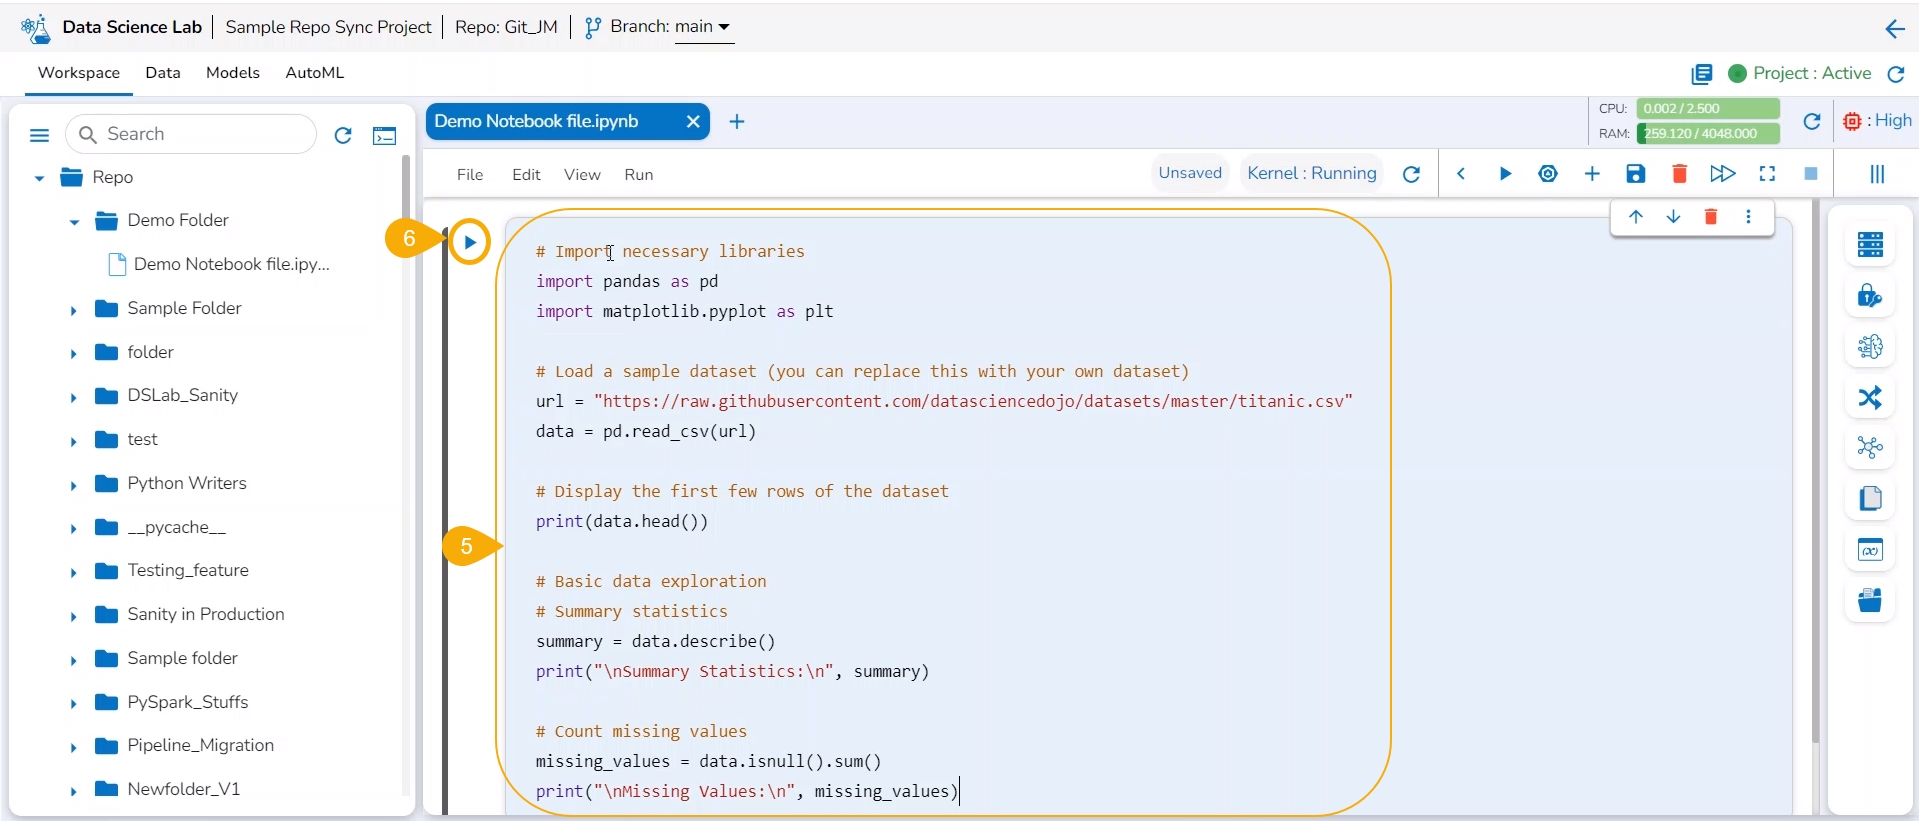
Insert the first Code cell by using the Add pre-cell icon.
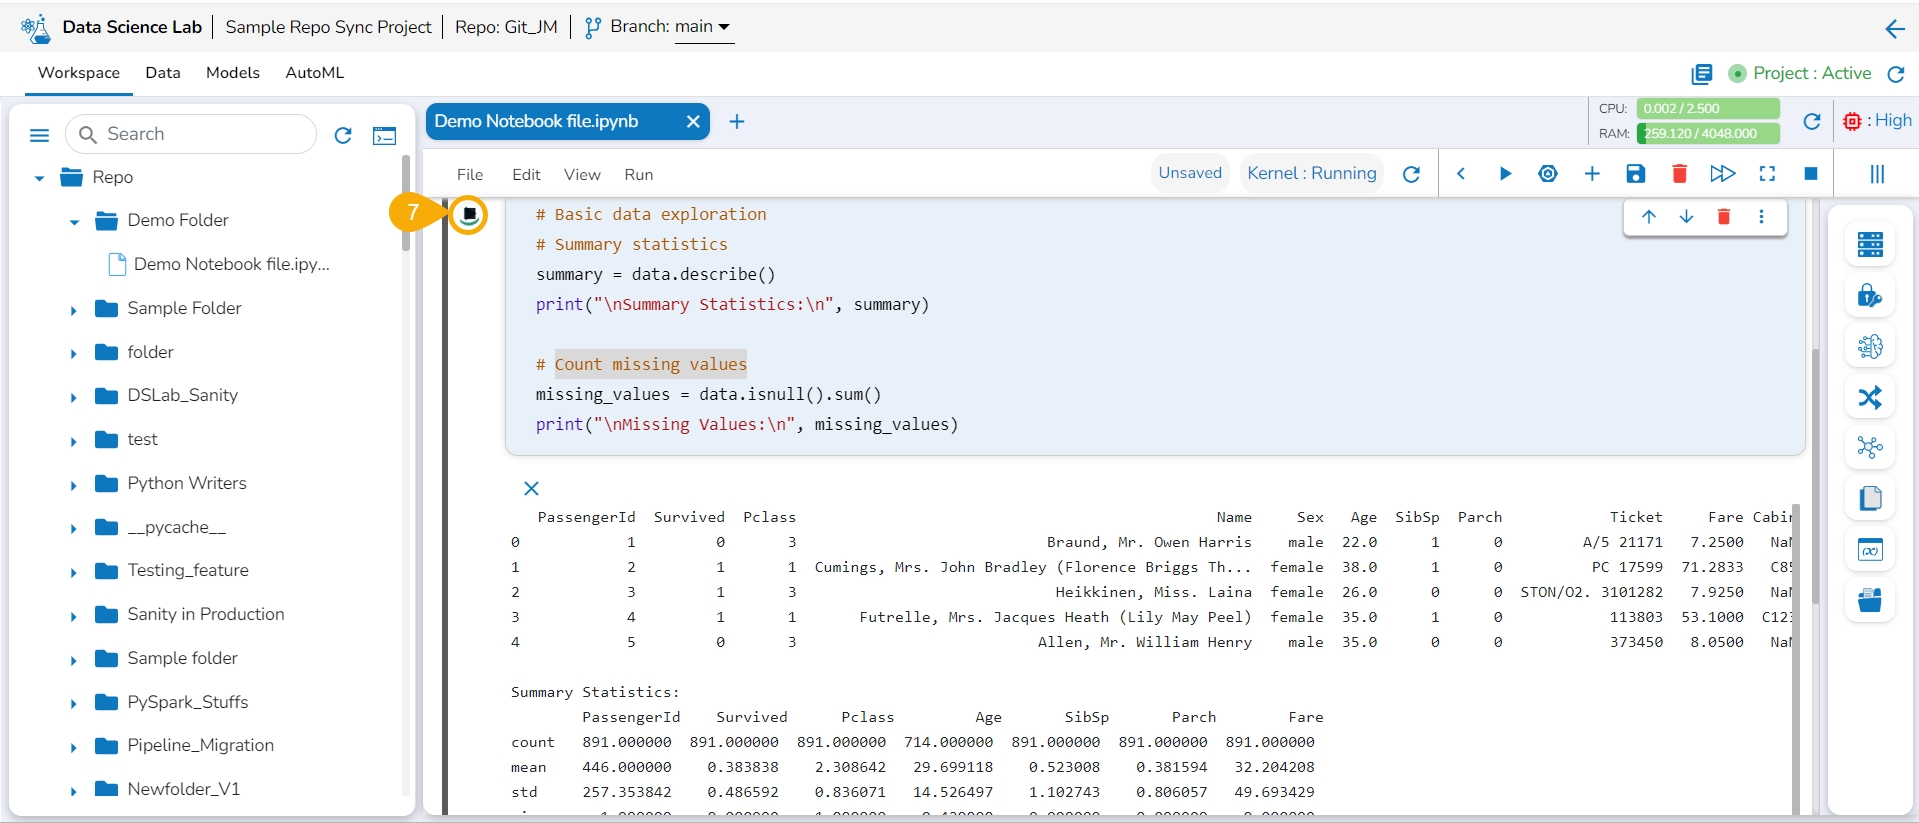
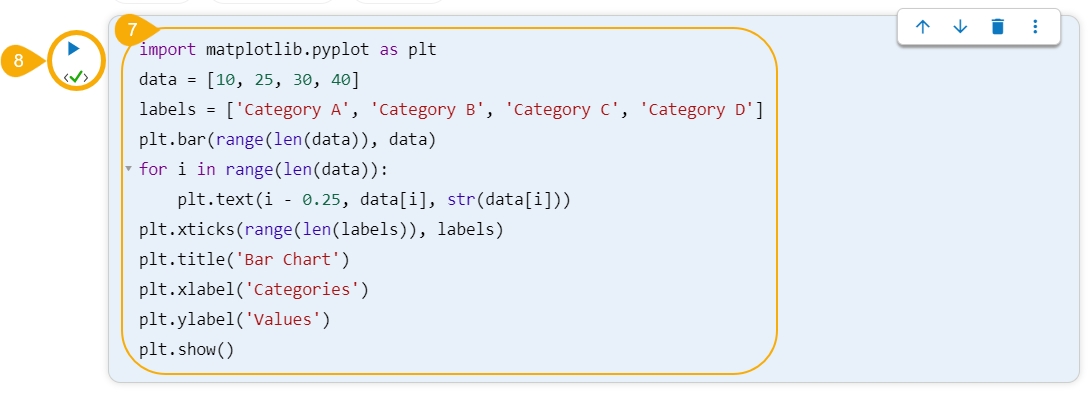
Write code inside the cell.
Click the Run cell icon to run the code.
Please Note: The Code cells also get code from the selected Notebook operations by using the right-side panel and selecting a specific option. E.g., The user can use the Data tab to get an added data set to the code cell.
The Run cell button is changed into the Interrupt cell icon while running the code.
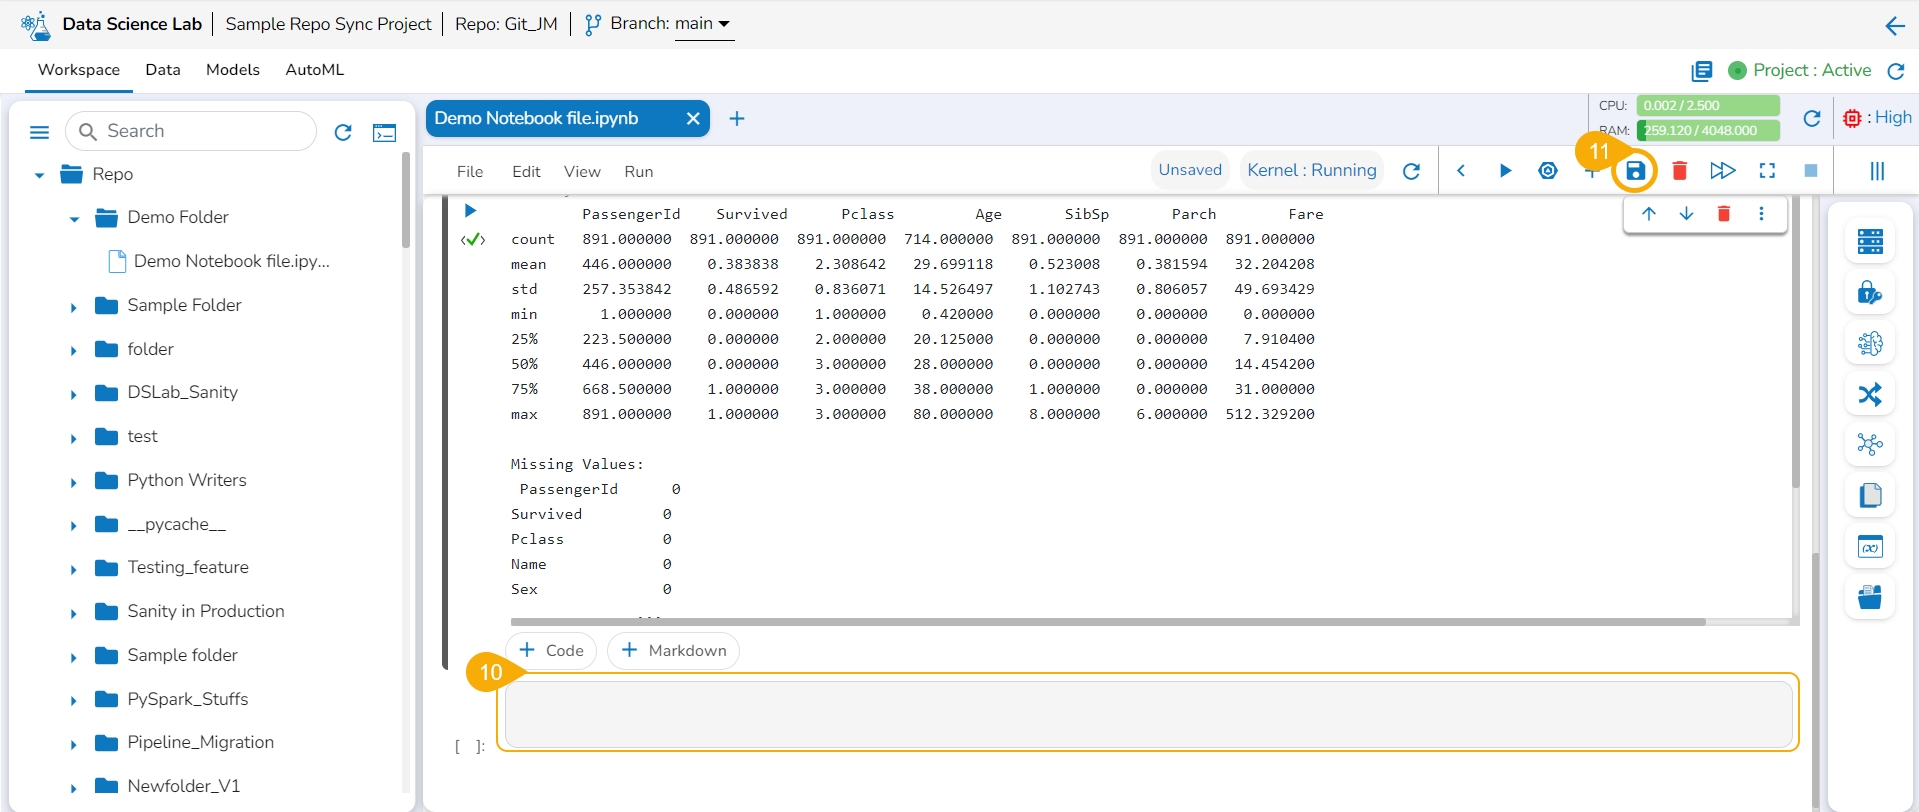
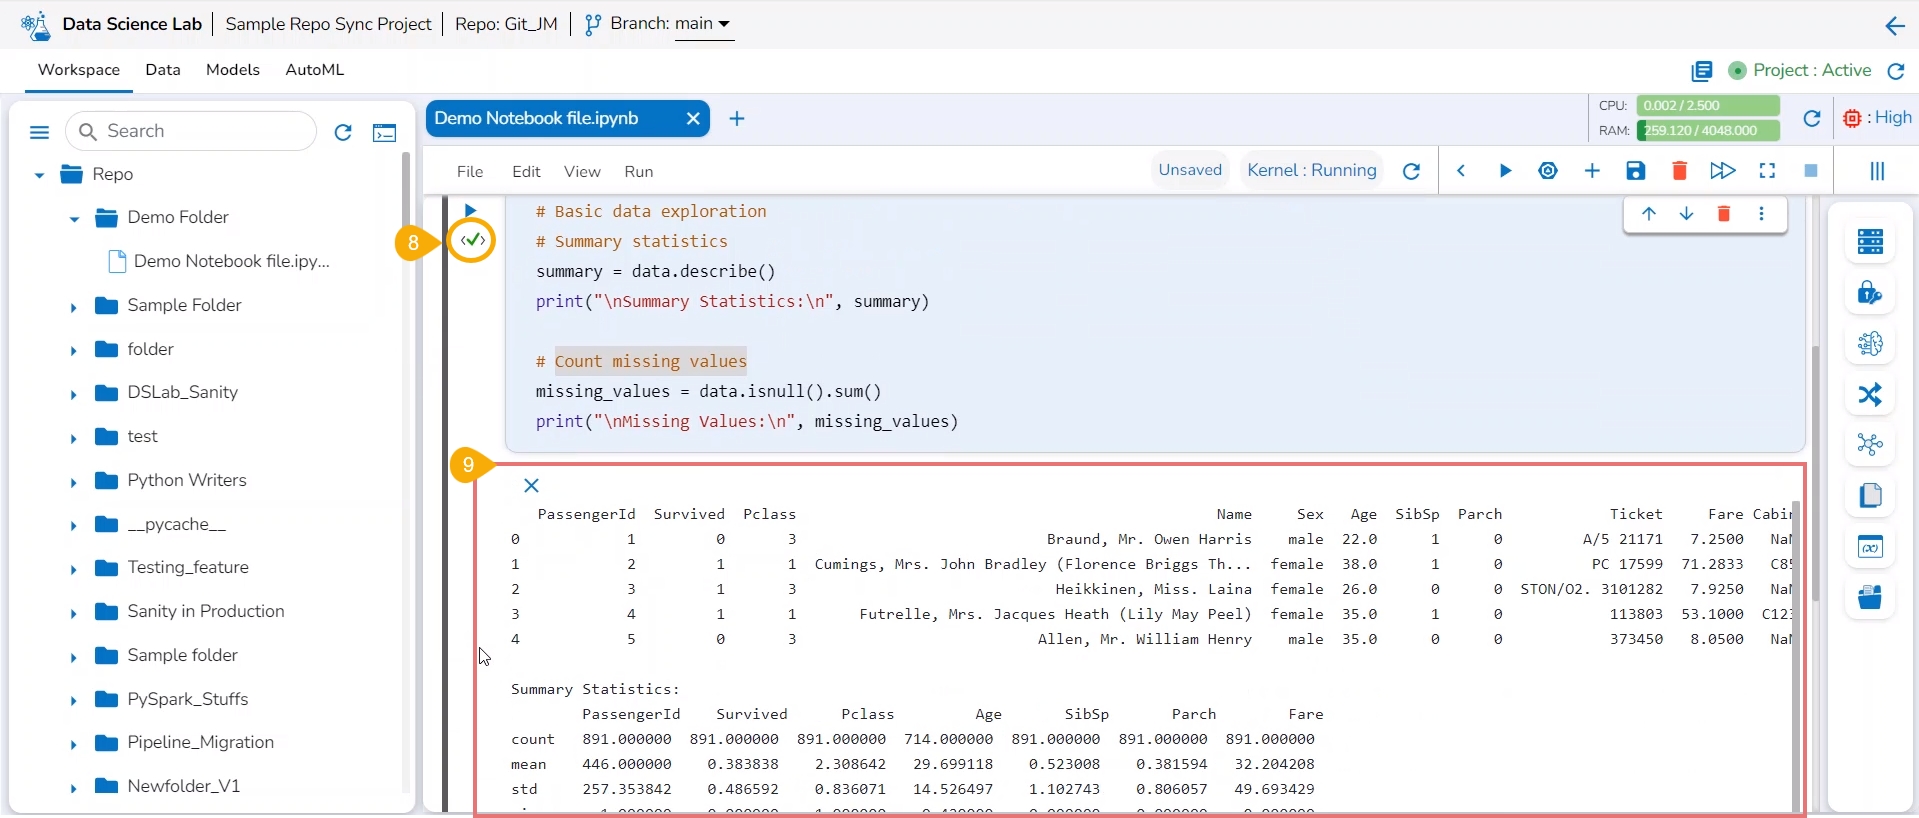
Once the code has run successfully a checkmark appears below the Run cell icon.
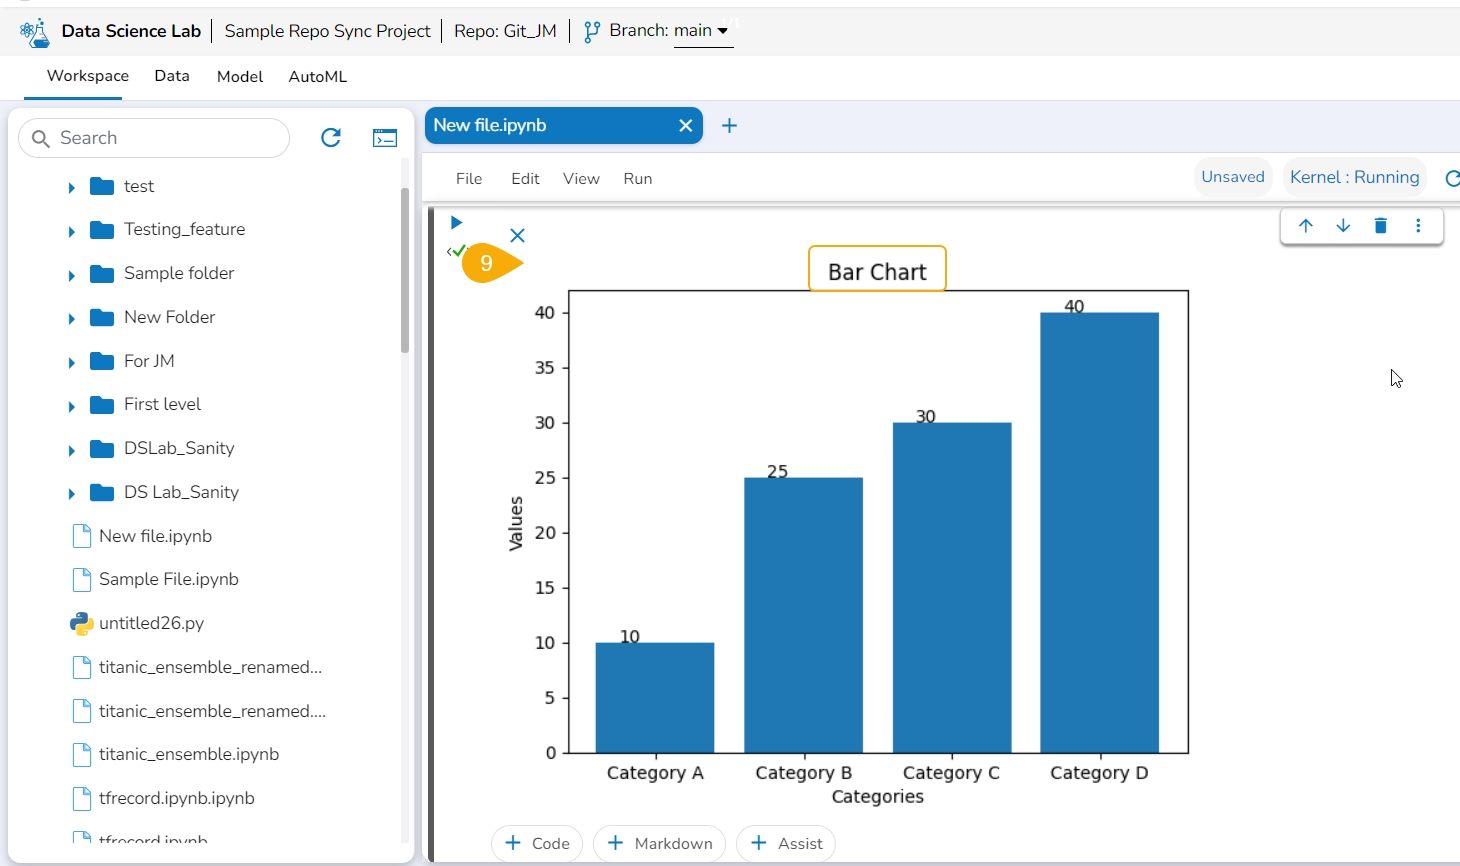
The code result is displayed below it.
Another code cell gets added below (as shown in the following image).
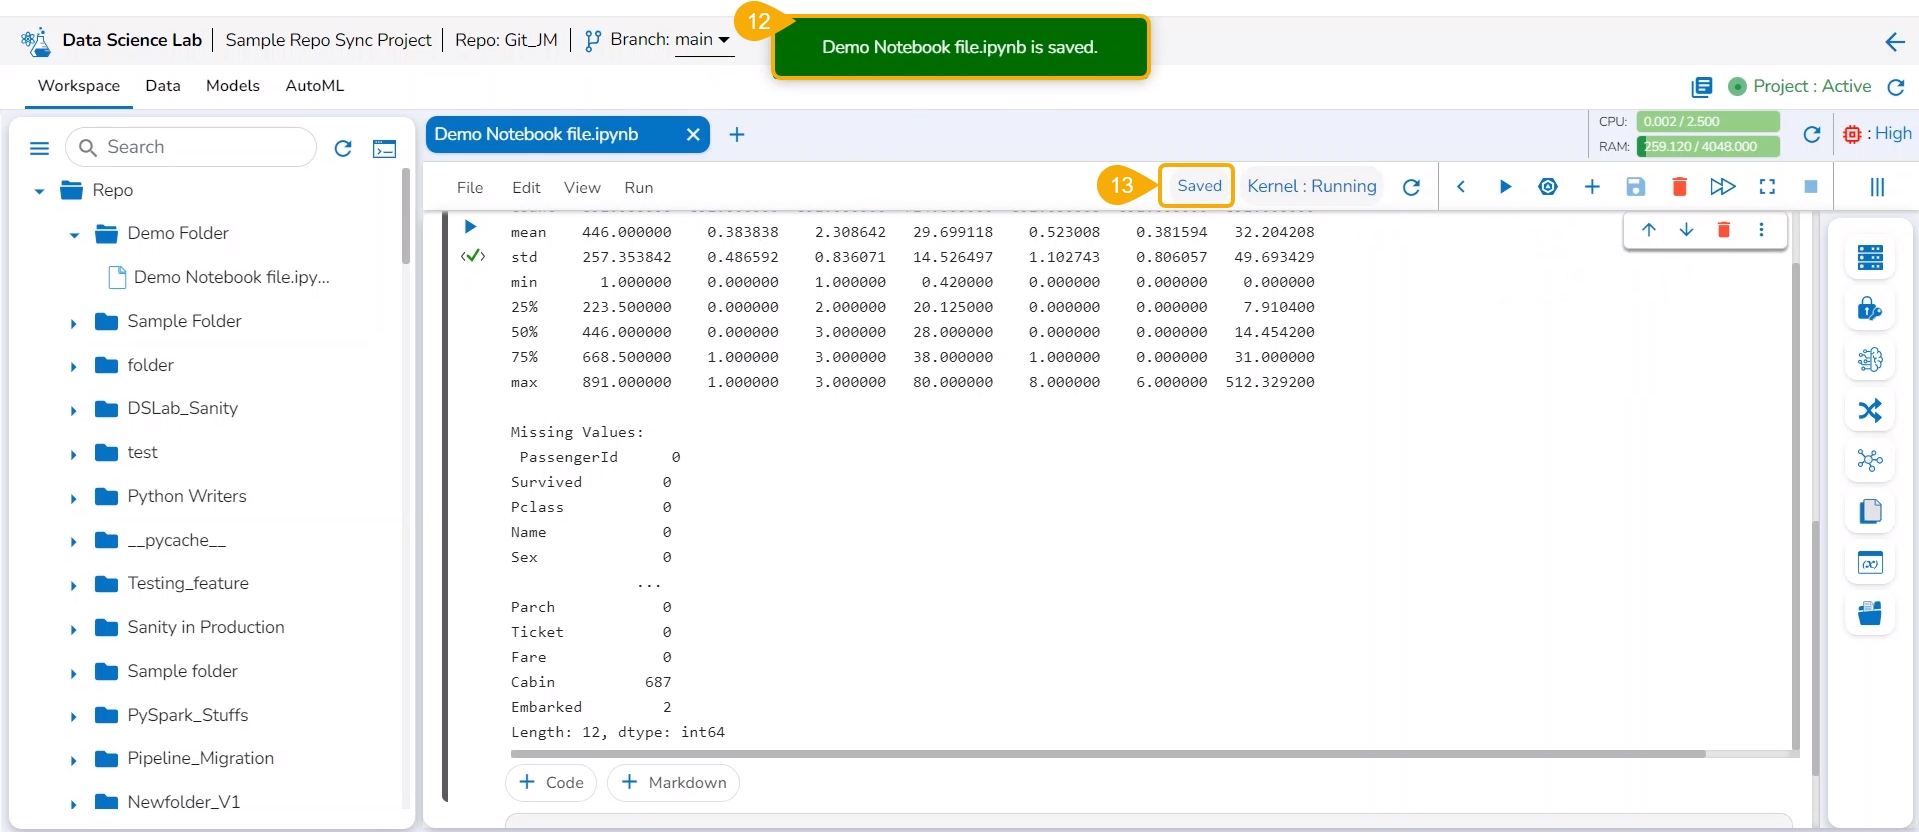
Click the Save icon provided for the Notebook.
A notification message appears to indicate the completion of the action.
The Data Science Notebook's status gets changed as saved and the new updates get saved in it.
By clicking on an inserted Code cell, some code-related options are displayed as shown in the image:
1
Move the cell up
Moves the cell upwards
2
Move the cell down
Moves the cell downwards
3
Delete Cell
Deletes the code cell.
4
More Actions
Opens four more actions that include:
Transform, Save Model, Predict, and Save artifact.
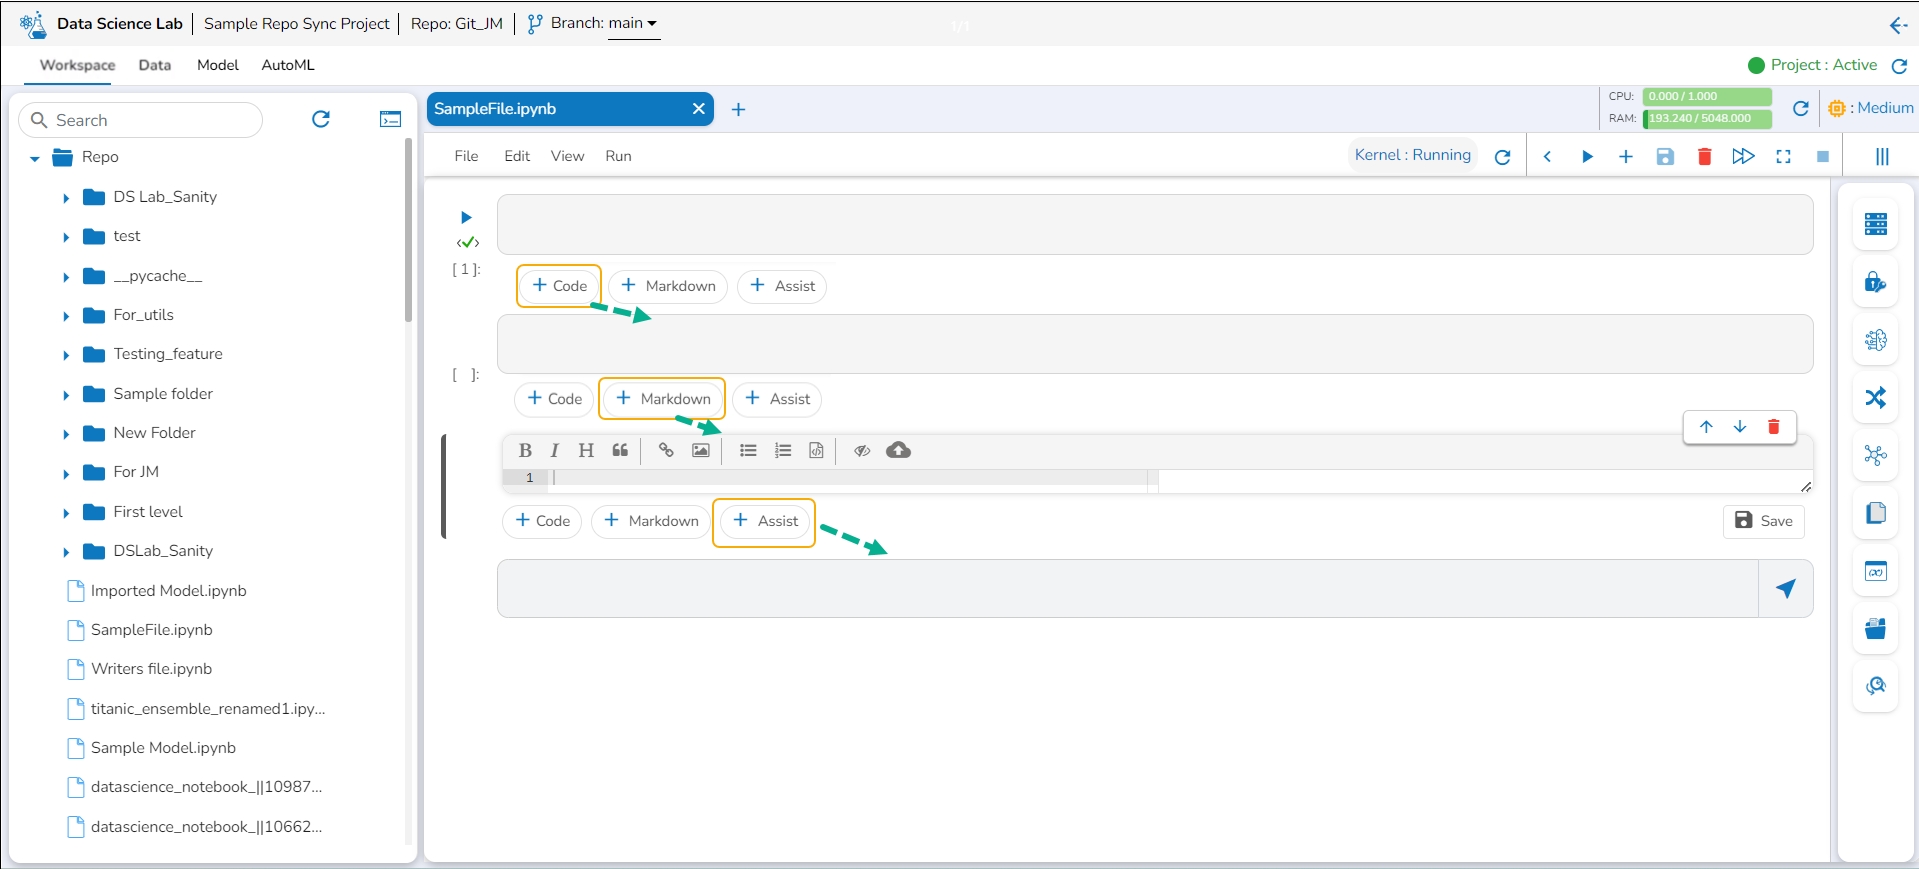
Please Note: The +Code, +Markdown, and +Assist options provided at the bottom of a cell insert a new cell after the given code/ Markdown cell.
The user should run the Notebook cells only after the Kernel is up and Running. If the user attempts to run a Notebook cell before the Kernel is started/ restarted, the following warning will be displayed.
A Data Science Notebook or .ipynb file contains various types of cells inside it to create Data Science experiments.
These cells contain explanatory text (Markdown), executable code, and BDB Assist cells and their output.
Navigate to the Notebook tab for a repo sync project.
Open a .ipynb file from the left side menu.
The user can use the Add pre-cell icon to add a new code cell at the beginning of the .ipynb file.
You can add new cells by using the +Code, +Markdown, and +Assist options given at the bottom of the cell.
This page describes steps to use the text cells of the Data Science Notebook.
The Markdown cells are used to enter a description, links, images, headings, and text with Bold or Italics effect to a Data Science Notebook. They are formatted using a simple markup language called Markdown. The Markdown cell contains a toolbar to assist with editing.
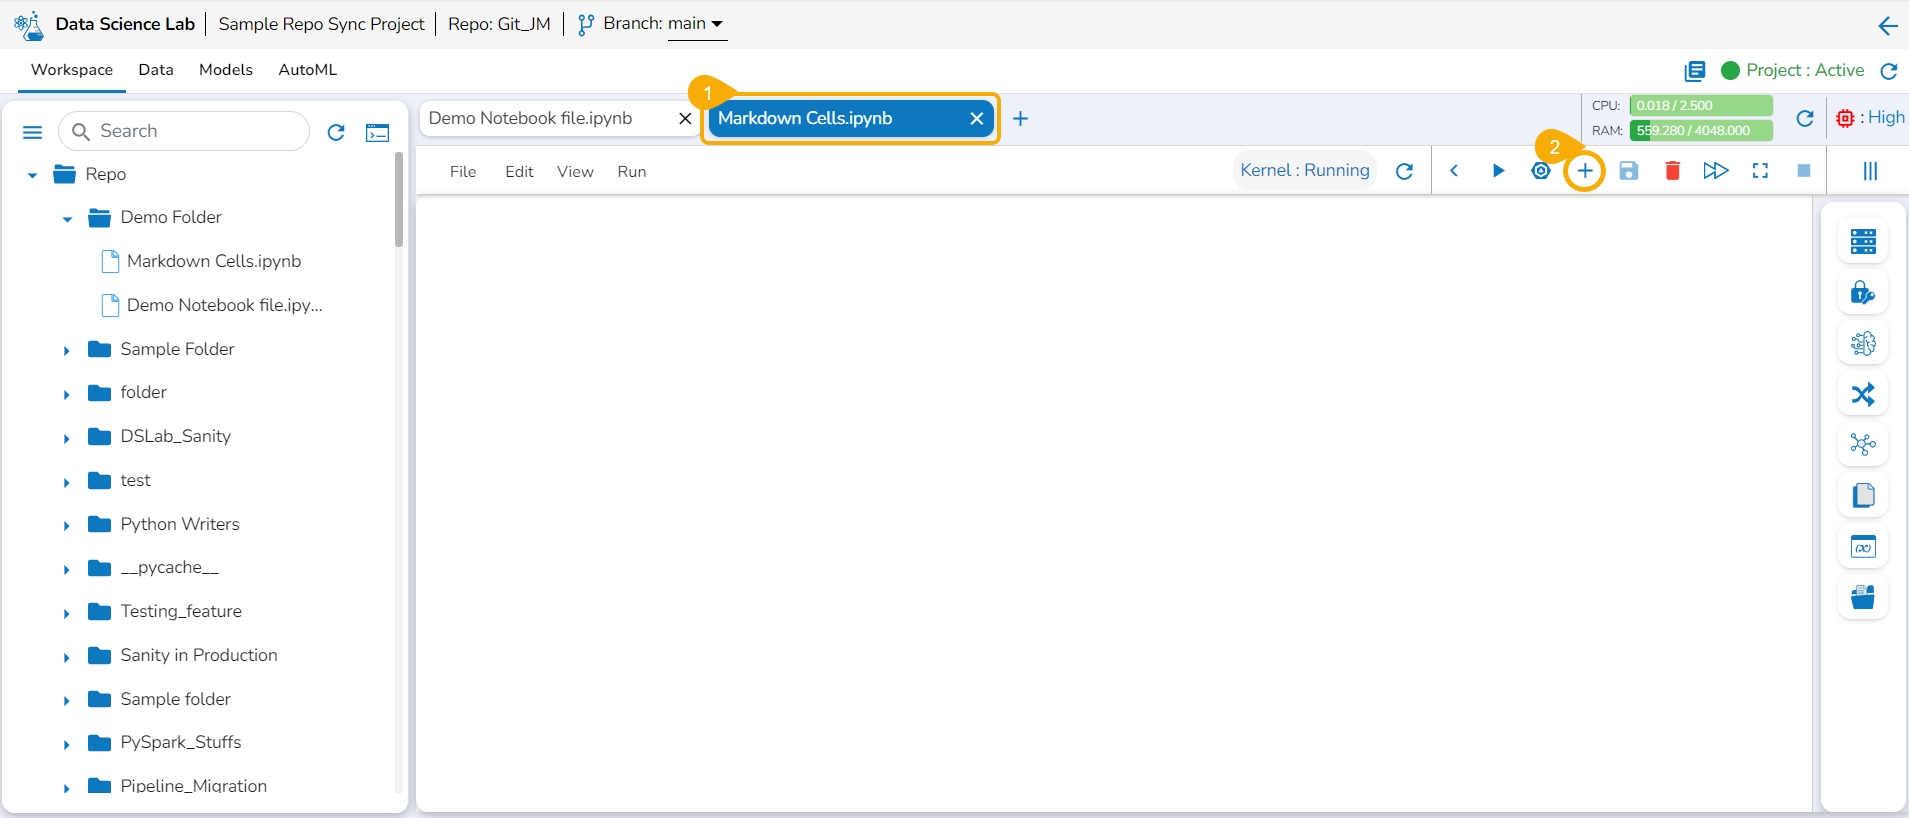
Navigate to a .ipynb file.
Use the Add pre-cell icon to insert a new code cell to the file.
OR
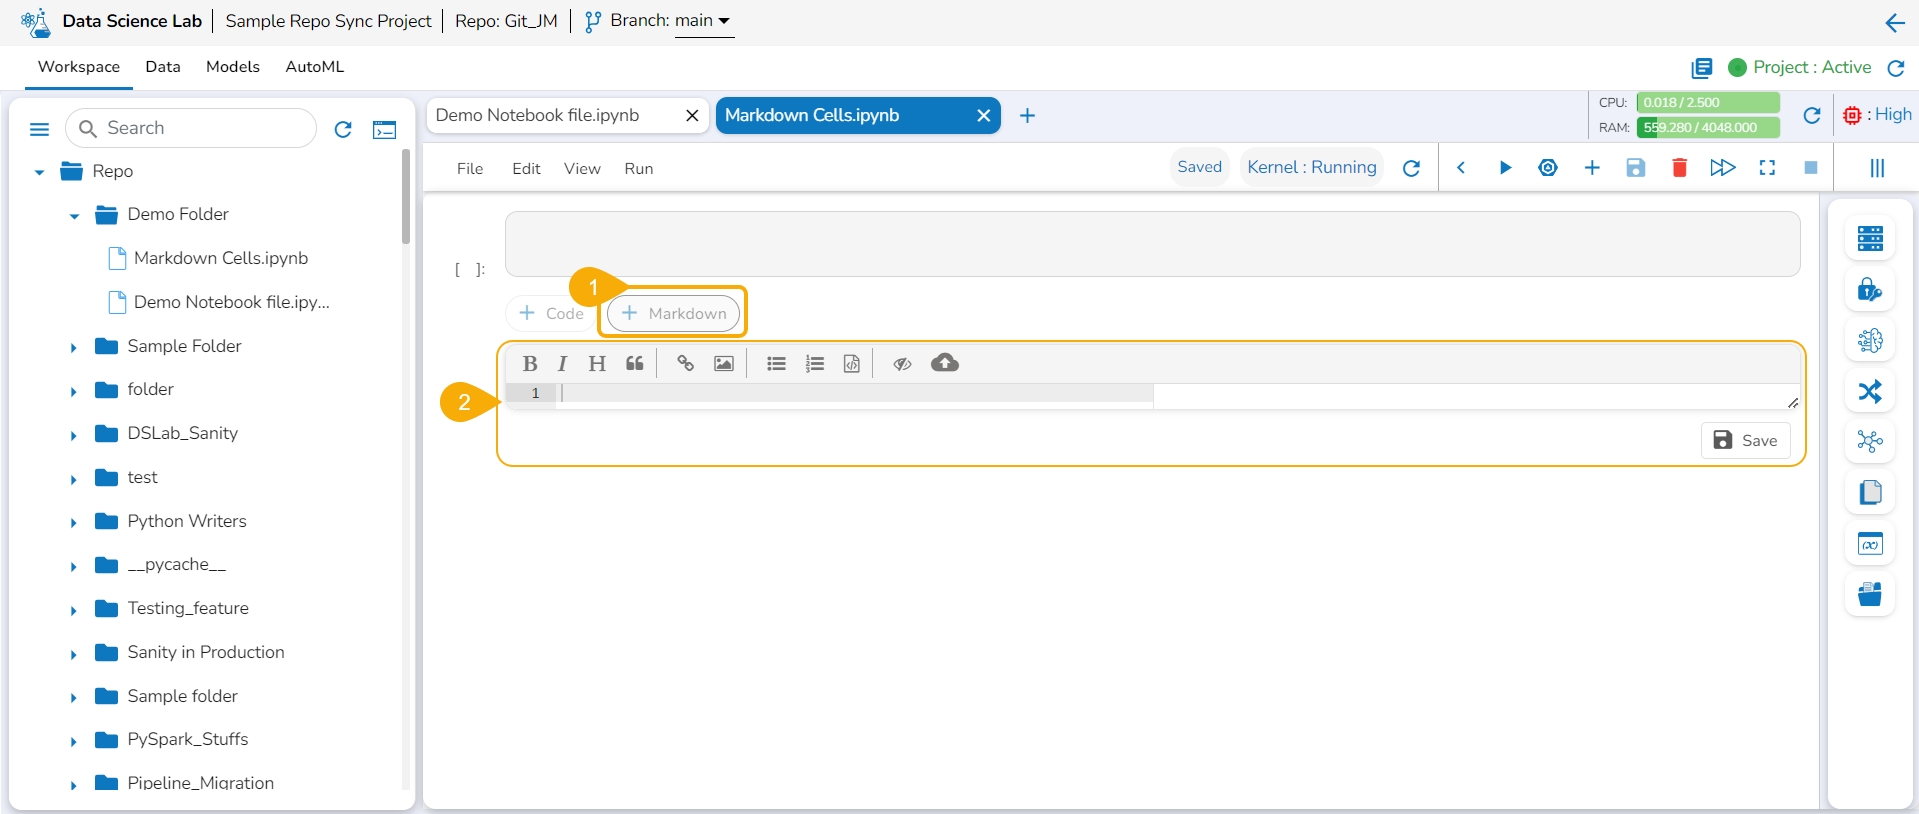
Click the +Markdown option that appears below the code cell.
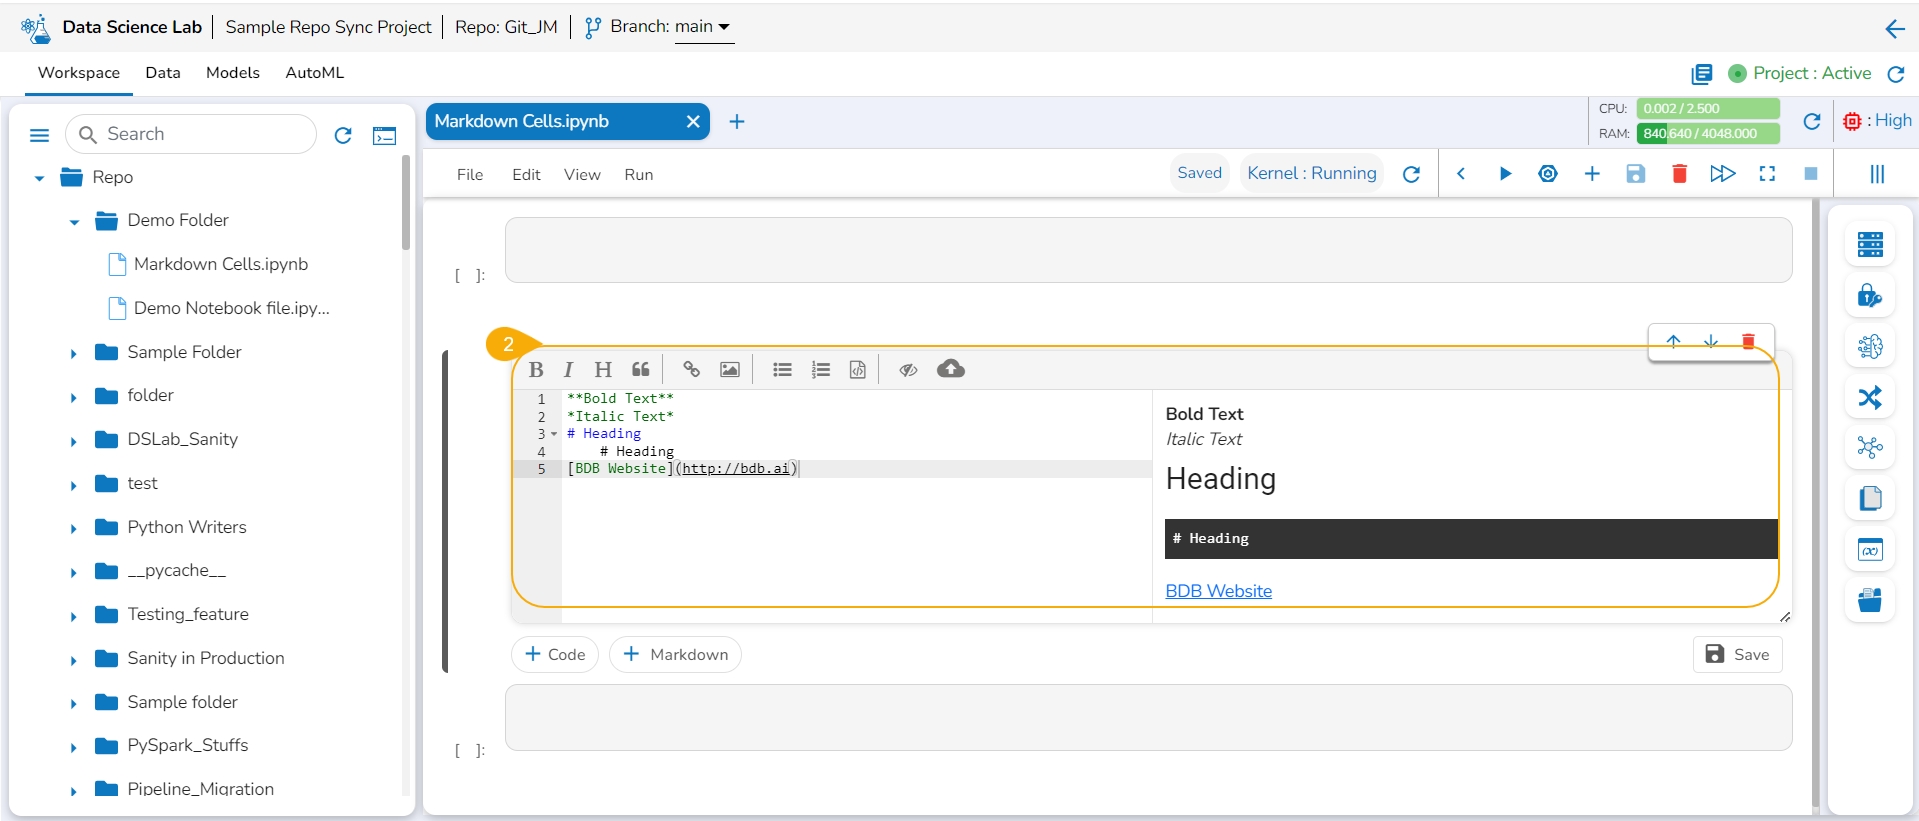
The Markdown cell appears below to insert Markdown into the Notebook.
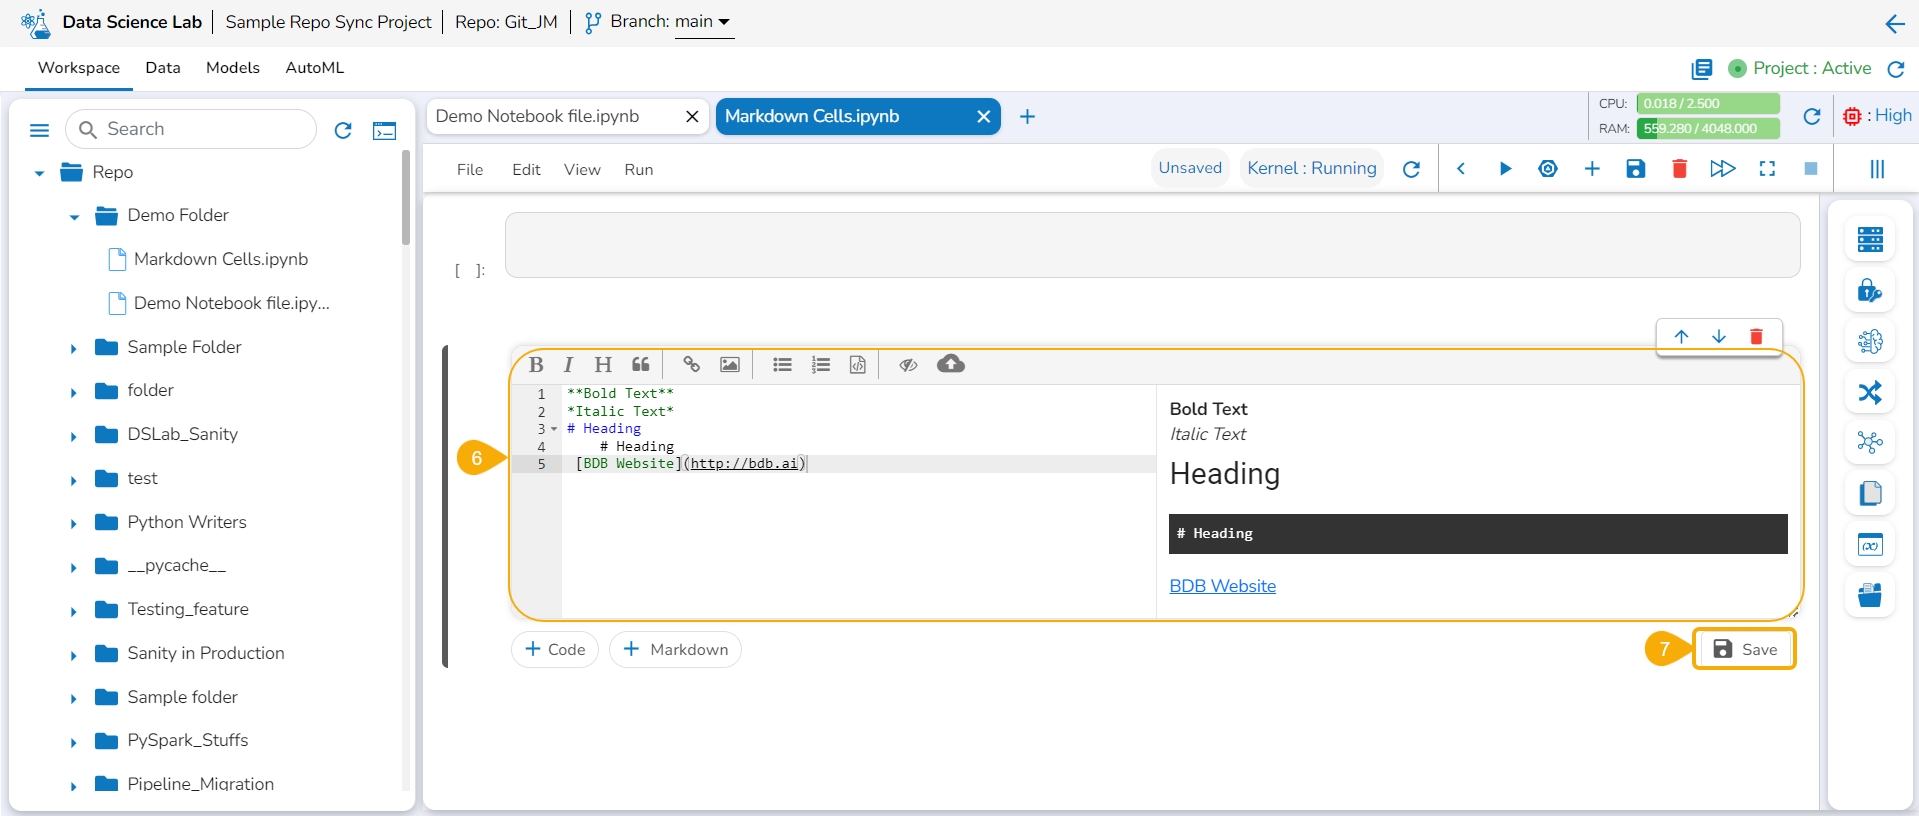
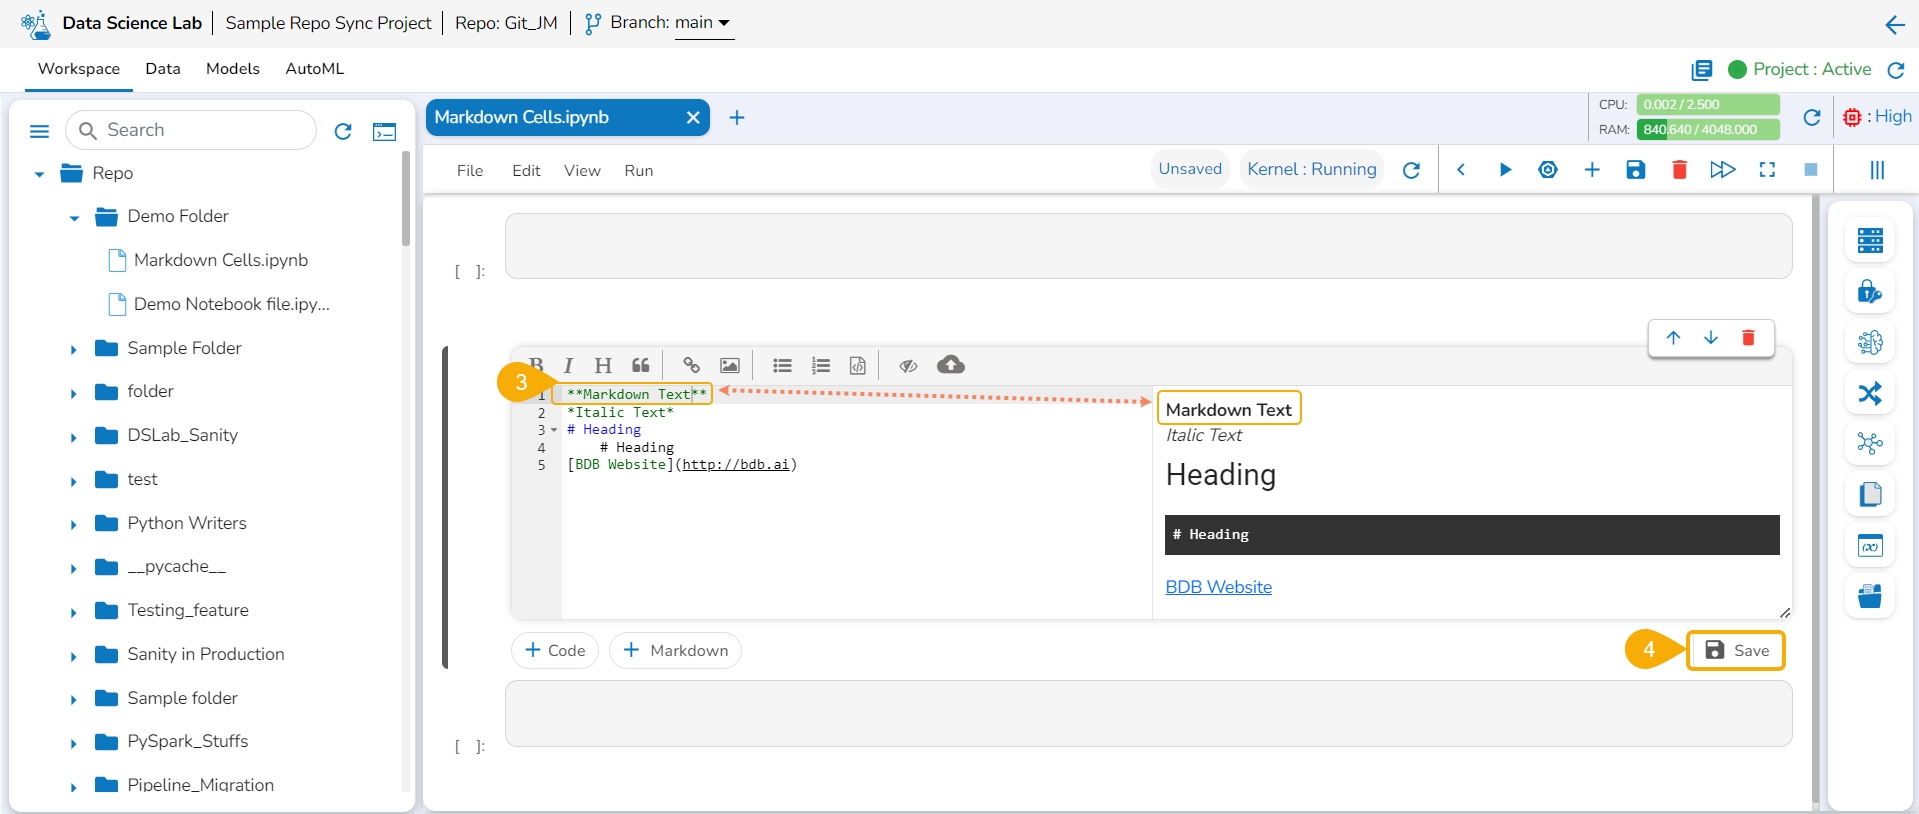
Choose an action from the toolbar.
It gets added to the left side of the Markdown cell.
The right-side Markdown space displays the text with the applied effect.
The image displays a few actions from the toolbar (such as Bold, Italic, Heading, and link) applied to the Markdown text.
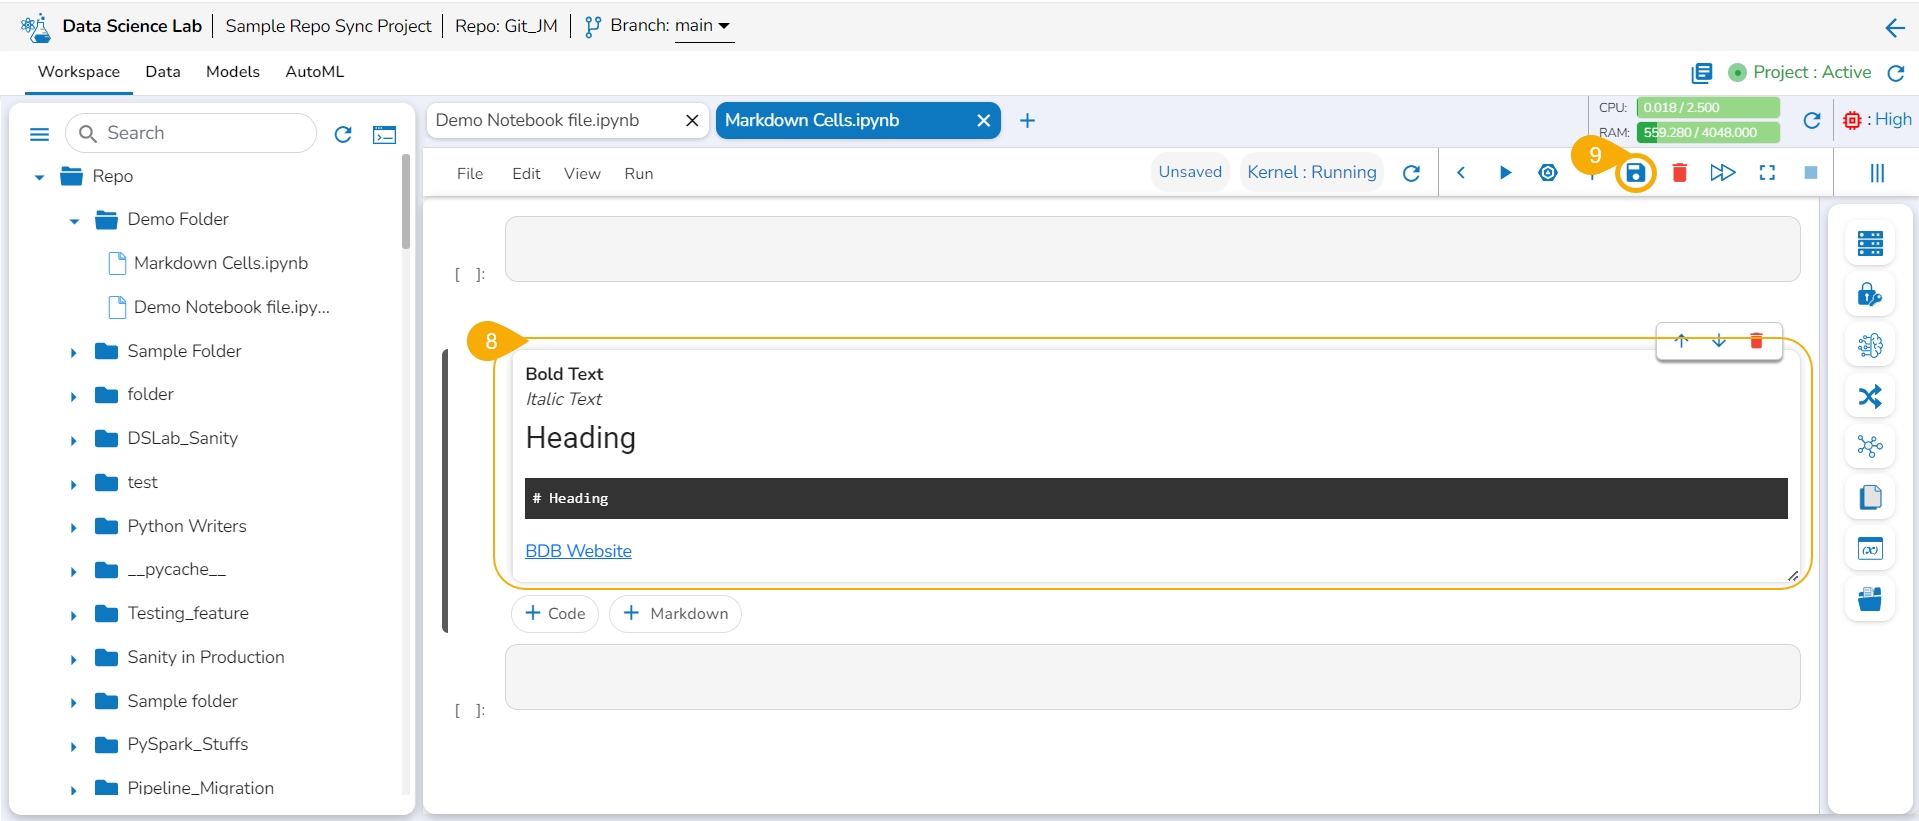
Click the Save option.
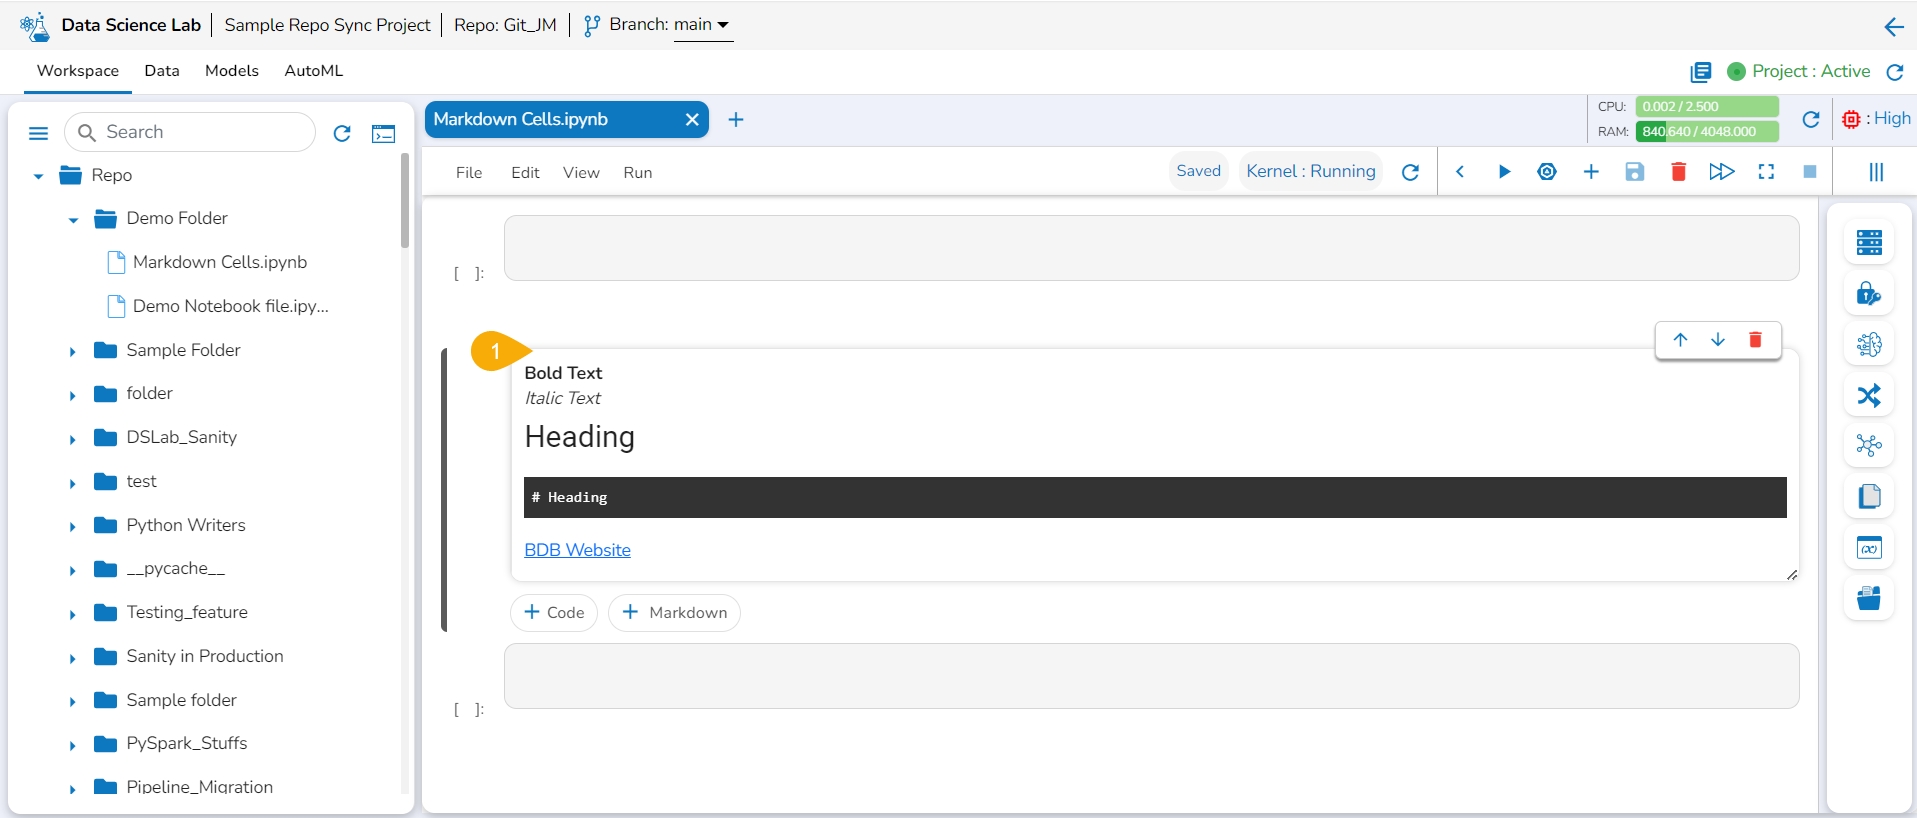
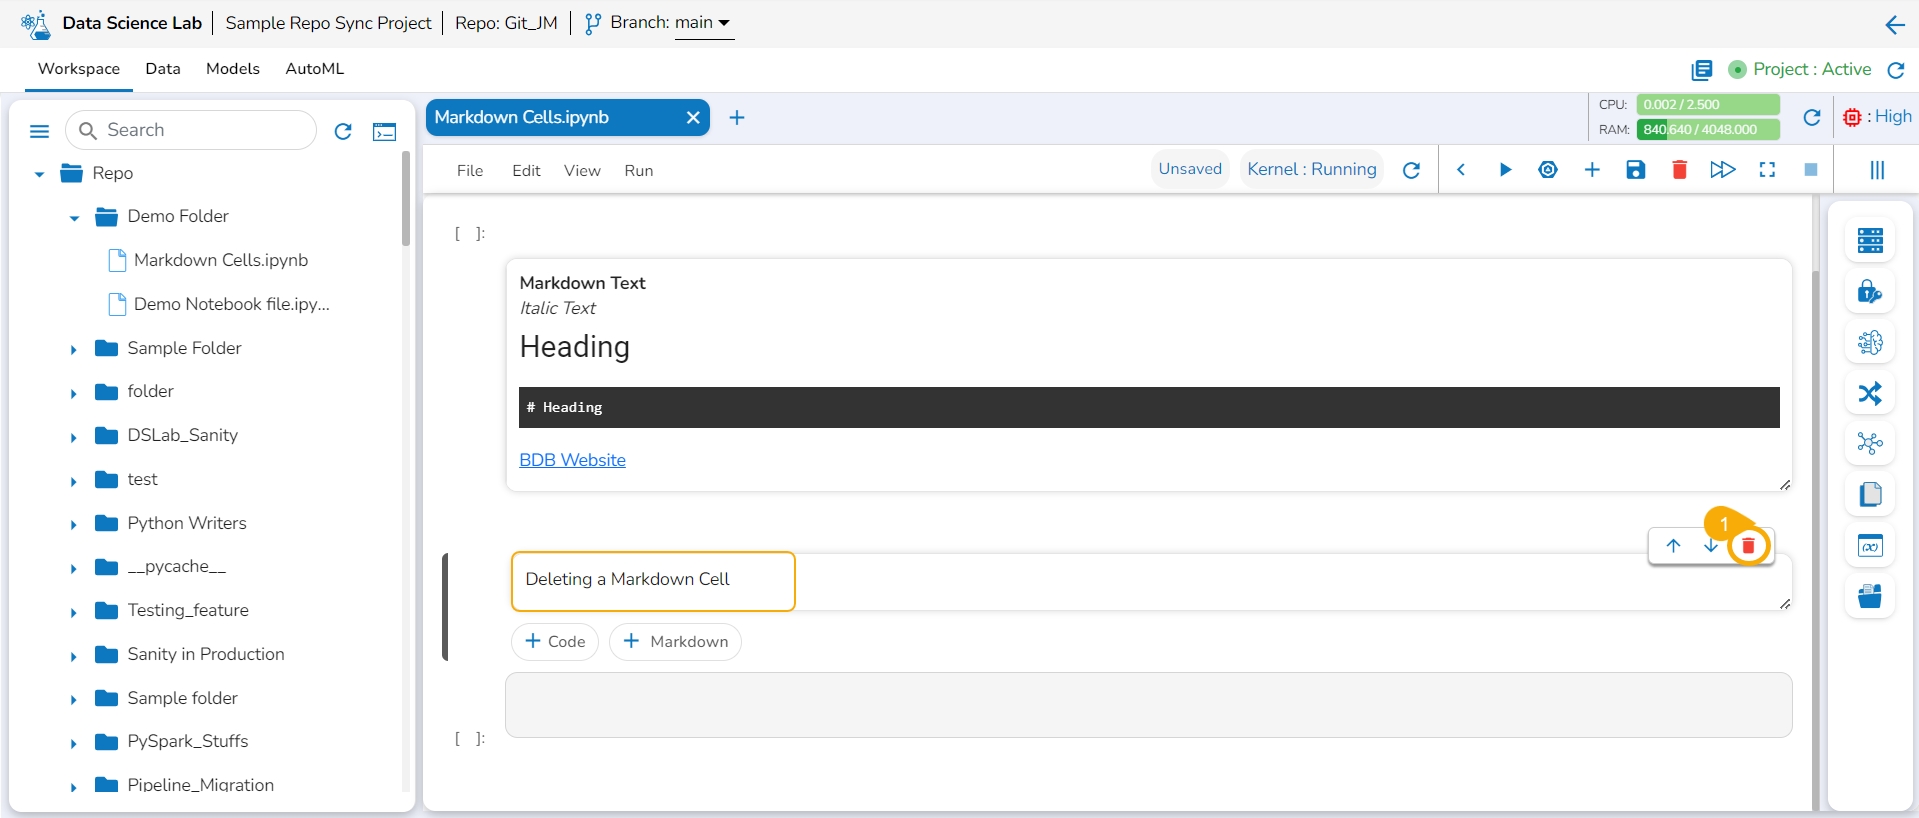
The Markdown cell with inserted effect gets saved and the Markdown display gets changed displaying the text with saved effects on the left side (as shown in the given image).
Please Note: A Code cell gets added below the saved Markdown cell.
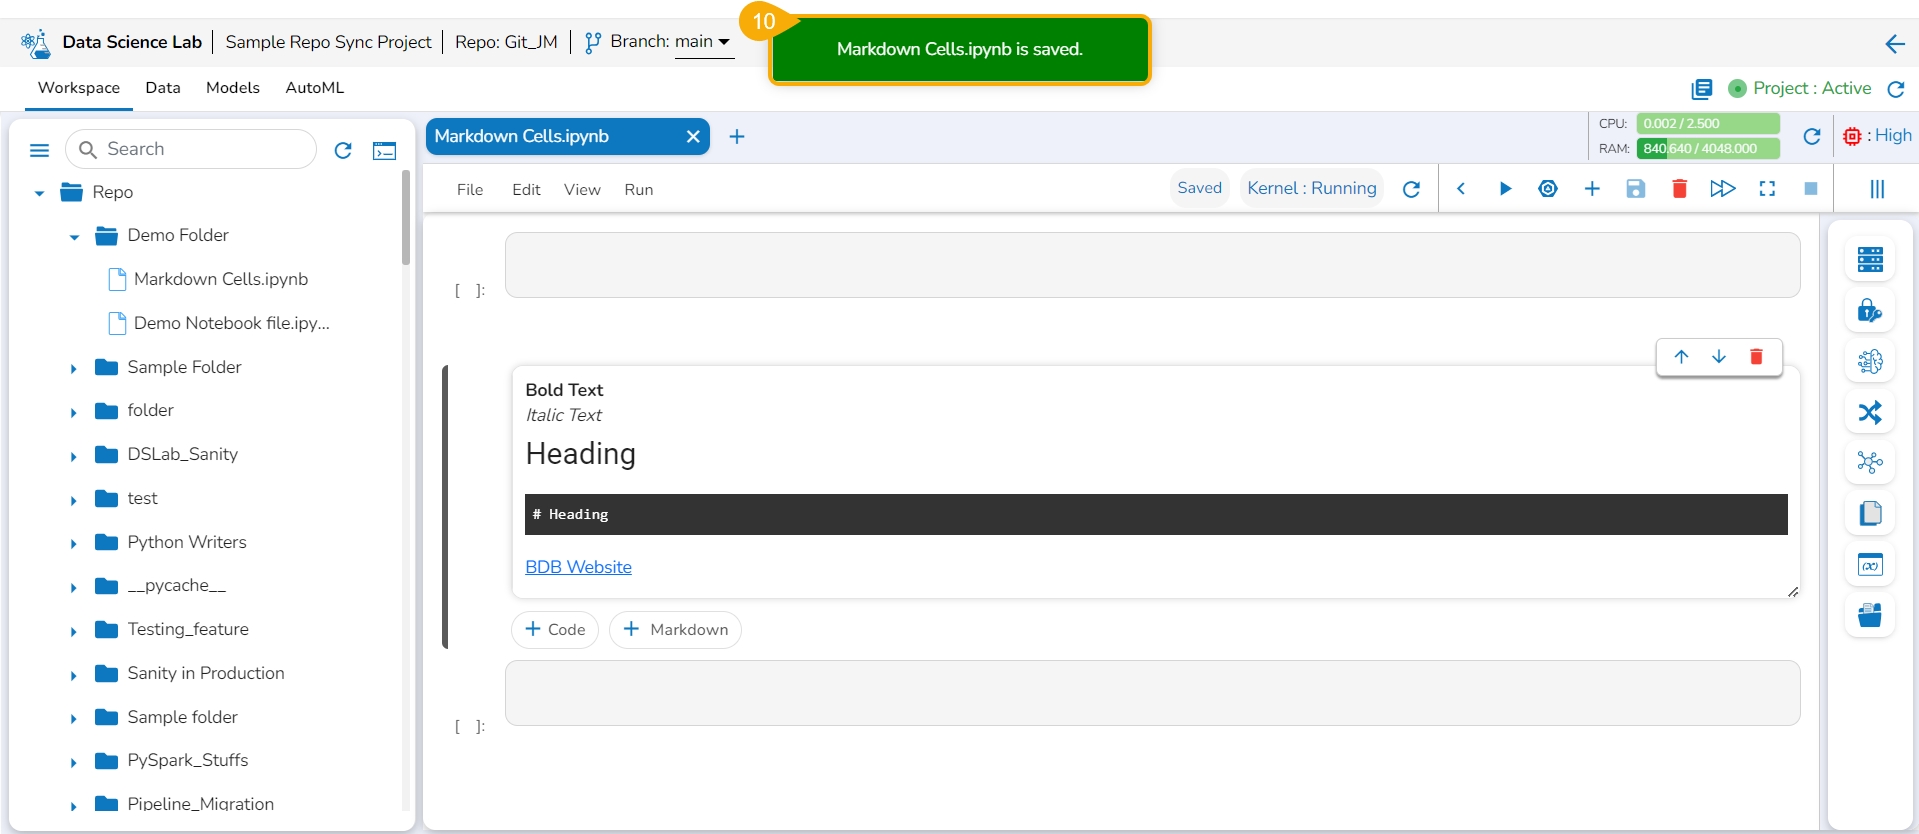
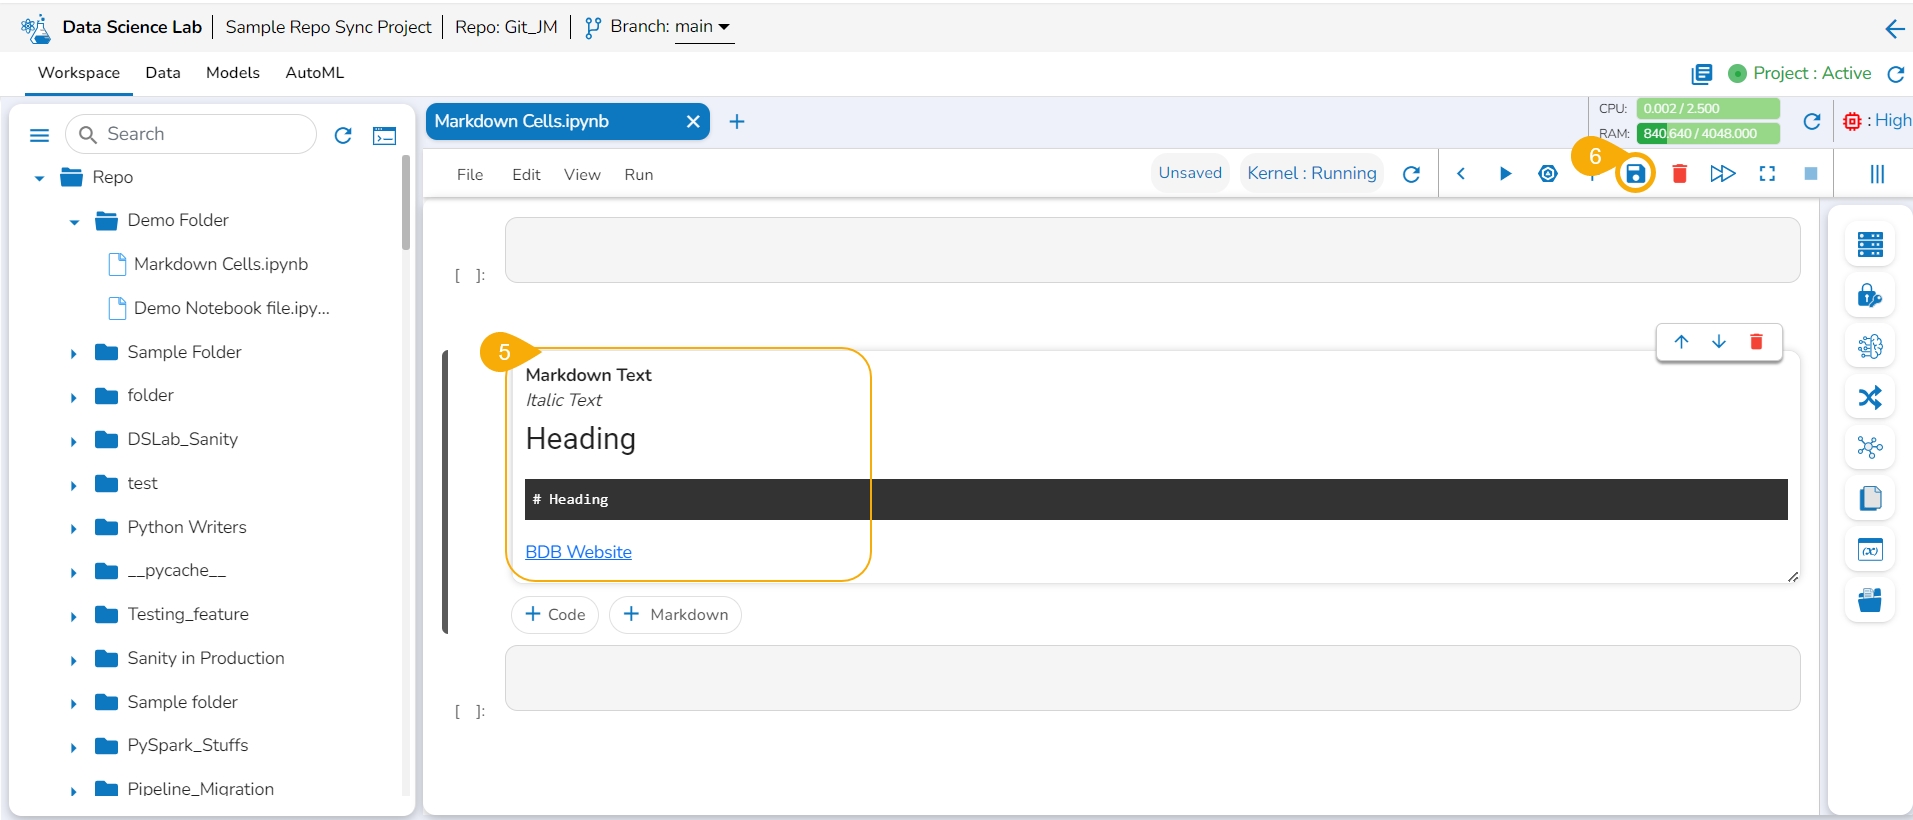
The user can click the Save option provided for the Notebook to save the update in the Notebook (after the Markdown cell has been added to it).
The Notebook gets updated and the same gets communicated through a notification message.
Use the double clicks on a saved Markdown cell.
The Markdown cell opens in the editable format to edit it.
Modify the text inside the Markdown cell.
Click the Save option to update the edited Markdown in the Notebook.
Click the Save option for the file.
A notification message appears.
The file gets saved with the Markdown cell.
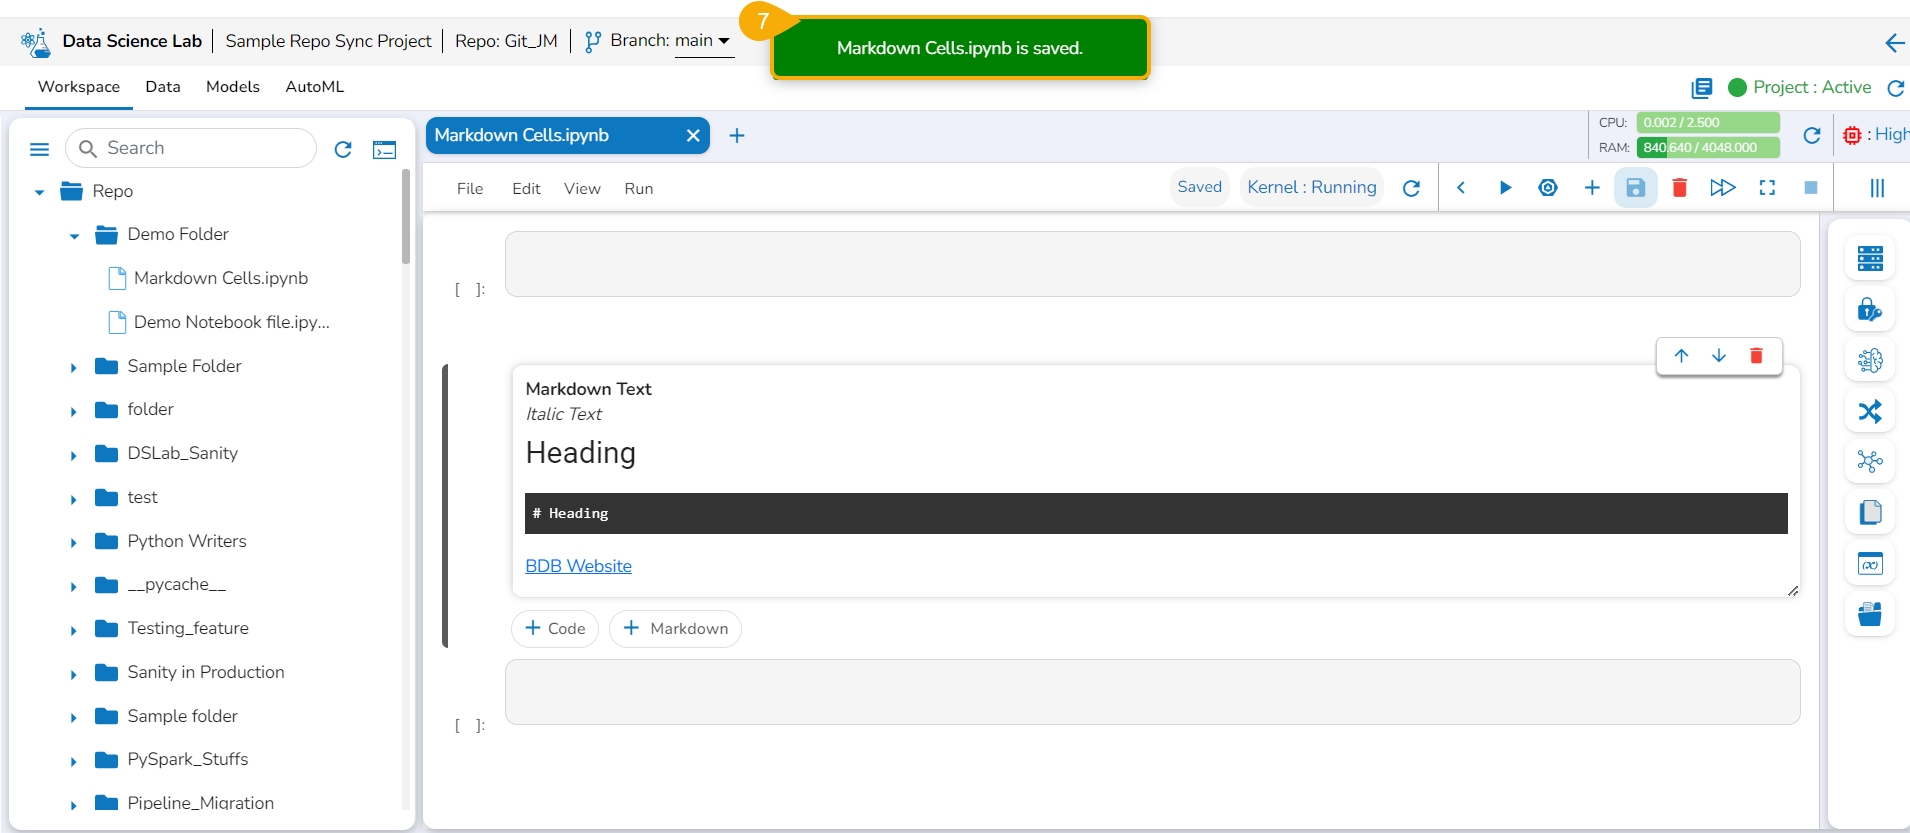
Click the Delete markdown icon for a saved Markdown cell.
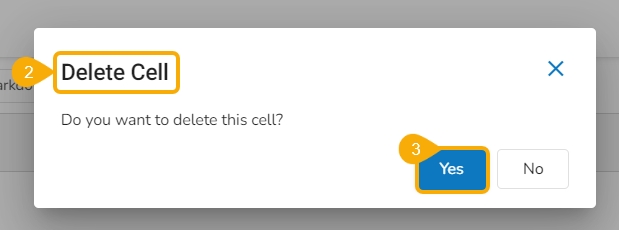
The Delete Cell dialog box opens.
Click the Yes option.
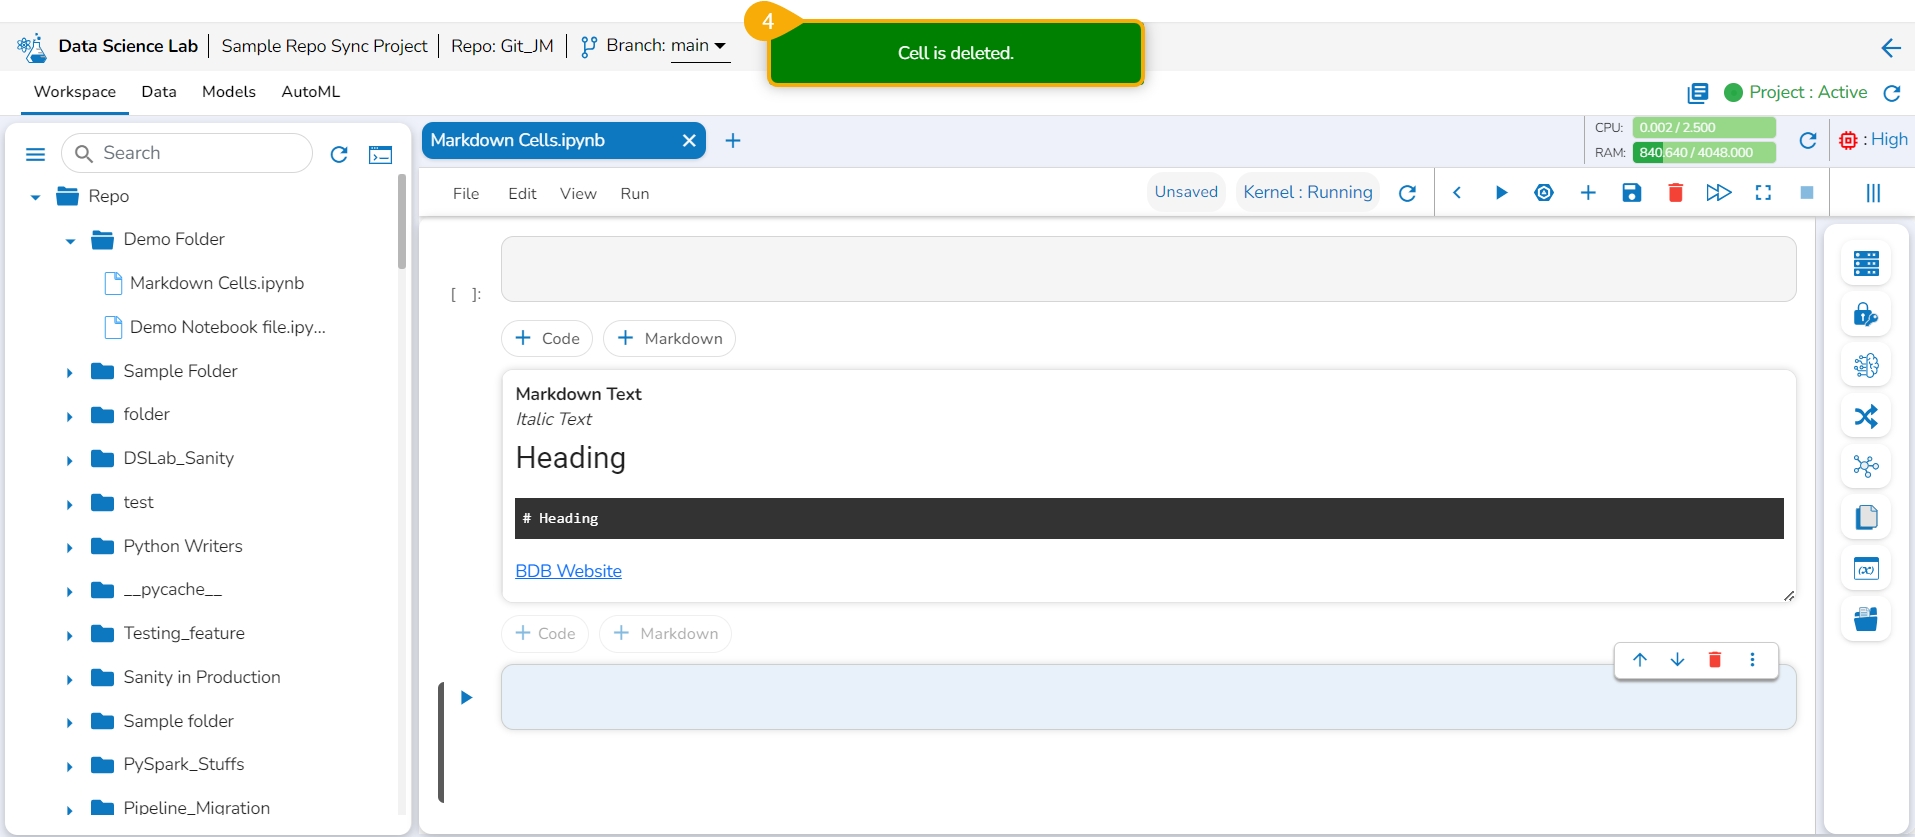
The selected Markdown gets removed and the same gets communicated by a notification message.
Navigate to a .ipynb file inside an activated Project.
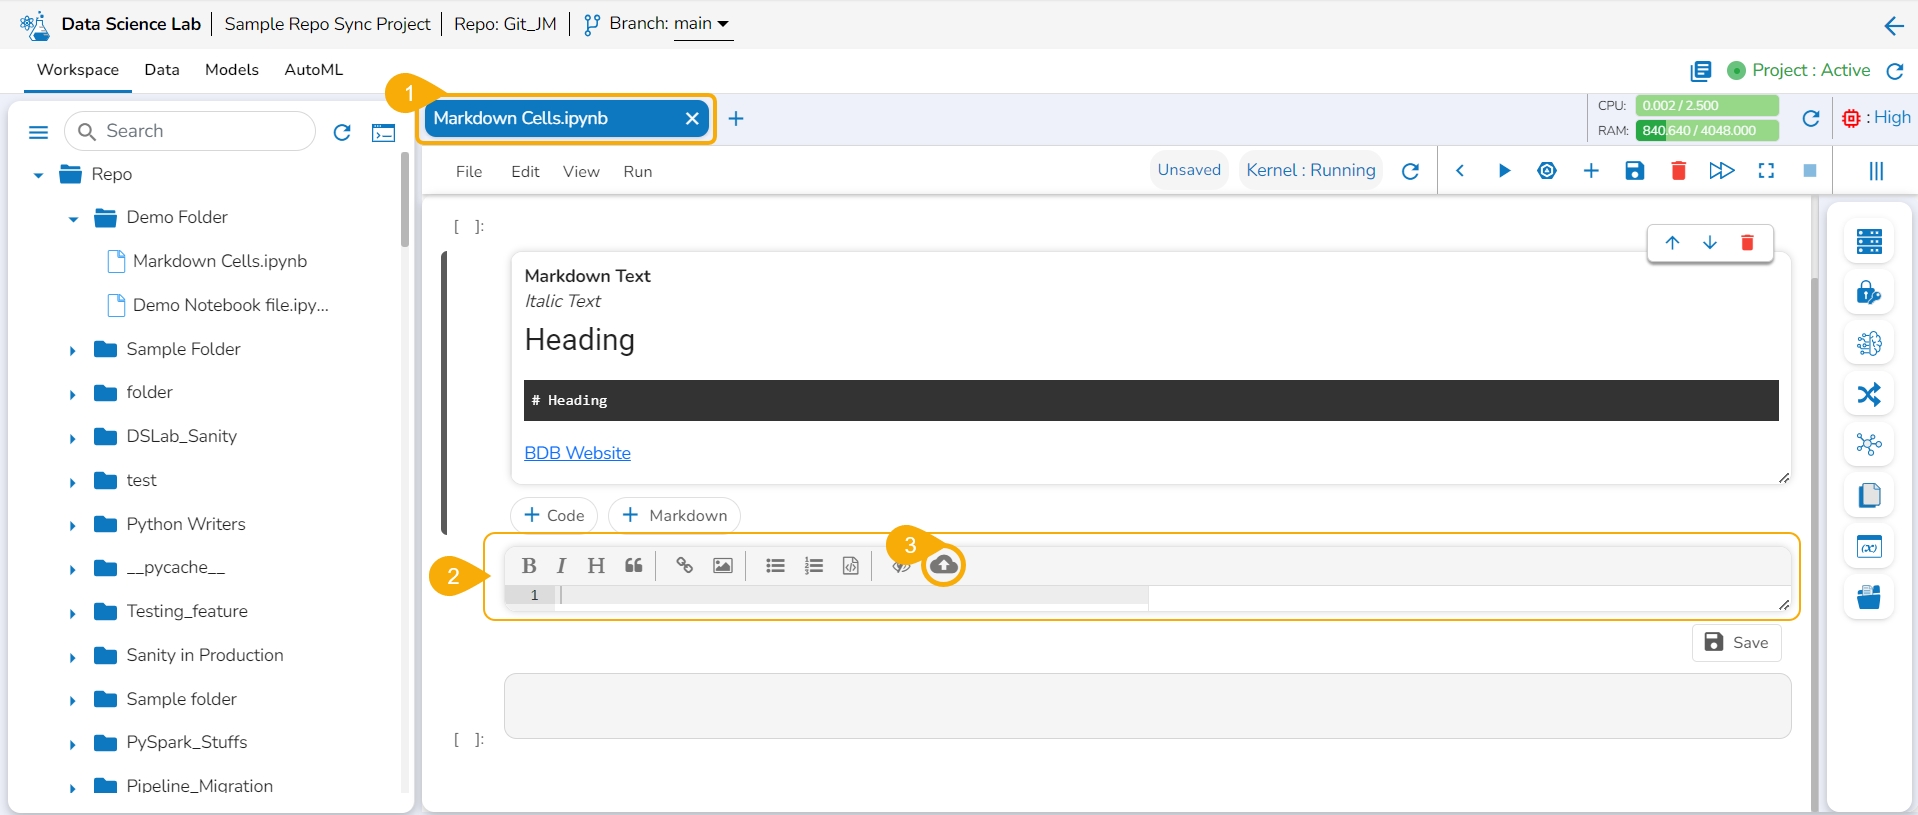
Access a Markdown cell.
Click the Upload icon.
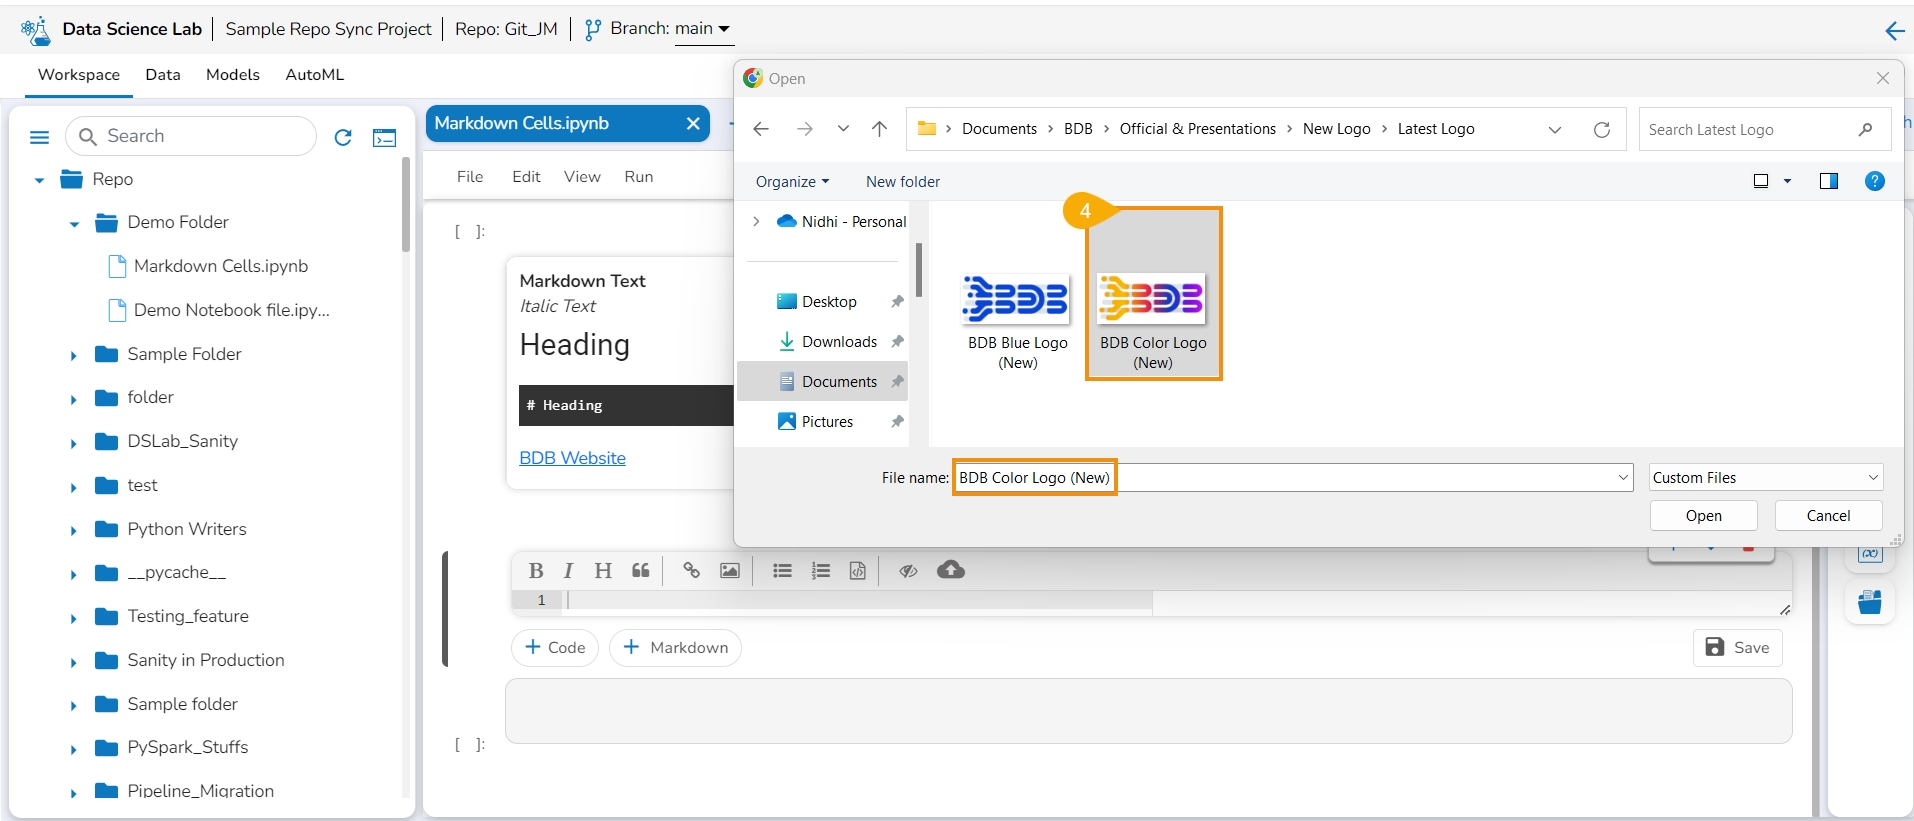
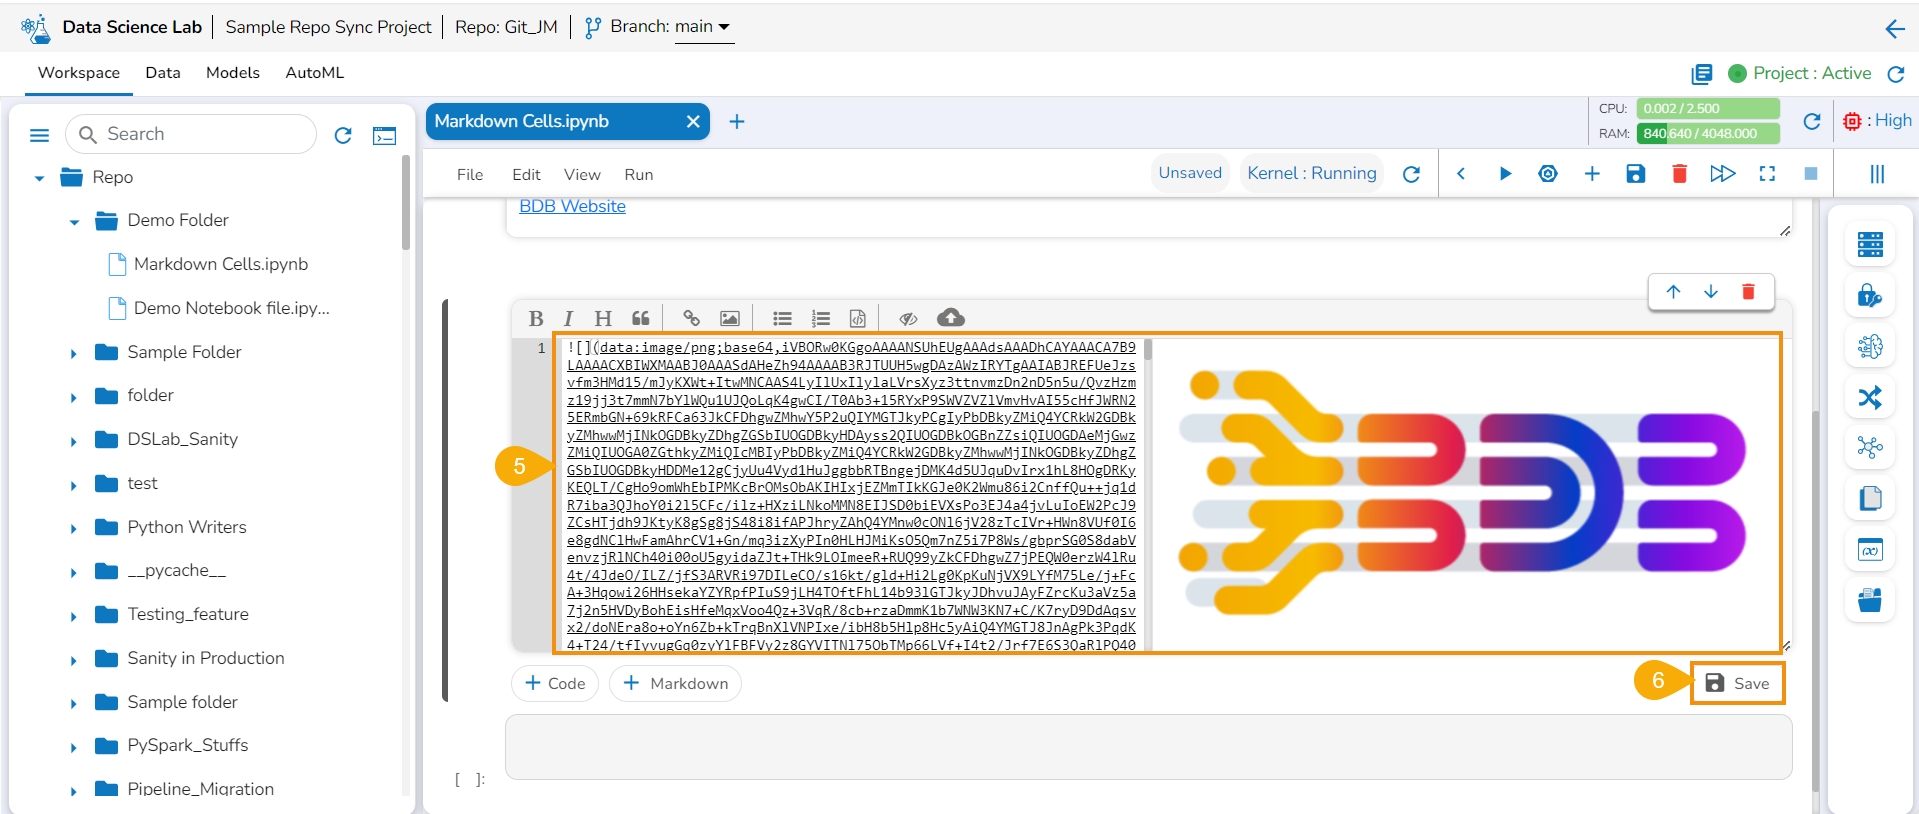
Upload an image.
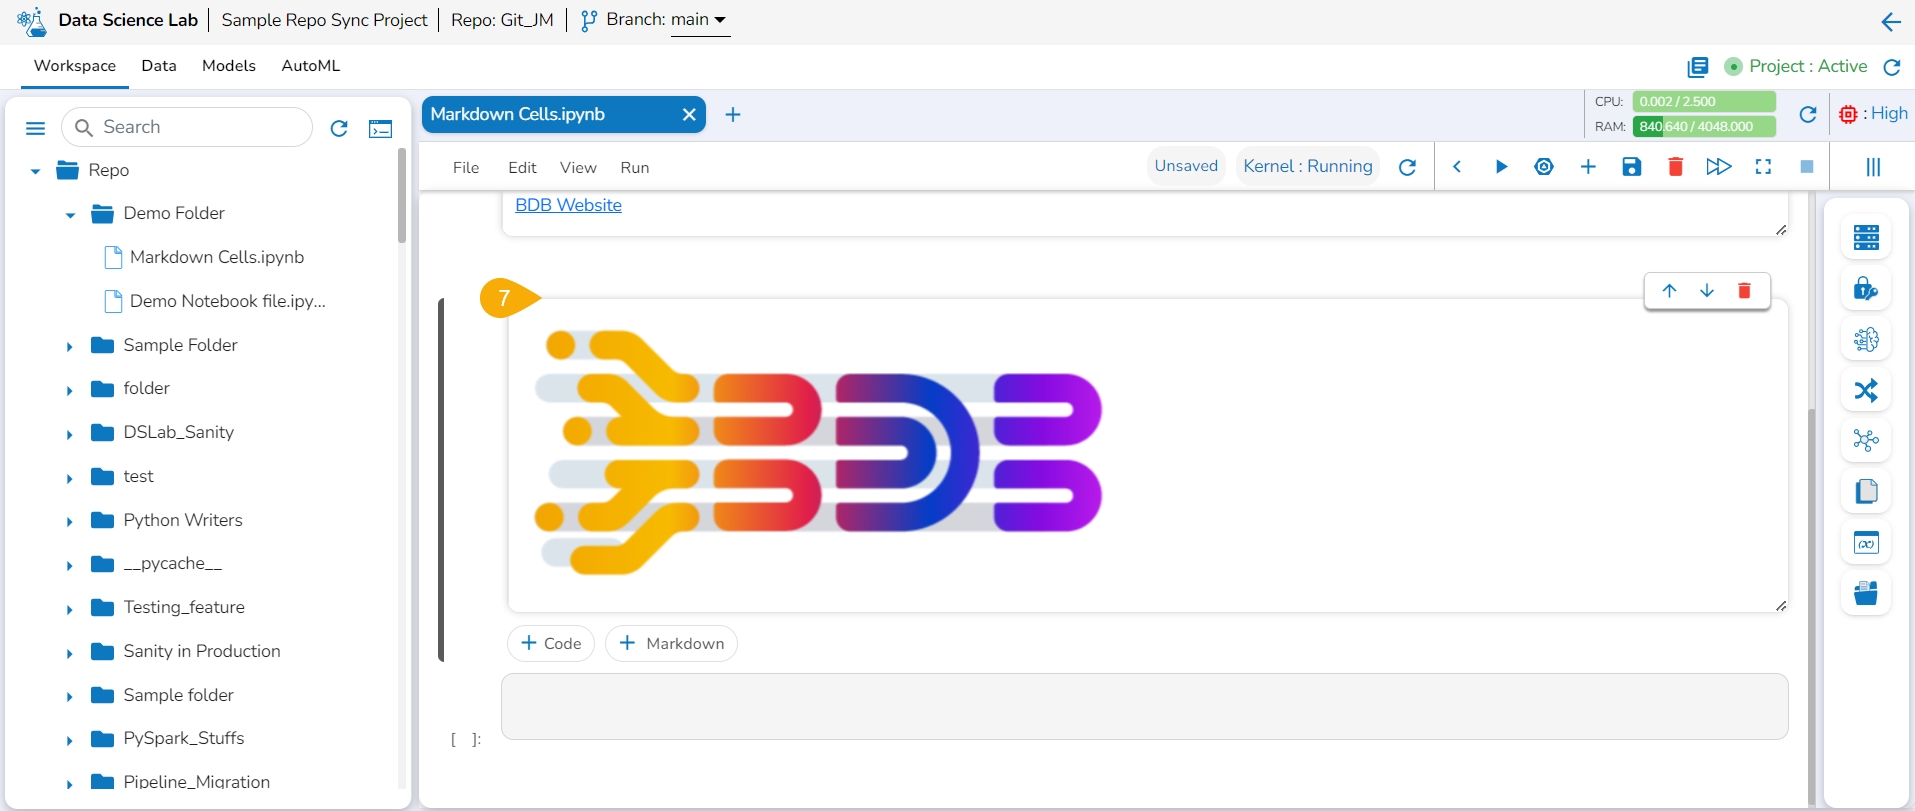
The image gets uploaded to the markdown cell.
Click the Save icon.
The markdown cell gets saved the uploaded image appears in the View mode of the markdown.
Please Note: Do not forget to click the Save icon for the Data Science Notebook to save the markdown updates in the .ipynb file.
This section focuses on the BDB Assist functionality provided inside the Data Science Notebook infrastructure.
BDB Assist is designed to be a transparent and explainable AI assistant. Our notebook system guarantees that every AI recommendation transforms into transparent and replicable outcomes, enabling data teams to place unprecedented trust in AI.
Some of the key features of the BDB Assist are as listed below:
Generate Code Automatically: Starting from scratch is no longer a hurdle with BDB Assist code generation capability. Provide your prompts, questions, or instructions, and watch as an entire notebook— including code, SQL queries, and text — materializes before your eyes.
Explain the code: BDB Assist doesn't let complex pieces of code baffle you anymore with concise, easy-to-understand explanations.
Debug & Edit the code: BDB Assist helps you to revise or refactor your code, pinpoints the issue, and provides an immediate fix.
Steps to use an Assist cell:
Navigate to a Notebook.
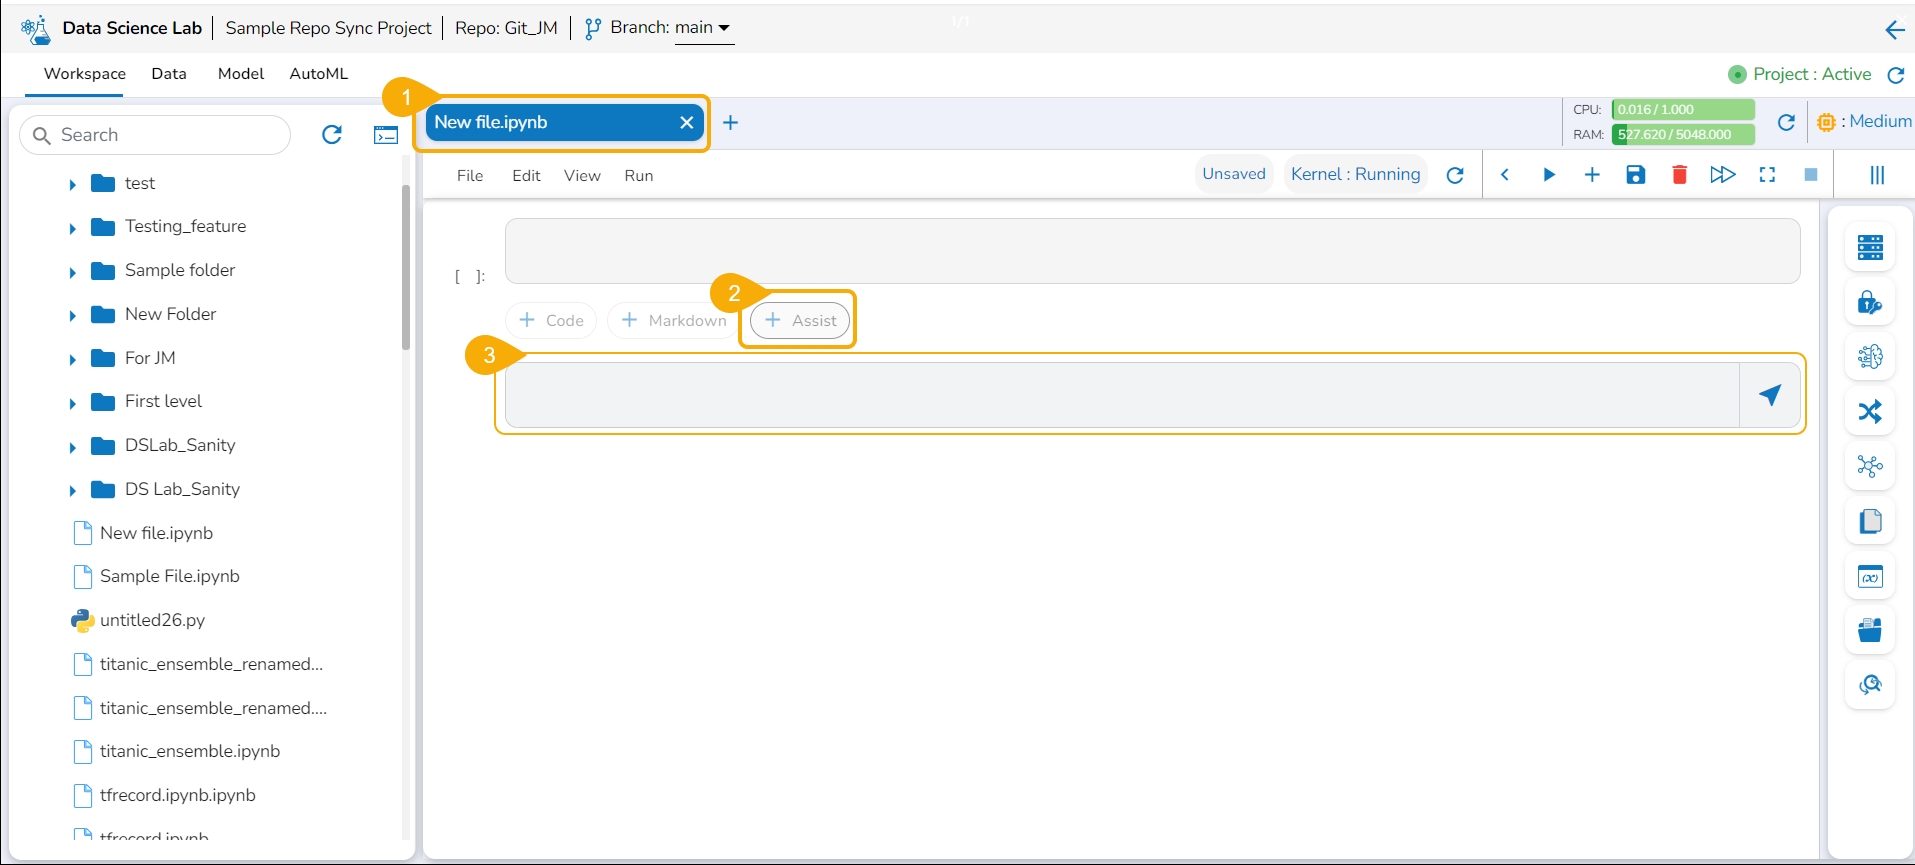
Click on the Assist option.
The Assist cell gets inserted below.
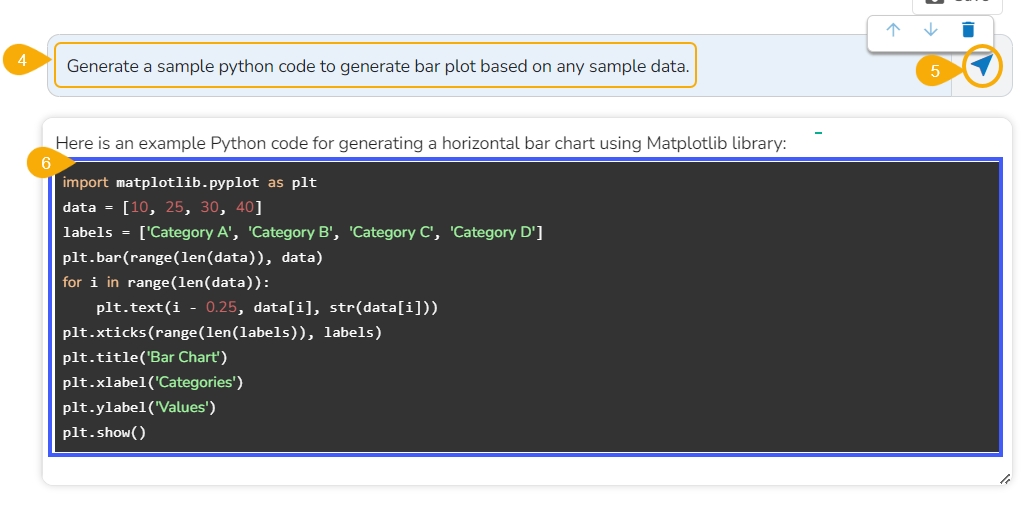
Type a prompt in the Assist cell.
Click the Send icon.
The response based on your prompt is generated below.
Since the generated result in this case is a code, add a new code cell and copy the generated code in it.
Run the code cell.
The Bar plot gets generated below the code cell.
The user can expand and collapse the multiple Markdown cells based on their levels in a DS Notebook. The user can create a hierarchy of three levels using the Heading option in a Markdown cell.
Please Note:
The related code cells under one Markdown will fall into the same level as the Markdown.
The maximum three levels of hierarchy can be inserted for a Markdown cell using the Heading option.
Check out the following illustration on how to set the expand and collapse functionality in Markdown cells.
Navigate to a Notebook.
Access a Markdown cell.
To create a hierarchy within a Markdown cell, use the Heading button.
Click once for the first level, twice for the second, and thrice for the third.
Unassigned Markdown cells default to the nearest existing hierarchy.
Remember to click Save to preserve changes.
The Markdown cell will get a collapse/expand icon added to it.
Check out the illustration to see the Markdown expand and collapse feature at work.


