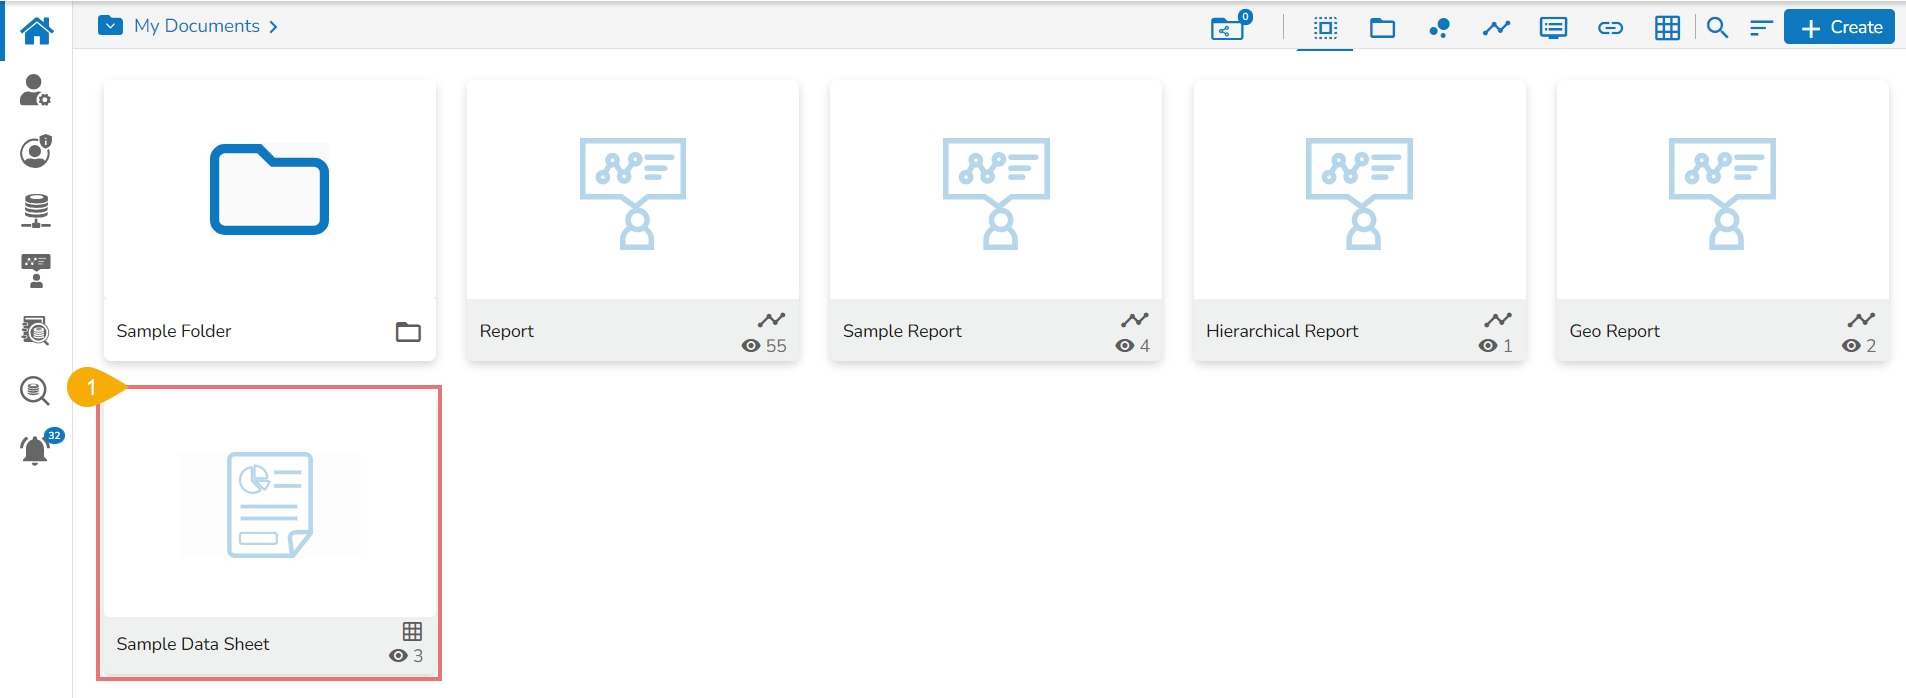
Click on a Published Data Sheet from the platform homepage to open it.
Click the Filter icon from the opened Data Sheet.
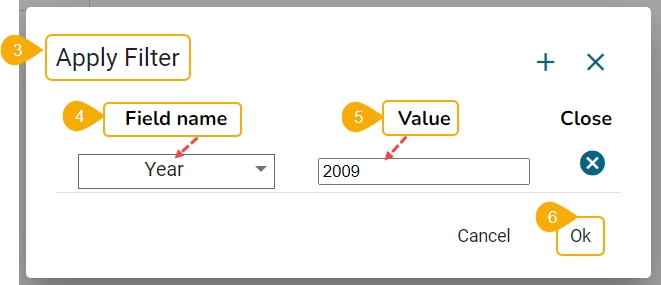
The Apply Filters window opens.
Field Name: Select a field/ column from the drop-down menu.
Value: Mention a value from the selected column in the given space.
Click the Ok option to apply the filter.
Please Note: The user can use the Add icon provided to apply multiple filter conditions.
The displayed data gets filtered as per the inserted condition (The filter icon turns red to indicate that the displayed data is filtered).
Click the Clear Filter icon.
The applied filter gets cleared displaying the original Data Sheet data.
Open a published Data Sheet.
Select a row from the displayed data.
Click the Delete Row icon.
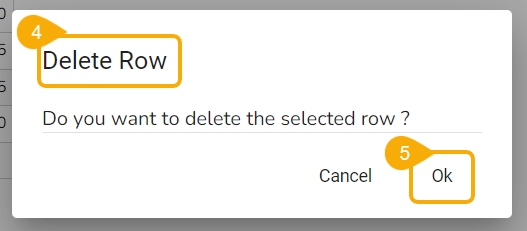
The Delete Row dialog box opens to confirm the deletion.
Select the Ok option.
The selected row gets deleted (The Delete Row icon gets highlighted to indicate that the action of deletion has been performed).
Please Note: Click the Save icon from the data preview after adding or removing a new row(s).
This page describes the steps to Publish a Data Sheet.
Users can publish a data sheet to the platform homepage using the Publish option for the Data Sheet.
Check out the illustration to Publish a Data Sheet to the Platform homepage.
The user can publish a Data Sheet by clicking the Publish icon.
Navigate to the Data Sheets list.
Select a Data Sheet from the Data Sheets list (E.g., Sample Data Sheet in the following image).
Click the Publish icon for the selected Data Sheet.
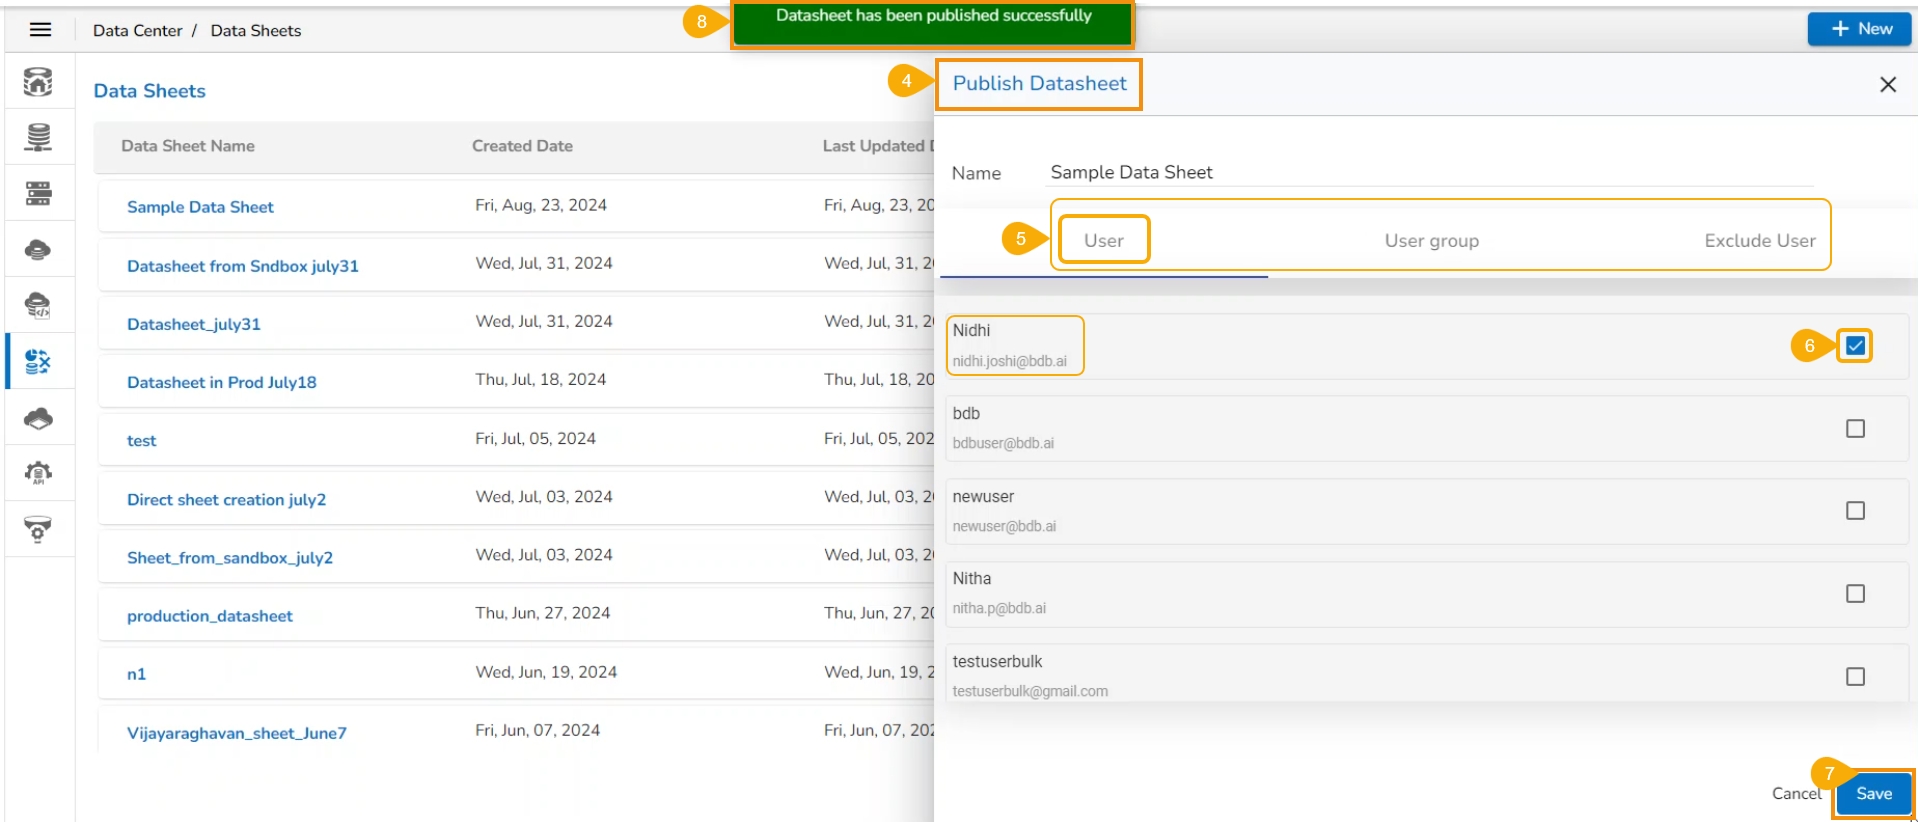
The Publish Datasheet drawer opens.
Select either the User or User group tab to share the published Data Sheet (Use the Exclude User tab to exclude any user from the rights to access a data sheet).
Click the Save option.
A confirmation message appears as shown below.
Another confirmation message appears to inform that the datasheet has been updated successfully.
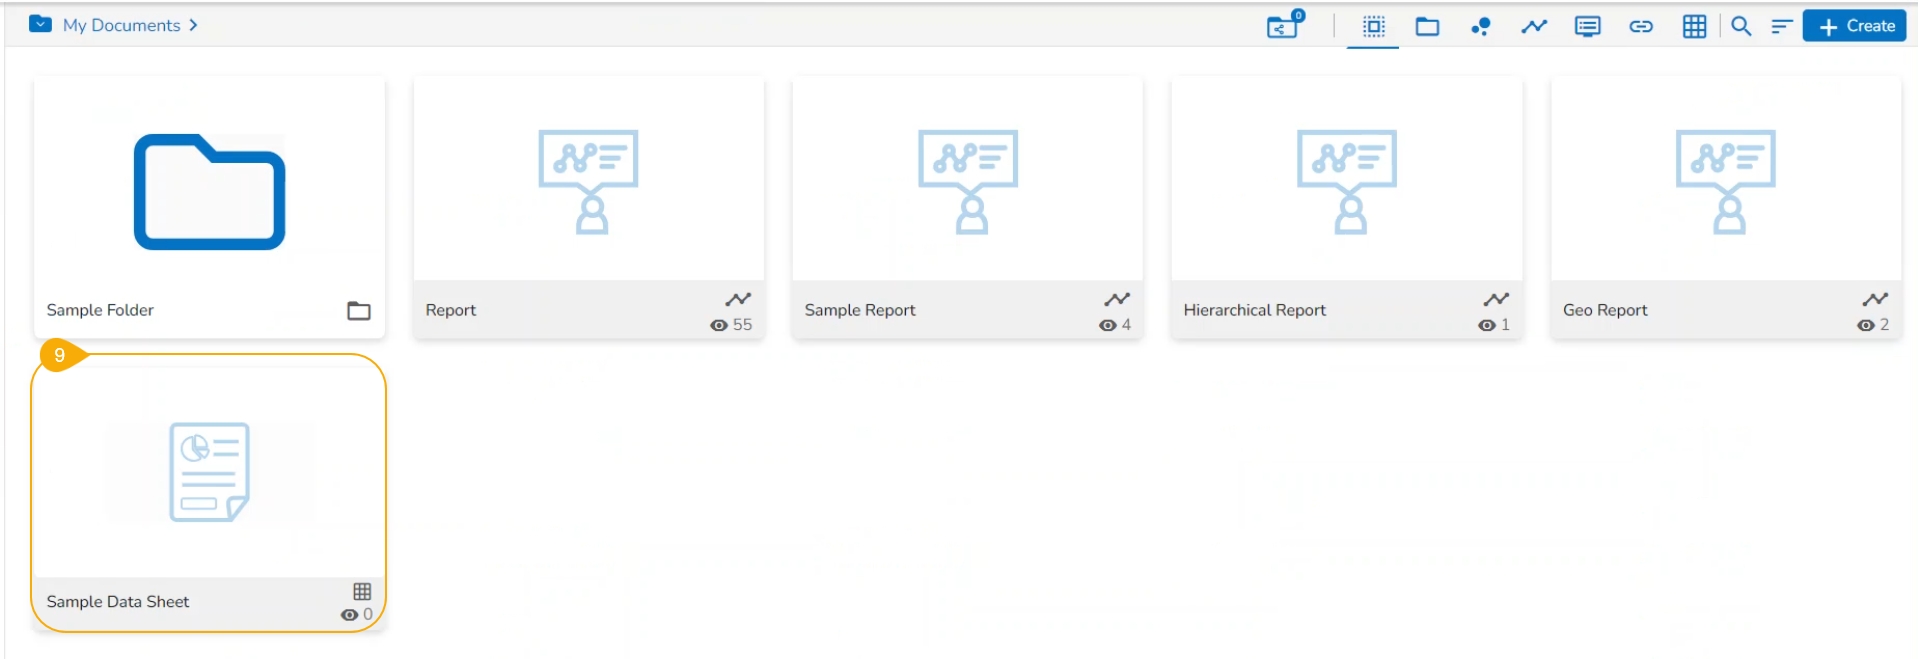
The selected Data Sheet gets published on the My Documents space of all the selected user(s).
Open a published Data Sheet.
Click the Add Row icon.
A new row gets added at the bottom (the following image displays 2 rows added to the Data Sheet).
Manually add the data in the rows.
Click the Save icon.
The added data gets saved in the Data Sheet.
Please Note: Fill in the value for each column and click the save icon to save the data.
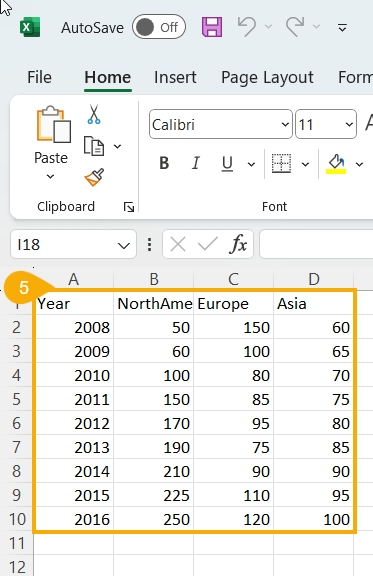
The user can create a meta-structure of the Data Sheet using the Data Center module and later insert data from an Excel file. The user can directly copy and paste data to the published Data Sheet.
Open a published Data Sheet.
The meta Structure of the selected Data Sheet opens.
Click the Add Row icon.
A new row gets added.
Copy the required Excel data.
Paste it to the Data Sheet metadata structure.
Click the Save icon to save the copied data.
The copied data from the Excel sheet gets saved to the Data Sheet.

