Accessing the Data Preparation Option

This page displays steps by step process to access the Data Preparation icon and begin with Data Preparation process.

The Data Preparation option can be accessed from the Data Center module. The user can access the Data Preparation option in either of the following ways under the Data Center module:

  1. Accessing it from the Data Set List Page

  2. Accessing it from the Data Sandbox List Page

Accessing the Data Preparation Workspace by using the Data Preparation icon from the Data Sets List page
Accessing the Data Preparation Workspace by using the Data Preparation icon from the Data Sandbox List page

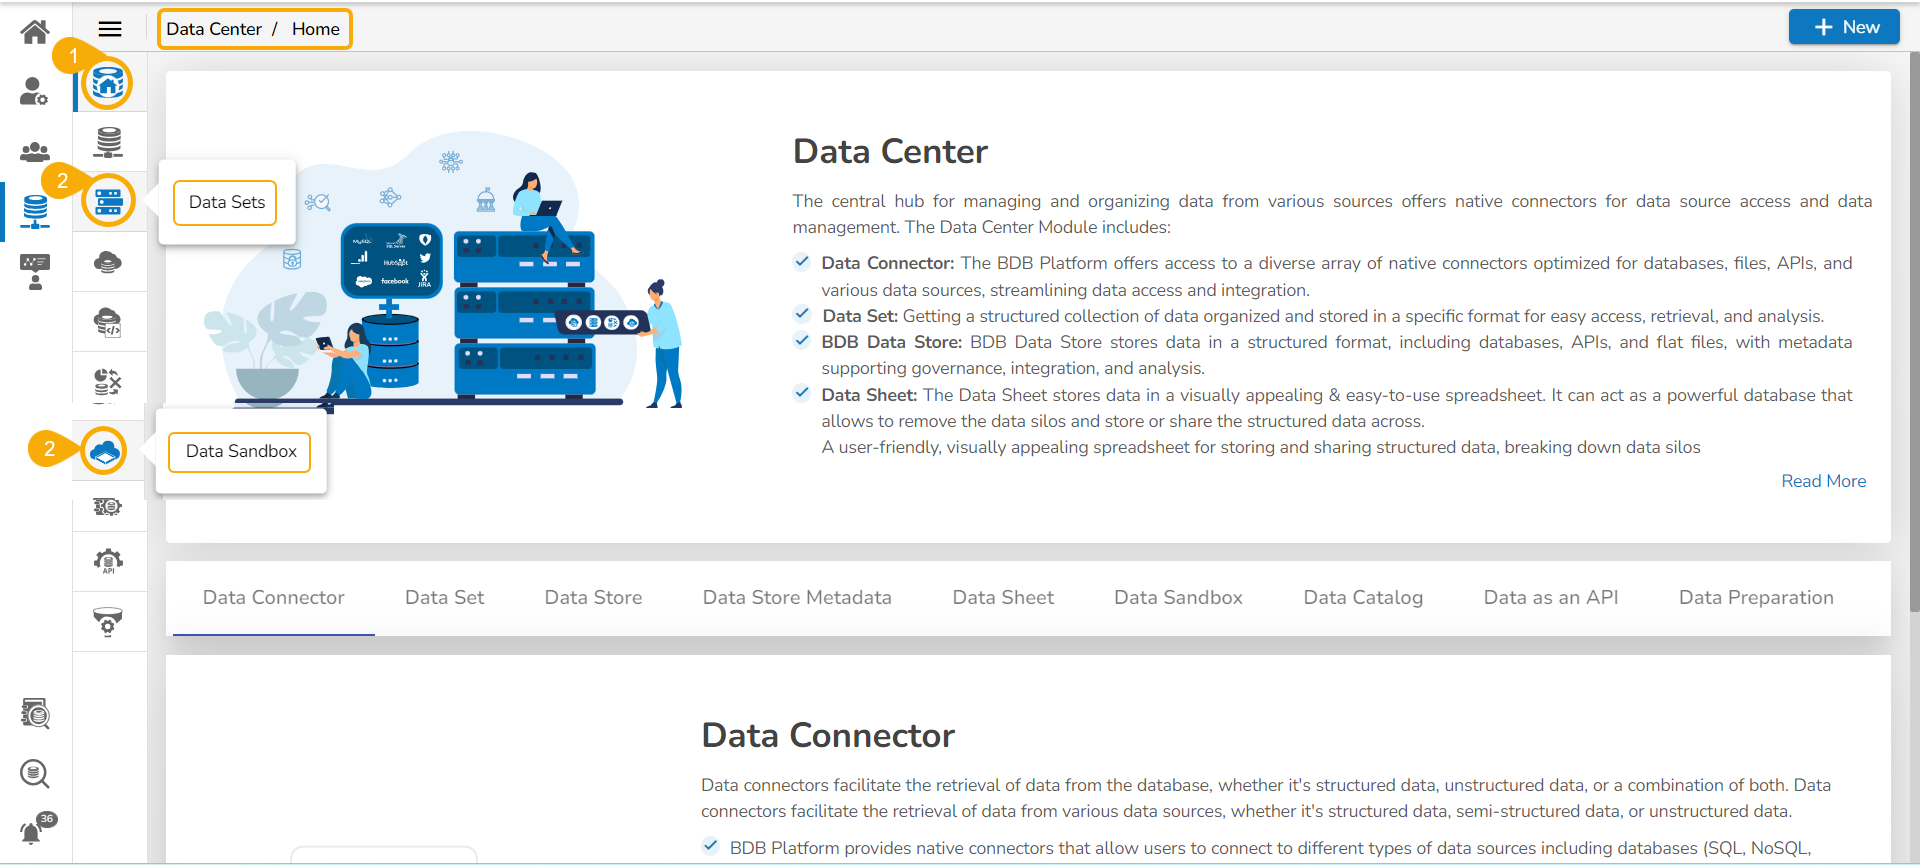
Steps to Access Data Preparation Option

  • Navigate to the Data Center homepage.

  • Click the Data Sets or Data Sandbox option from the left side menu panel.

Data Sets and Data Sandbox options on the Data Center landing page
  • The Data Preparation icon appears under the Actions options on both the List pages.

Data Preparation icon on the Data Sets List page

  • Navigate to the Data Sets List page.

  • Select a Data Set from the displayed list.

  • Click the Data Preparation icon for the selected Data set.

Accessing Data Preparation icon from the Data Sets List page

Please Note: The displayed Data Preparation Workspace will contain a different name indicating the name used to save a Data Preparation saved based on the selected Data set.

Data Preparation icon on the Data Sandbox List page

Data Preparation icon from the Data Sandbox List
Sample image displaying the Data Preparation Workspace for a Sandbox file
  • The below-given Preparation List dialog box appears, in case if a Data Preparation exists based on the selected Data Set/ Data Sandbox.

    • Click the View/Edit option to open the existing Preparation.

    • Click the Create Preparation option to create a new Preparation.

Preparation List for a Data Set
Preparation List for a Data Sandbox File

Please Note: The supported Data Connector types to access the Data Preparation functionality are MySQL, MSSQL, Oracle, PostgreSQL, MongoDB, Snowflake, and ClickHouse.

Consuming the Data Sets with Filter Condition in Data Preparation

  • Navigate to the Data Sets list.

  • Select a Data Set that contains filter condition.

  • Click the Data Preparation icon for it.

  • The Filter Condition dialog box appears (if the selected Data Set contains filter).

  • Provide the filter value.

  • Click the Continue option.

Filter dialog box to enter the filter value
  • The Data Preparation Workspace opens displaying the filtered data.

Data Preparation Workspace displaying filtered data

Please Note:

  • The Data Preparations that are created based on a Data Set contain a Data Set info icon on the header, but it gets disabled once the data preparation is saved.

  • The Settings icon will also be disabled once the Data Preparation based on a Data Set is saved.

Last updated