Loading...
Loading...
Loading...
Loading...
Loading...
Loading...
Loading...
Loading...
The collector is an integral part of the Publish Survey. The collector is an online link that can be sent to the end-users. Collectors are used for gathering collected responses from the recipients that can then be used for in-depth analysis.
The BDB Survey module provides two ways to access Collector options:
Click the Create option offered at the end of the Publish Survey information.
The following options will be displayed to create a collector:
The user can select any one option by a click on it.
Navigate to the Publish Your Survey list.
Four options will be provided next to the published name of a survey.
The first two options (and) can be used to create a new collector.
Click the Email Collector or Add Email Collector option.
The Create Email Collector opens.
Enter a name for the collector (Maximum limit given is of 50 characters).
Click the Create option.
A message appears to inform about the creation of an email collector.
A window opens asking to add a recipient for email collector.
The Email Collector will be successfully created and added to the Publish Your Survey list.
Click the Create option provided on the Create Email Collector page.
The Add Recipient for Collector page will be displayed with the pre-defined collector name
Fill in the following information:
Add Recipients: Add names of the recipients either from the Contact Groups or insert manually and click the Add Recipients option.
Email Subject: Enter a Subject
Body of Email: It displays a prewritten message. This message can be modified.
Click on the Add Link option to add the collector link.
Click on the Create & Send Mail option.
A mail gets sent to the added recipient(s).
Navigate to the Add Recipients for Collector page.
Select the From Contacts option.
Click the Add Recipients option provided below the box.
The Contact Groups window opens listing all the existing Contact groups.
Select the contact group(s) from where you wish to get the contacts by marking the checkbox.
Click the Done option.
The contacts from the selected Contact Group(s) get added as recipients.
Navigate to the Add Recipients for Collector page.
Select Add Manually option.
Manually add recipients’ details into the given space.
Follow the below mentioned format to add the recipient's name:
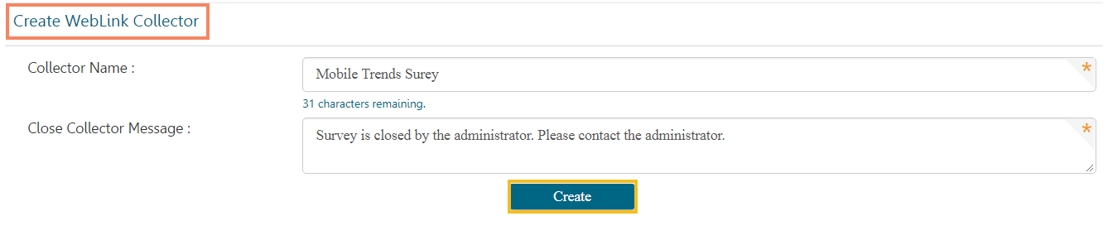
Click the Weblink Collector or Add Web Link Collector option.
The Create Weblink Collector page opens.
Enter a name for the collector (Maximum limit given is of 50 characters).
Click the Create option.
A message appears to inform that the survey creation of the Web Link Collector.
The Web Link Collector gets created and appears below the message.
The Web Link Collector gets added to the Publish Your Survey list.
Navigate to the Publish Your Survey list.
Click the Delete icon provided next to a collector name.
A pop-up window will appear to confirm the deletion.
Click the OK option.
The selected collector gets deleted.

Navigate to the Publish Your Survey list.
Click the Edit icon provided for a survey collector.
The Edit Collector option appears on the right pane of the screen.
The following information can be edited for a collector:
Collector Name
Navigate to the Edit Collector Screen.
Select the BizViz Analytics for End User option by check-marking the box.
Carefully select the following details:
Select the ACTIVE option to enable the link.
The Public URL link will be displayed below the Public Link Status (If the ACTIVE option is selected).
Select the IN-ACTIVE option to disable the link.
choose either of the choices out of Yes or No options.
Selecting the Yes option will display the result to the end-user, even if the collector is closed or publish has been expired.
Choose either of the choices out of Yes or No options
Selecting the Yes option will display the applied filters to the end-user
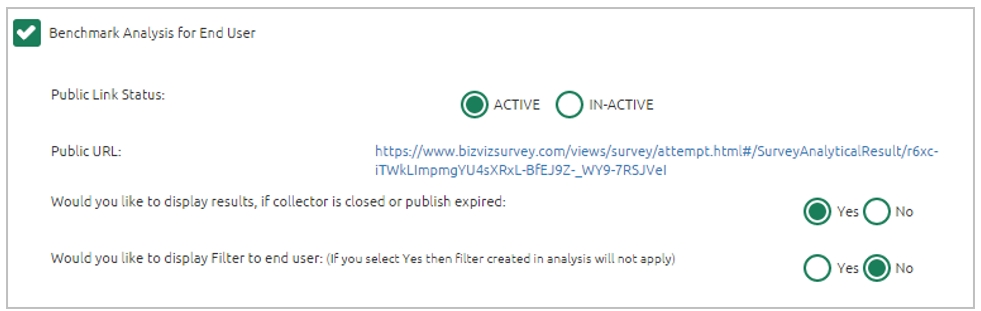
Select the Benchmark Analysis for End User option by check-marking the box.
Carefully select below mentioned details:
Select the ACTIVE option to enable the link.
Select the IN-ACTIVE option to disable the link.
Choose either of the choices out of Yes or No options
Selecting the Yes option will display the result to the end-user, even if the collector is closed or publish has been expired.
Choose either of the choices out of Yes or No options.
Selecting the Yes will display the applied filters to the end-user.
Collector Settings
Click the Edit option provided at the end to save the updates.