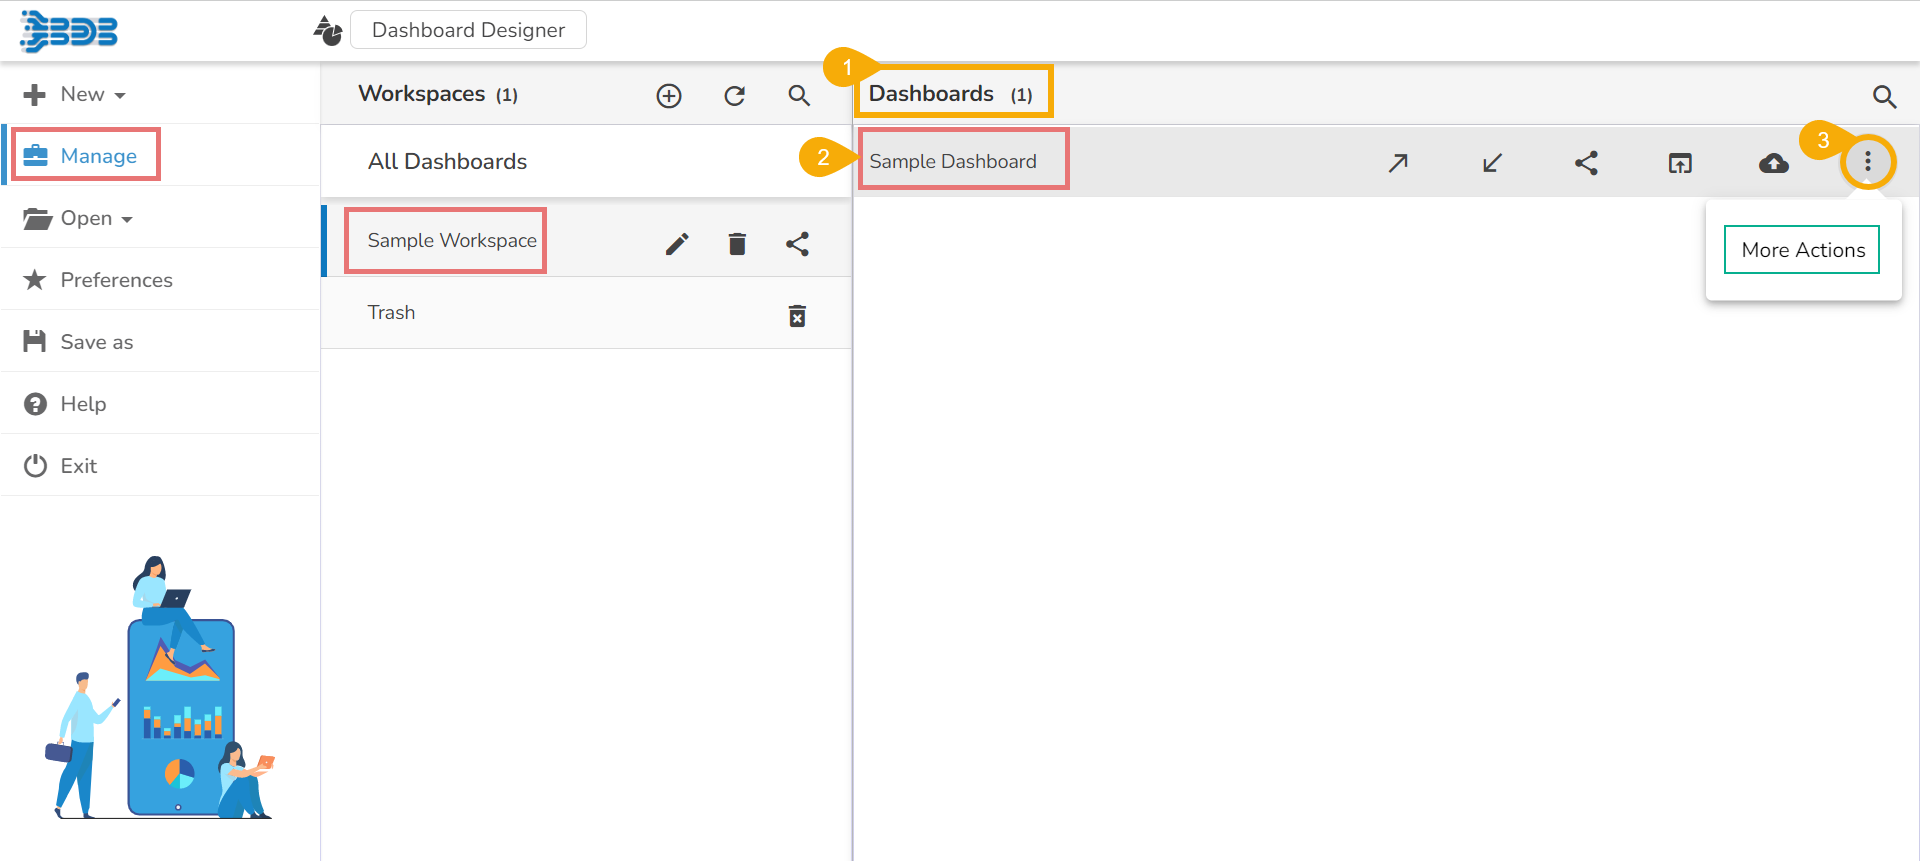
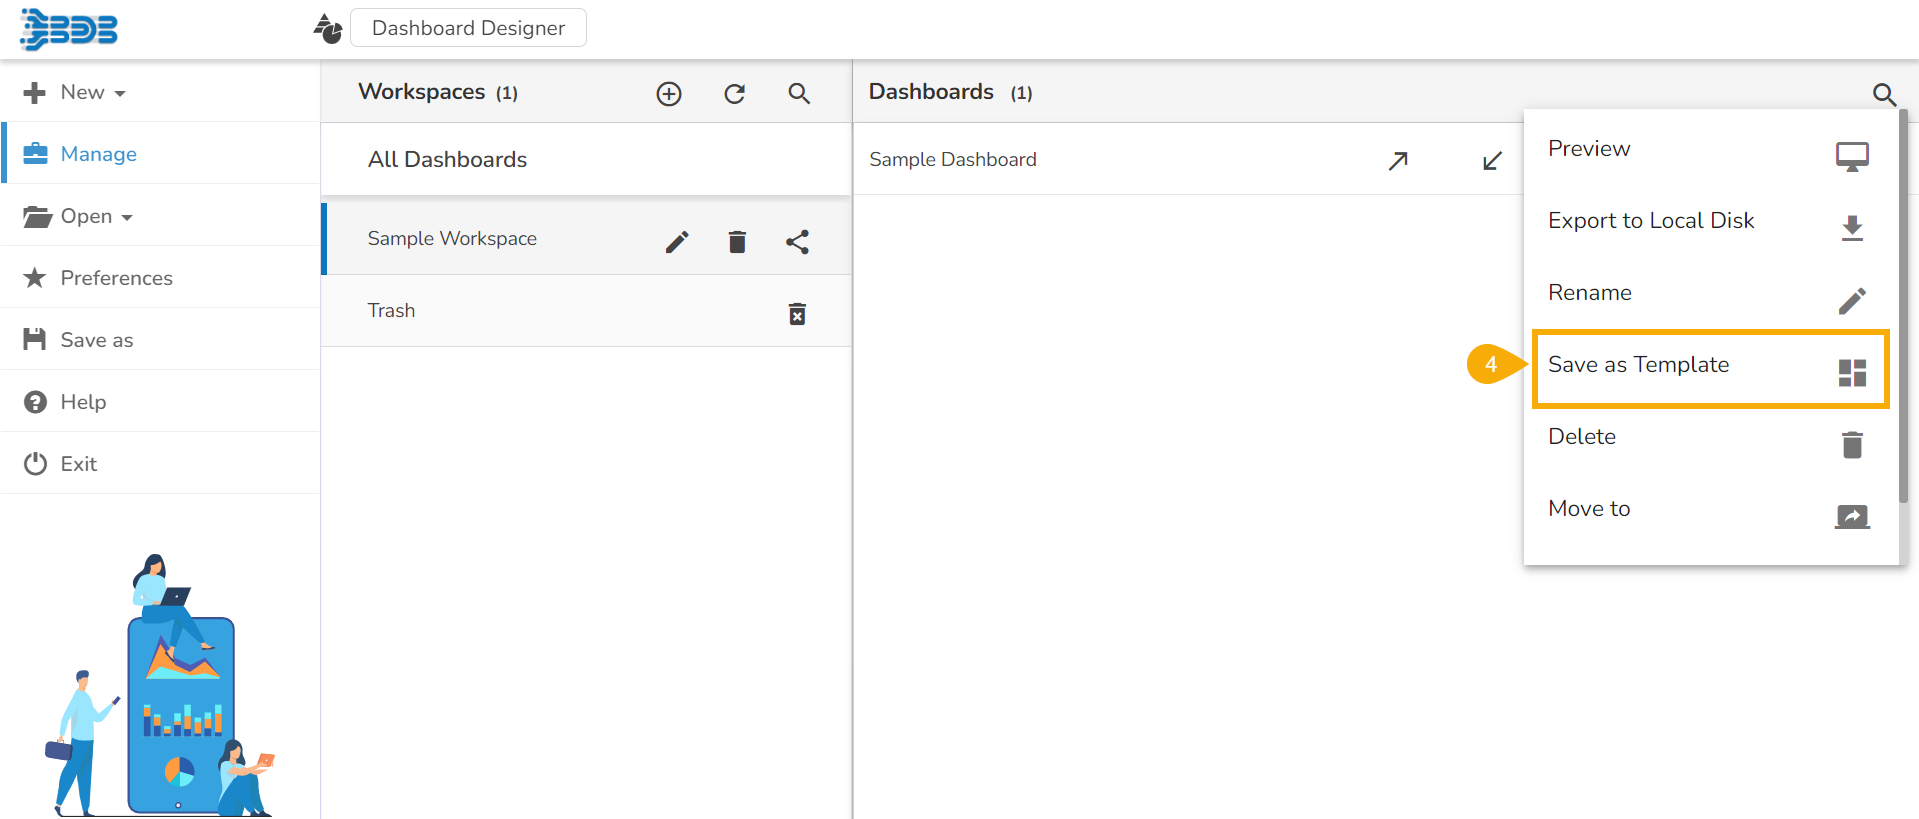
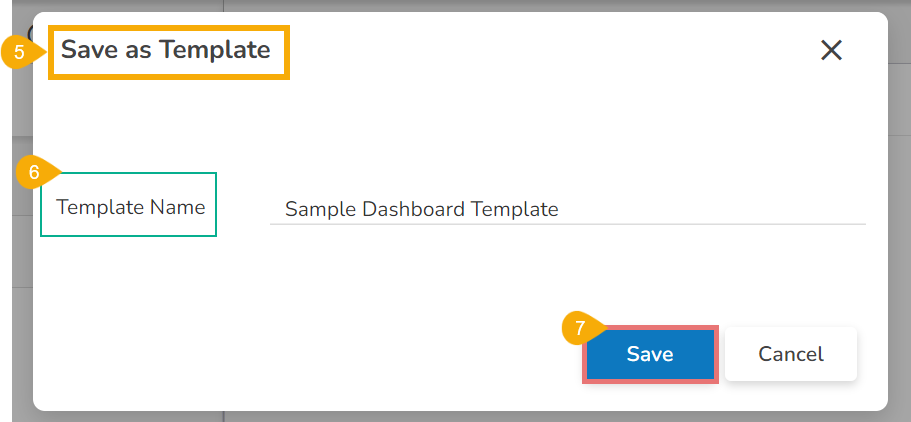
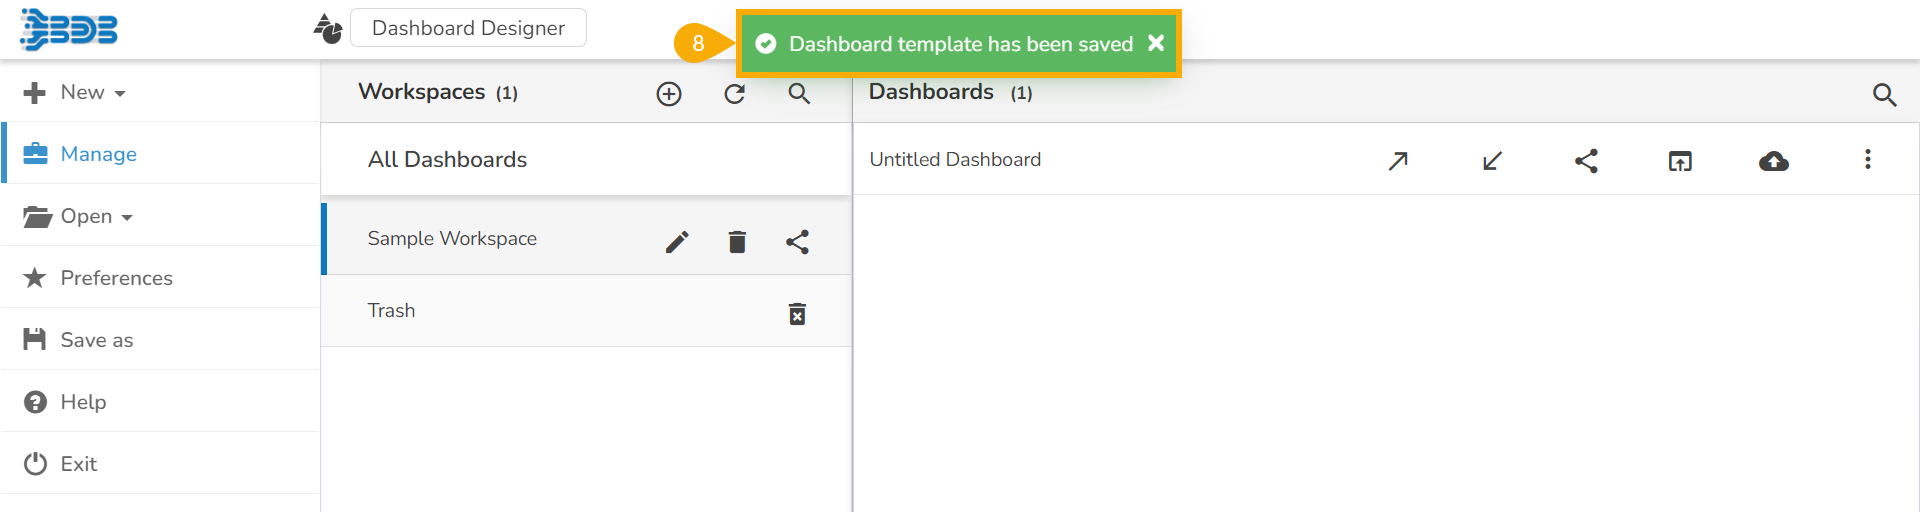
Dashboard Templates
Dashboard Templates
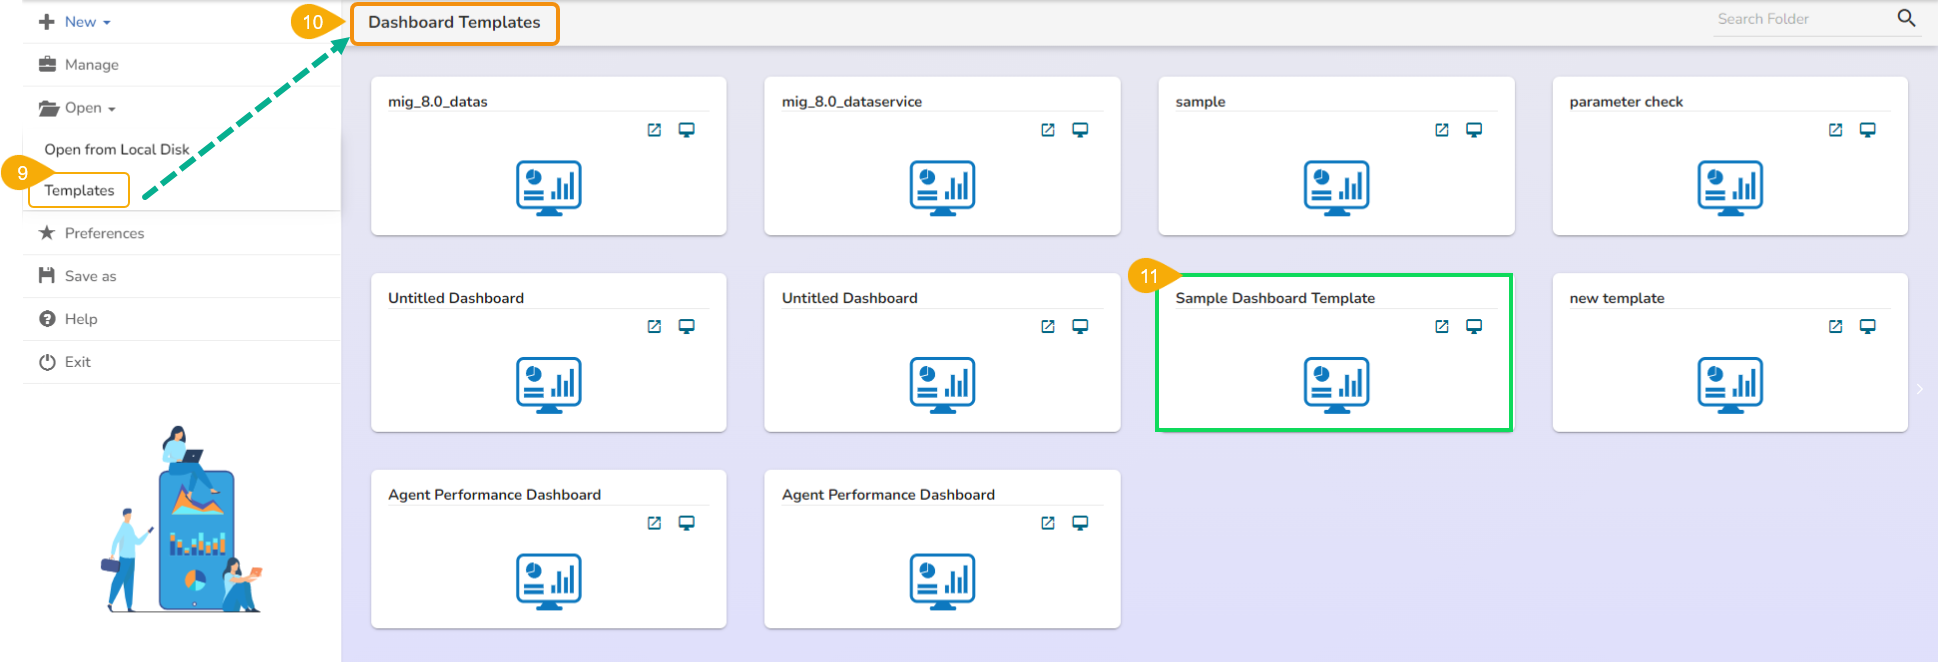
 2. Preview Template
  {% endhint %}
 , they will get all dragged charting components in the Designer canvas view without the inserted scripts and mapped data connection for that dashboard.
 , they will get the preview mode of the selected dashboard. It allows the inserted functionality together with the mapped dataset for the preview.