Loading...
Loading...
Loading...
Loading...
Loading...
Loading...
Loading...
Loading...
Loading...
Loading...
The Data Sheet stores data in a visually appealing & easy-to-use spreadsheet. It can act as a powerful database that allows to remove the data silos and store or share the structured data across.
Users can refresh the data for a selected Data Sheet using this feature.
Check out the illustration on the refreshing data sheet feature.
Navigate to the Data Sheets page.
Select a sandbox-based data sheet from the list.
Click the Refresh Data icon for the Data Sheet.
A notification message ensures that the Data Refresh process has been started.
Click the Notifications icon to check the completion of the data refresh process.
It may be accessible from the Last 3 Unread notification window. Click on it to open the details.
The Notifications page opens with the details of whether the data is loaded successfully to the selected data sheet.
This page explains how to Edit a Data Sheet.
Check out the illustration to Edit a Data Sheet.
Navigate to the Data Sheets list page.
Navigate to the Data Sheets list.
Select a Data Sheet from the list.
Click the Data Sheet Info icon for the selected Data Sheet.
Open a published Data Sheet.
Select a row from the displayed data.
Click the Delete Row icon.
Click the Edit icon for a Data Sheet using the Data Sheet list.
The Data Sheet Connector page opens for the selected Data Sheet.
The user can edit the required information.
Click the Save option.
A confirmation message indicates that the selected Data Sheet has been updated.
The Datasheet Info window opens, displaying additional information about the selected datasheet, like the Data Sheet Name, Type, and Status.

The Delete Row dialog box opens to confirm the deletion.
Select the Ok option.
The selected row gets deleted (The Delete Row icon gets highlighted to indicate that the action of deletion has been performed).


Check out the given walk-through on how to create a Data Sheet.
Navigate to the homepage of the Data Center module.
Click the Data Sheet option from the New Context menu.
The Data Sheet Connector page opens.
Provide a name for the Data Sheet.
Provide the following information:
By clicking the Add/Update option a new column gets added/to an existing column gets updated based on the entered details under the Data Sheet Preview space as displayed in the given image.
The Save option gets enabled which the user can click to save the Data Sheet.
A success message appears.
The newly created Data Sheet gets added to the Data Sheets list.

Input Type: Select an option out of the provided choices. (text/numeric/dropdown/autocomplete/checkbox/radio/calendar).
Look Up: This option is enabled only when the input type is dropdown. In this option, we select the datasheet whose value has to be listed in the dropdown.
Column: This option is enabled only when the input type is dropdown. In this option, we select the datasheet column (selected in Look Up) whose value has to be listed in the dropdown field.
Data Restriction: Defined Custom Fields get listed in the drop-down menu.
Filter: Enable the filter by putting a checkmark in the given box.
Add/Update: To add a new column/ Modify an existing column.
Delete: To remove the added Column in the Data Sheet.


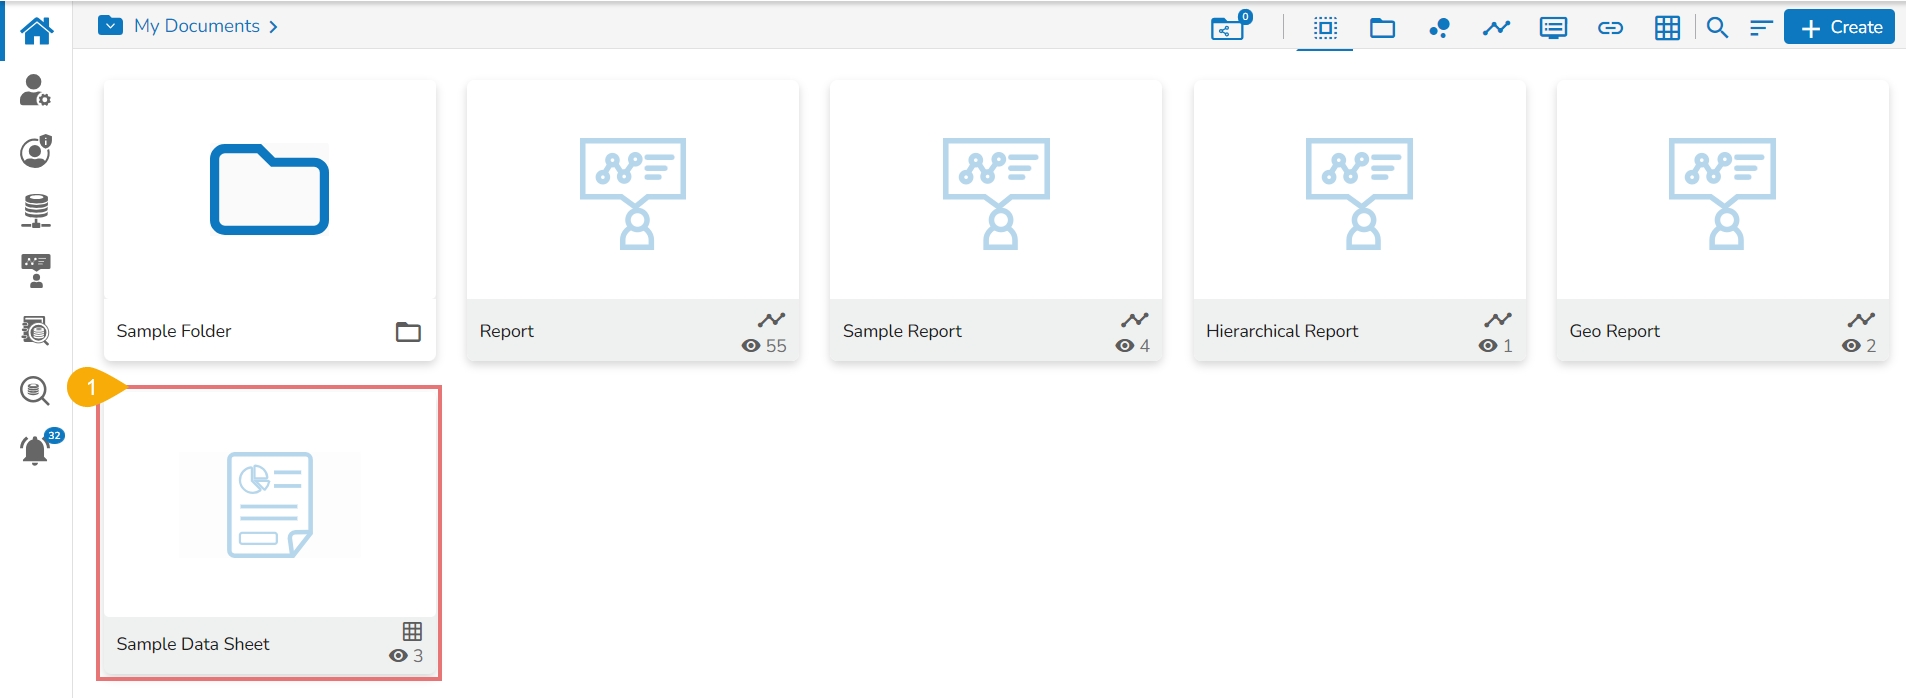
Click on a Published Data Sheet from the platform homepage to open it.
Click the Filter icon from the opened Data Sheet.
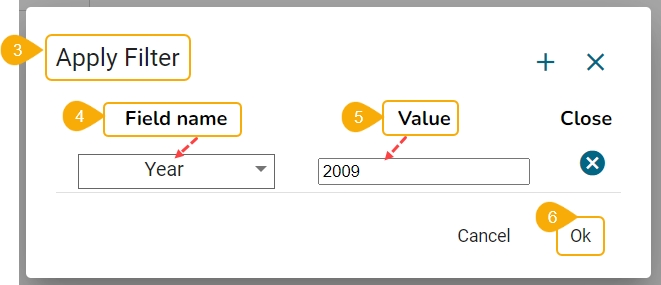
The Apply Filters window opens.
Field Name: Select a field/ column from the drop-down menu.
Value: Mention a value from the selected column in the given space.
Click the Ok option to apply the filter.
The displayed data gets filtered as per the inserted condition (The filter icon turns red to indicate that the displayed data is filtered).
Click the Clear Filter icon.
The applied filter gets cleared displaying the original Data Sheet data.
This page describes the steps to Publish a Data Sheet.
Users can publish a data sheet to the platform homepage using the Publish option for the Data Sheet.
Check out the illustration to Publish a Data Sheet to the Platform homepage.
The user can publish a Data Sheet by clicking the Publish icon.
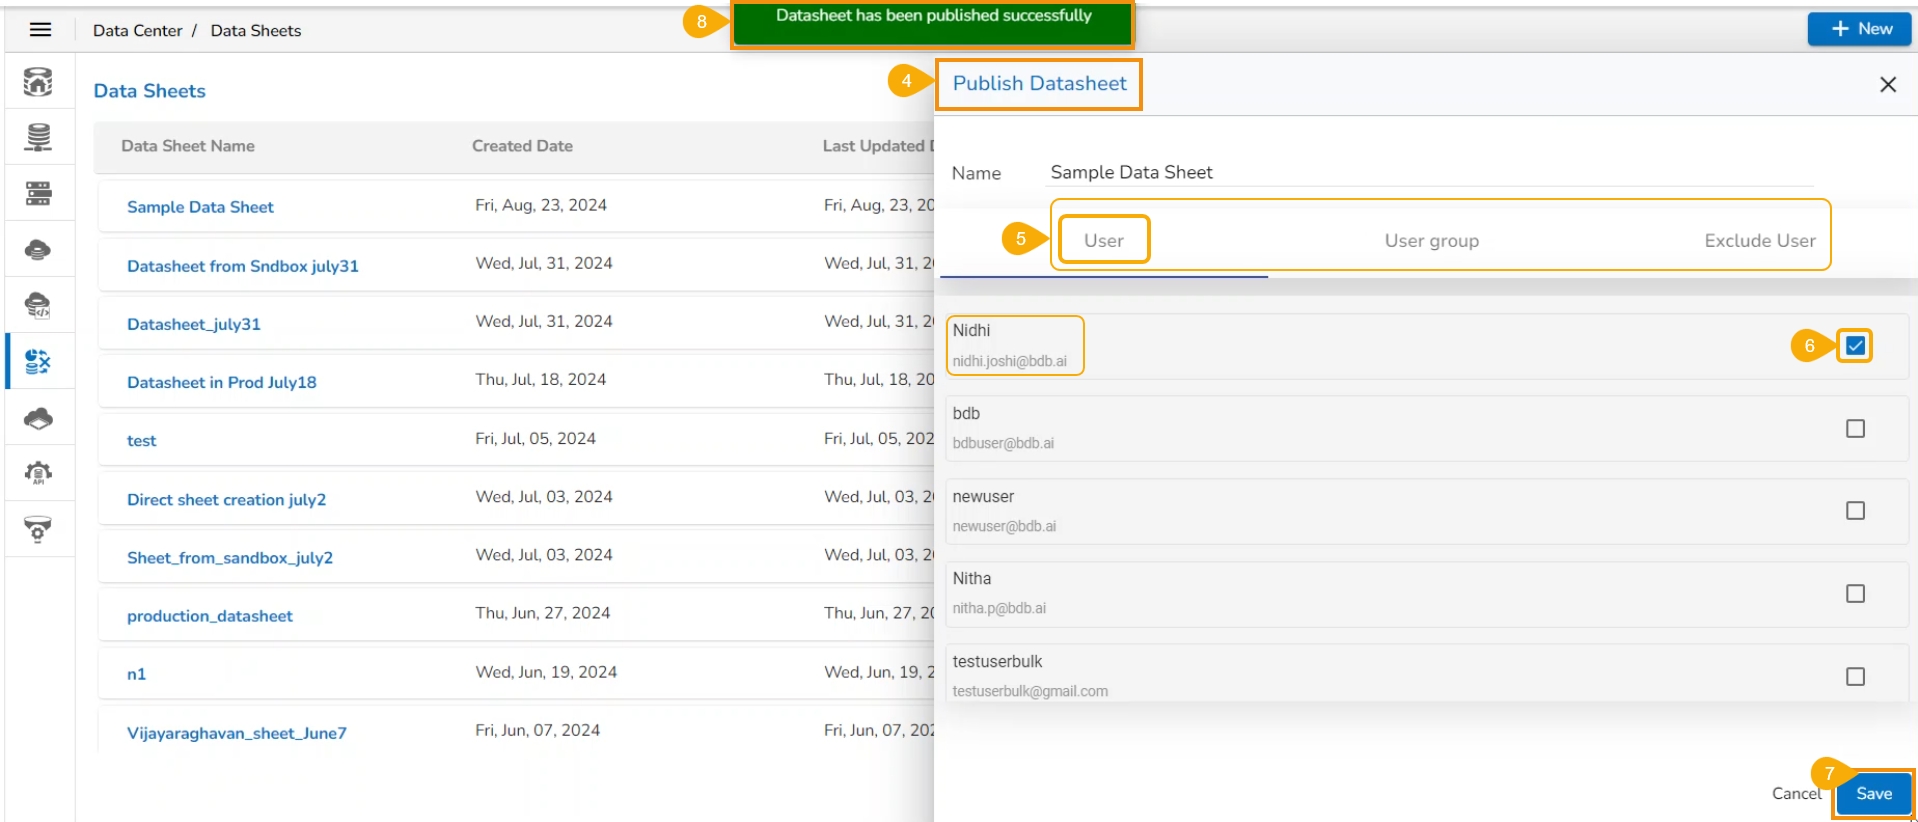
Select a Data Sheet from the Data Sheets list (E.g., Sample Data Sheet in the following image).
Click the Publish icon for the selected Data Sheet.
The Publish Datasheet drawer opens.
Select either the User or User group tab to share the published Data Sheet (Use the Exclude User tab to exclude any user from the rights to access a data sheet).
Click the Save option.
A confirmation message appears as shown below.
Another confirmation message appears to inform that the datasheet has been updated successfully.
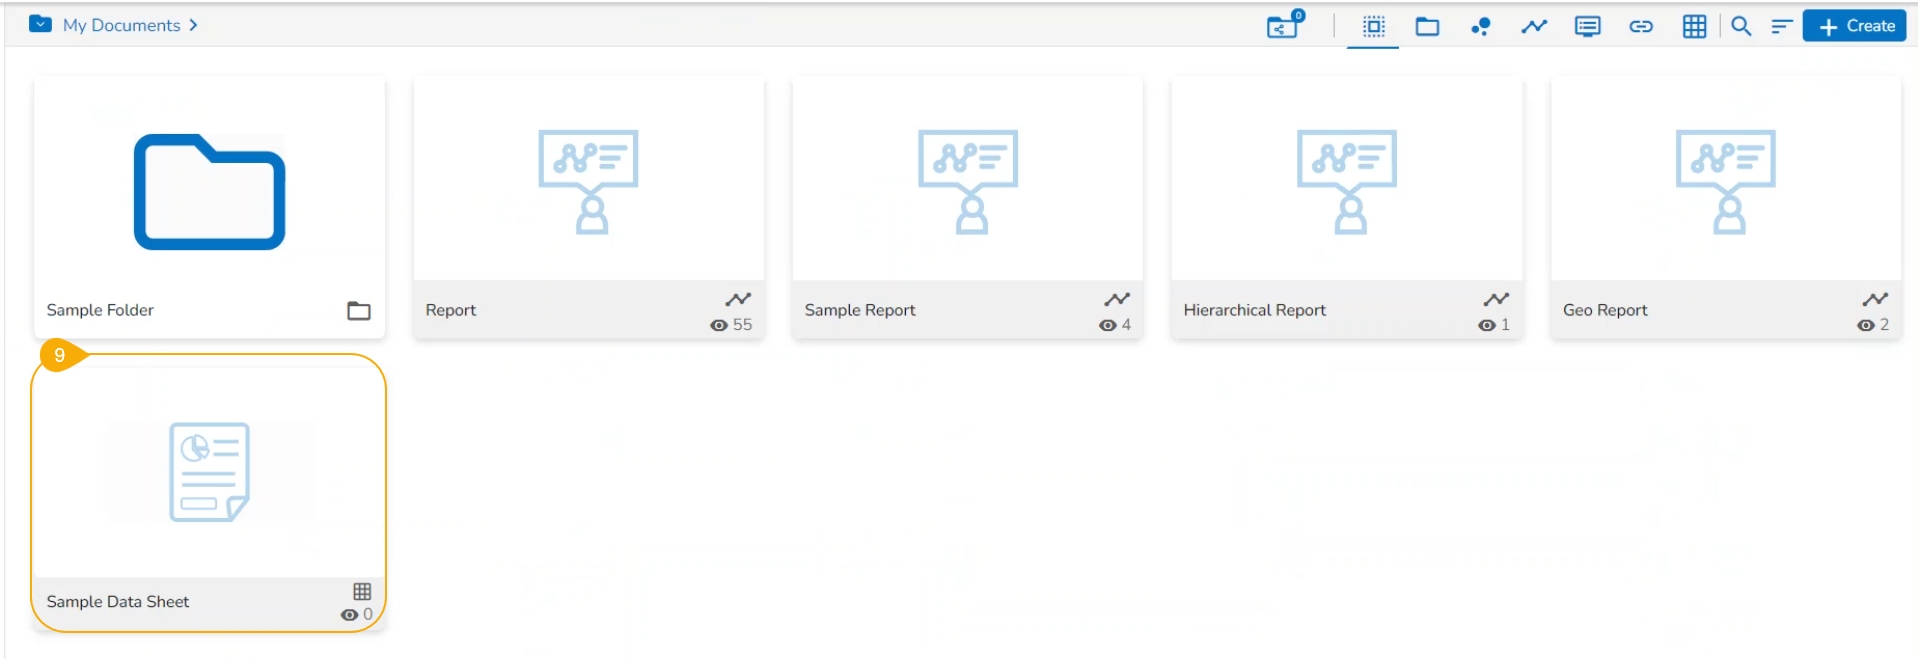
The selected Data Sheet gets published on the My Documents space of all the selected user(s).
Check out the illustration on removing a Data Sheet.
Navigate to the Data Sheets list page.
Select a Data Sheet from the displayed list.
Click the Remove icon for the selected Data Sheet.
The Remove Data Sheet window opens to confirm the deletion of the selected Data Sheet.
Select the Yes option.
A success message appears, and the selected Data Sheet gets removed.


Open a published Data Sheet.
Click the Add Row icon.
A new row gets added at the bottom (the following image displays 2 rows added to the Data Sheet).
Manually add the data in the rows.
Click the Save icon.
The added data gets saved in the Data Sheet.
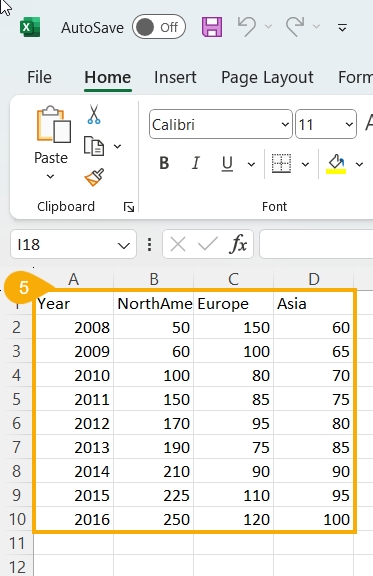
The user can create a meta-structure of the Data Sheet using the Data Center module and later insert data from an Excel file. The user can directly copy and paste data to the published Data Sheet.
Open a published Data Sheet.
The meta Structure of the selected Data Sheet opens.
Click the Add Row icon.
A new row gets added.
Copy the required Excel data.
Paste it to the Data Sheet metadata structure.
Click the Save icon to save the copied data.
The copied data from the Excel sheet gets saved to the Data Sheet.


