# Flipkart

​![](https://859511478-files.gitbook.io/~/files/v0/b/gitbook-x-prod.appspot.com/o/spaces%2FGDmsjfjJBNqow7Fo97cO%2Fuploads%2F6F3aibBggu6kR9T8yzzo%2Fimage.png?alt=media\&token=827bffa3-7107-43f3-9162-ae3517dbfc17)​

The following set of steps displays how to create Flipkart Data Connector:

* Click the ***Select Account*** option from the Flipkart Connector page.

&#x20;    &#x20;

<figure><img src="https://content.gitbook.com/content/Kg5pfnNkTs1b1YNYX7rD/blobs/GNMuY48EUL89LRtUhk49/image.png" alt=""><figcaption></figcaption></figure>

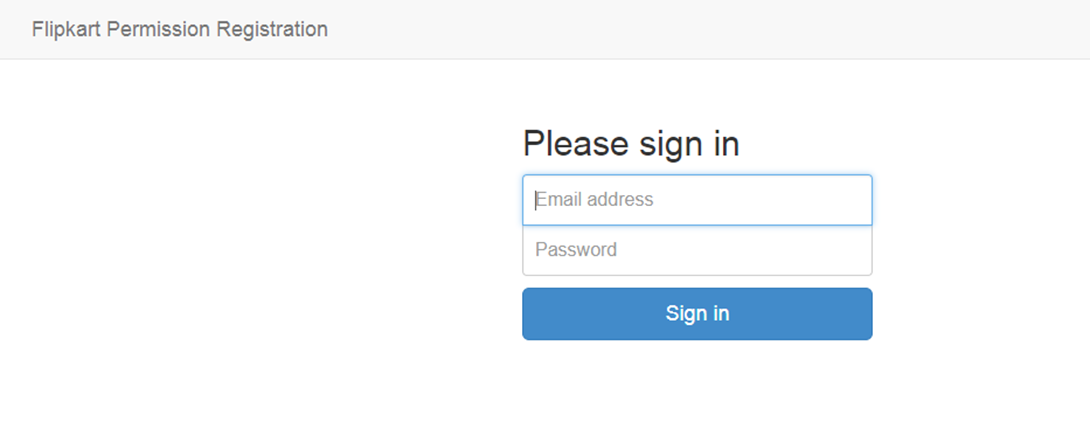
* Enter the credentials to get Flipkart Permission Registration for the selected Flipkart account.
* Click the ***Sign In*** option.

<figure><img src="https://content.gitbook.com/content/Kg5pfnNkTs1b1YNYX7rD/blobs/vjMCSJsUZhgpBsFeQQ92/image.png" alt=""><figcaption></figcaption></figure>

* The Flipkart Connector page opens again with the connected Flipkart account, after the user has logged in to a Flipkart account.
* Provide a title for the Data Connector.
* Provide description for the Data Connector (It is an optional field).
* Click the ***Save*** option.

<figure><img src="https://859511478-files.gitbook.io/~/files/v0/b/gitbook-x-prod.appspot.com/o/spaces%2FGDmsjfjJBNqow7Fo97cO%2Fuploads%2FYzCVfomEcbnRfpyIcj5u%2FMicrosoftTeams-image%20(25).png?alt=media&#x26;token=cd0ea692-3eda-4349-aa3b-9e6f2864b7b5" alt=""><figcaption></figcaption></figure>

* A success message appears, and the newly created Flipkart Connector gets added to the data connector list.
